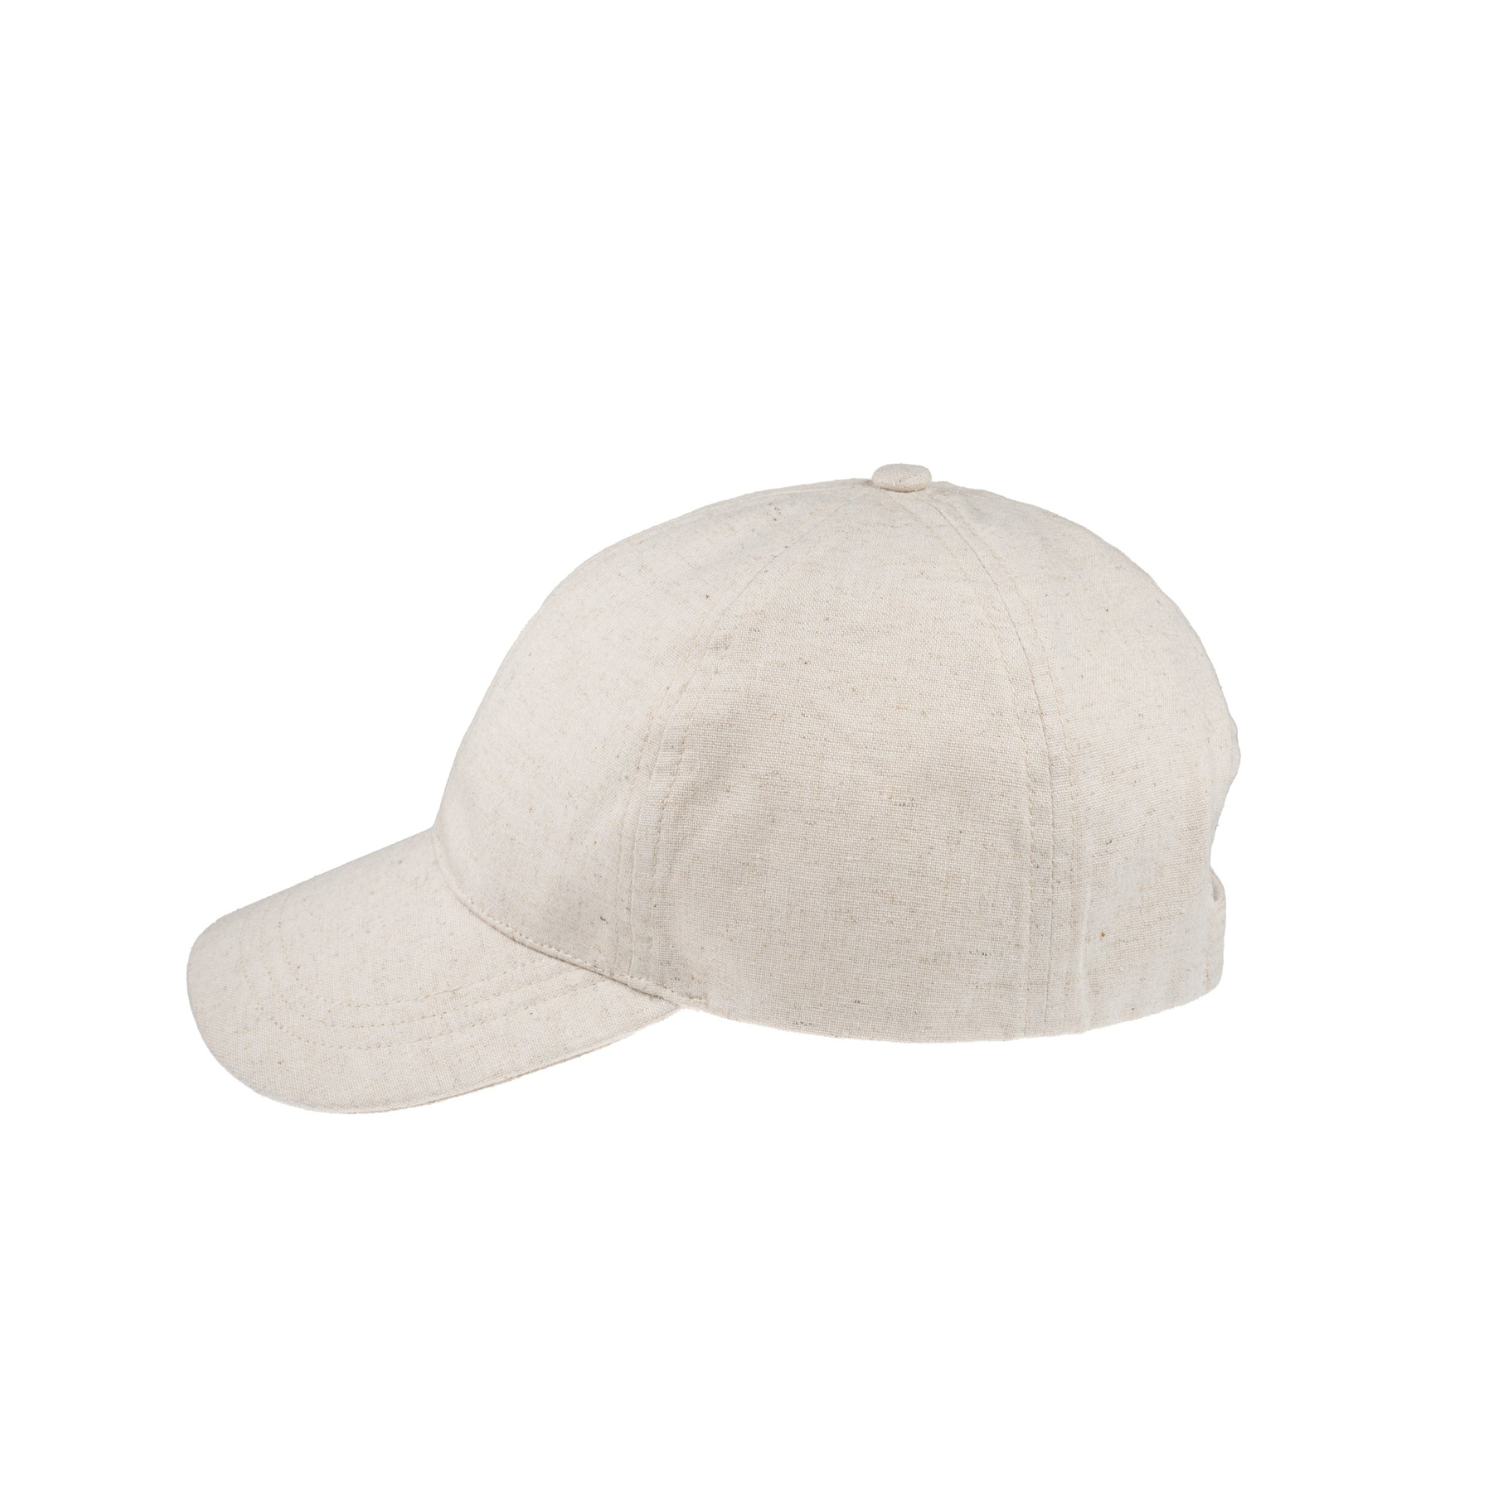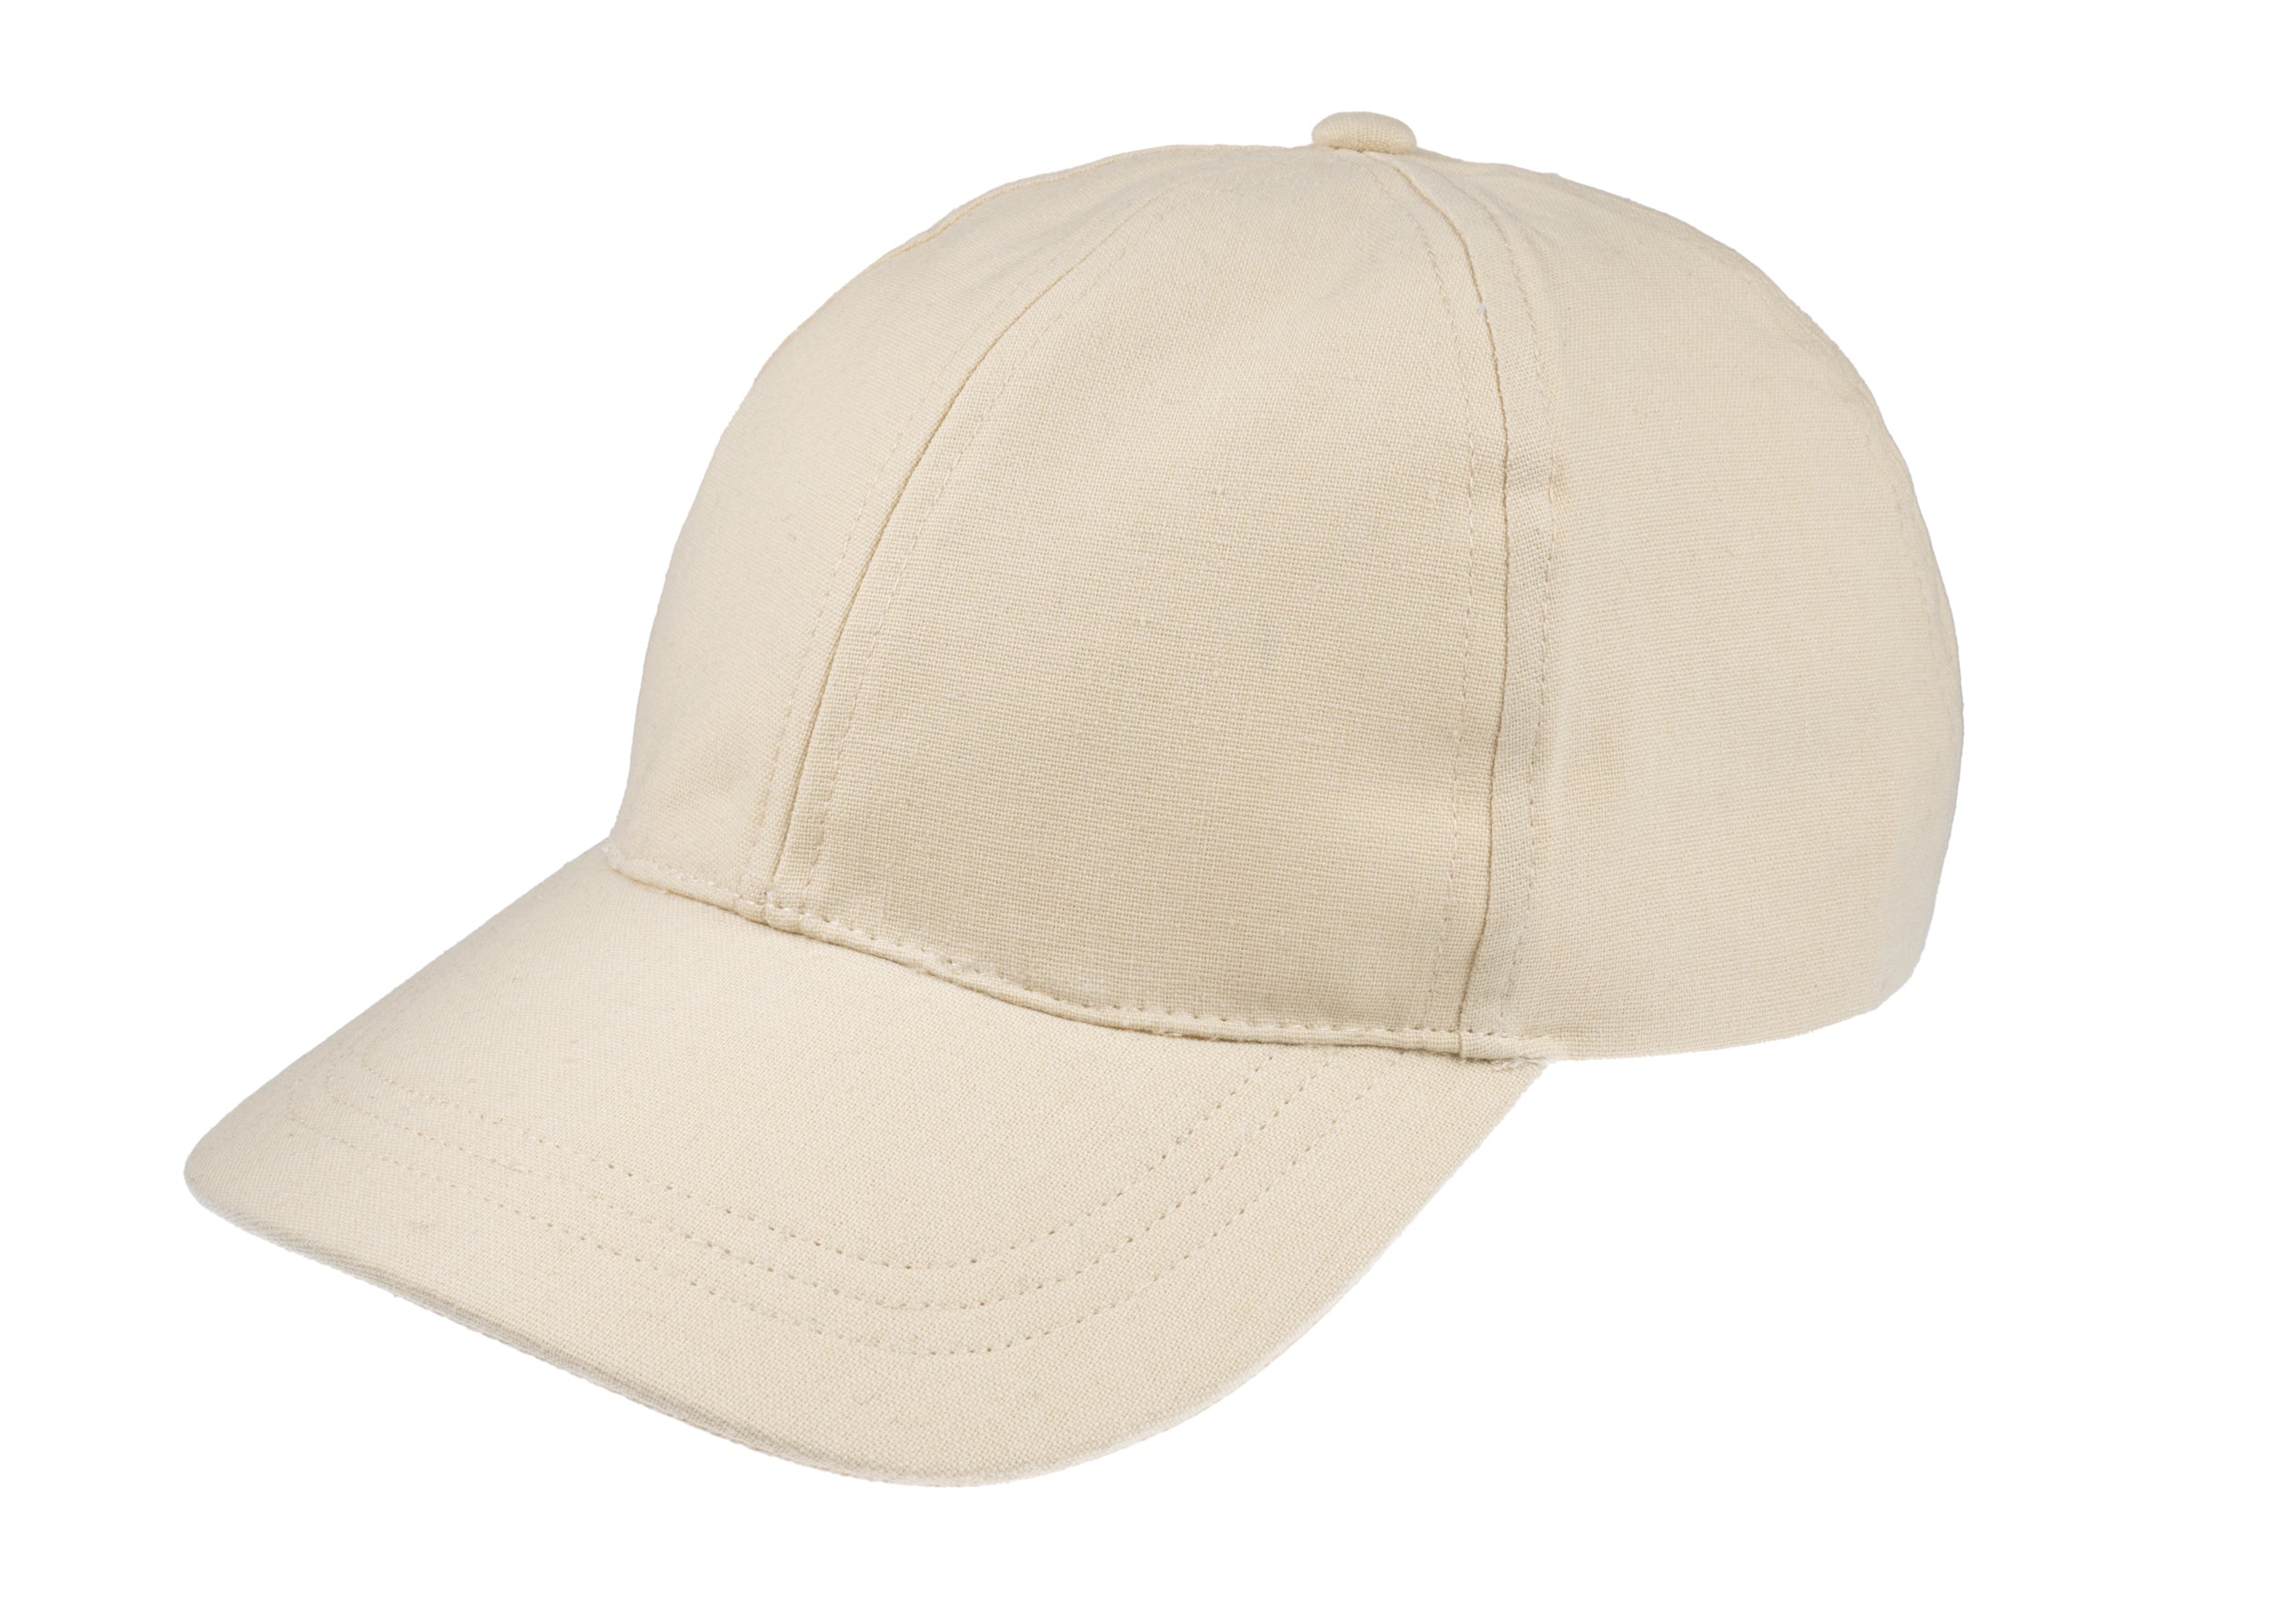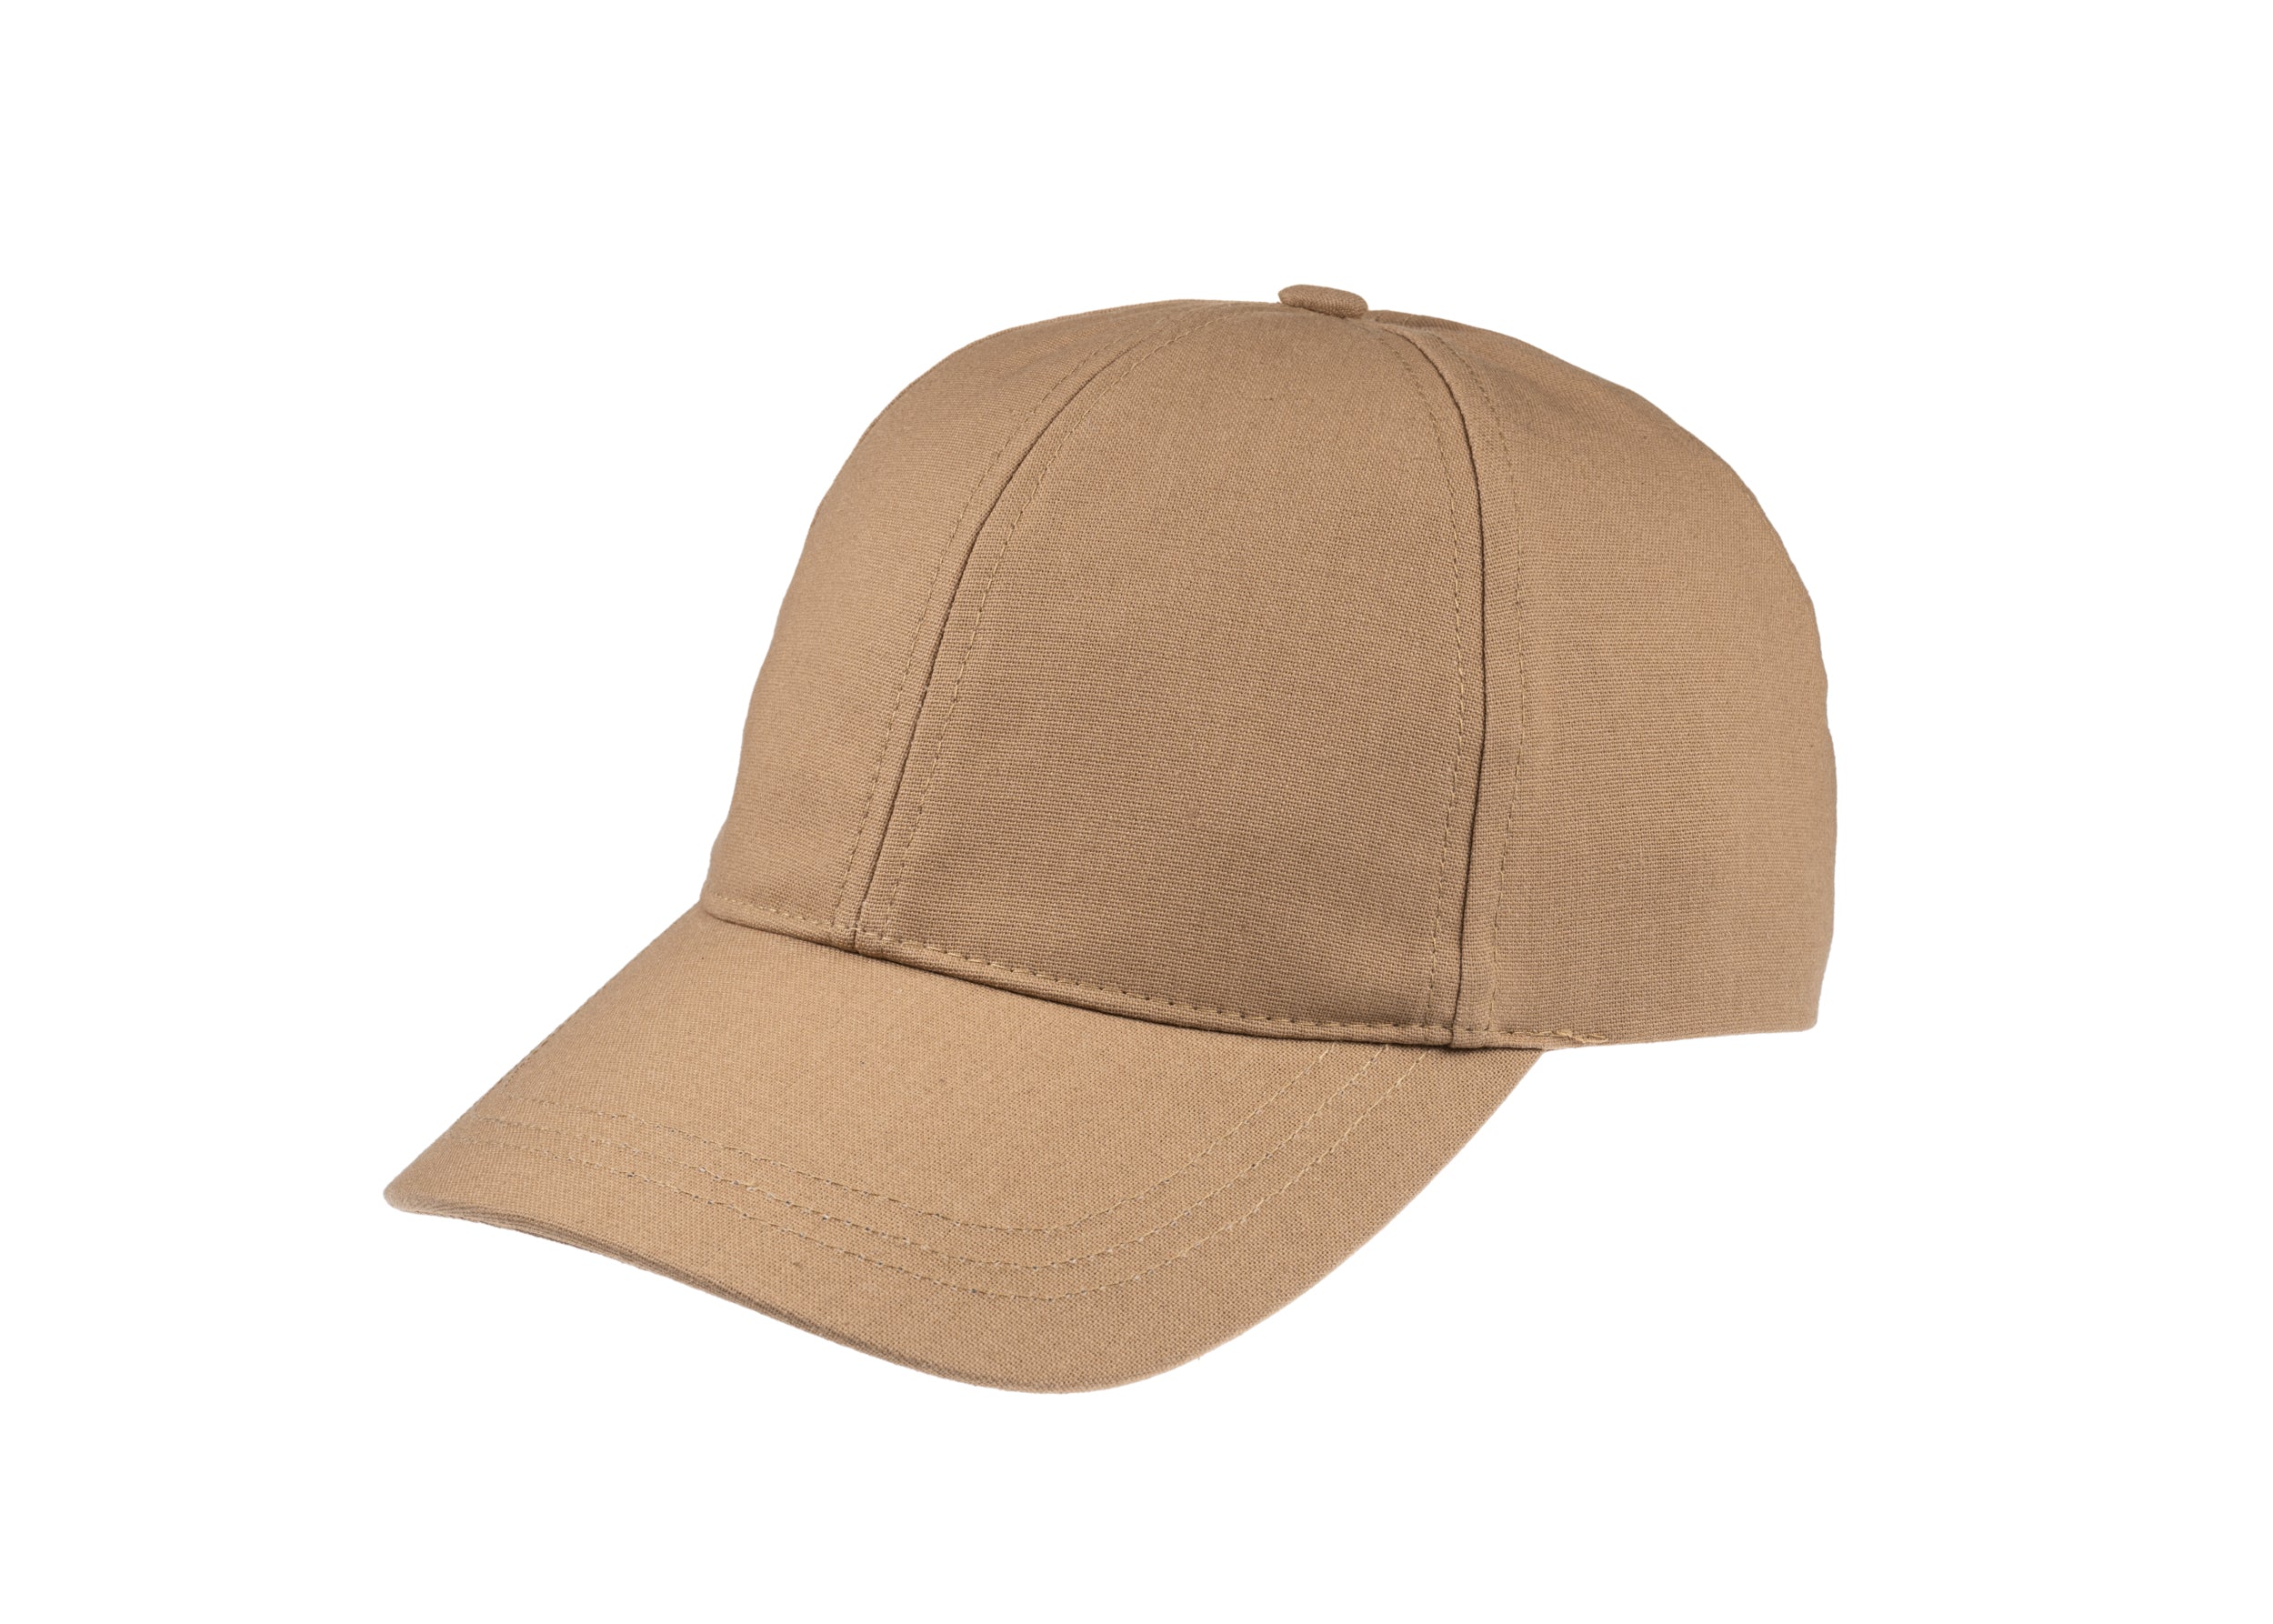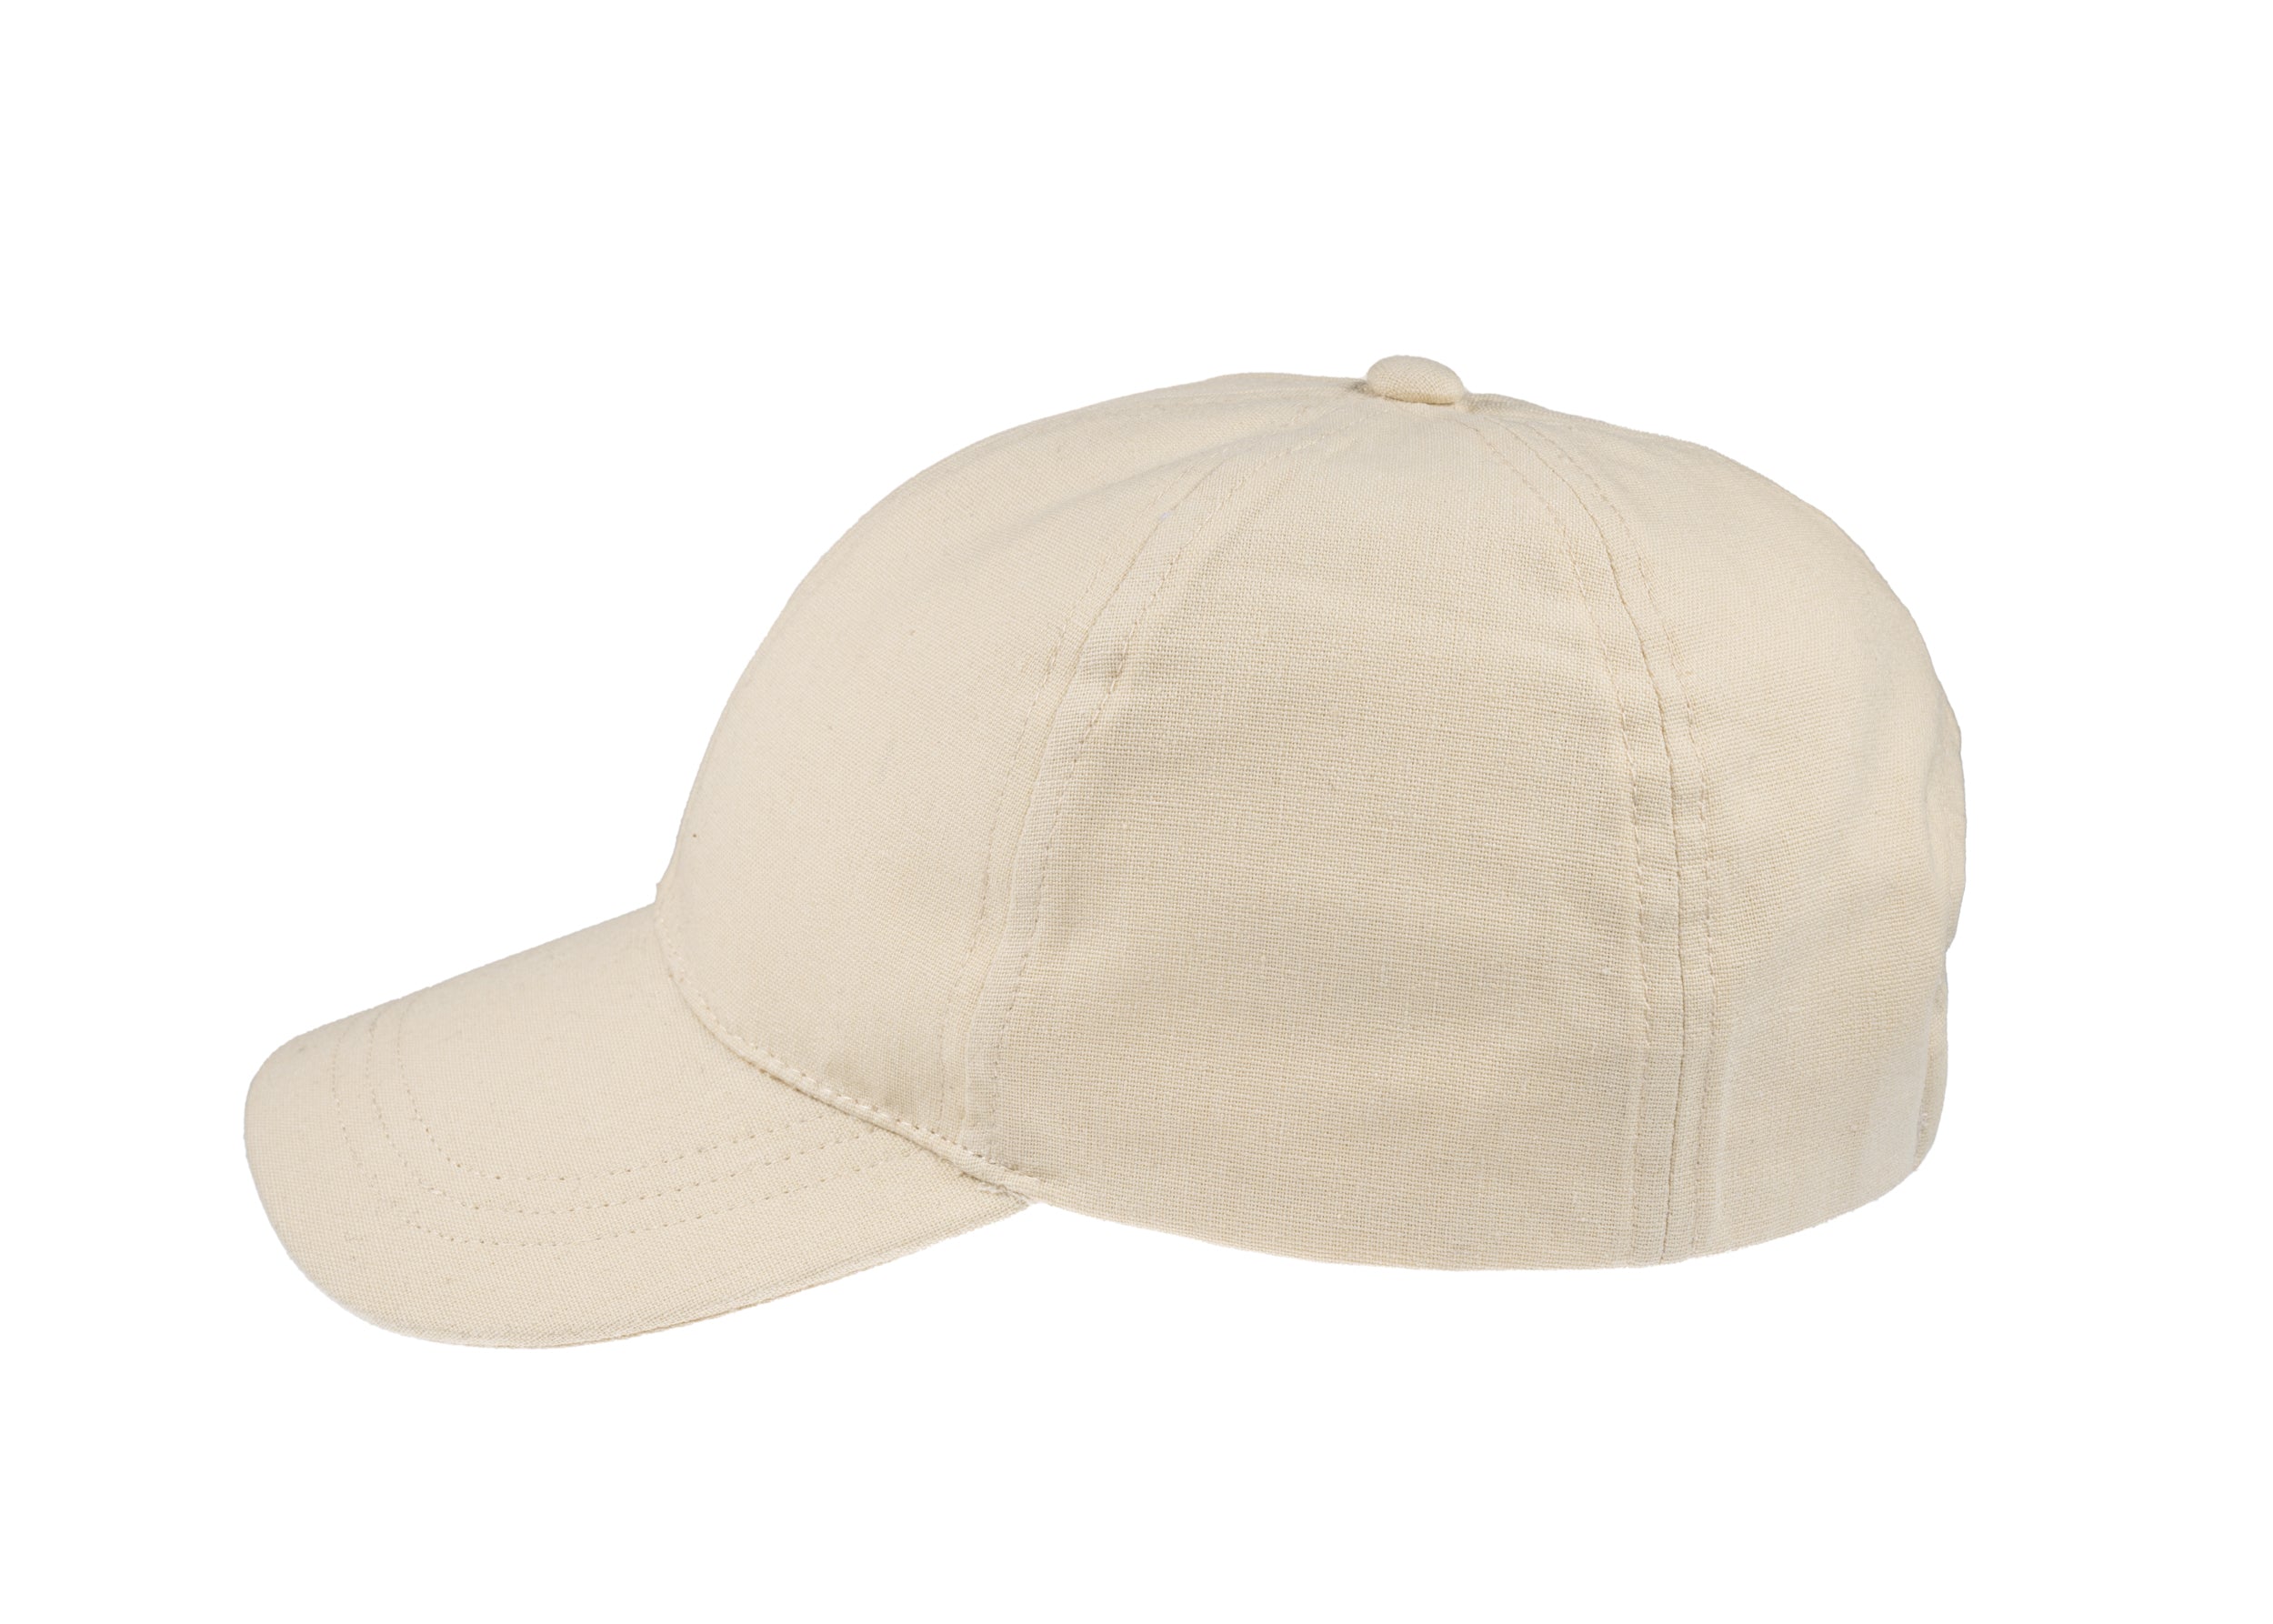




A cap cloth can look promising on the roll and still disappoint once it is cut, pressed and asked to hold a particular silhouette. A pleasant hand does not tell you whether a flat cap will keep its line, whether a baker boy will drape rather than stand away from the head, or whether a peak will remain clean and level. Before valuable yardage is committed to a pattern, hatmakers reduce that uncertainty with small, deliberate checks.
The useful question is whether the cloth’s fibre content, weave, finish and present condition suit this block, this construction and this season. A robust Yorkshire tweed may be expected to support a country flat cap, while a lighter linen blend may be better judged for breathability, weight and peak response in warm-weather headwear. In both cases, a workshop screen is evidence for a cutting decision, not a substitute for a laboratory report or a guarantee of finished-cap durability.

Start with the cap’s job, then prepare representative swatches
Write the target before touching the cloth. Note the cap shape, whether a close flat cap, fuller eight-panel baker boy or another structured cap, the intended season, likely exposure to rain or perspiration, the required peak line, the desired amount of drape, and the planned care route. A cap for country wear may need body and resilience; a summer cap may prioritise low weight, air movement and comfort. The pattern matters too: a long crown, broad peak or fuller panel arrangement places different demands on the same cloth.
Record what the supplier or roll tells you: fibre content, weave or knit, finish, stated weight, thickness, usable width, colourway, batch and whether the cloth has a face, back or nap. Add your own observations about pattern repeat, lustre, slubs, raised fibres and any signs of storage distortion. Mark the selvedges, warp and weft directions, face and back, and take swatches from more than one place if the roll is long or visibly variable.
Keep a control swatch large enough to fold, turn on the bias and place against the pattern. Set aside smaller pieces for moisture, rubbing and pressing checks. Label every piece. Sampling across the roll can reveal bow, skew, shade variation or a local finish that a single attractive area conceals, so the swatch must represent the cloth you intend to cut.

Read the cloth’s structure before asking it to hold a shape
Lay the swatch on the intended grain and compare it with the pattern pieces. Look for bow, where the crosswise line curves across the width, and skew, where warp and weft no longer meet at a true right angle. A small discrepancy can become a visible twist in a crown or a peak that sits off-centre. Check pattern repeats and nap before deciding whether pieces can be turned, mirrored or nested efficiently; a cloth that only looks correct in one direction may require more yardage than the first estimate suggests.
Then test shape response by folding, rolling and gently easing the swatch around a cap block or a similar curved form. Observe whether it springs back, keeps a soft crease, bags at the fold or develops a shine where pressure was applied. Compare lengthwise, crosswise and bias behaviour. Bias often gives more movement, but excessive stretch or poor recovery can let a crown creep out of line. A structured peak may need a cloth that can be pressed accurately without becoming brittle, while a fuller baker-boy crown may need enough pliability to settle into its panels.
Do not confuse weight with stiffness, or stiffness with useful support. Finishing, yarn twist, weave density and surface treatment all affect the result. A dense wool tweed may provide body and a controlled drape; a linen-cotton blend may feel light yet still work with the right peak and interlining. The decision is made against the complete construction, not by ranking one cloth as inherently superior.

Test moisture, surface and making behaviour without overclaiming
First, check dimensional stability against the intended cleaning route. If the cloth is not meant to be washed, do not invent a home-laundering test and treat the result as authoritative; follow the supplier’s care information or ask for clarification. On a labelled test piece, record dimensions before and after the proposed process, then look for shrinkage, skew, bubbling, colour change and a change in handle. The result is a warning about what may happen to the cut cloth, not a prediction of every change in a lined cap.
Next, screen its moisture response. A simple check can show whether drops sit on the surface, spread quickly, darken the cloth or pass through. It cannot establish waterproofing. Water repellency is a surface response and may alter with abrasion, pressing, cleaning or wear; it is not the same as a waterproof construction. Also note drying marks, watermarking and whether the face and back behave differently.
Then assess pressing and making behaviour before cutting. Press a spare piece with the temperature, moisture and pressing cloth appropriate to the fibre and finish. Watch for shine, glazing, seam impressions, colour change, bubbling or failure to retain a fold. If you plan to fuse an interlining, test that combination rather than the shell alone. Stitch a short seam with the intended needle, thread and seam allowance; check fraying, feed marks, skipped stitches, seam slippage, bulk and how readily the allowance turns. Wrap the test around the proposed peak or interlining and assess whether the layers cooperate or fight the intended curve.
Finally, screen surface risk. Rub a marked area with a clean light cloth and inspect for colour transfer, then examine the swatch after controlled folding and gentle handling for fuzzing, pulled yarns, snagging, finish loss or early pilling. These checks are deliberately modest. They flag a reason to pause, change the cloth orientation, add a lining or request better evidence; they do not replace recognised abrasion, pilling or colourfastness methods.
A useful record is simple: write the target, identify the cloth and swatch location, note each observation, and mark the result pass, caution or reject for this particular cap. Keep comments specific: “bias stretches and does not recover”, “pressing leaves a shine”, or “peak layers become too bulky”, rather than relying on an overall impression. Compare candidate cloths against the same pattern and construction, using the performance the cap requires as the standard.
If the decision depends on exact shrinkage, colourfastness, abrasion, pilling, seam performance or moisture resistance, ask the supplier or mill for specifications and the test method behind them. Where the consequence of failure is significant, use a recognised textile method or an accredited laboratory. Formal results describe defined conditions; they still need interpreting alongside the cap block, lining, interlining, peak and care route.
Pre-cut testing cannot reproduce every movement, climate or year of wear. It can, however, expose many expensive surprises while the cloth is still a swatch: distorted grain, unsuitable recovery, unstable finish, awkward seams or a poor relationship with the peak. The cloth to choose is the one whose measured and observed behaviour gives this cap the right line, comfort and resilience for the way it will be worn.