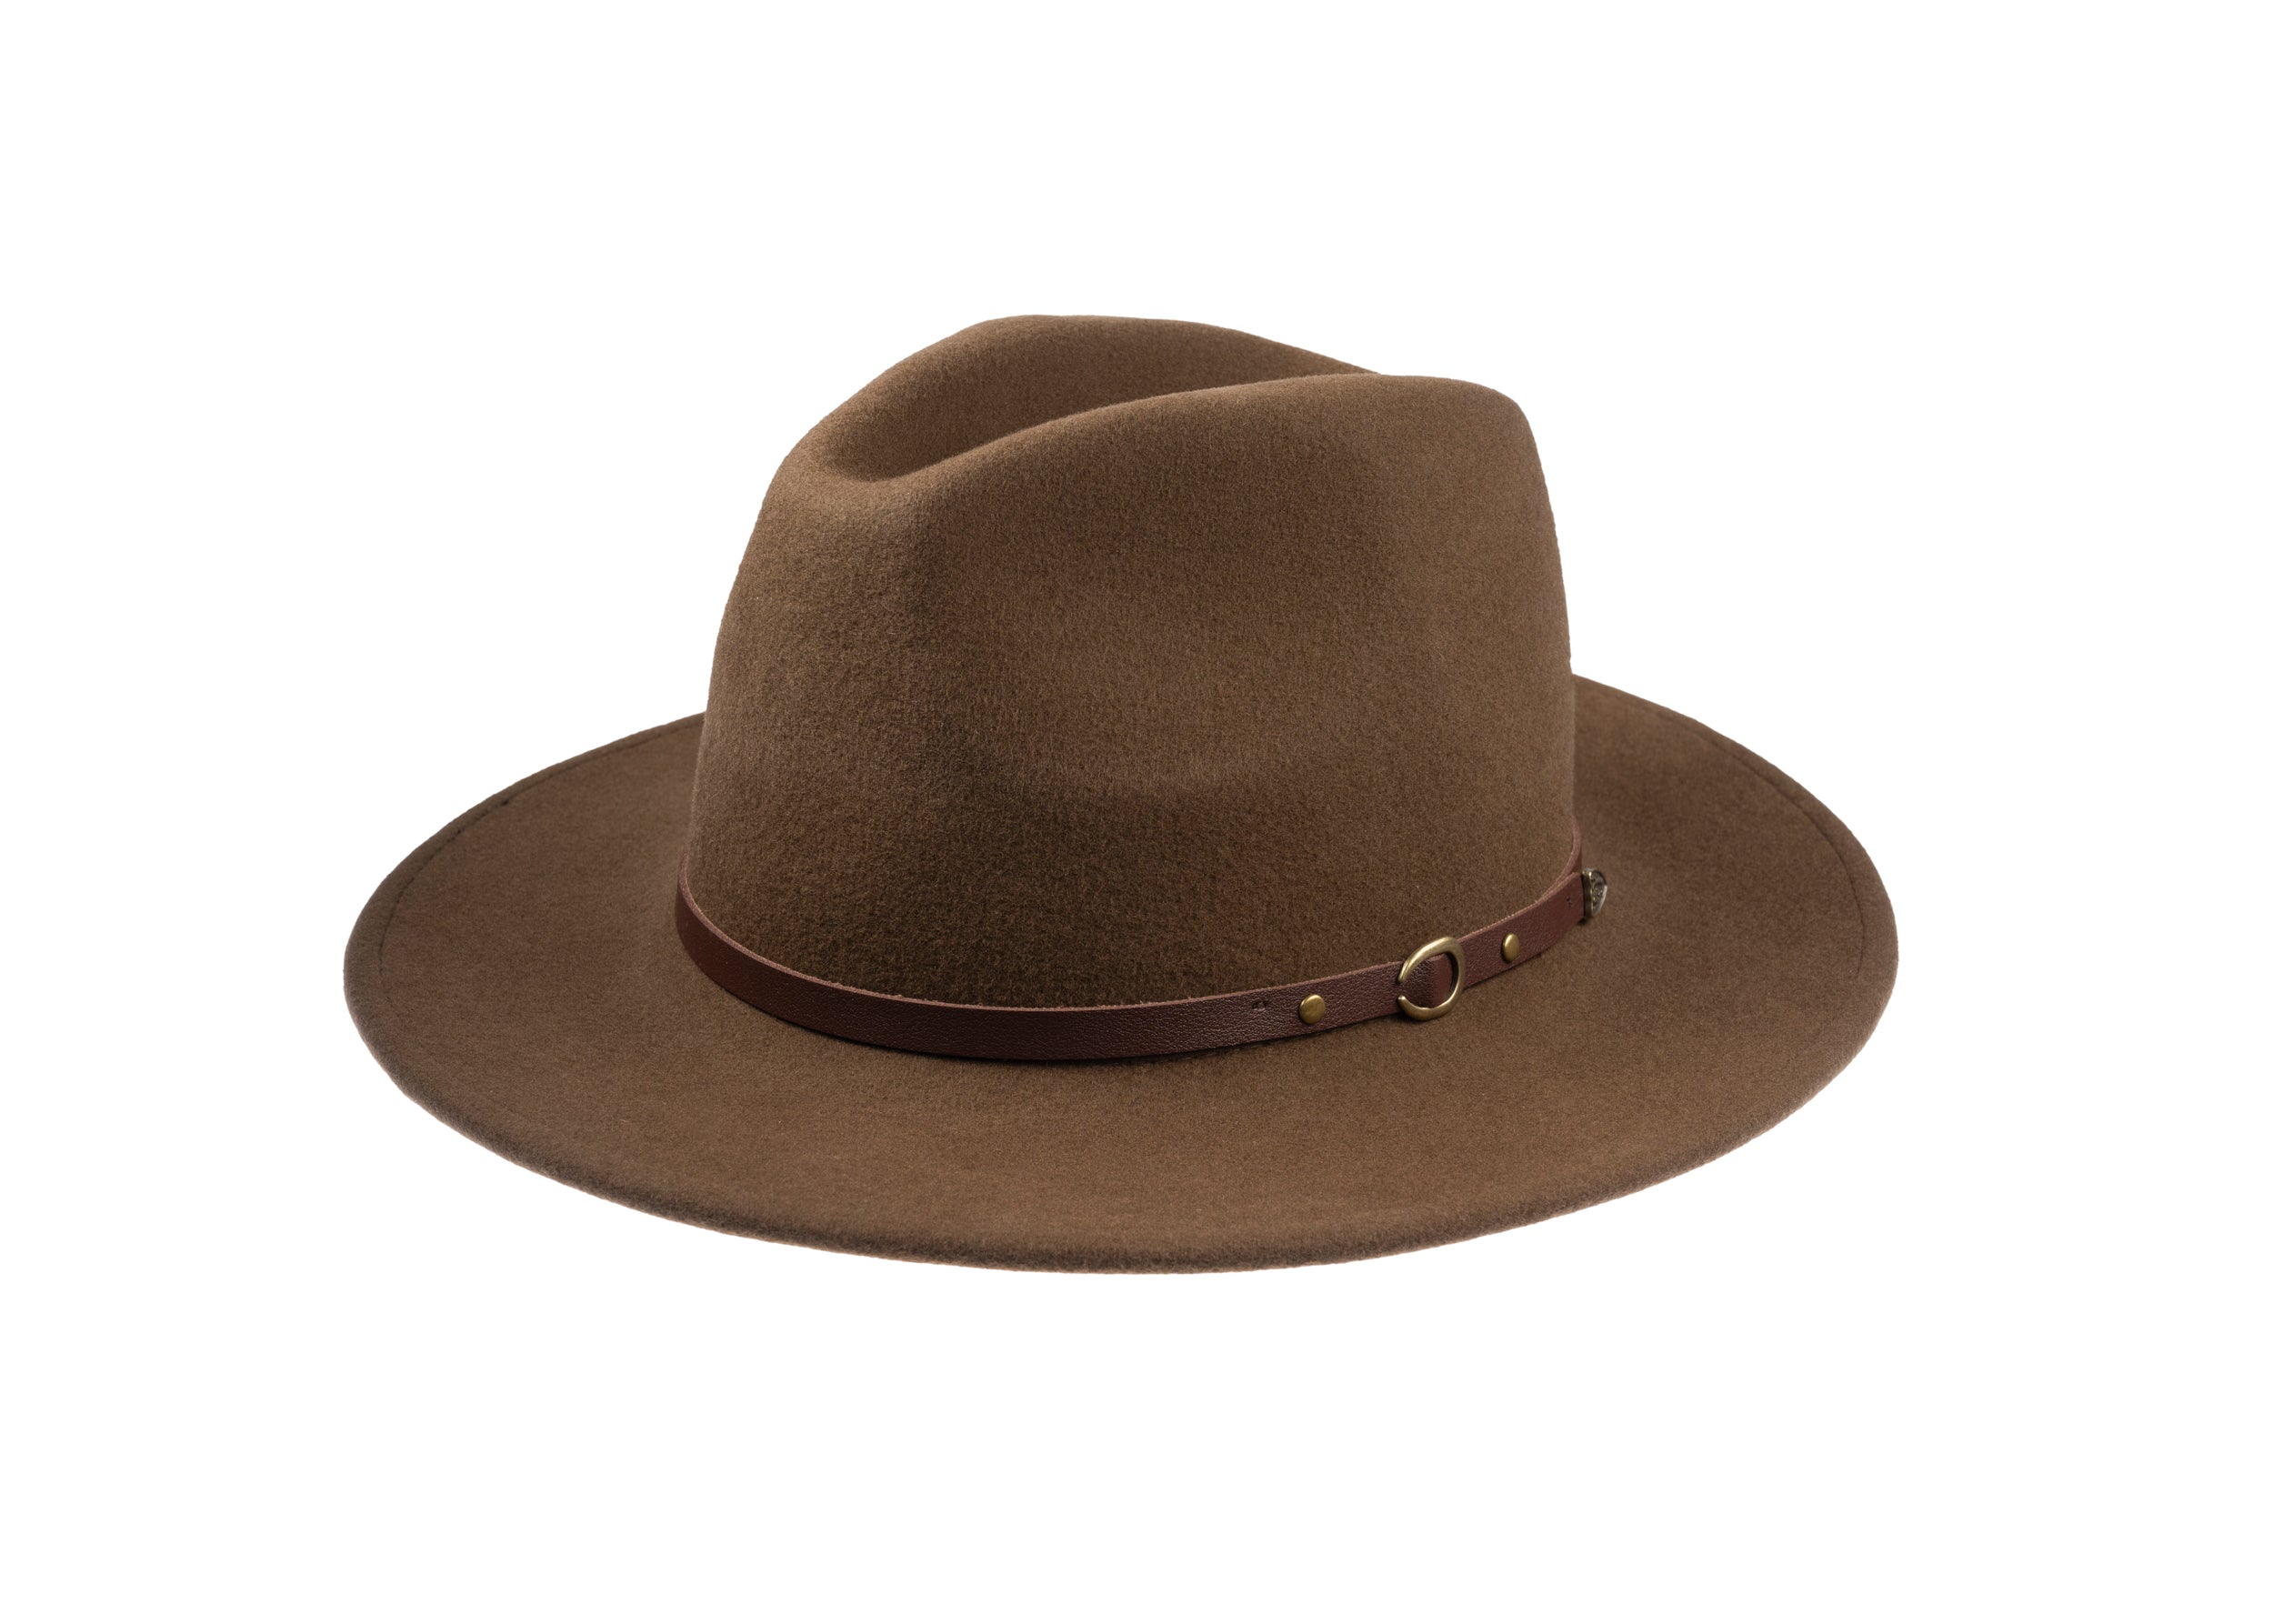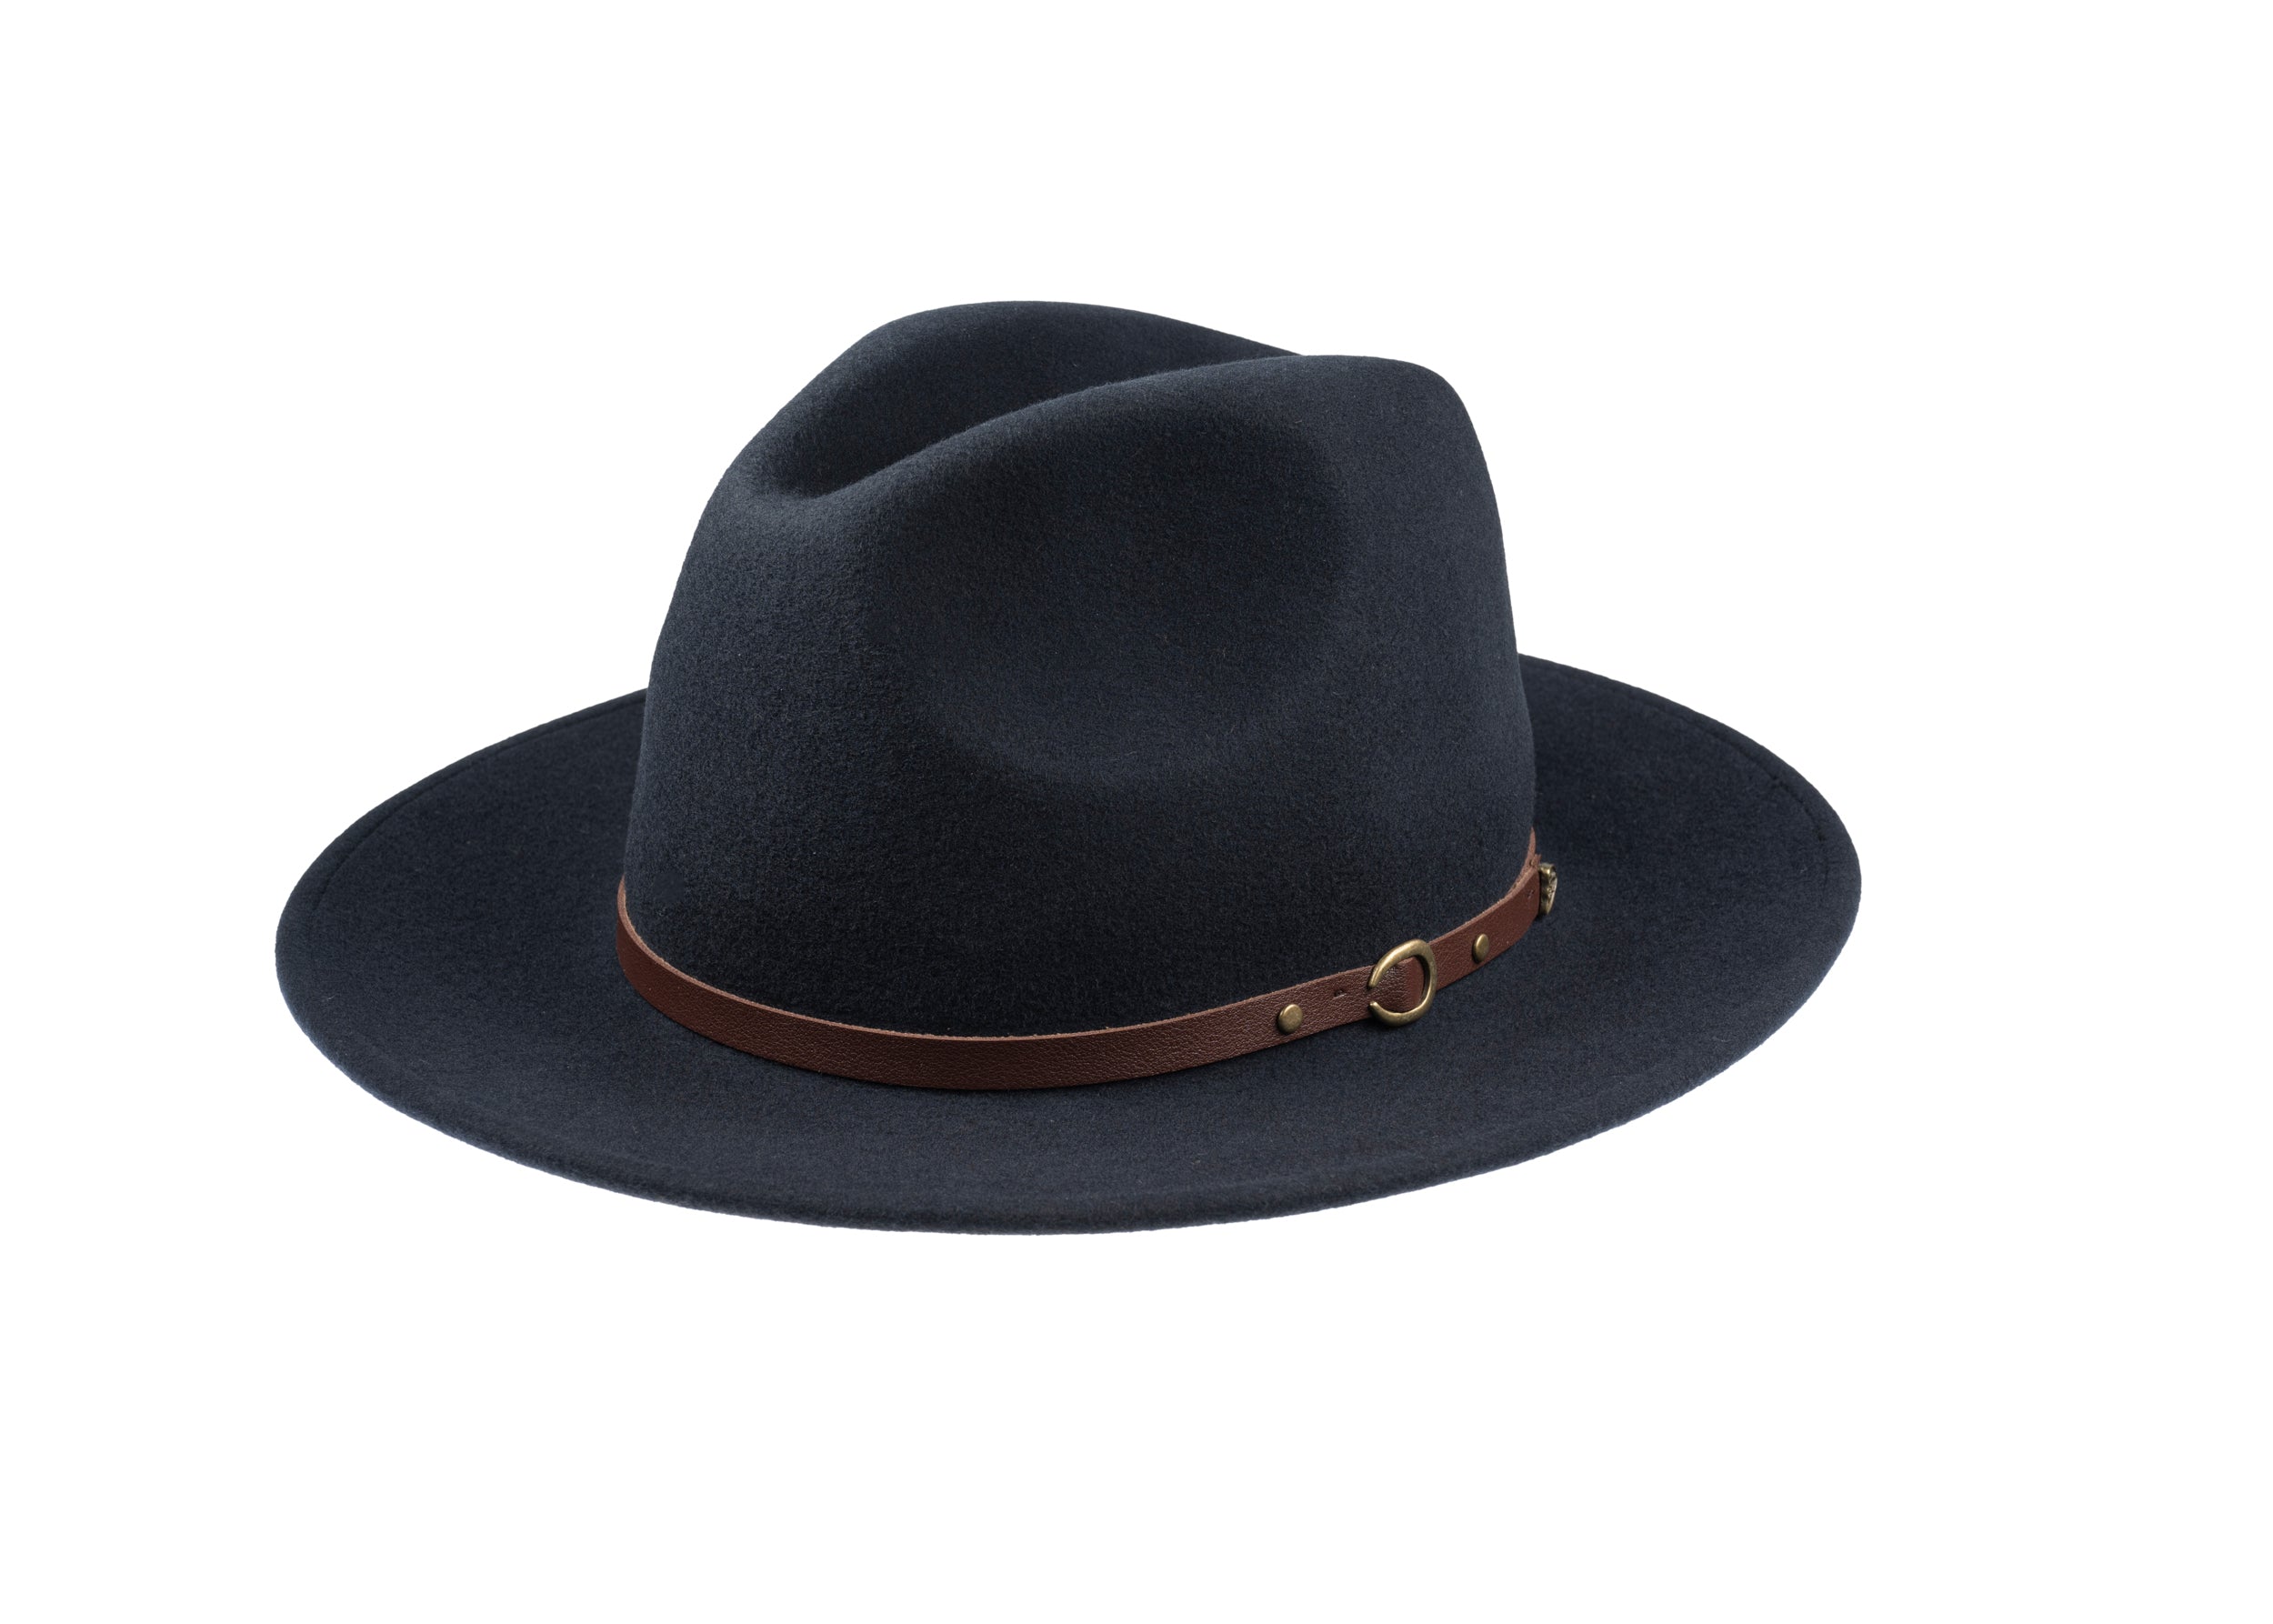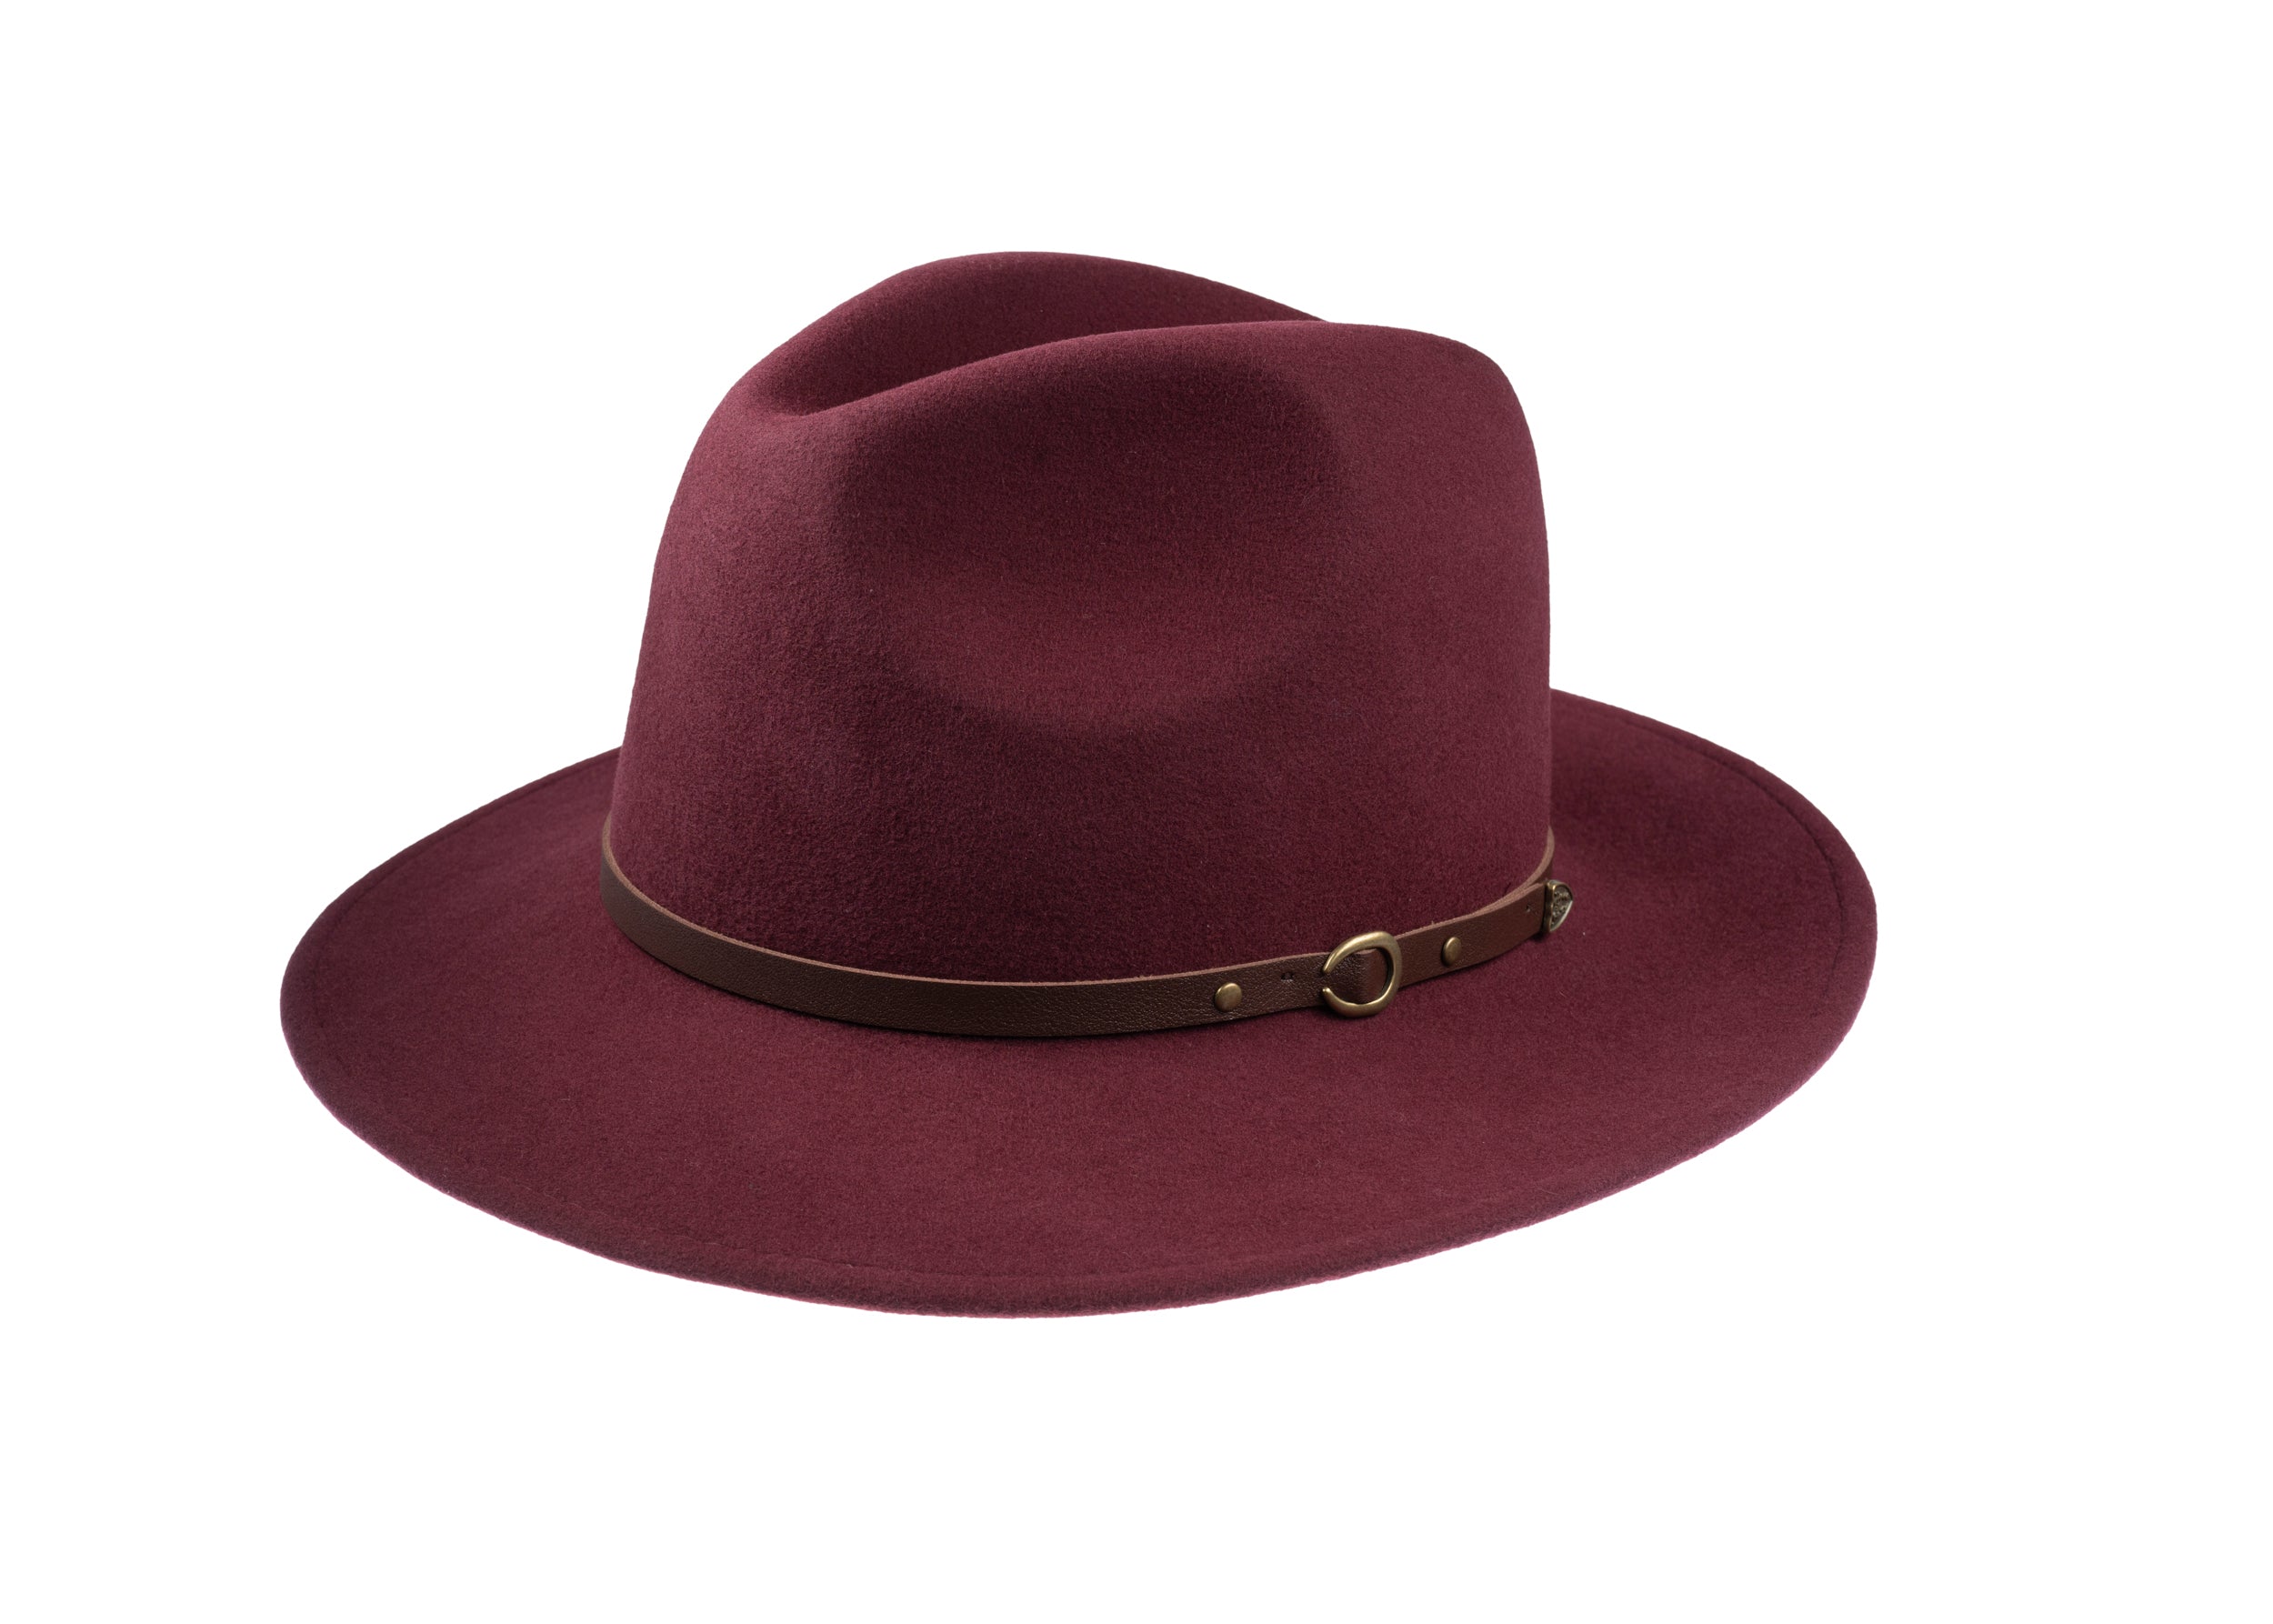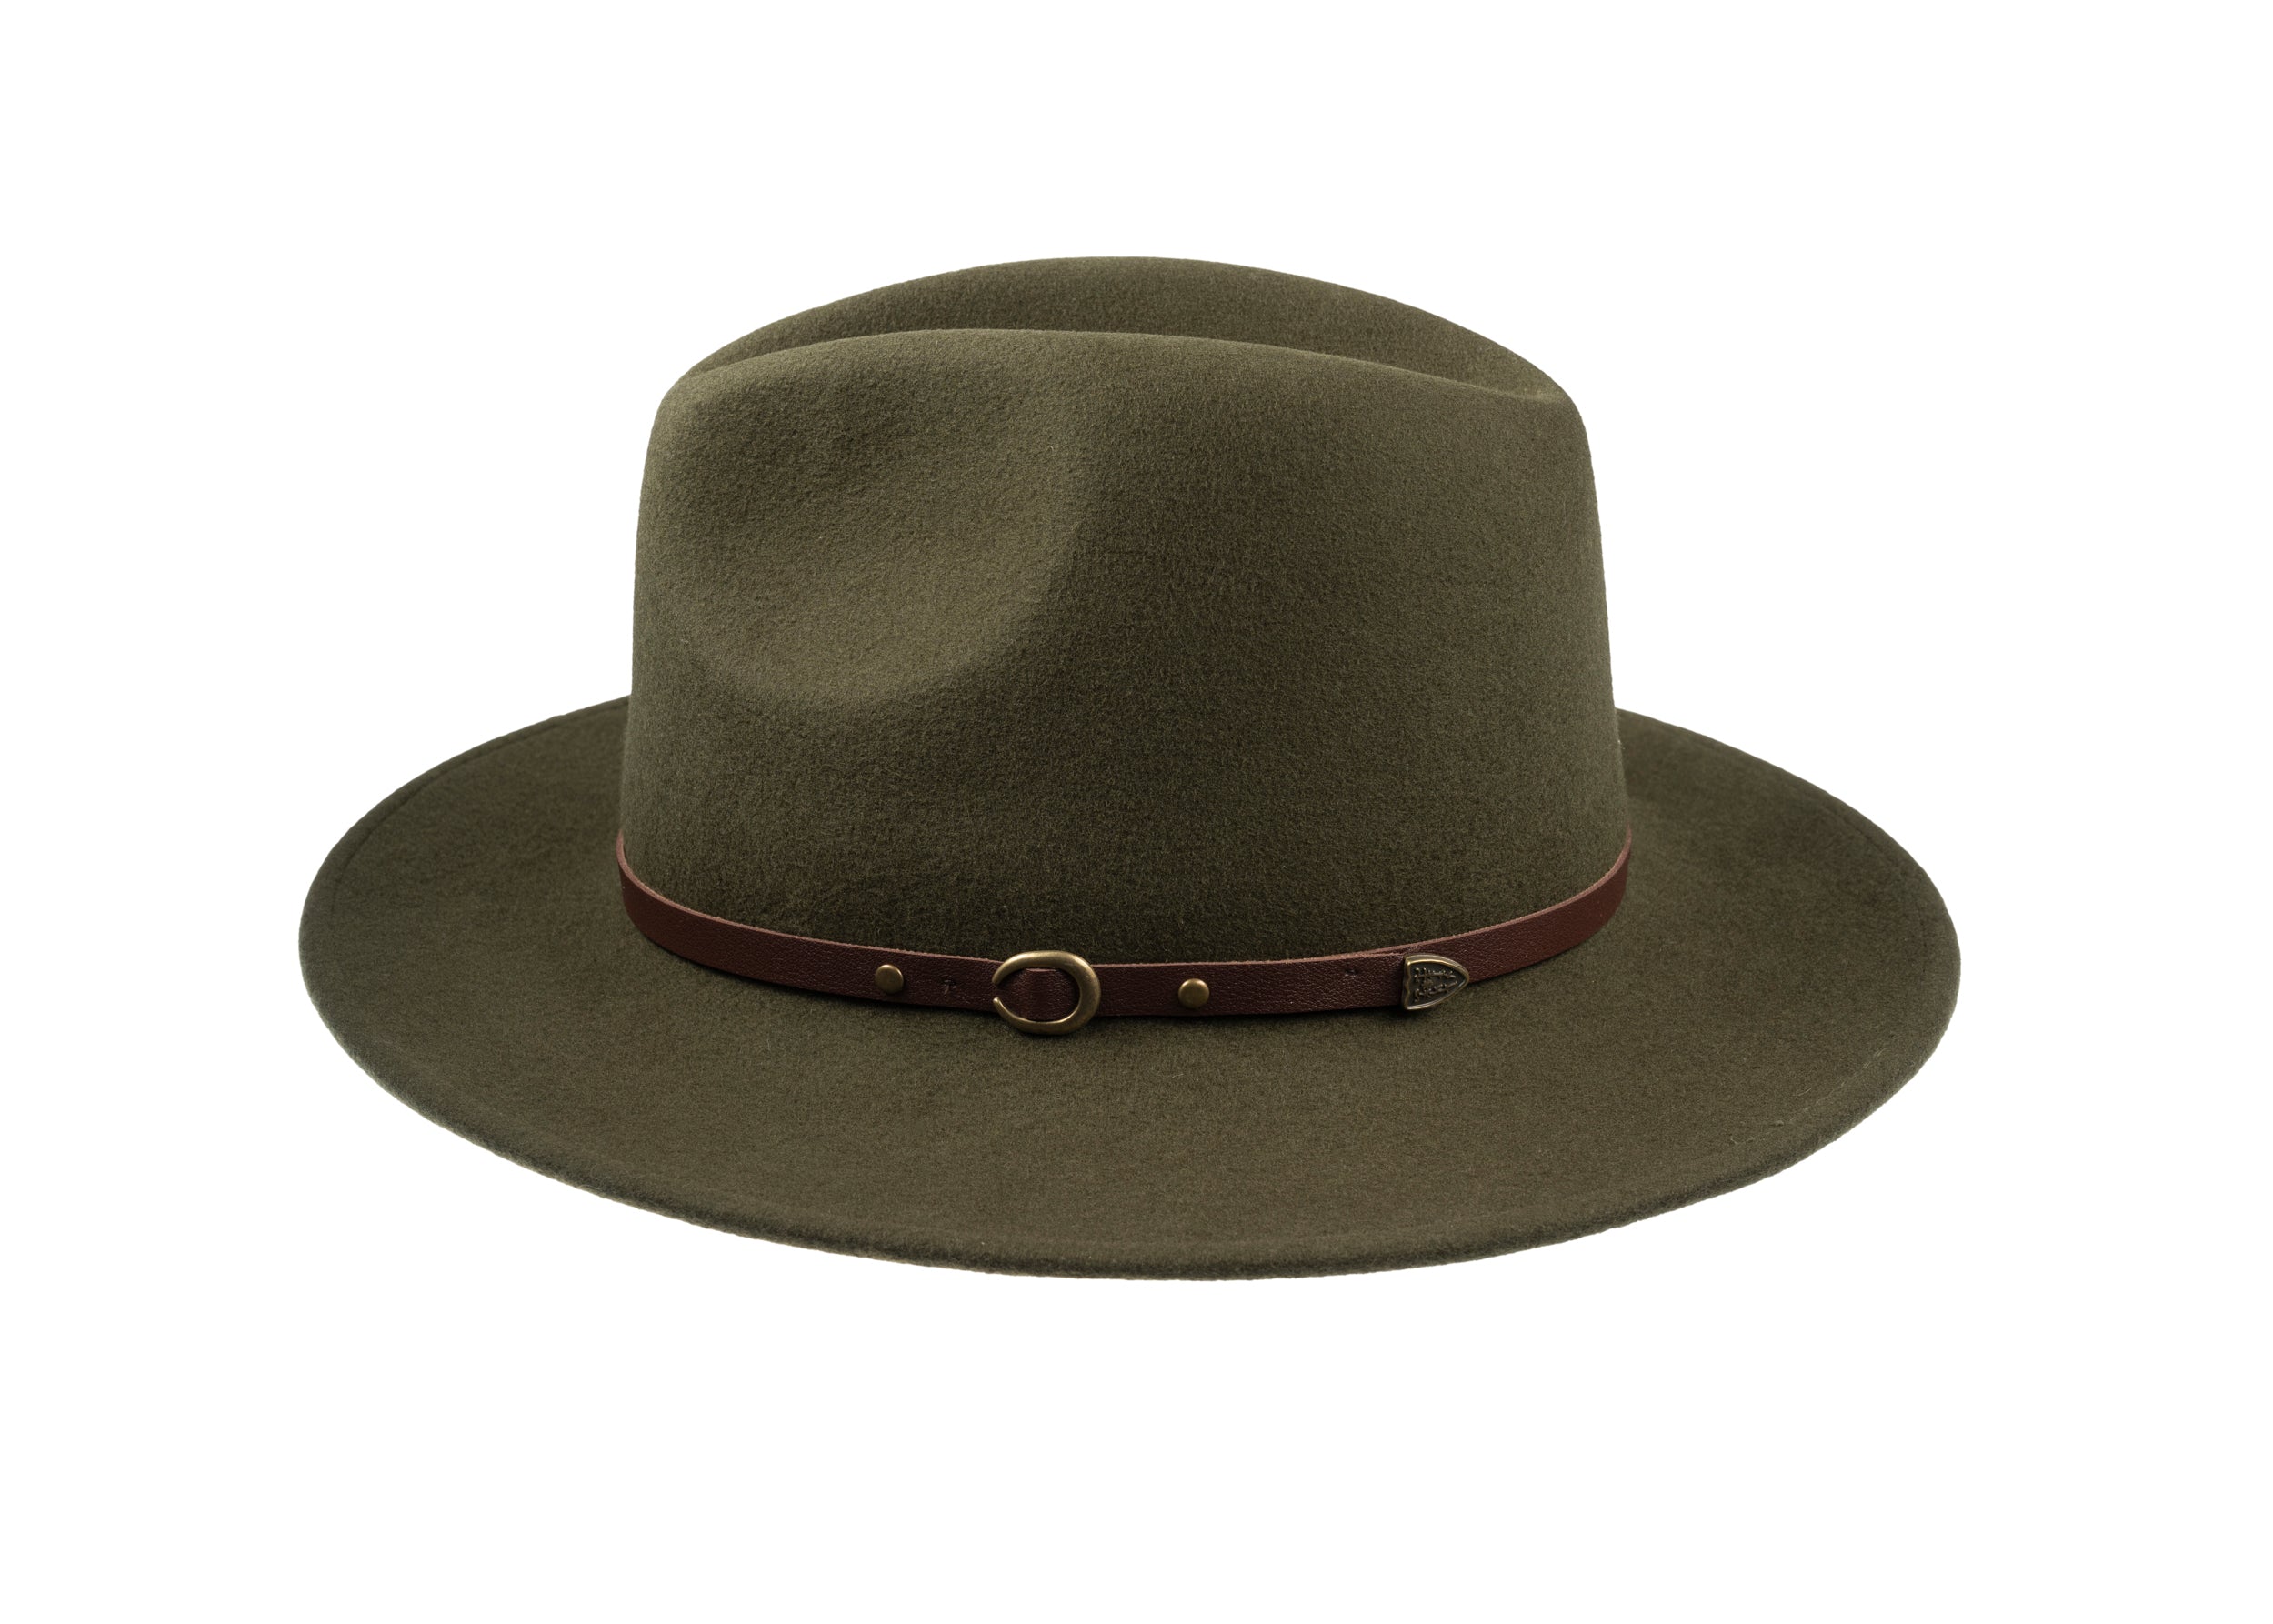


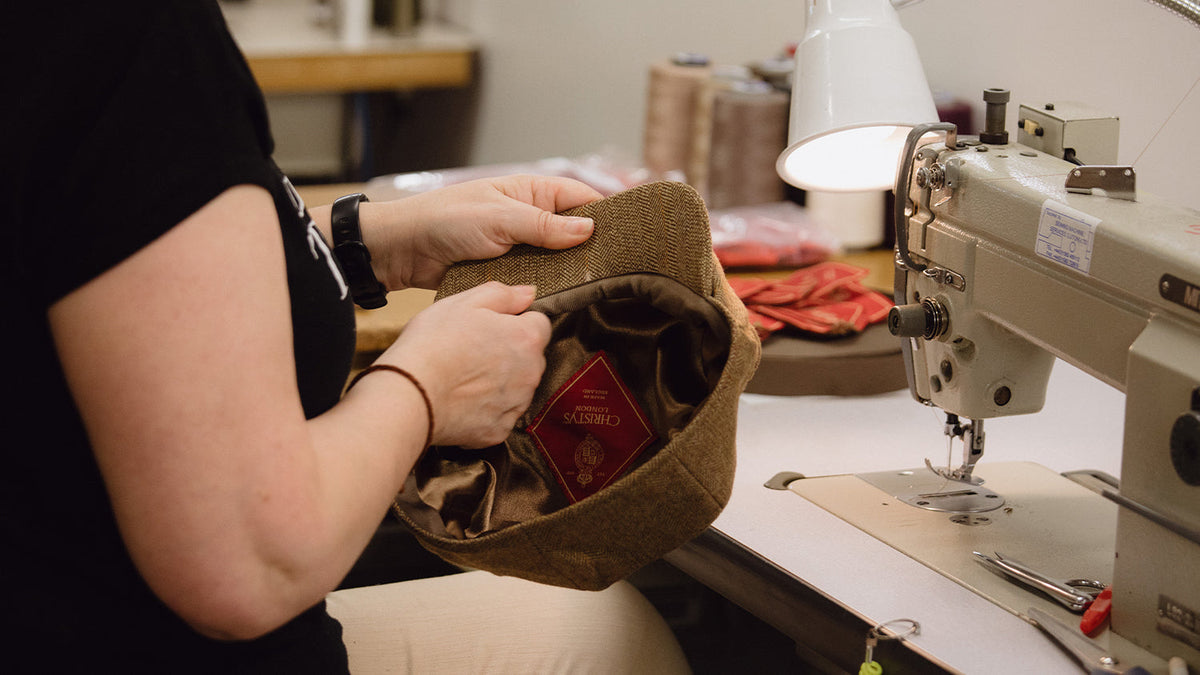
A hand-finished hat is not necessarily a hat made entirely by hand. In practical terms, the phrase usually points to the attention given to shaping, joining, trimming and final checking after the basic components have been made. A hat may combine machine sewing, moulding or pressing with hand-applied details and still be carefully finished. The more useful question is how consistently the whole hat shows deliberate, controlled construction, rather than whether one operation was performed by hand.
Inspect without dismantling anything. Look at the hat in good light, turn it slowly, and use only a light touch where appropriate. Compare several areas rather than treating a heritage label, a high price or one decorative feature as proof of quality. The strongest impression comes from quiet consistency: a coherent shape, clean transitions, controlled edges, well-set trim and an interior finished with comparable care.

1. Begin with the silhouette: crown, brim and shape
Start outside and assess the hat as a whole. The crown is the part that rises above the head; the brim is the projecting lower edge. A blocked hat has been formed over a mould, or block, so its intended geometry should read clearly. On a structured felt hat, check that the crown sides do not wander, the front and back agree, and any crease or indentation meets cleanly. A brim should follow a convincing line for its style, without sudden dips, accidental waves or a visibly uneven join to the crown.
This does not mean every hat should be rigid or perfectly symmetrical. A soft cloche, a relaxed trilby and a fuller bakerboy are designed to move differently. Judge whether the shape looks intentional and proportionate, and whether it remains balanced when viewed from the side and rear as well as in a product photograph. Christys’ Bourton Wool Felt Hat is a useful example of a model-specific test: its circular crown indentation should look like an even, deliberate press, while the separately shaped crown and brim should meet neatly. That is an example, not a rule for every felt style.
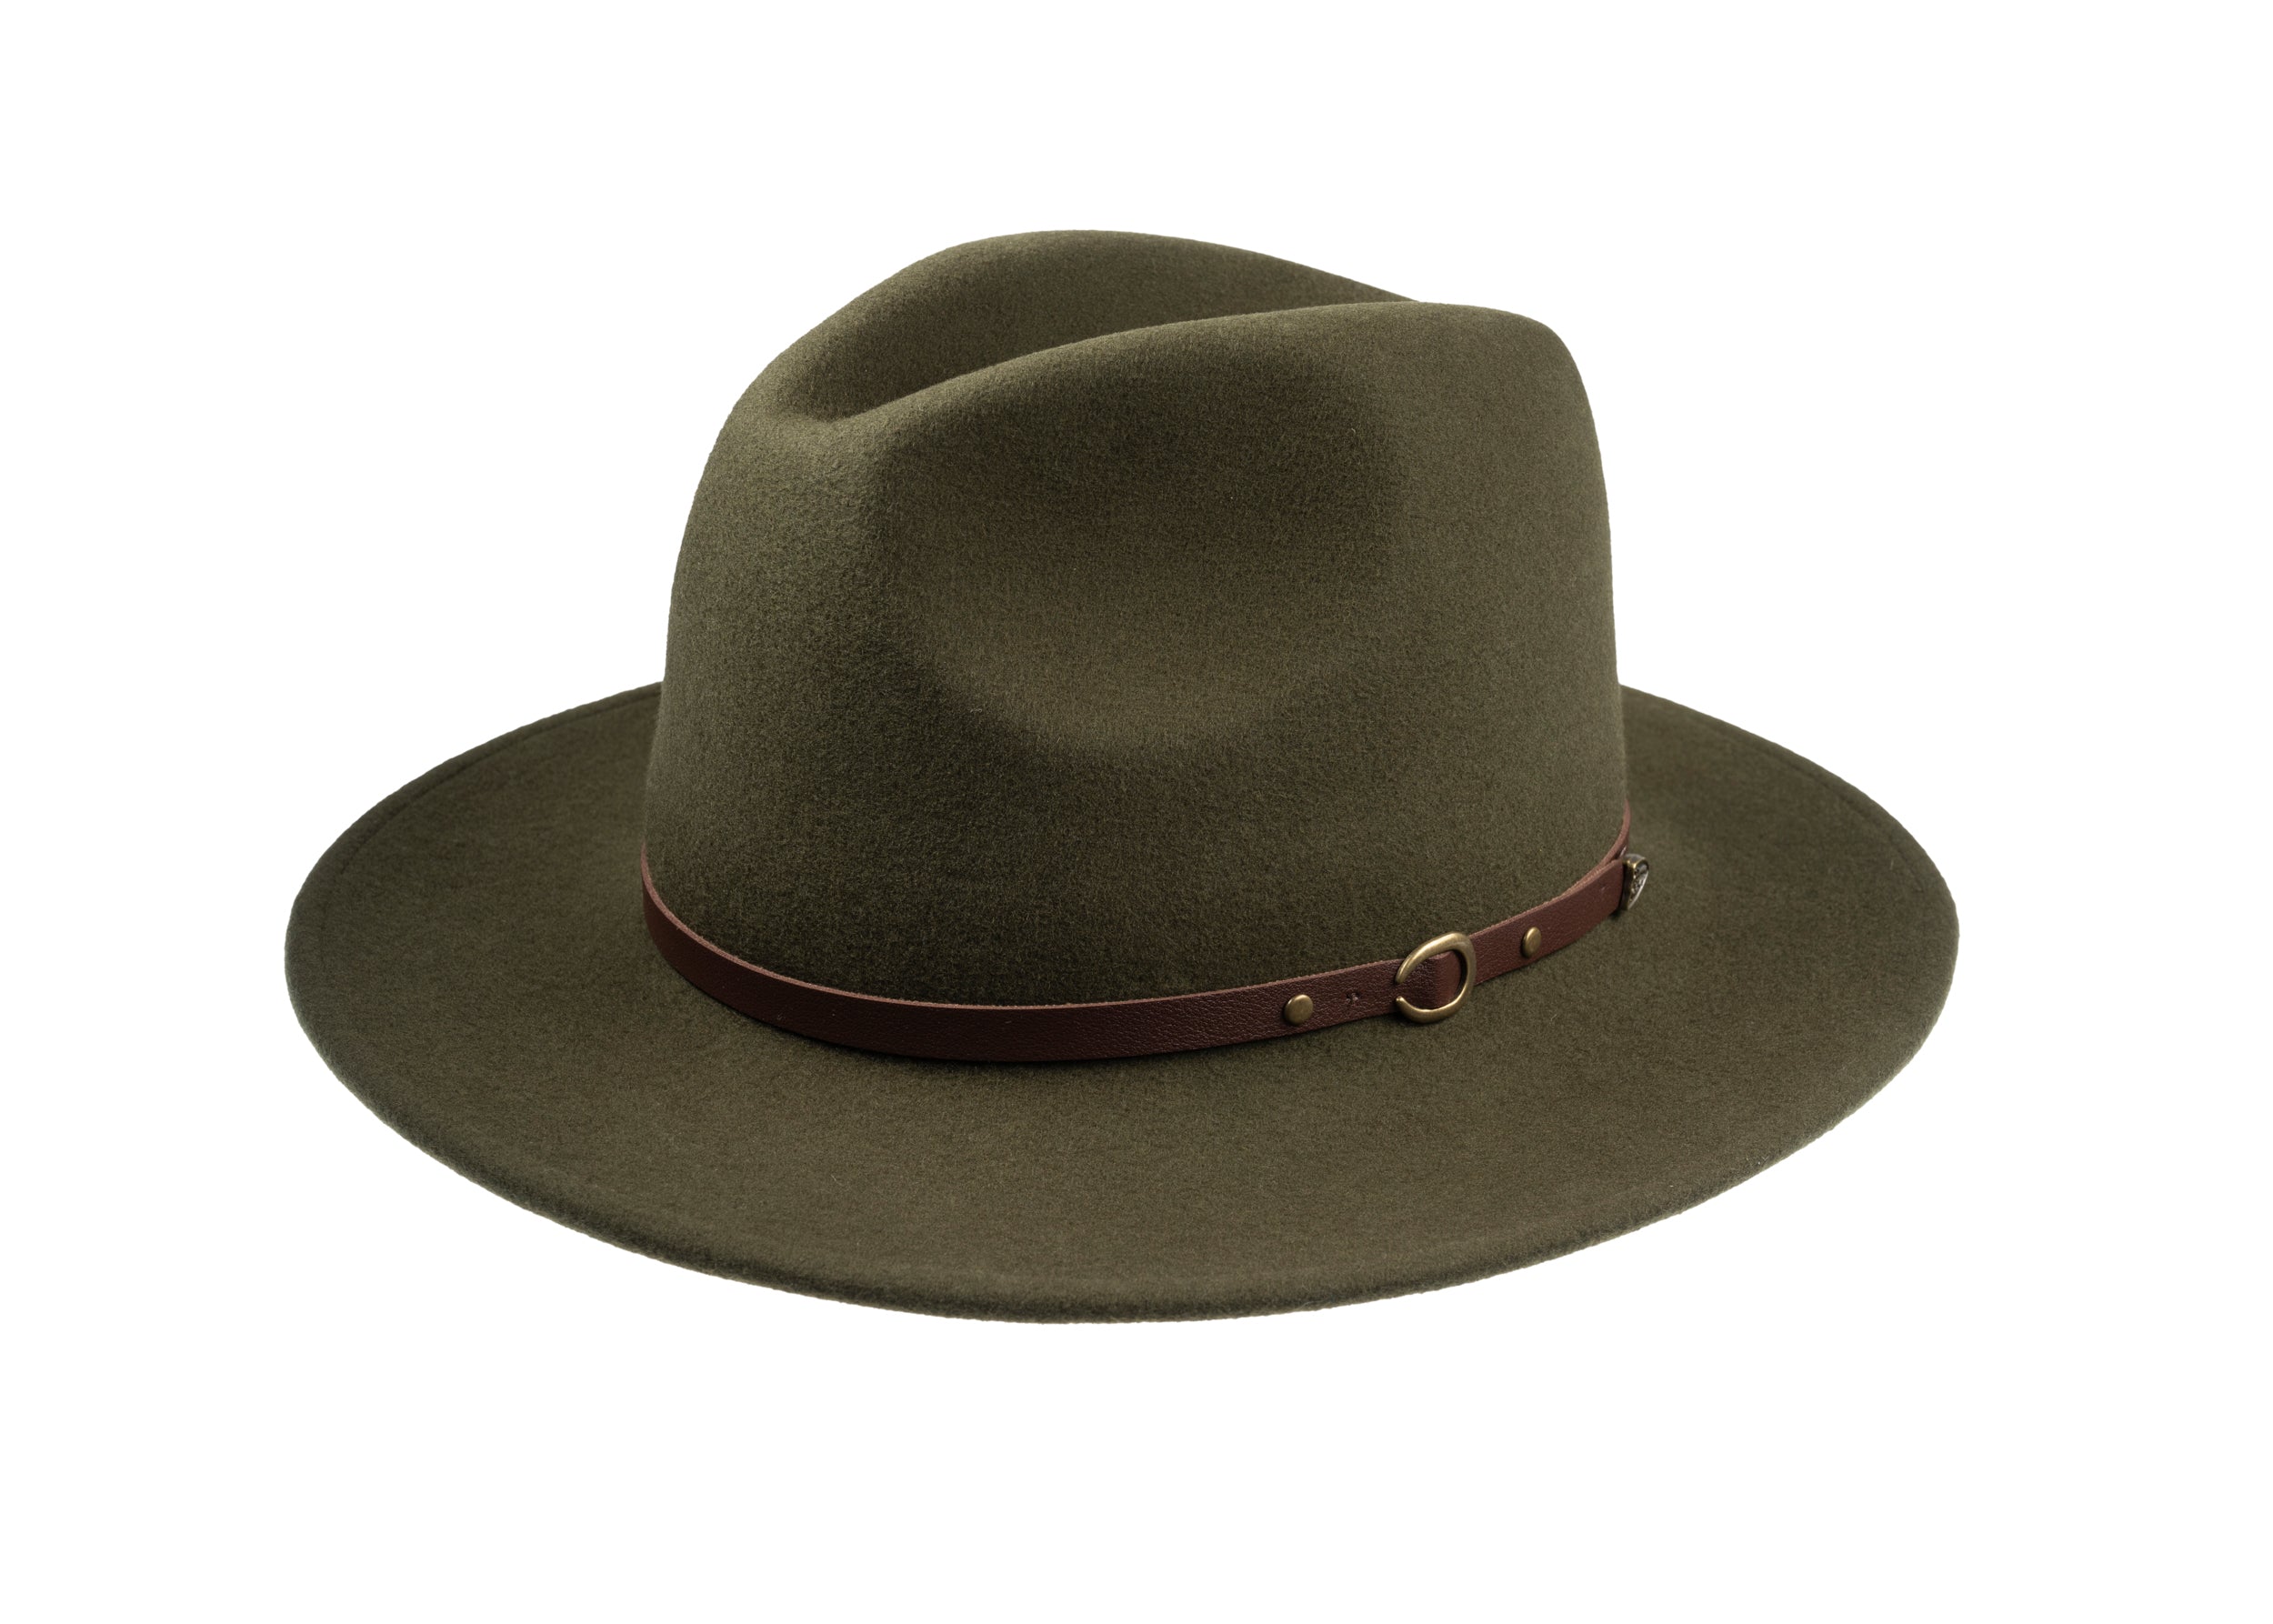
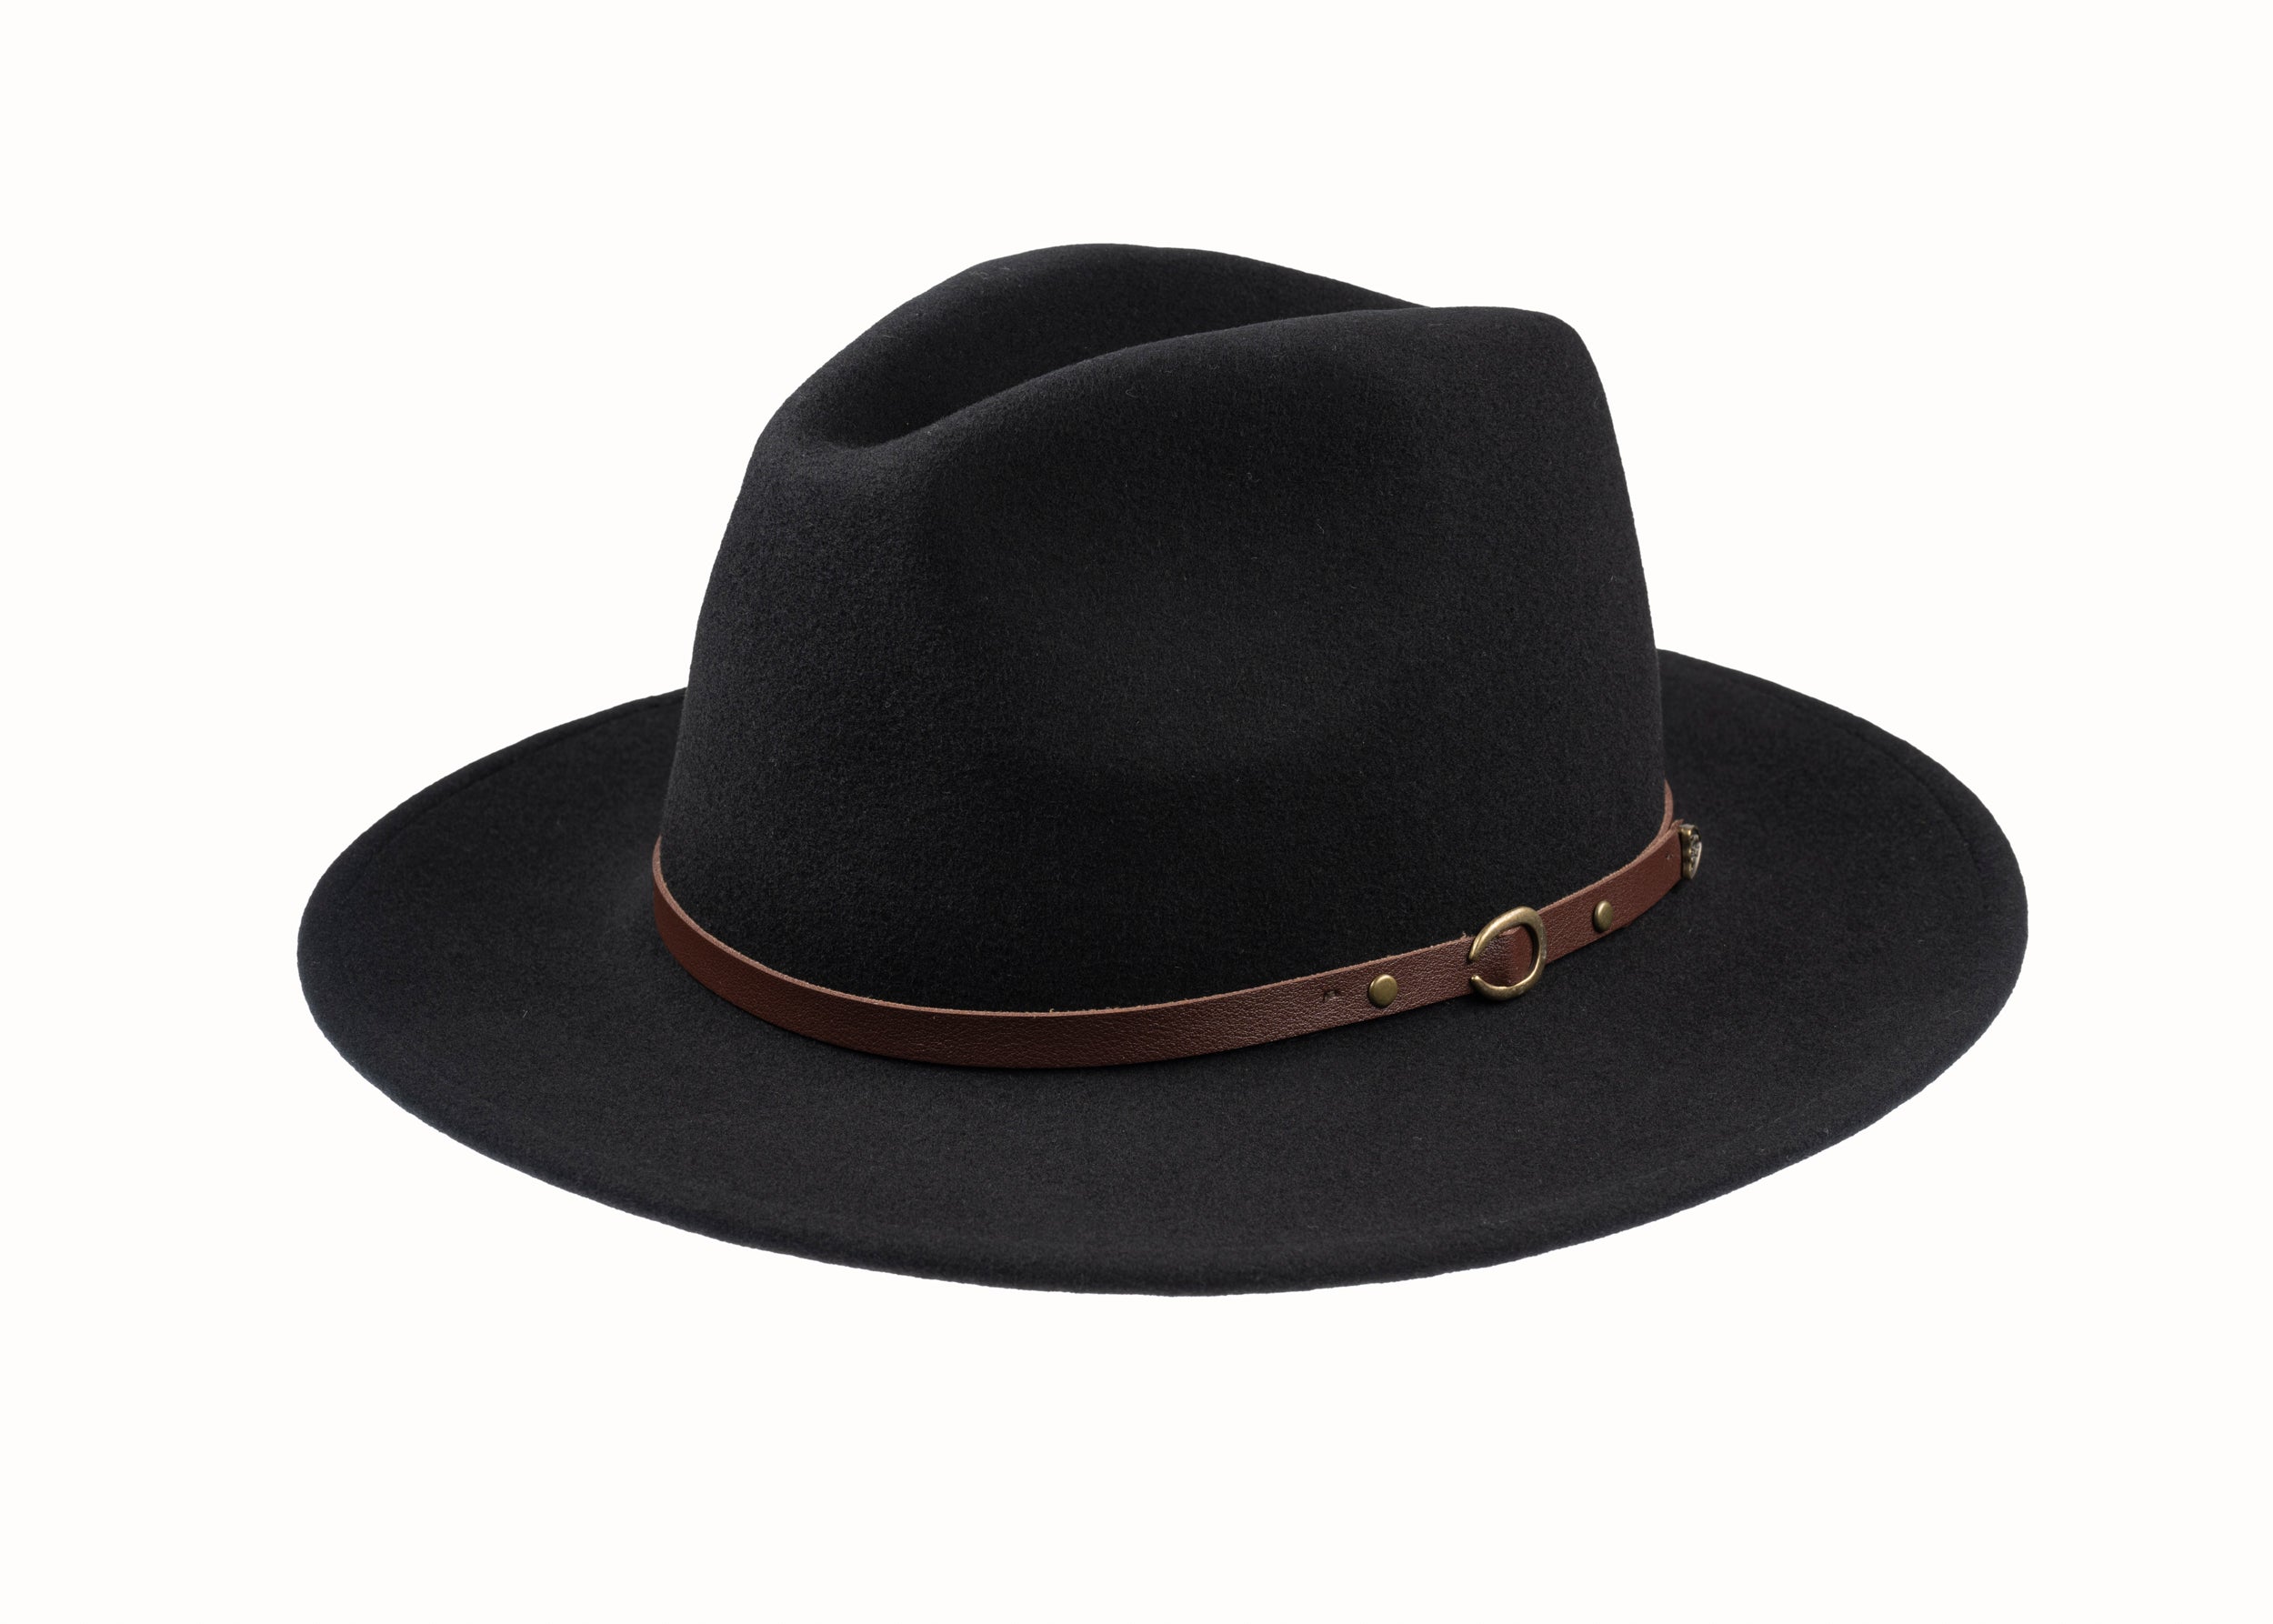
For a second felt comparison, the Chepstow Wool Felt Fedora Hat has straight-sided geometry, distinctive pressed ‘eyes’ and a medium brim with a clean-cut edge. Look for the clarity of those transitions and for a brim edge that remains controlled around the circumference. A small variation may come from the material or the intended softness; a repeated collapse, crushed area or abrupt change of line is more likely to need explanation.

2. Read the material and surface without ranking it
Material changes the clues you should expect. Wool felt may have a softer, more matte hand and visible nap; fur felt can feel smoother and denser; toquilla straw should show a coherent weave and a degree of natural pliability. None is automatically ‘better’. Feel for an even surface, sound recovery and a finish suited to the style, rather than equating softness with quality or stiffness with durability. Run clean fingers lightly over the surface only; do not rub aggressively or test the hat with moisture, heat or force.
On felt, look for a consistent nap and colour, with no unexplained glossy patches, bald areas, deep dents or loose fibres. Natural variation is not the same as poor finishing: a subtle change in texture can belong to the fibre or brushing. Concern is more justified when the variation interrupts a design line, exposes an unfinished edge or appears alongside distortion. The same principle applies to fur felt and wool felt: compare like with like, and use the maker’s material and care information to interpret what you see.
A Panama needs a different inspection. The Capri Panama is described as woven in Ecuador from a Grade 1 woven hood, then shaped and finished in England. Look at the weave for an even rhythm, secure-looking transitions and no broken or pulled strands; then inspect whether the finished trilby silhouette is composed and the turned-up brim is consistent. Handwoven straw can carry small variations, while a loose section, split straw or forced crease suggests damage rather than character. A Panama’s pliability is part of its material nature, not permission to fold or crush it.

3. Inspect trim, lining and cap construction
Treat ribbon, band, bow, pin and other trim as construction zones, not just decoration. Check that a band sits level with the crown, keeps a steady tension and follows the curve without puckering. A bow or join should be placed deliberately, with controlled ends and no obvious adhesive seepage, bulky knot or loose thread. A pin should sit securely and proportionately. Neatness matters, but perfectly uniform machine stitching is not automatically superior to discreet hand stitching; the question is whether the trim is secure, balanced and appropriate to the hat.
The sweatband is the strip that sits against the head; it may be leather, fabric or another specified material. It should lie smoothly, without uncomfortable ridges, exposed raw edges or sections pulling away from the crown. A lining should be settled rather than baggy, twisted or visibly strained. An internal label can confirm model, material or maker information, but it is evidence about identity and specification, not proof of hand finishing. If product photography does not show the interior, ask the maker for relevant details instead of guessing.
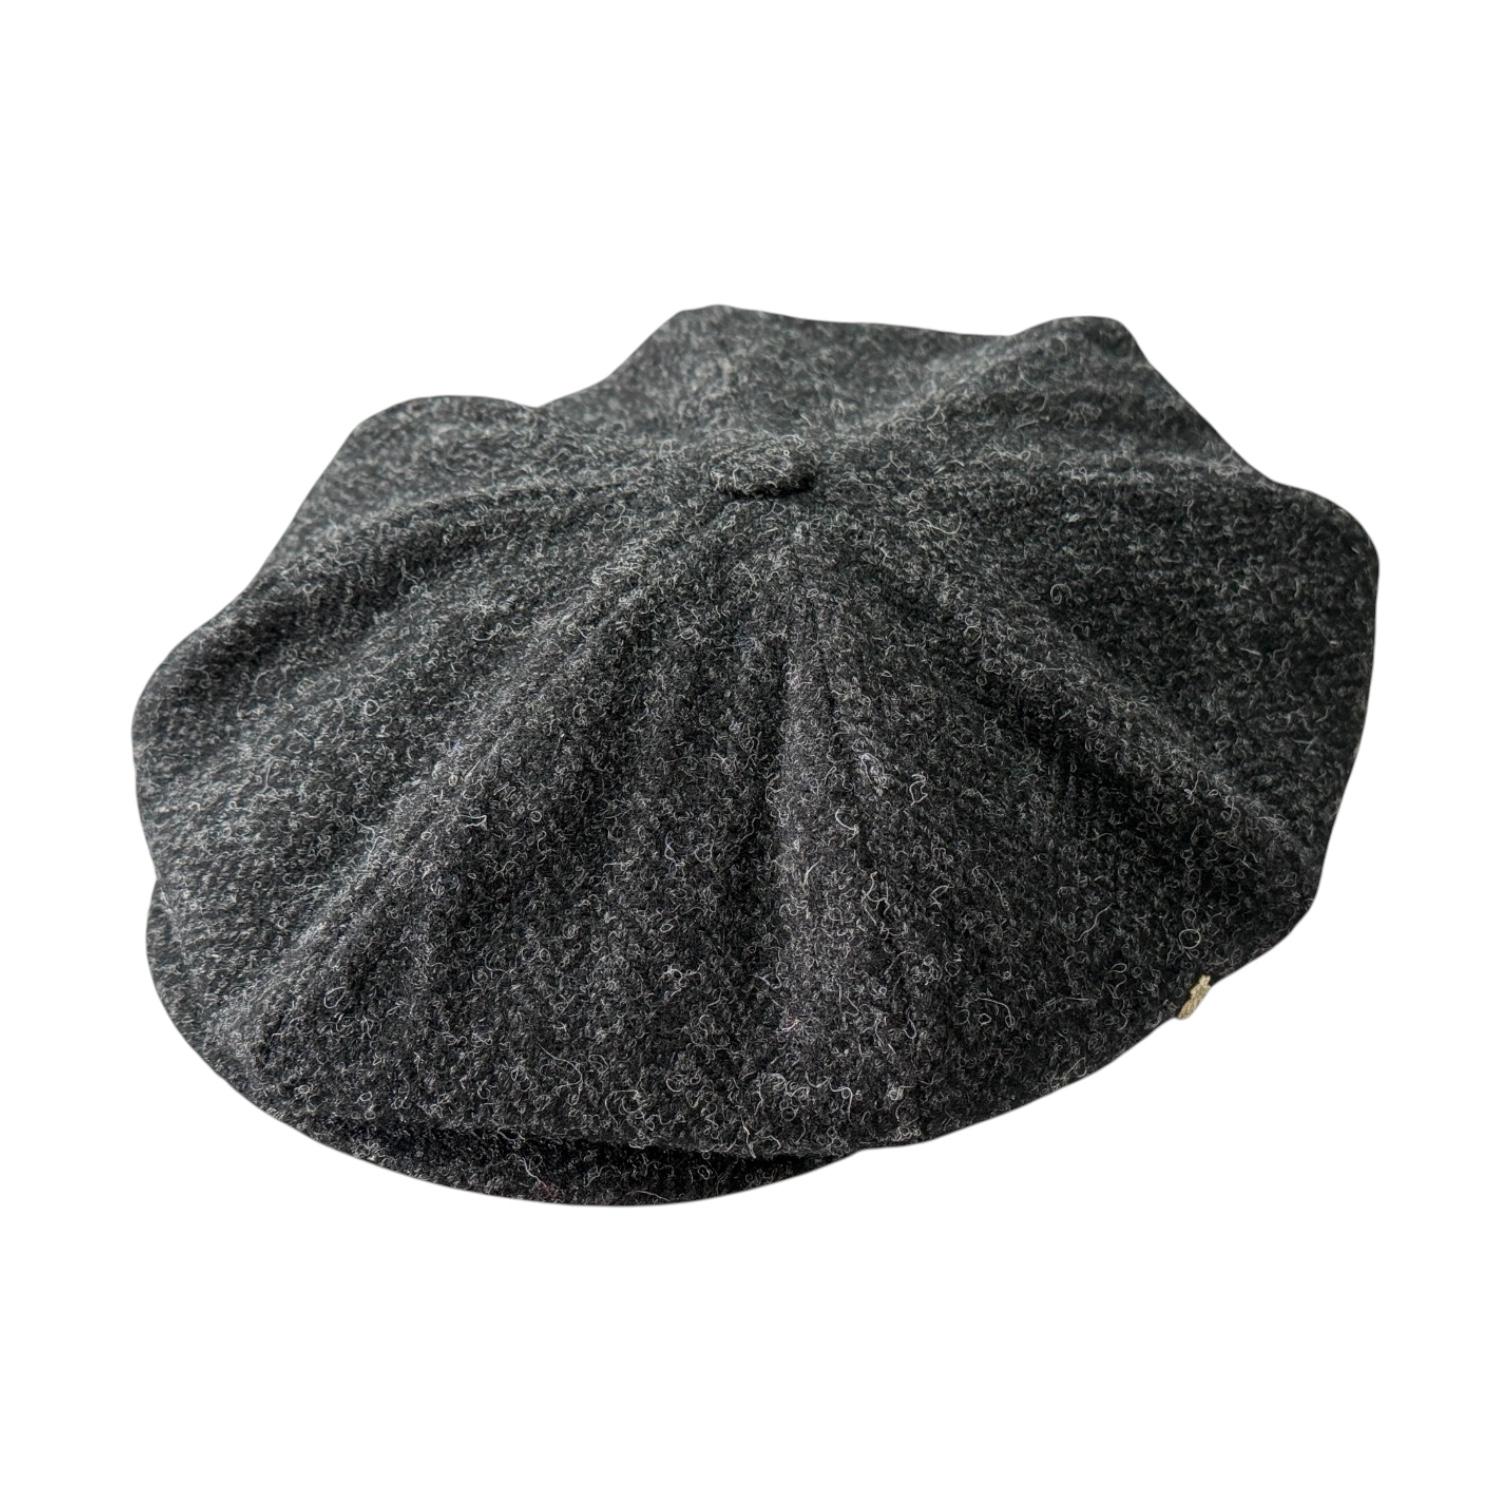
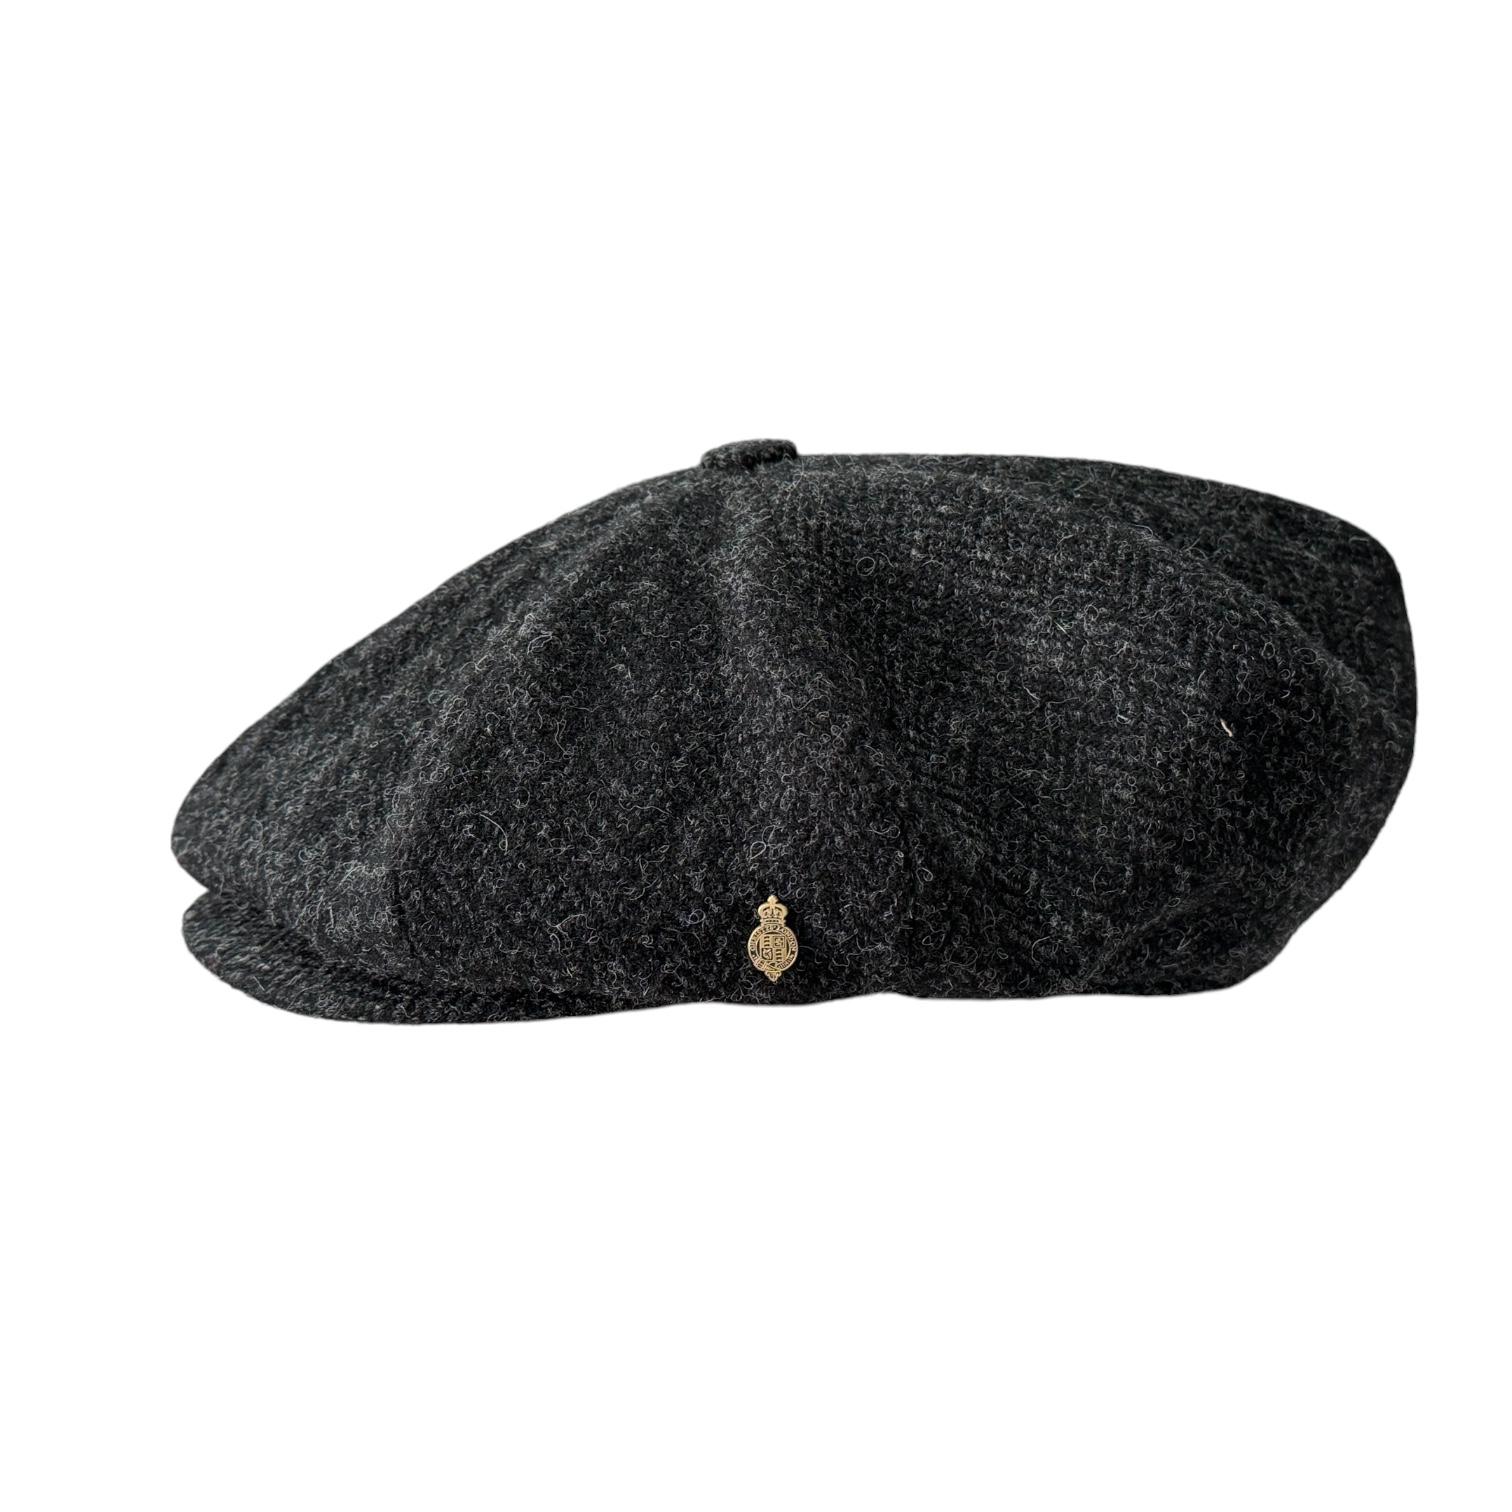
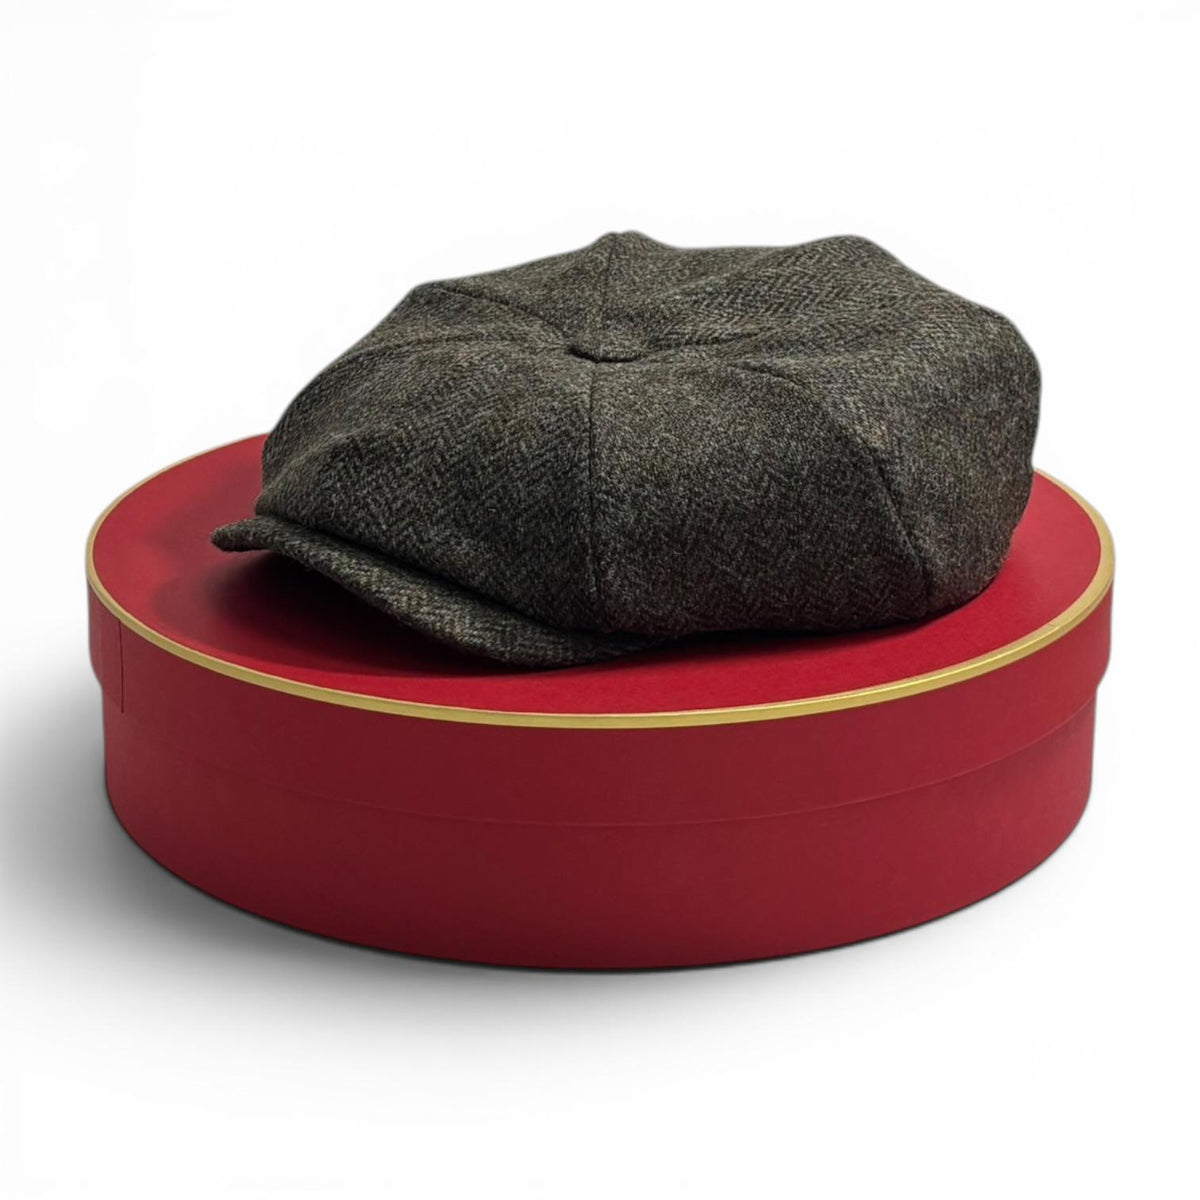
On a flat cap, inspect the peak attachment, top-stitching, panel joins and the way the body sits from front to back. On a bakerboy or newsboy cap, look at the meeting of the panels, the button top, the peak and the flow of any check or herringbone pattern. Pattern matching need not be exact at every curve, but an abrupt break at a prominent join can reveal rushed cutting or assembly. The Windsor Yorkshire Tweed Flat illustrates style-specific clues: precise top-stitch detailing, a smooth satin lining and a longer crown profile intended to drape while remaining neat at the rear. Do not expect those details on every Christys cap, or expect a soft eight-panel crown to behave like a flat cap.
Frequently asked questions
Can one detail prove that a hat is hand-finished? No. A clean edge, slight stitch variation, a leather sweatband or a maker’s label is only one clue. Consider several details together and compare them with the product description.
How should I compare hats across different styles? Use the same broad sequence—silhouette, material, trim, interior and points of assembly—but change the specific test for the object in front of you. A structured fedora should hold a coherent blocked shape, while a soft cloche or panelled cap may show a more relaxed line. Suitability and consistency matter more than identical finishing details.
When should I rely on product information? When the material, origin, lining, sweatband, care method or construction cannot be established visually. Product photography may omit important interior details, and a maker’s specification is more reliable than inference from appearance alone.
A useful inspection is comparative rather than absolute. Check the silhouette, material, trim, interior and points of assembly together, then ask whether the hat’s finish suits its purpose and whether the maker’s information supports what you can see. The goal is to recognise considered construction rather than search for a flawless laboratory specimen, and to avoid mistaking marketing language for evidence.