


On set, a flat cap must register as a character, endure long takes, and withstand continuity checks beneath studio lights. How do costume makers translate period silhouettes into caps that are camera-ready yet retain a lived-in authenticity?
This guide traces the makers' workflow: defining the period brief (the production's historical era and character requirements), selecting authentic cloth and trimmings, patterning for the camera, then blocking, hand-stitching, and controlled ageing to produce a convincing finish. Finally, it addresses shaping, fittings, spare parts, and on-set care so wardrobe and props teams can keep caps resilient, camera-ready, and true to performance.

Setting the production brief and selecting a period silhouette
Prepare a concise production brief built around primary sources. Draw on archive photography, surviving garments, and period illustrations to extract measurable silhouette cues — for example, crown height, brim depth, and crown-to-peak ratio — so the cap reads correctly at the planned shot distances and focal lengths. Conduct fit and pattern trials for each principal. Produce calico toiles to test how head shape, hair, and wig rigs alter the cap profile, then refine pattern pieces for crown curve, circumference, and internal allowance to preserve the intended silhouette in motion. Define a clear hierarchy of builds tied to character and use: bespoke, hand-finished versions for close-ups; robust duplicates for rehearsals and stunts; simplified multiples for background performers. Include unambiguous notes on which details must match on camera, and mark tolerances so wardrobe, props, and continuity teams share the same standard.
For hats intended for camera work, provide precise, camera-led and lighting-led specifications so makers can adapt construction and finish to the demands of the shoot. Clear briefs reduce guesswork on set and ensure the piece reads correctly both at distance and in close-up. Construction and adjustment - Specify internal supports, softer blocking, or removable stiffening that will hold the intended profile under backlight, while allowing quick, precise adjustment on set. Describe where supports sit relative to key lines and the brim. Continuity and spares - Require a set of identical copies for continuity and rapid swaps between takes. Mark pattern and fit points on each copy so replacements replicate the worn profile and fit. Hand-finishing and ageing - Spell out the hand-finishing and ageing brief with exact targets for hand-stitched trims, sweatband treatment, and subtle abrasion. Use archival reference images and describe tolerances so the surface character matches a lived appearance without compromising fabric strength. Surface treatment recipes and references - Provide step-by-step recipes for controlled compression, staining, and other surface effects, noting materials, pressures, timings, and drying conditions. Include magnified reference shots that show the scale of abrasion and stitch detail at typical camera distances. Acceptance criteria - Define measurable acceptance criteria and close-up reference photographs so finishers can reproduce the intended character consistently across lenses, lighting setups, and distances. This level of specification preserves the hand-finished detail that rewards closer inspection, while ensuring the hat performs reliably on set.
Maintains precise silhouette under close-up scrutiny.

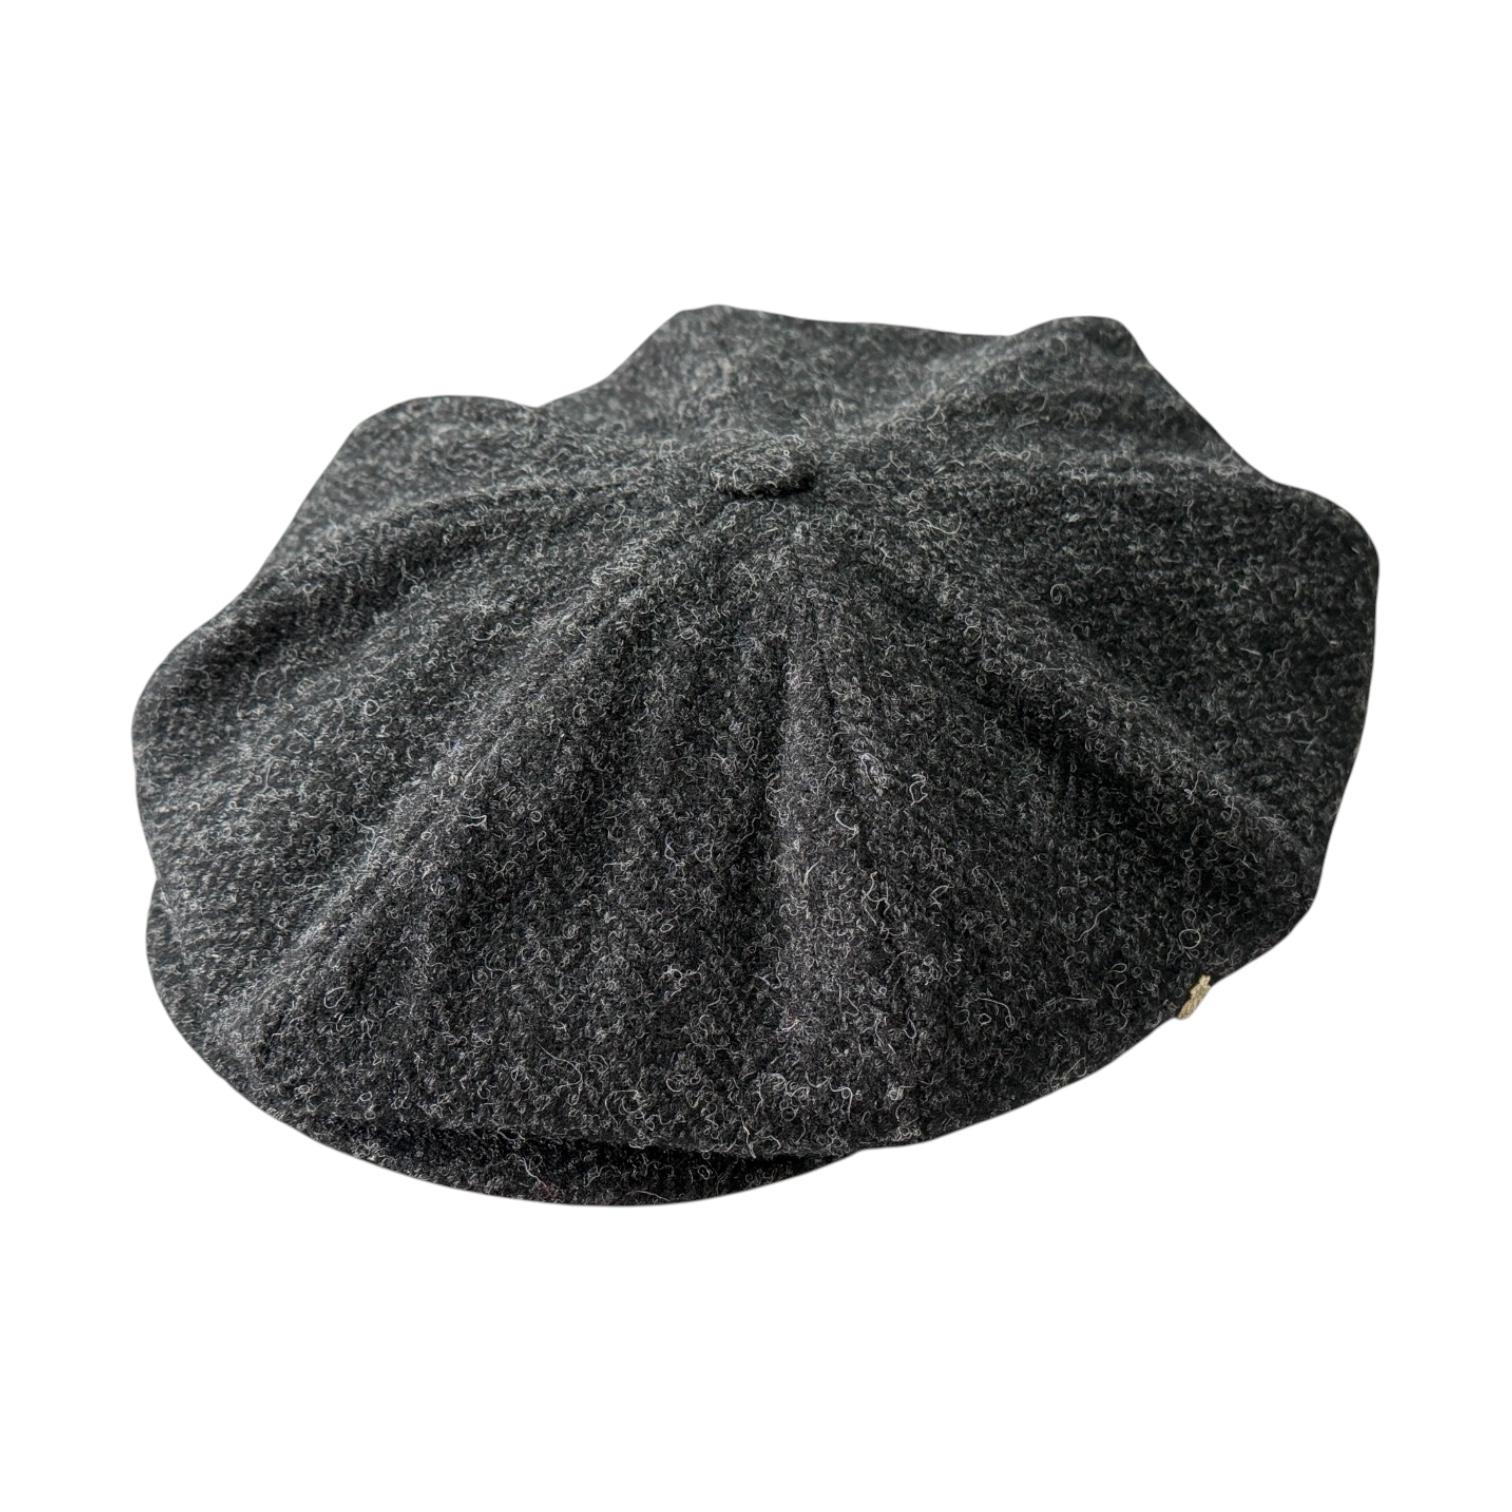
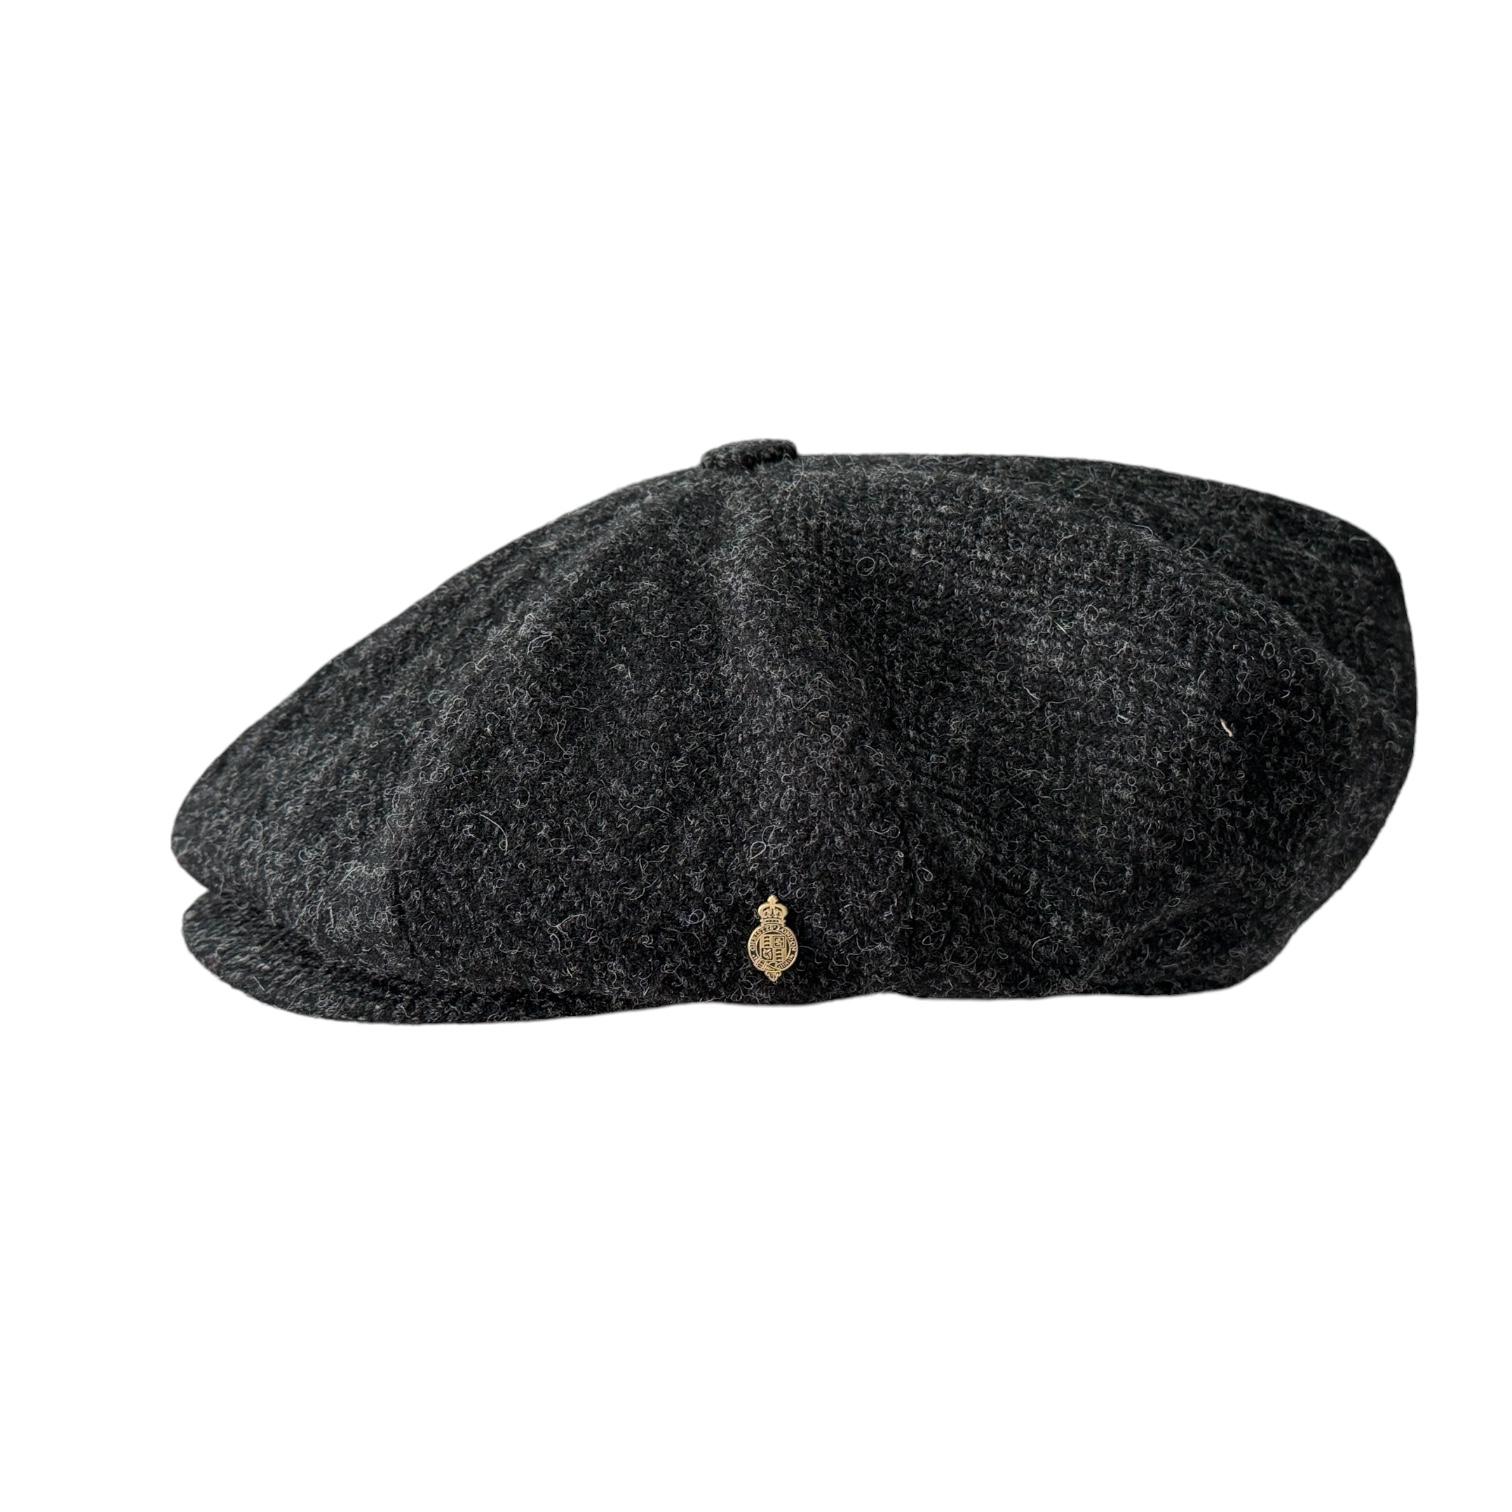
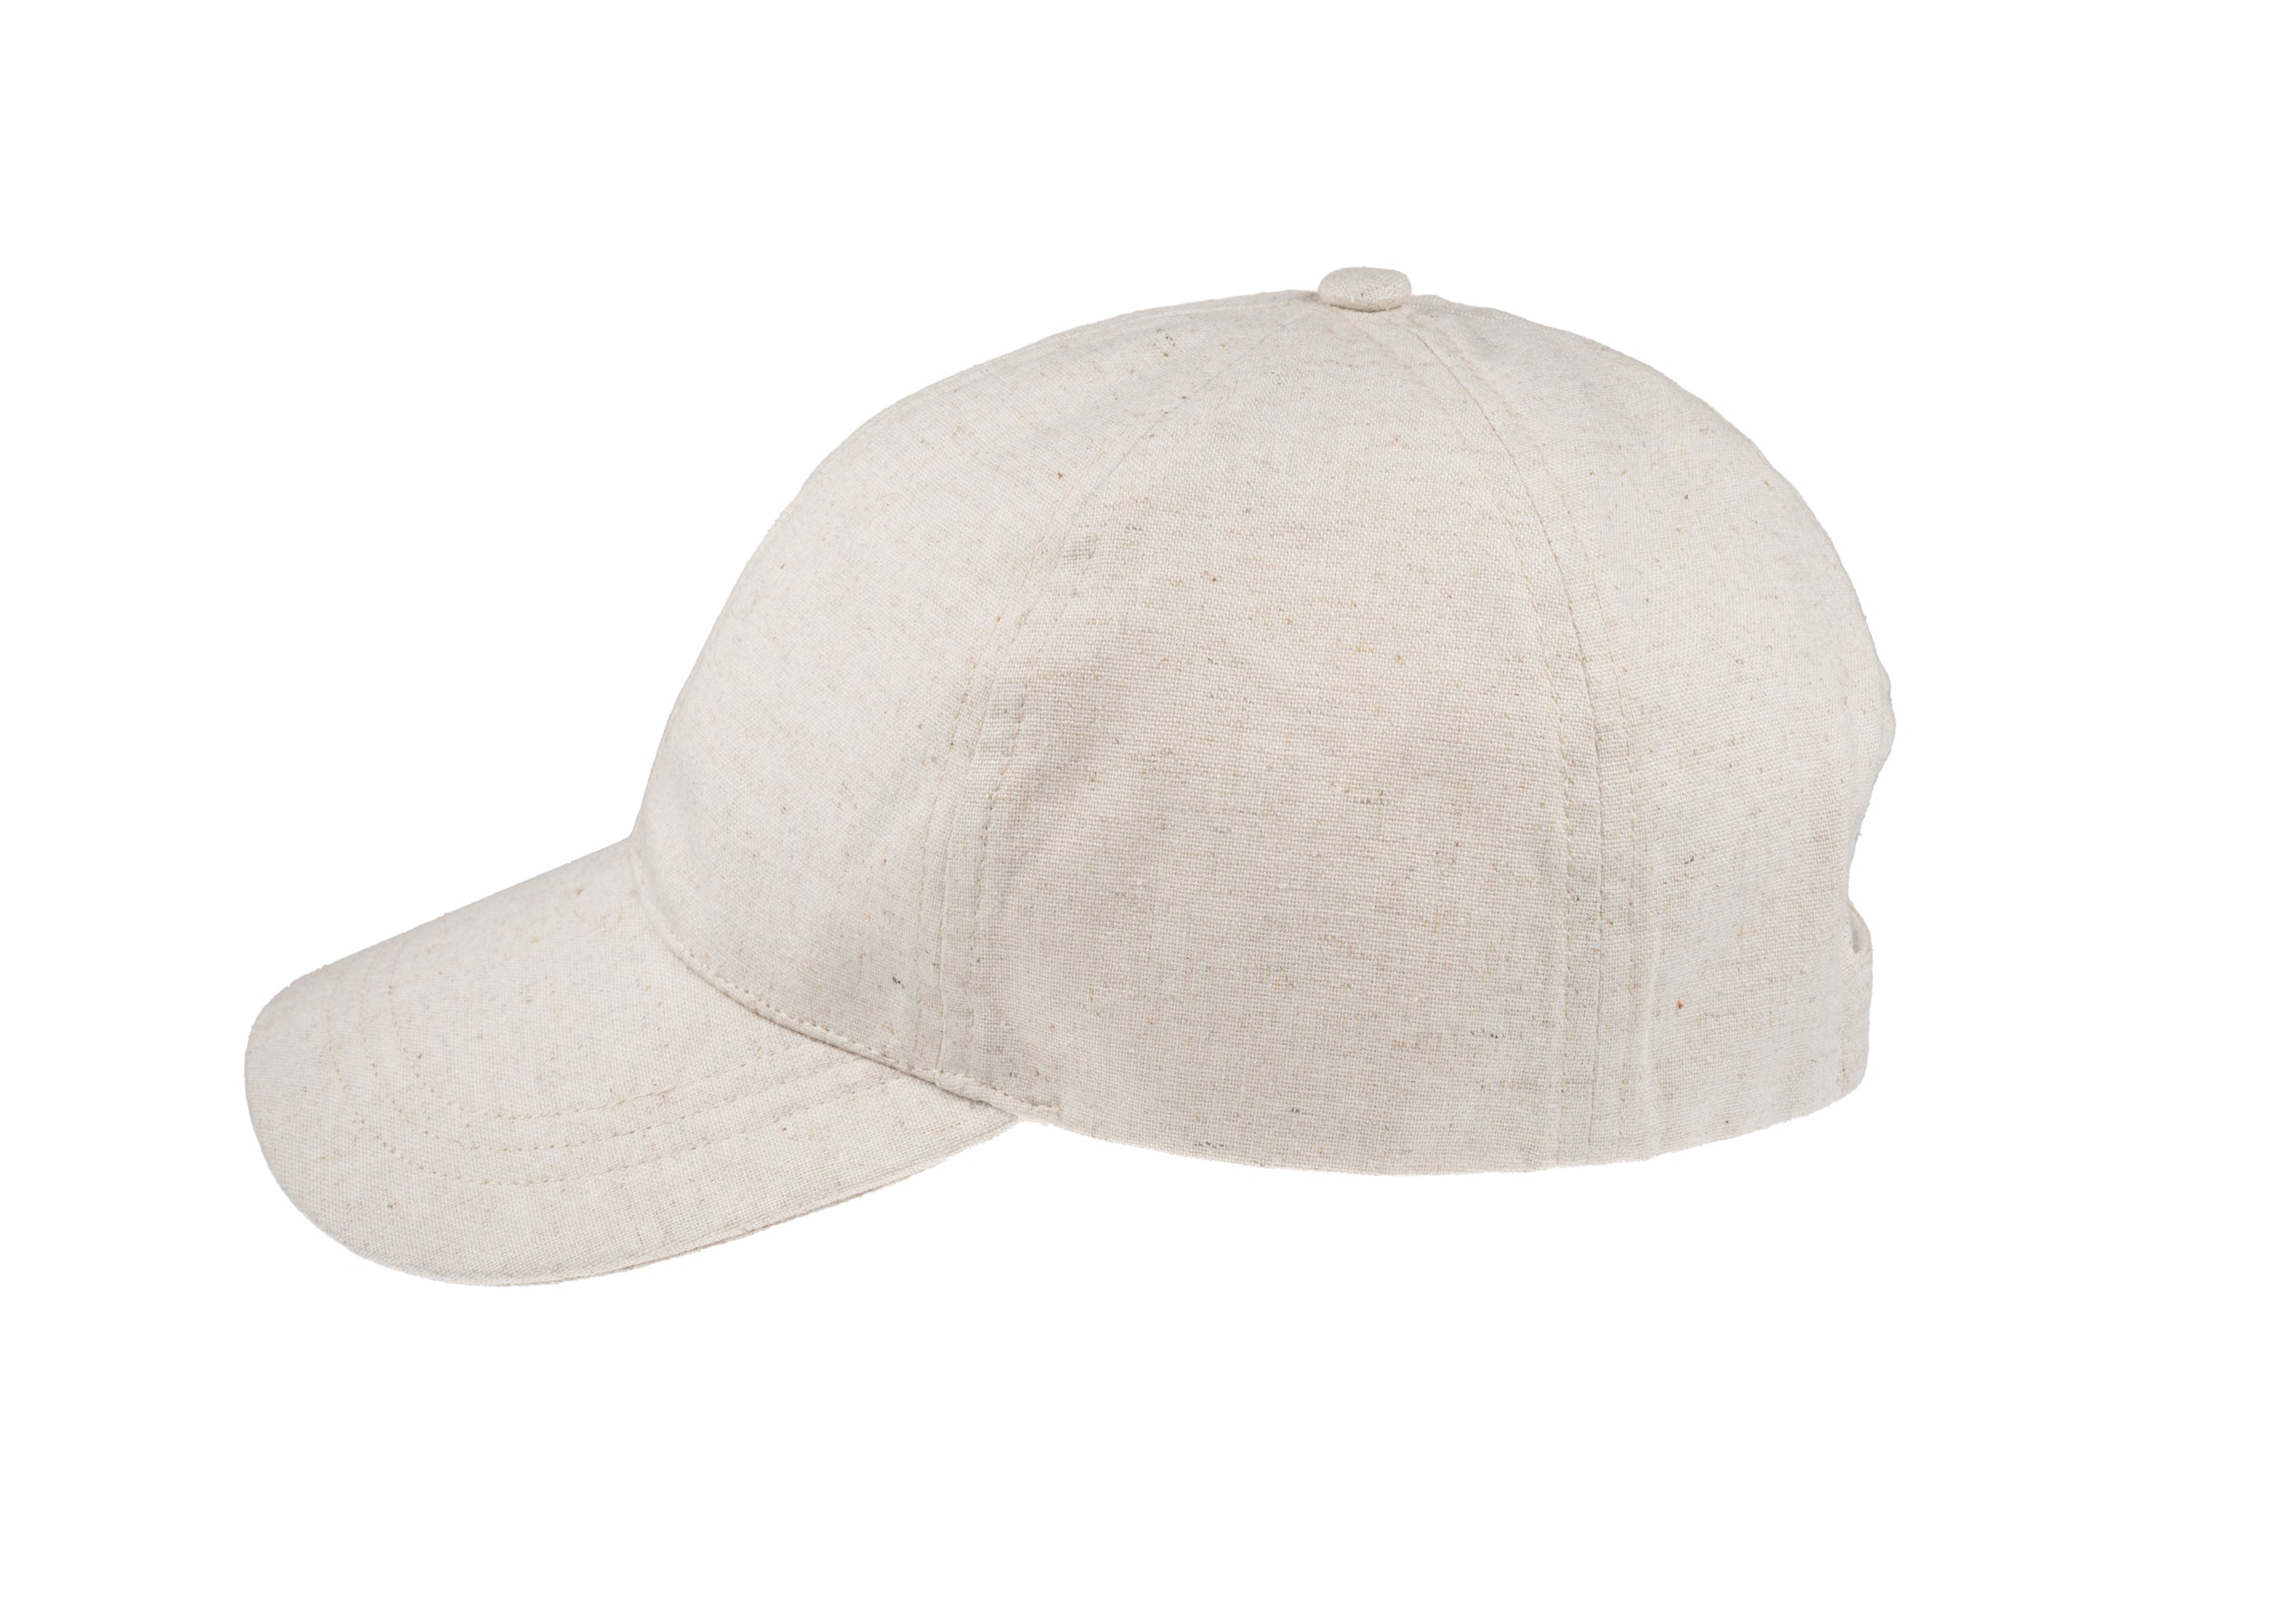
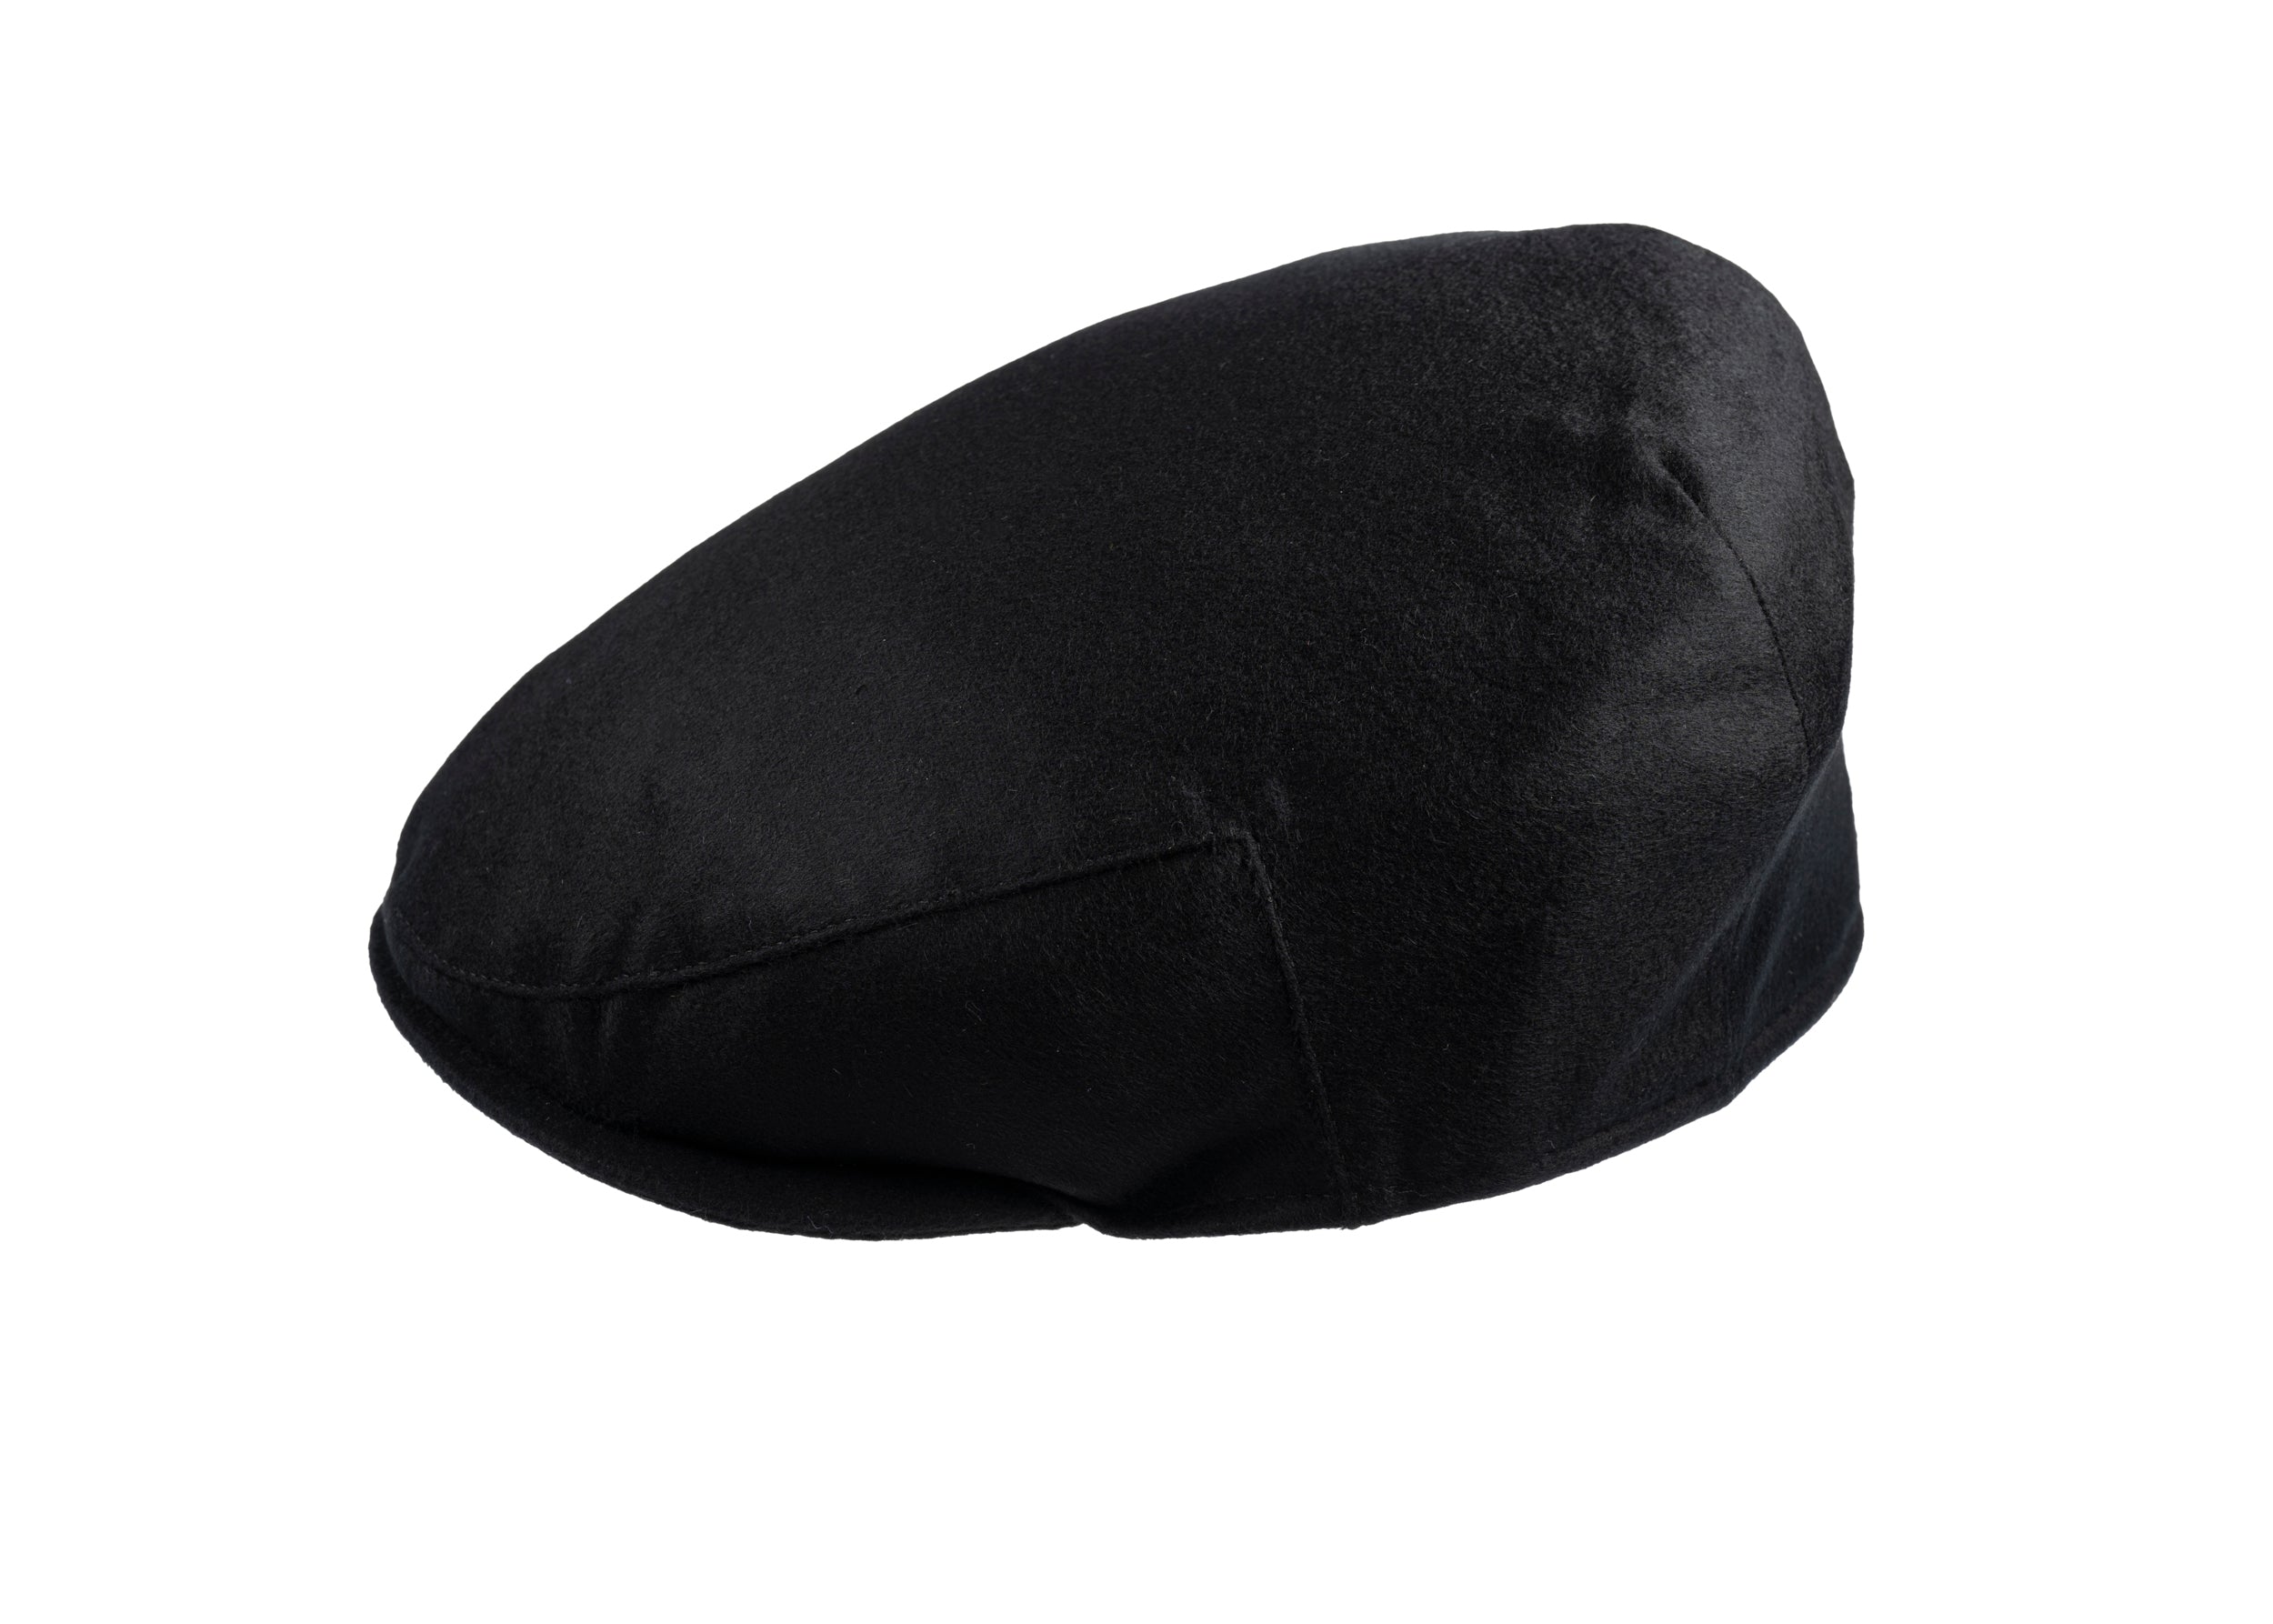
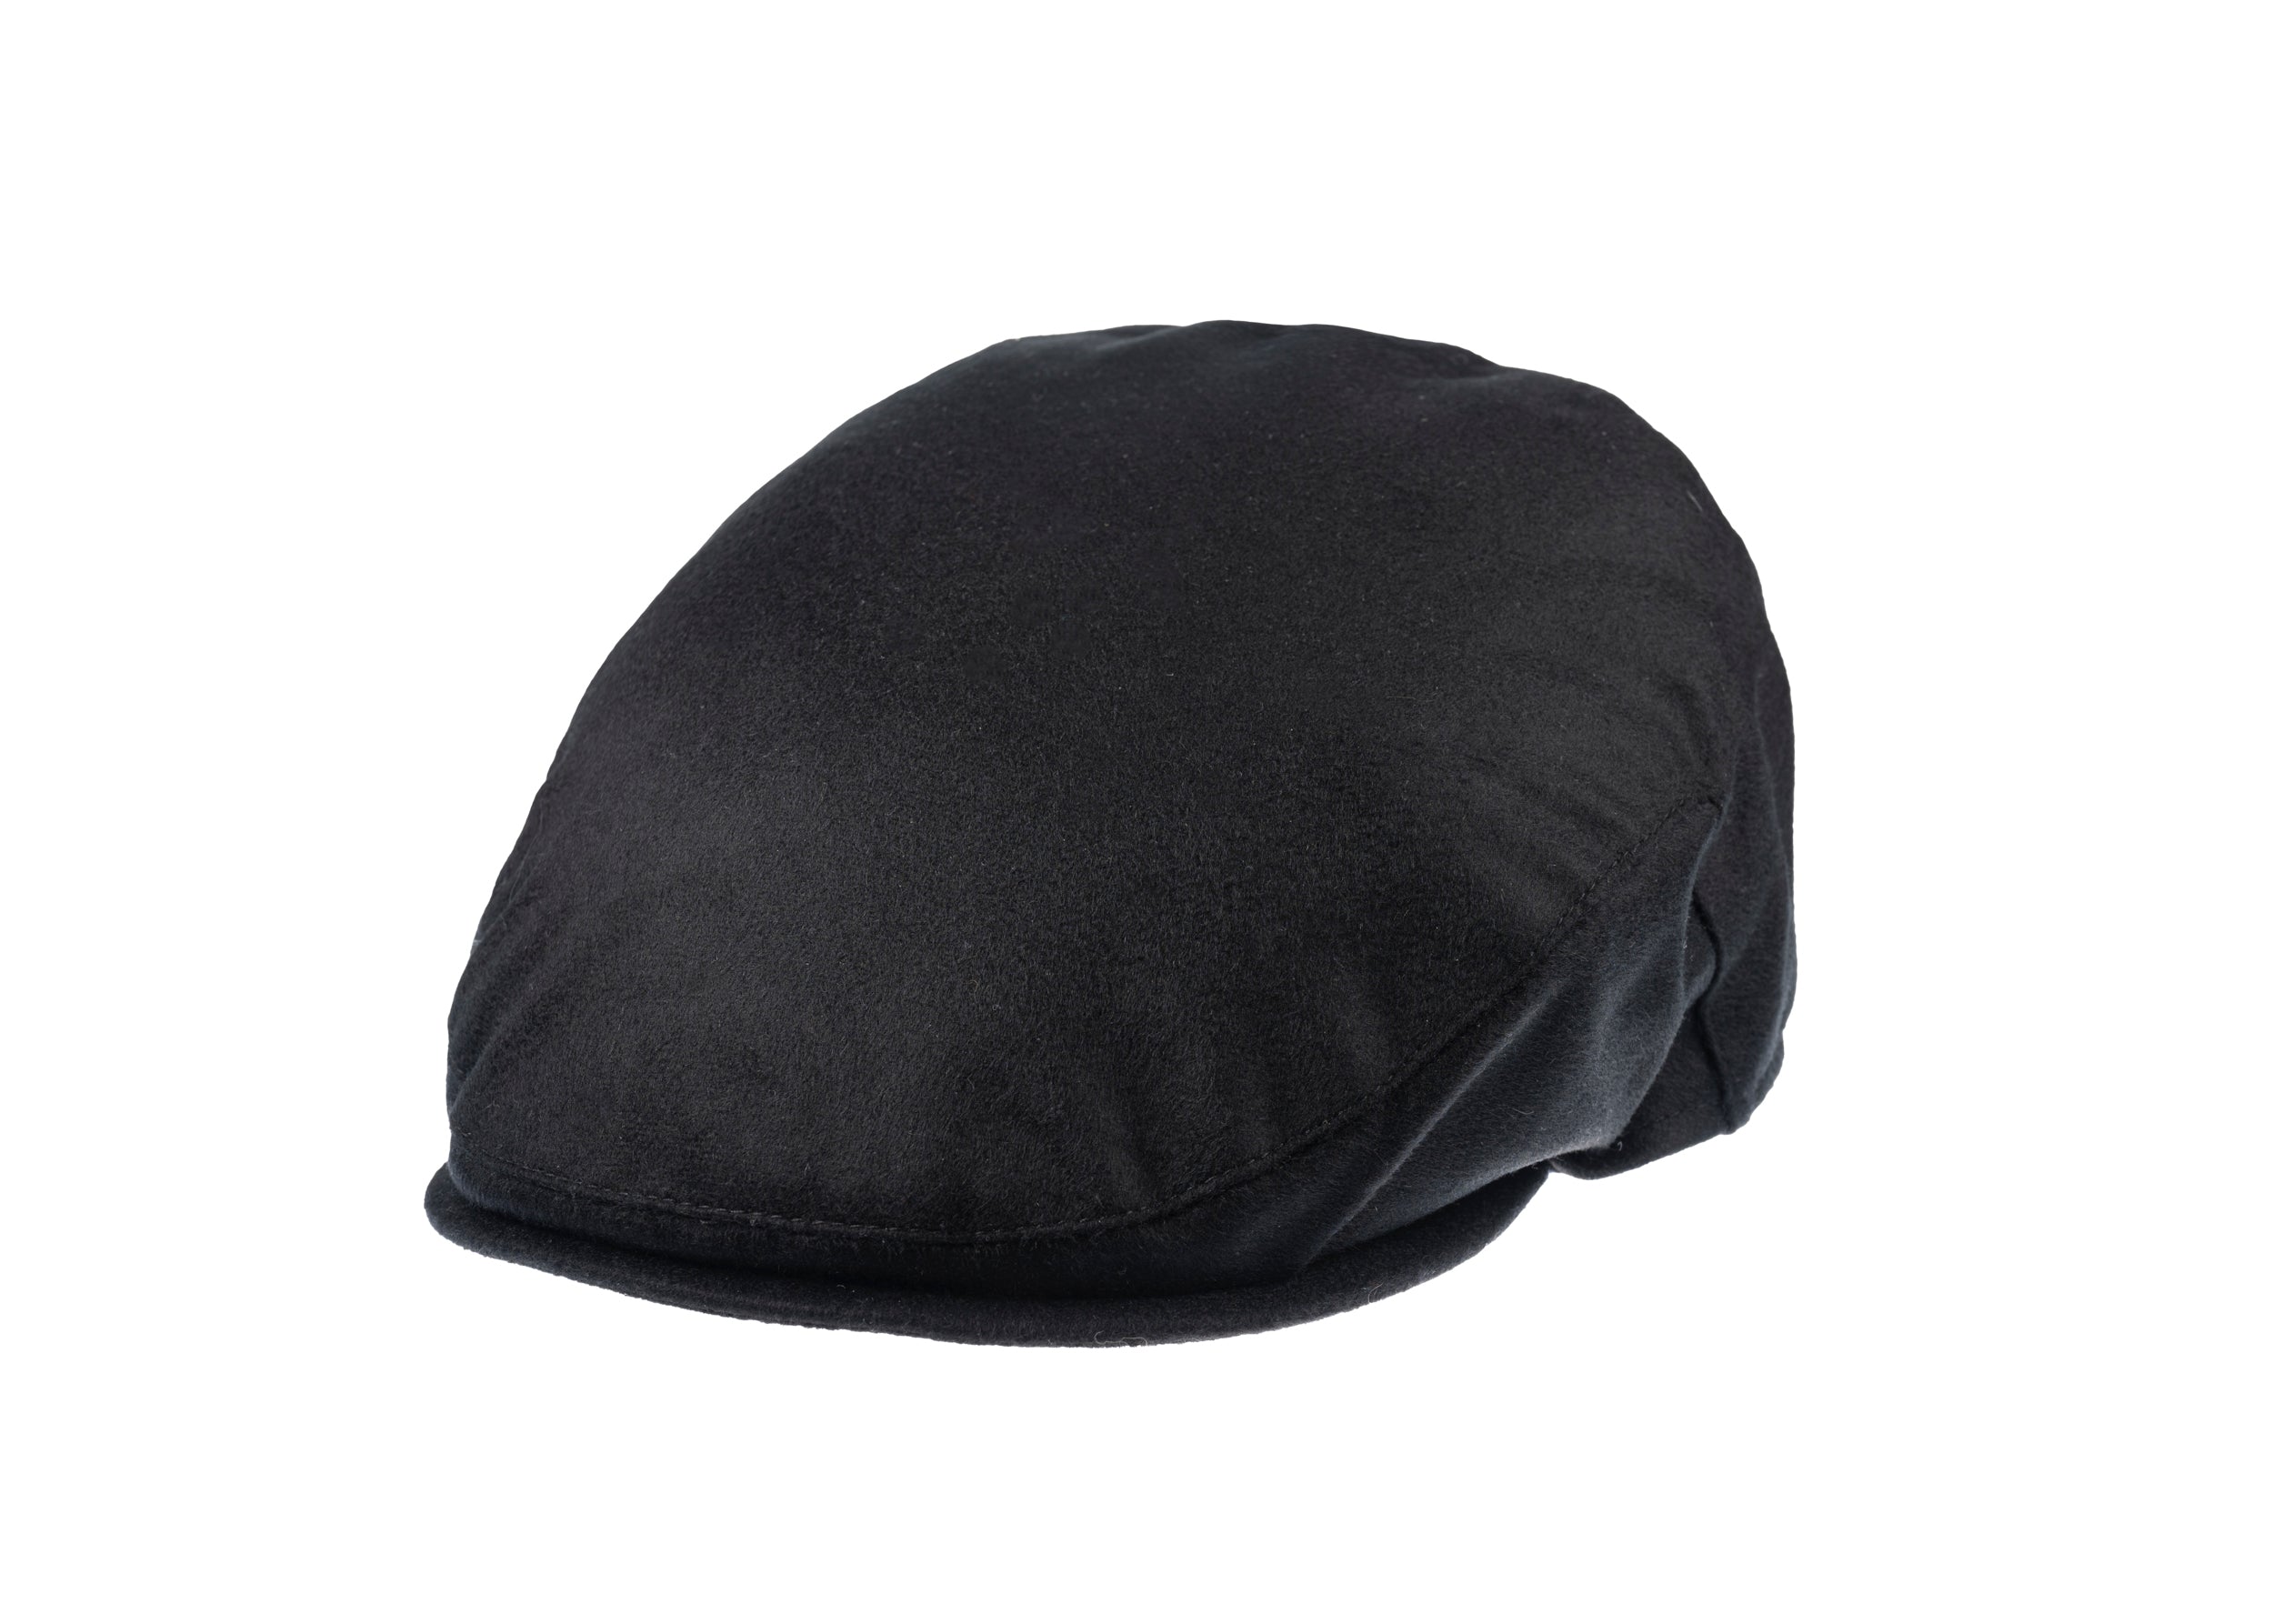
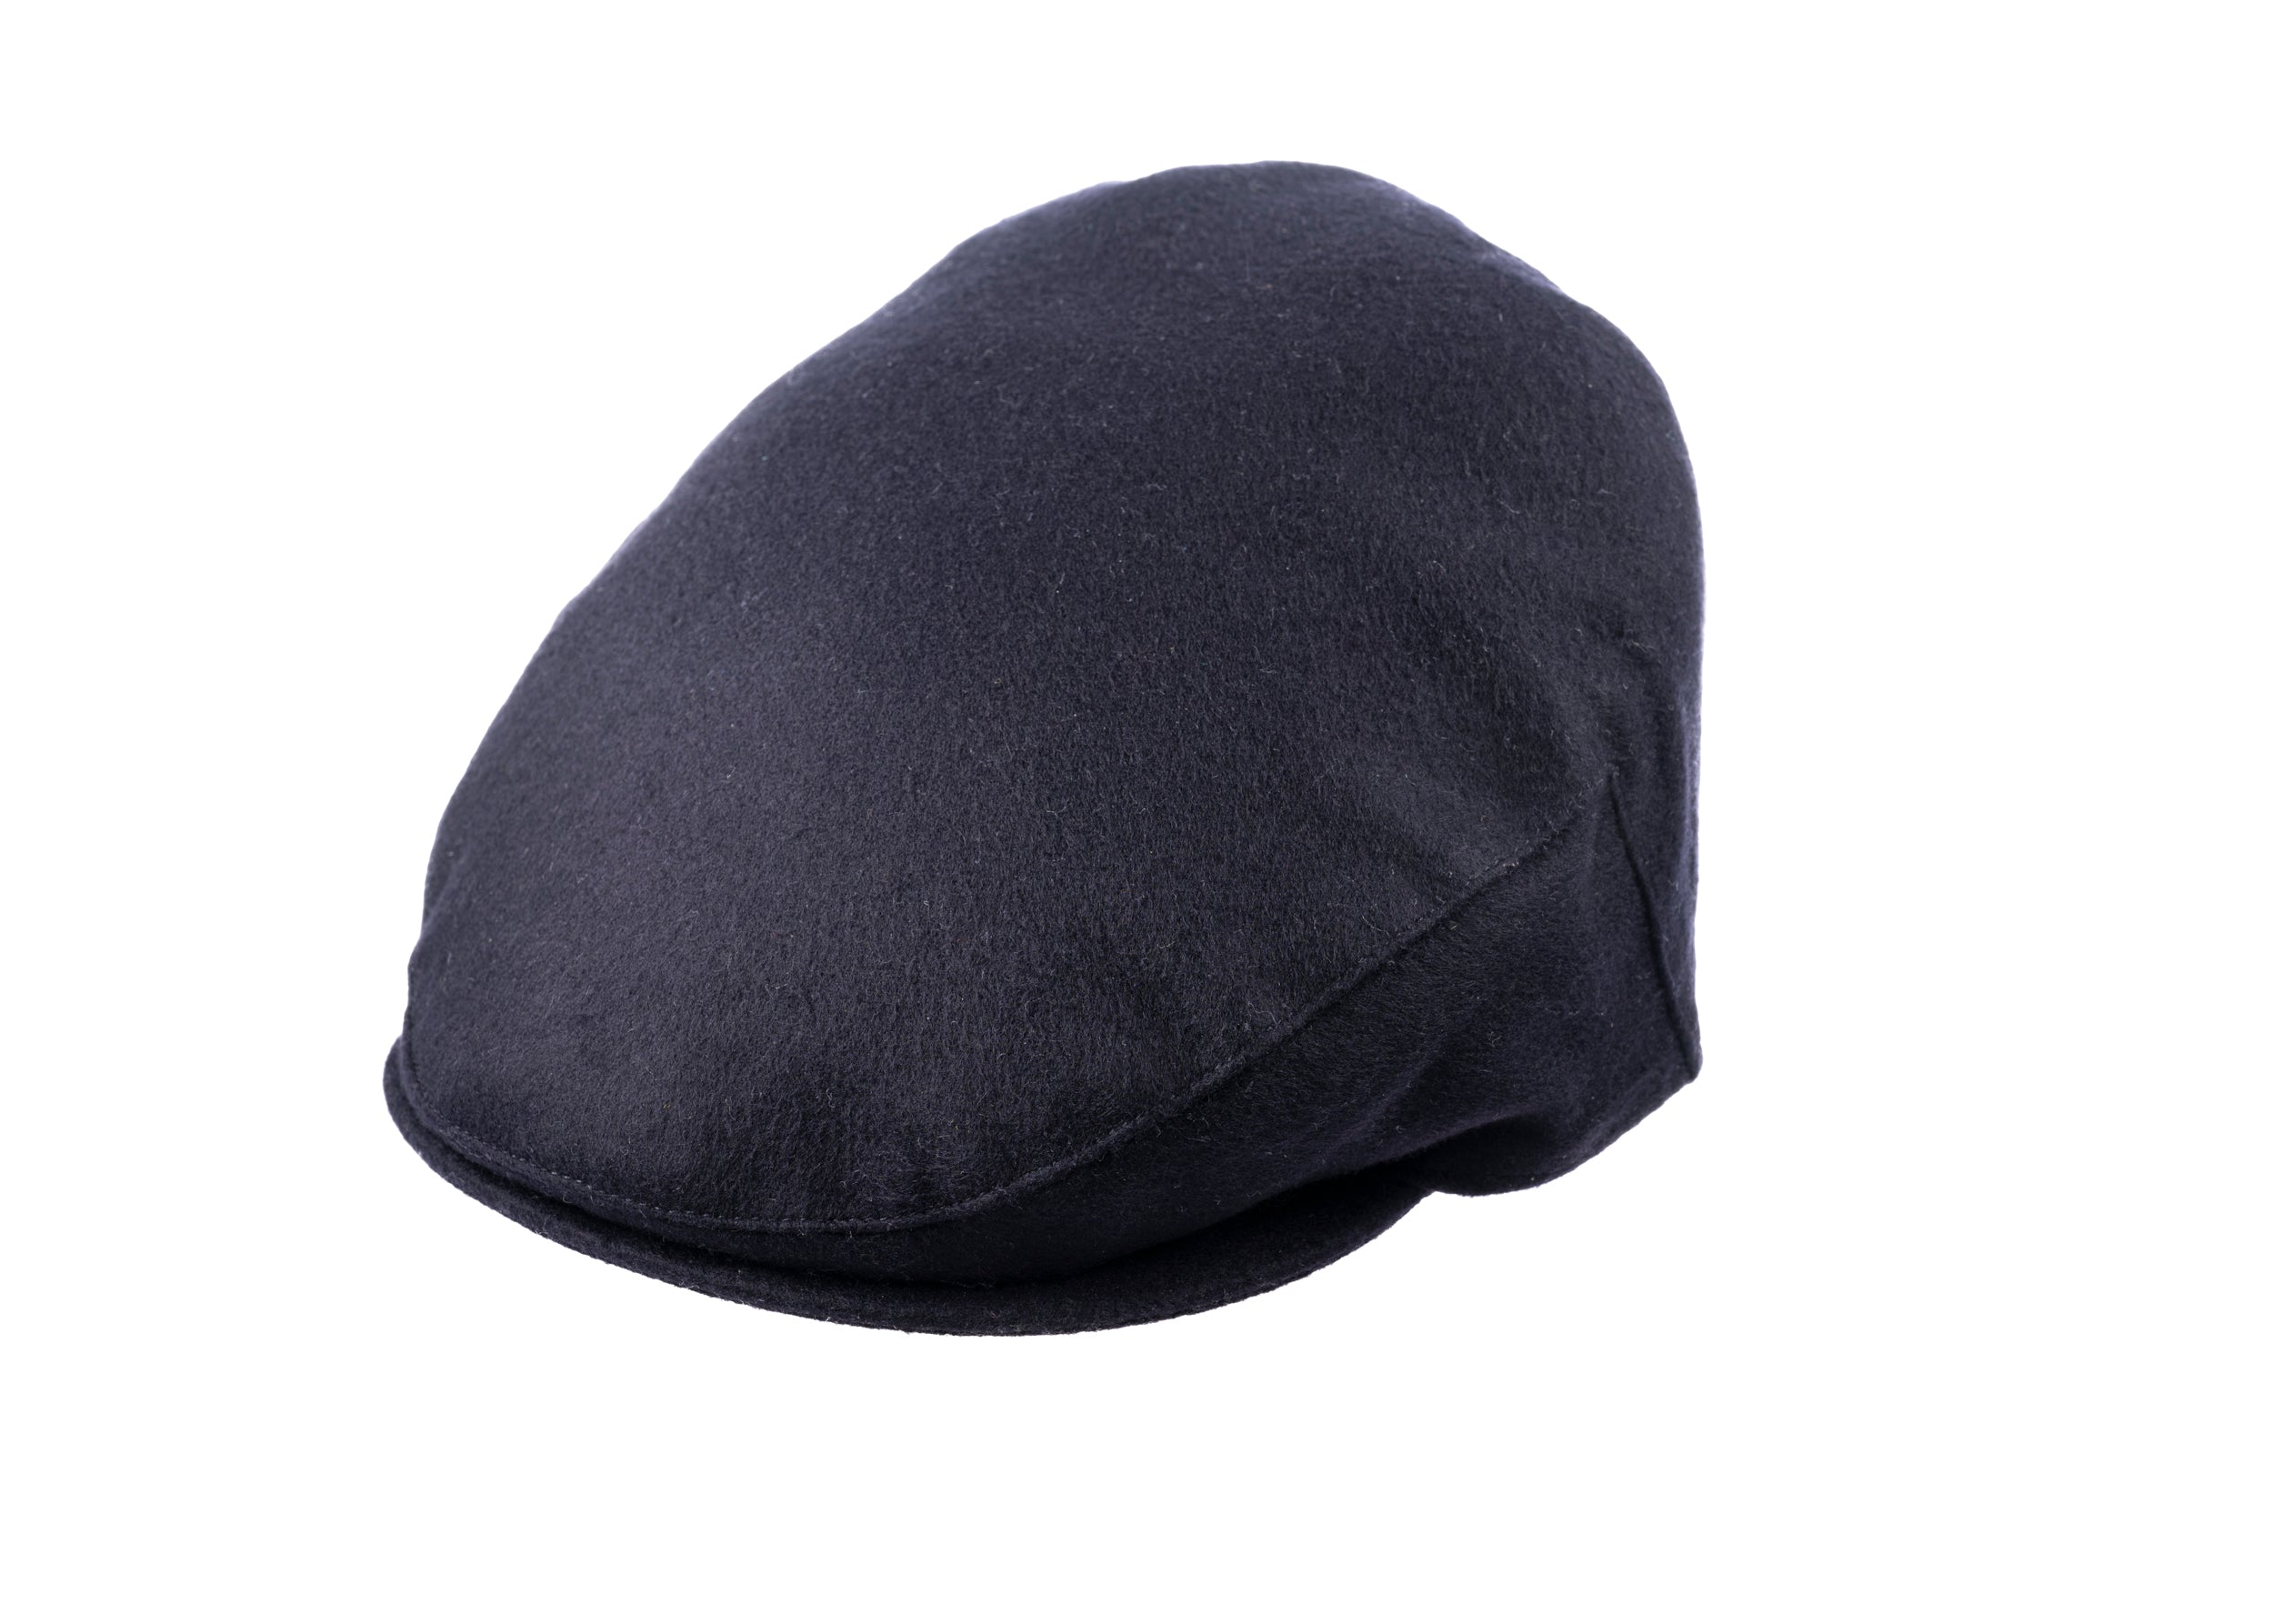
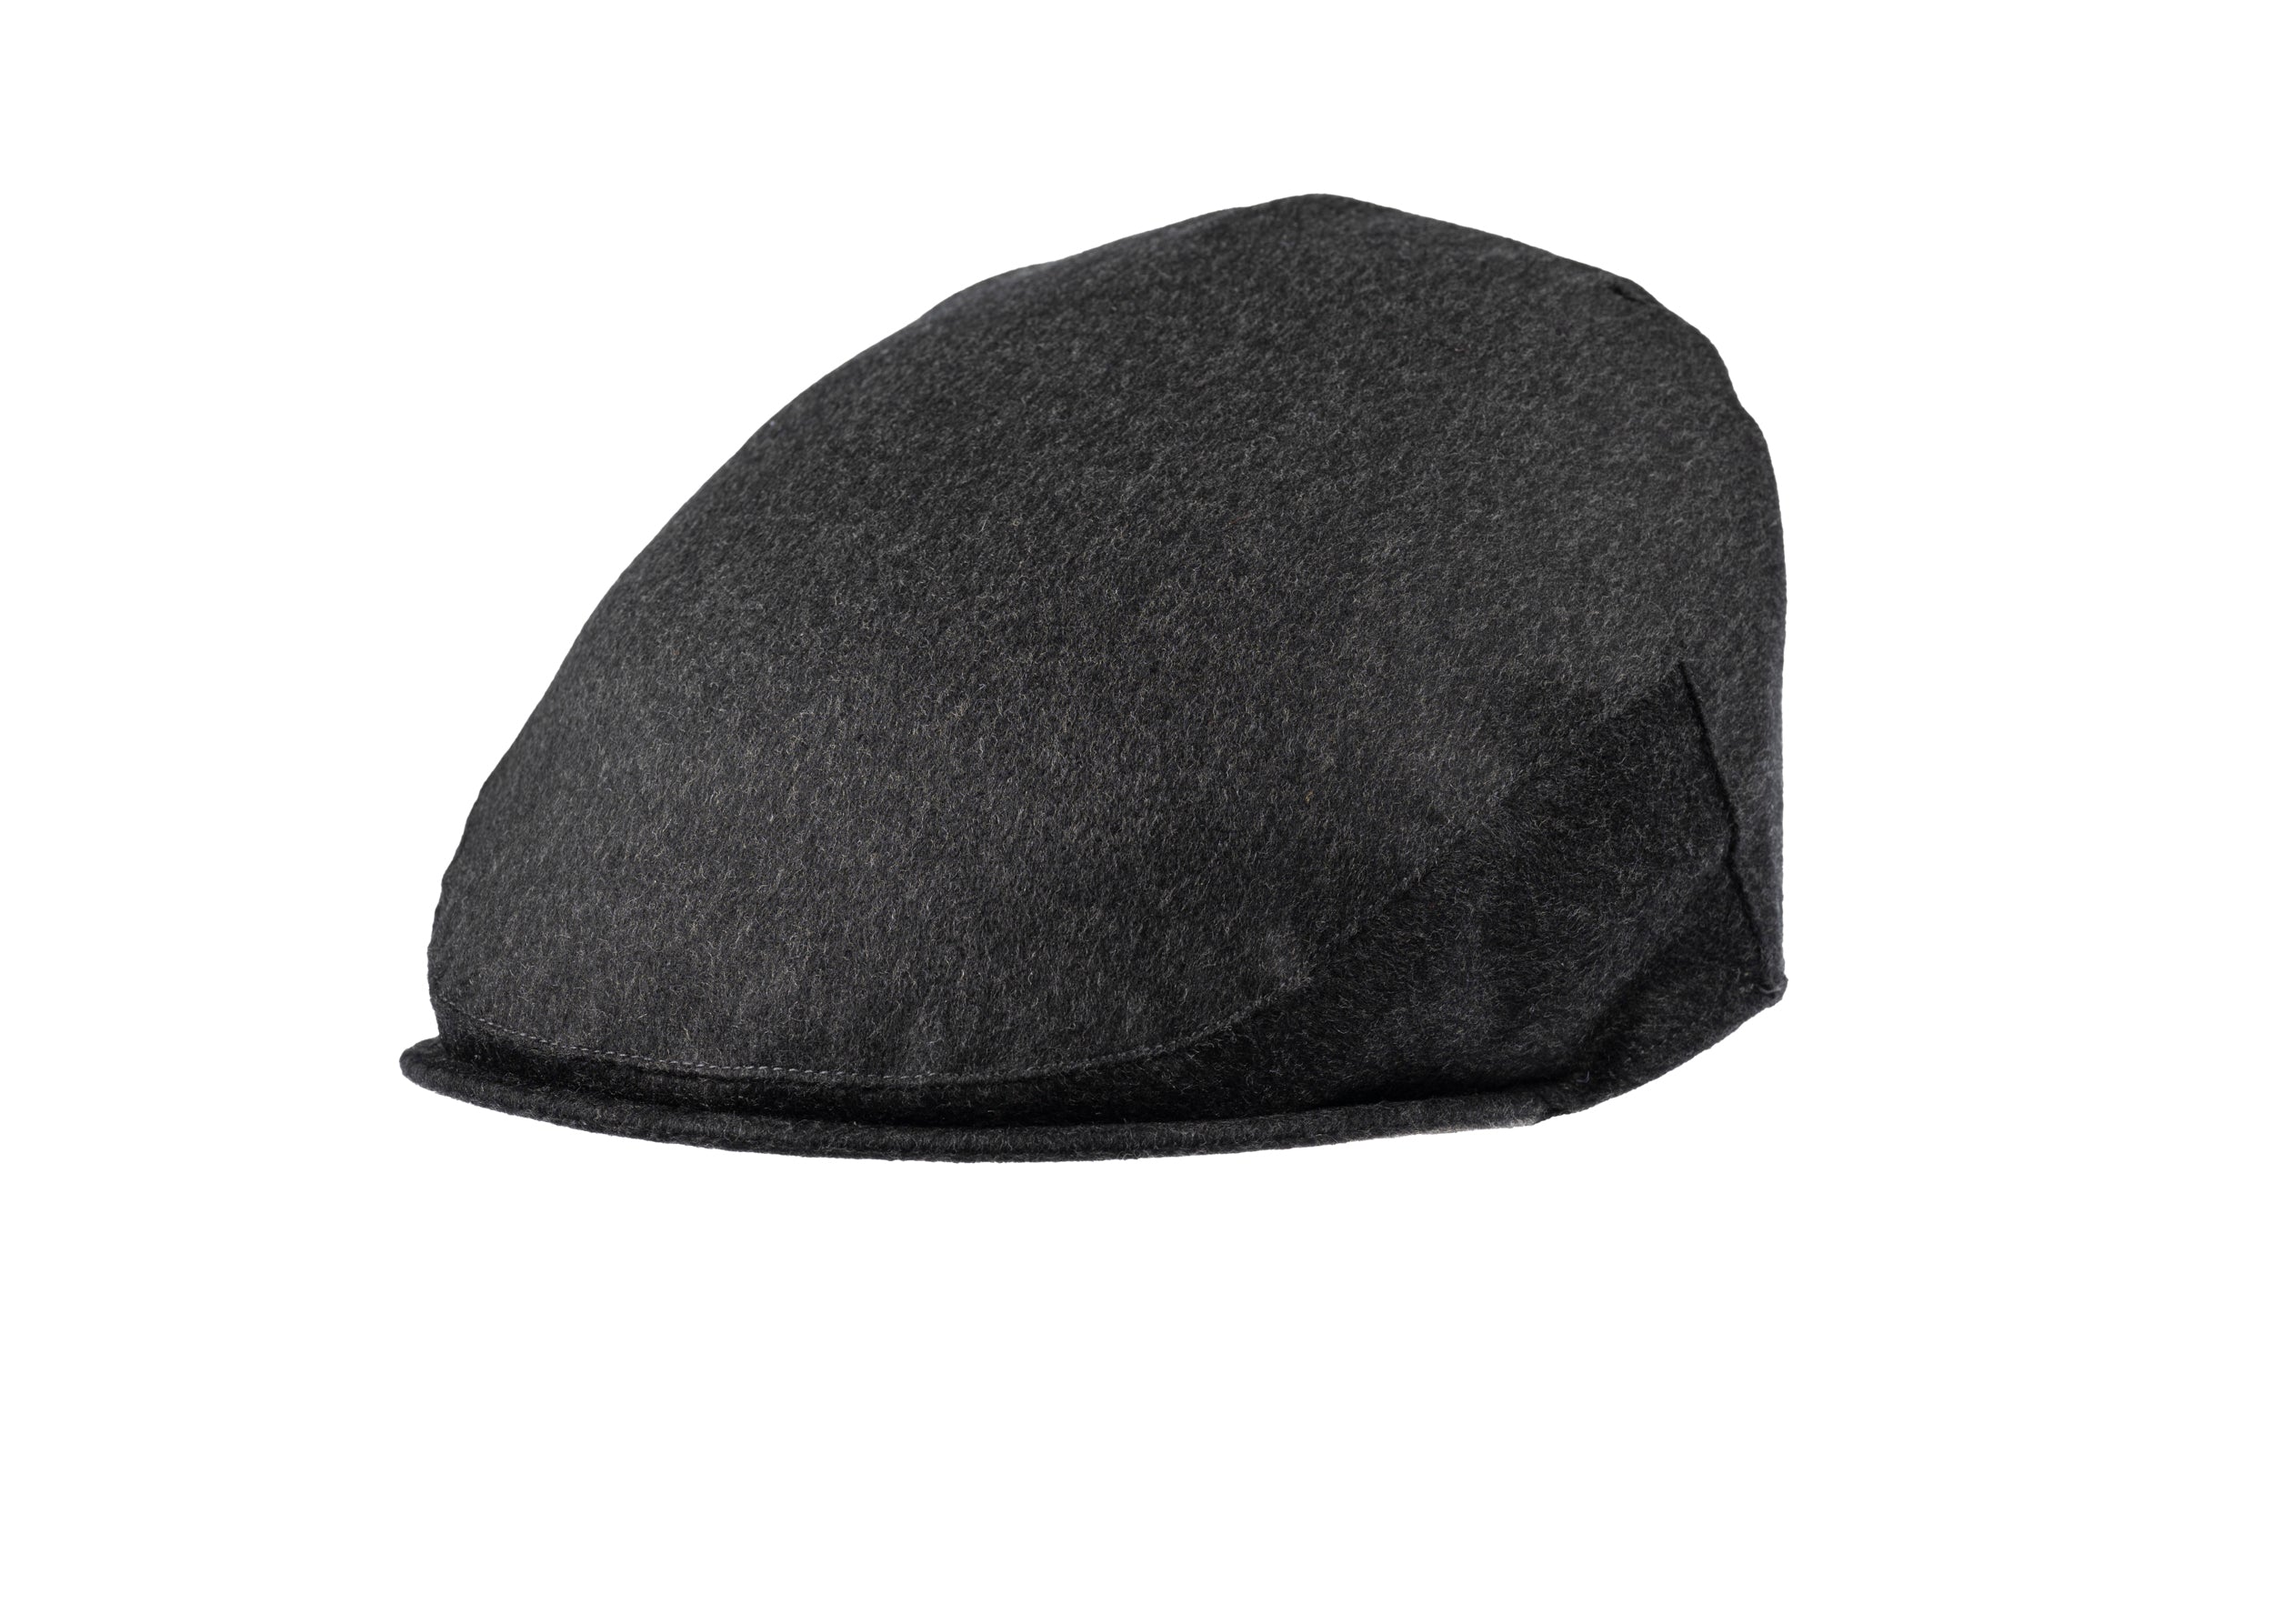
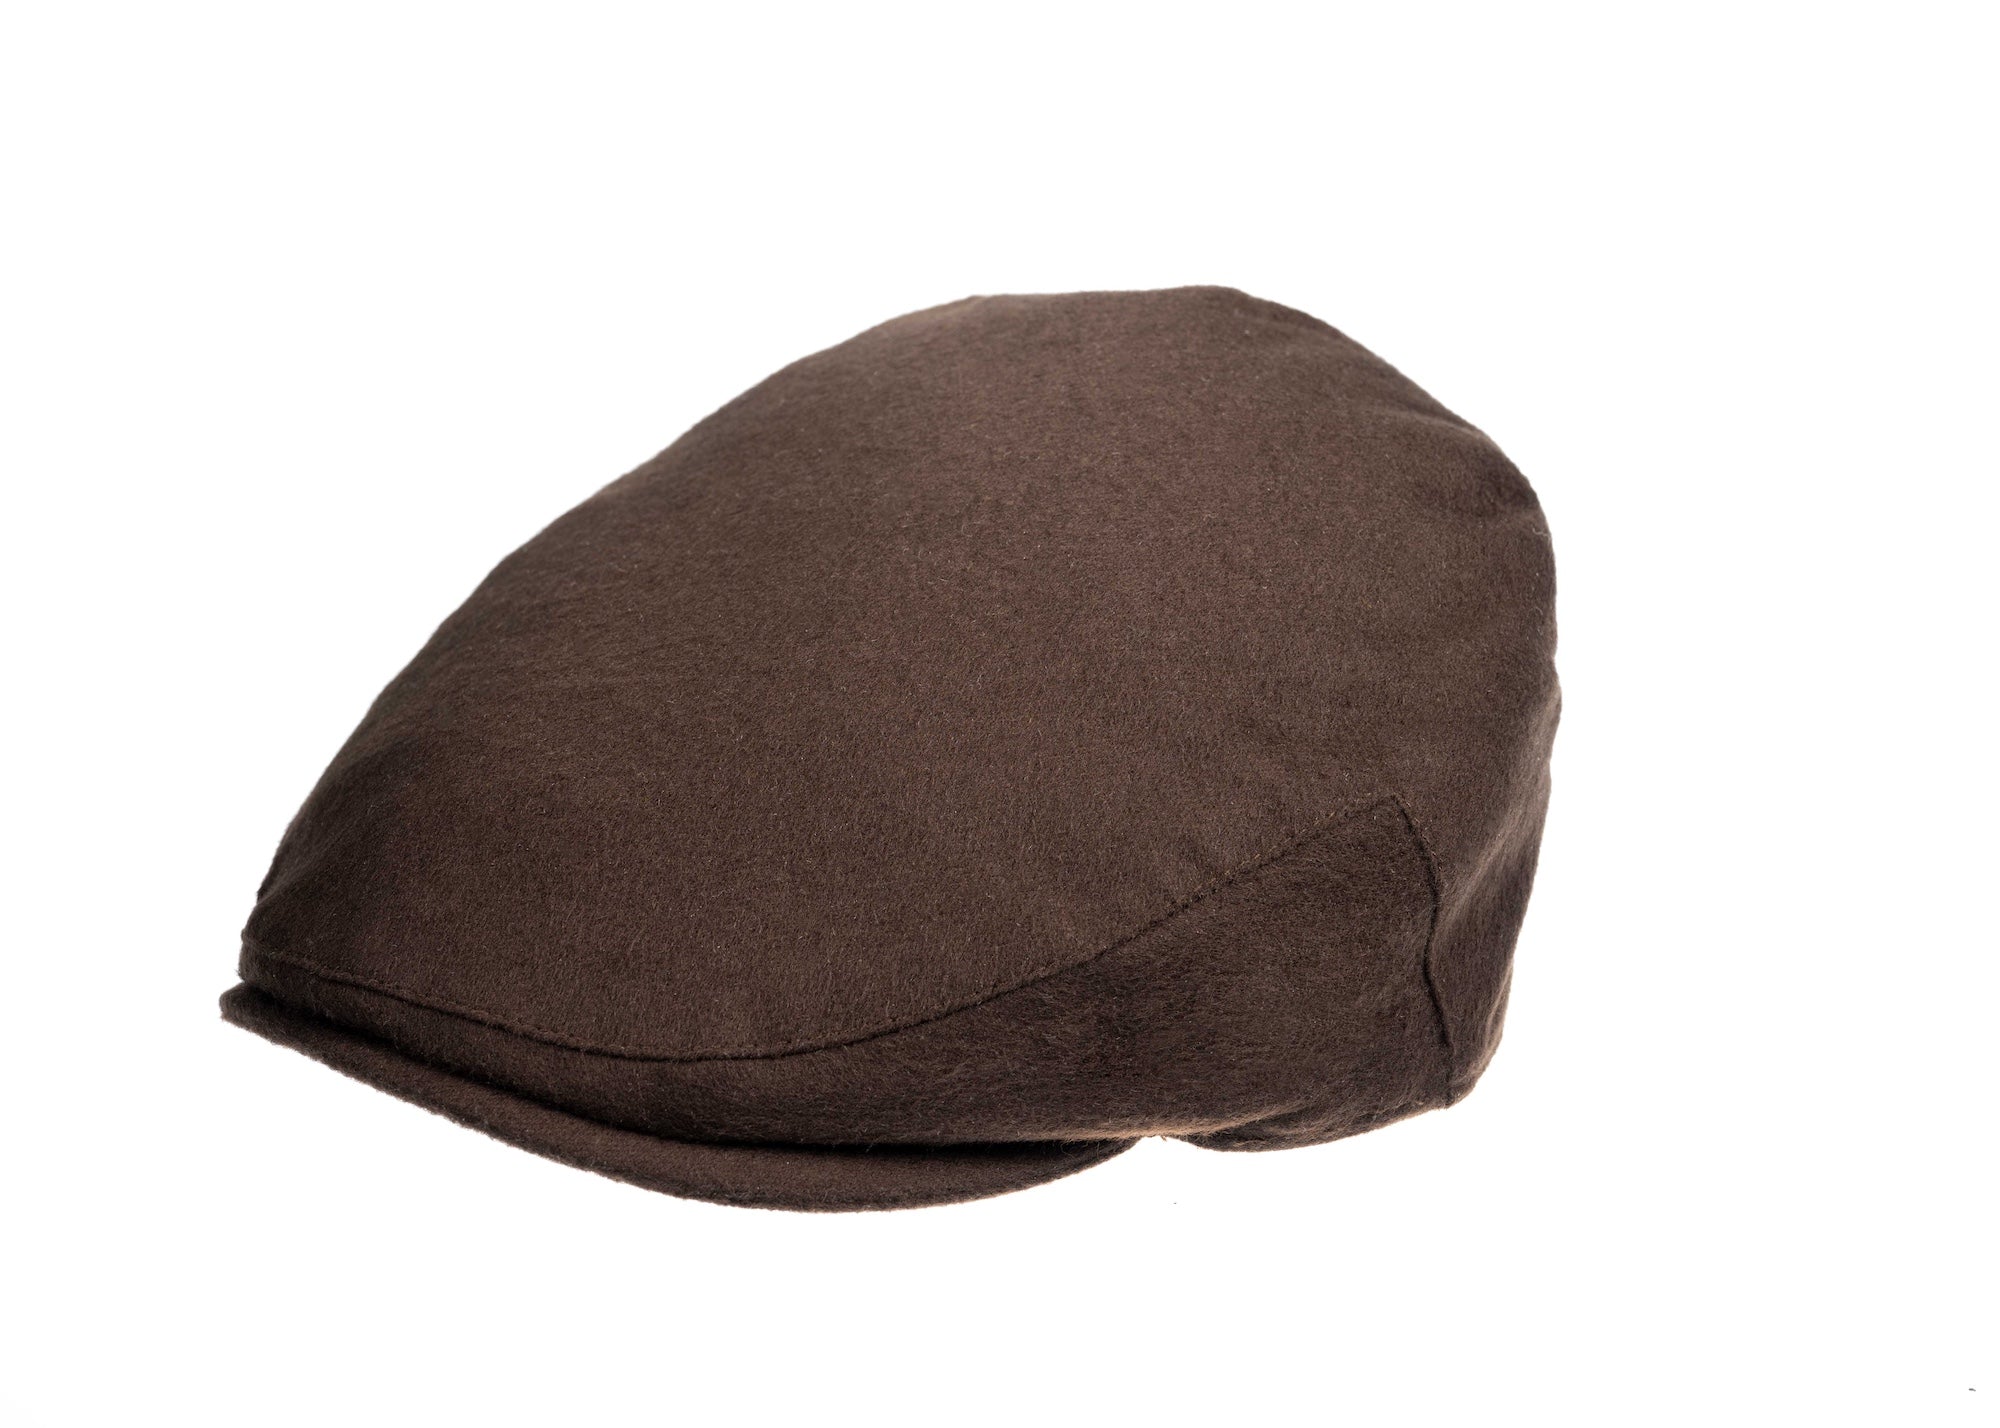
Select fabrics and trimmings that reflect authentic hatmaking
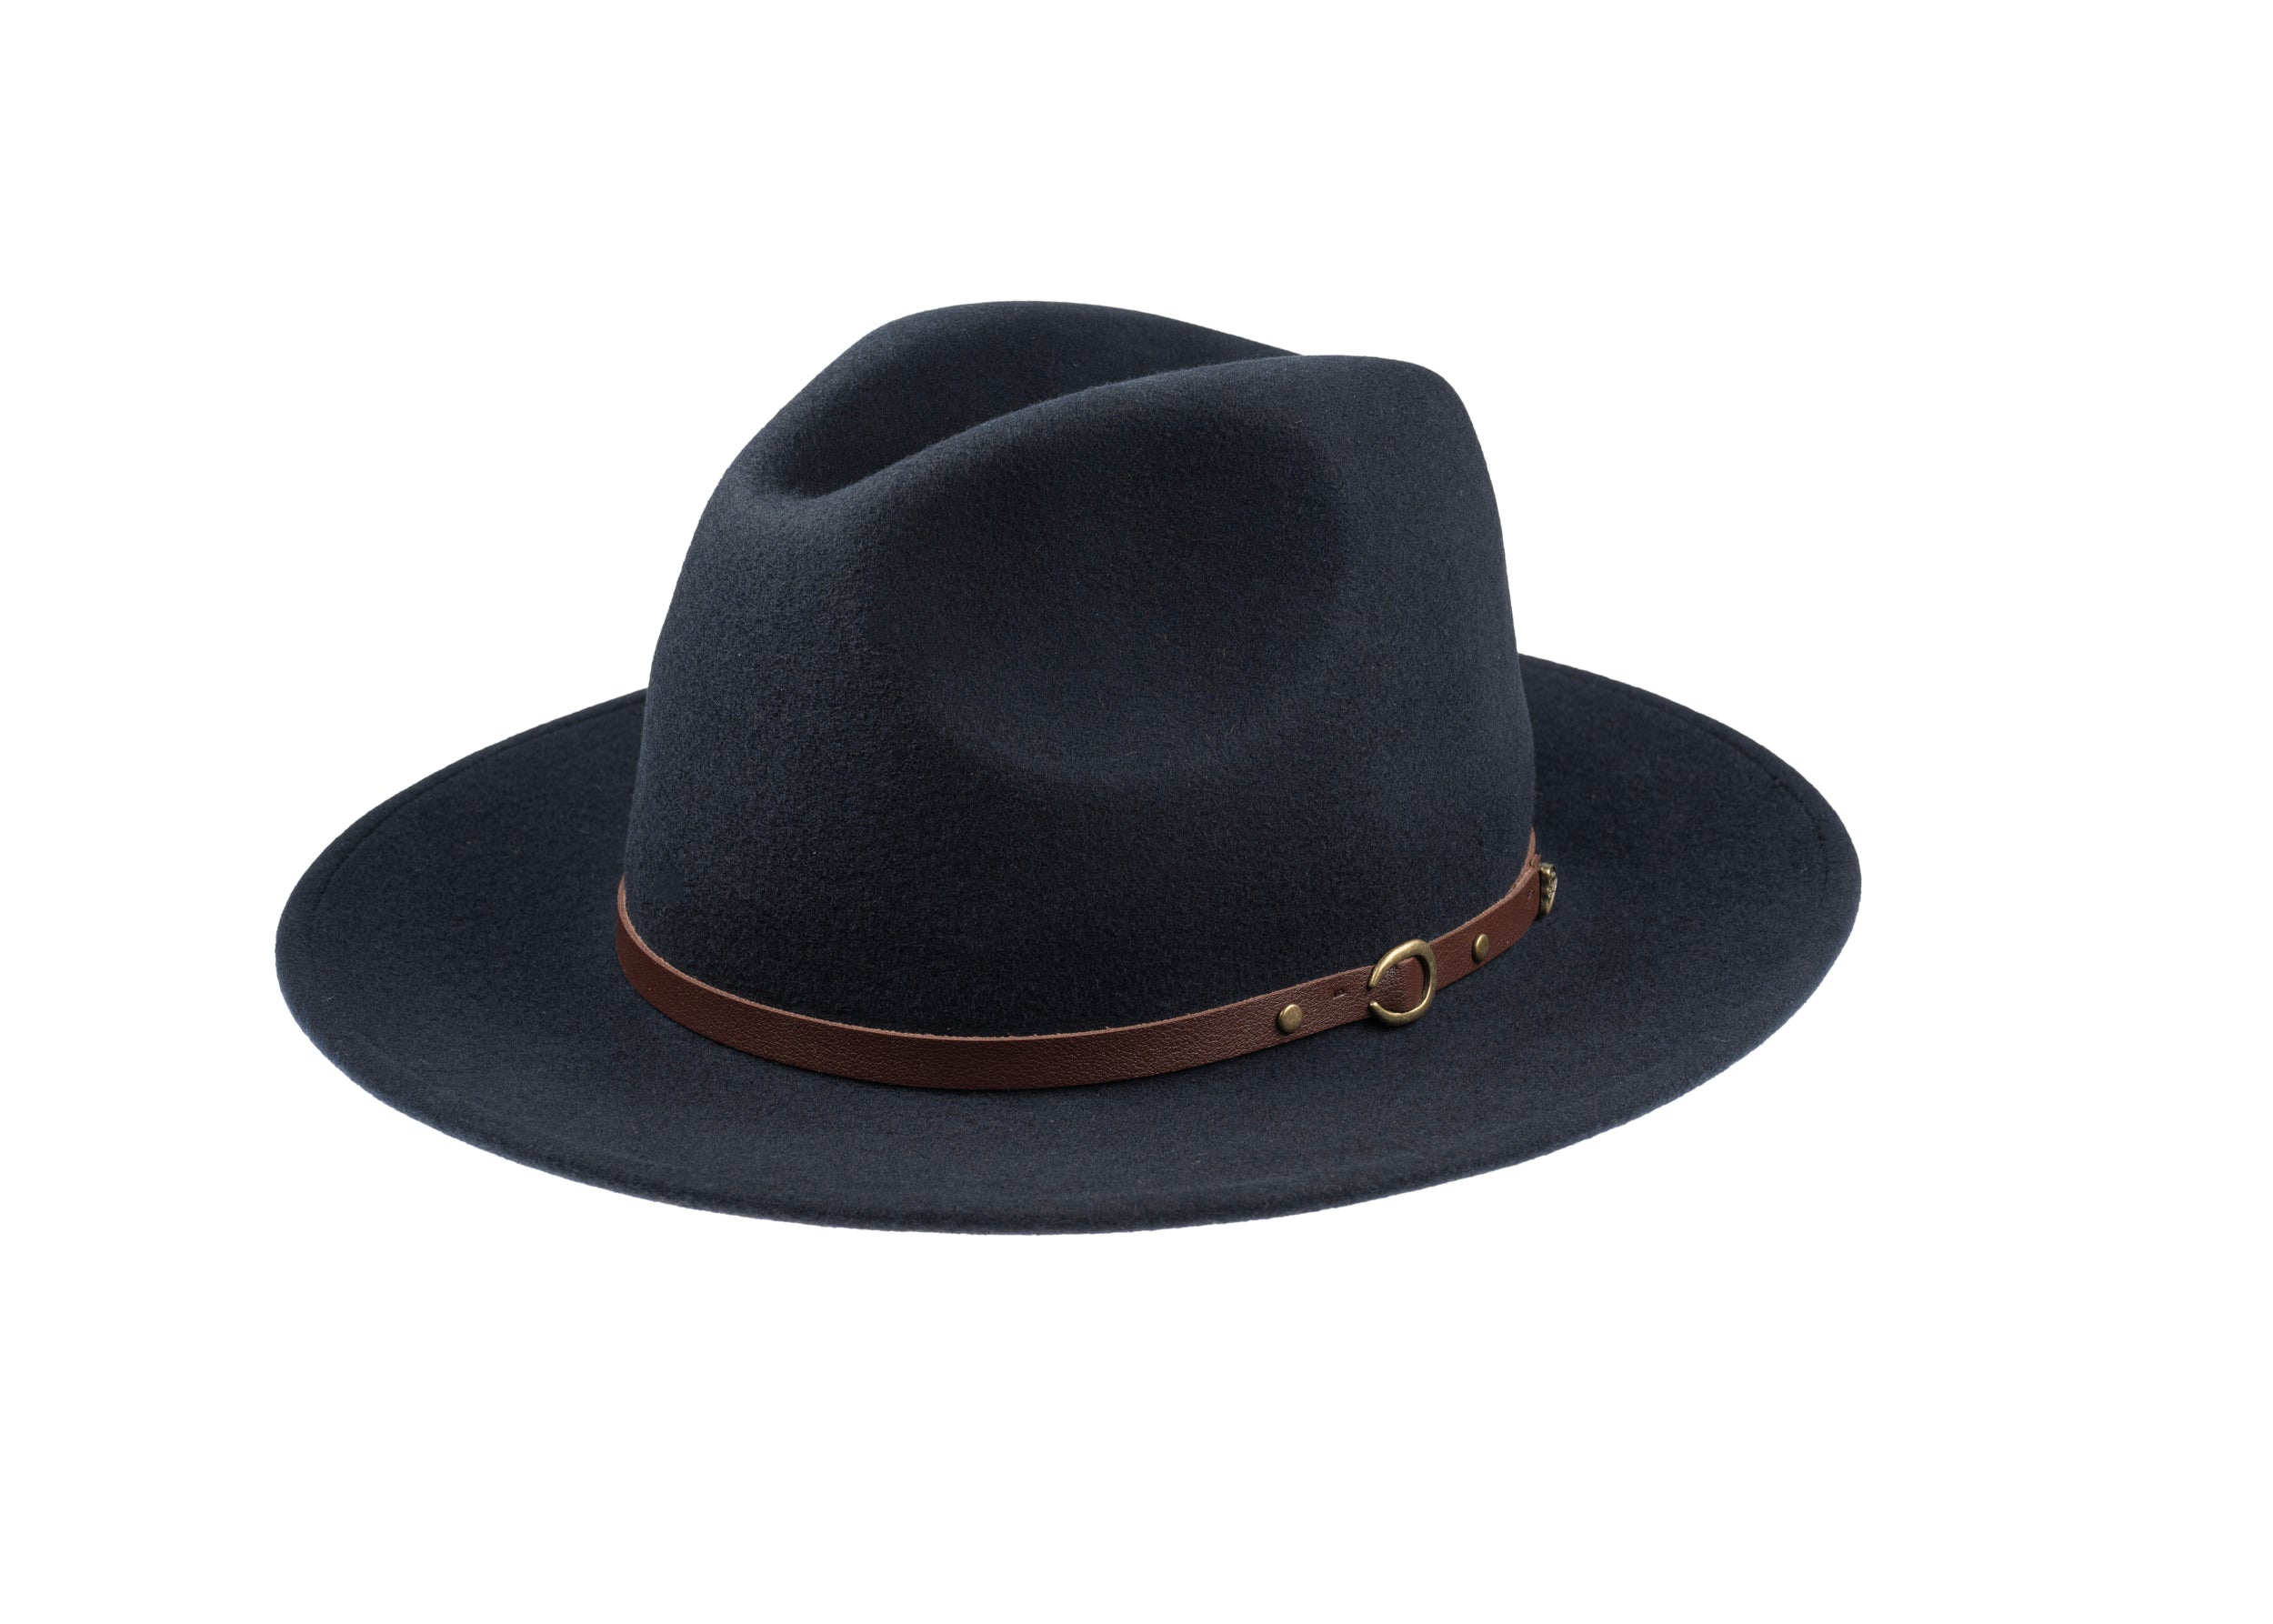
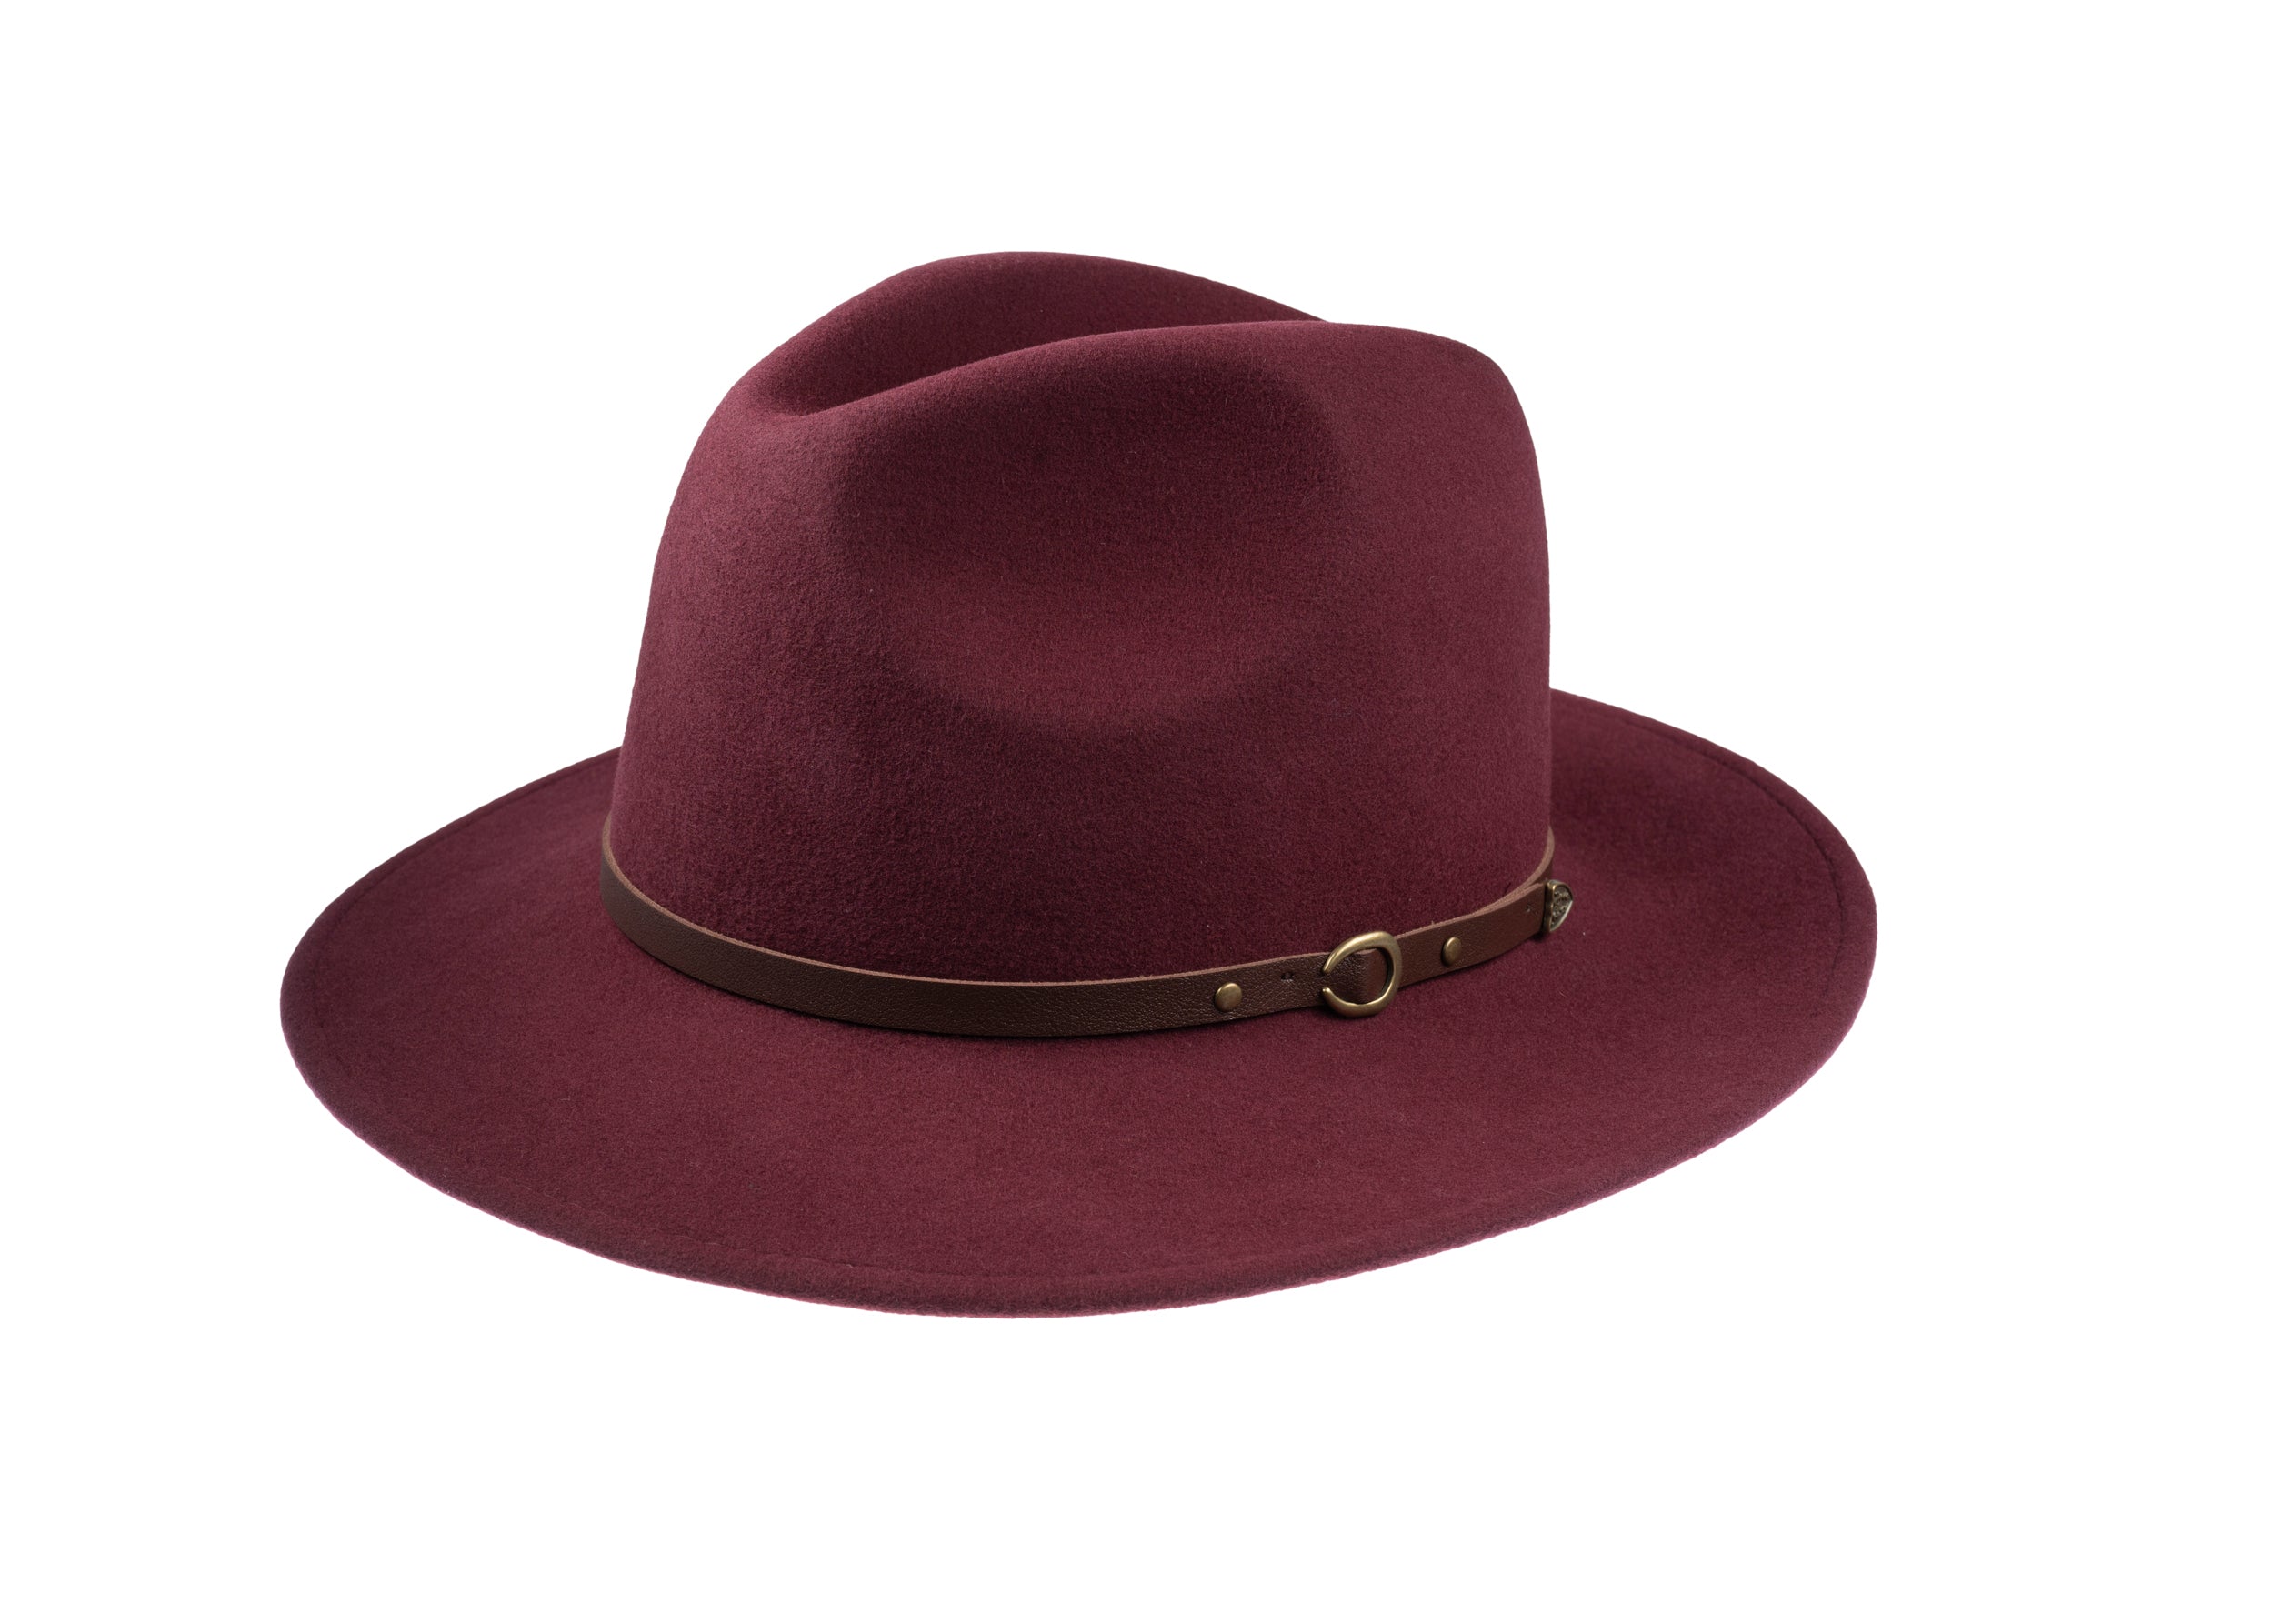
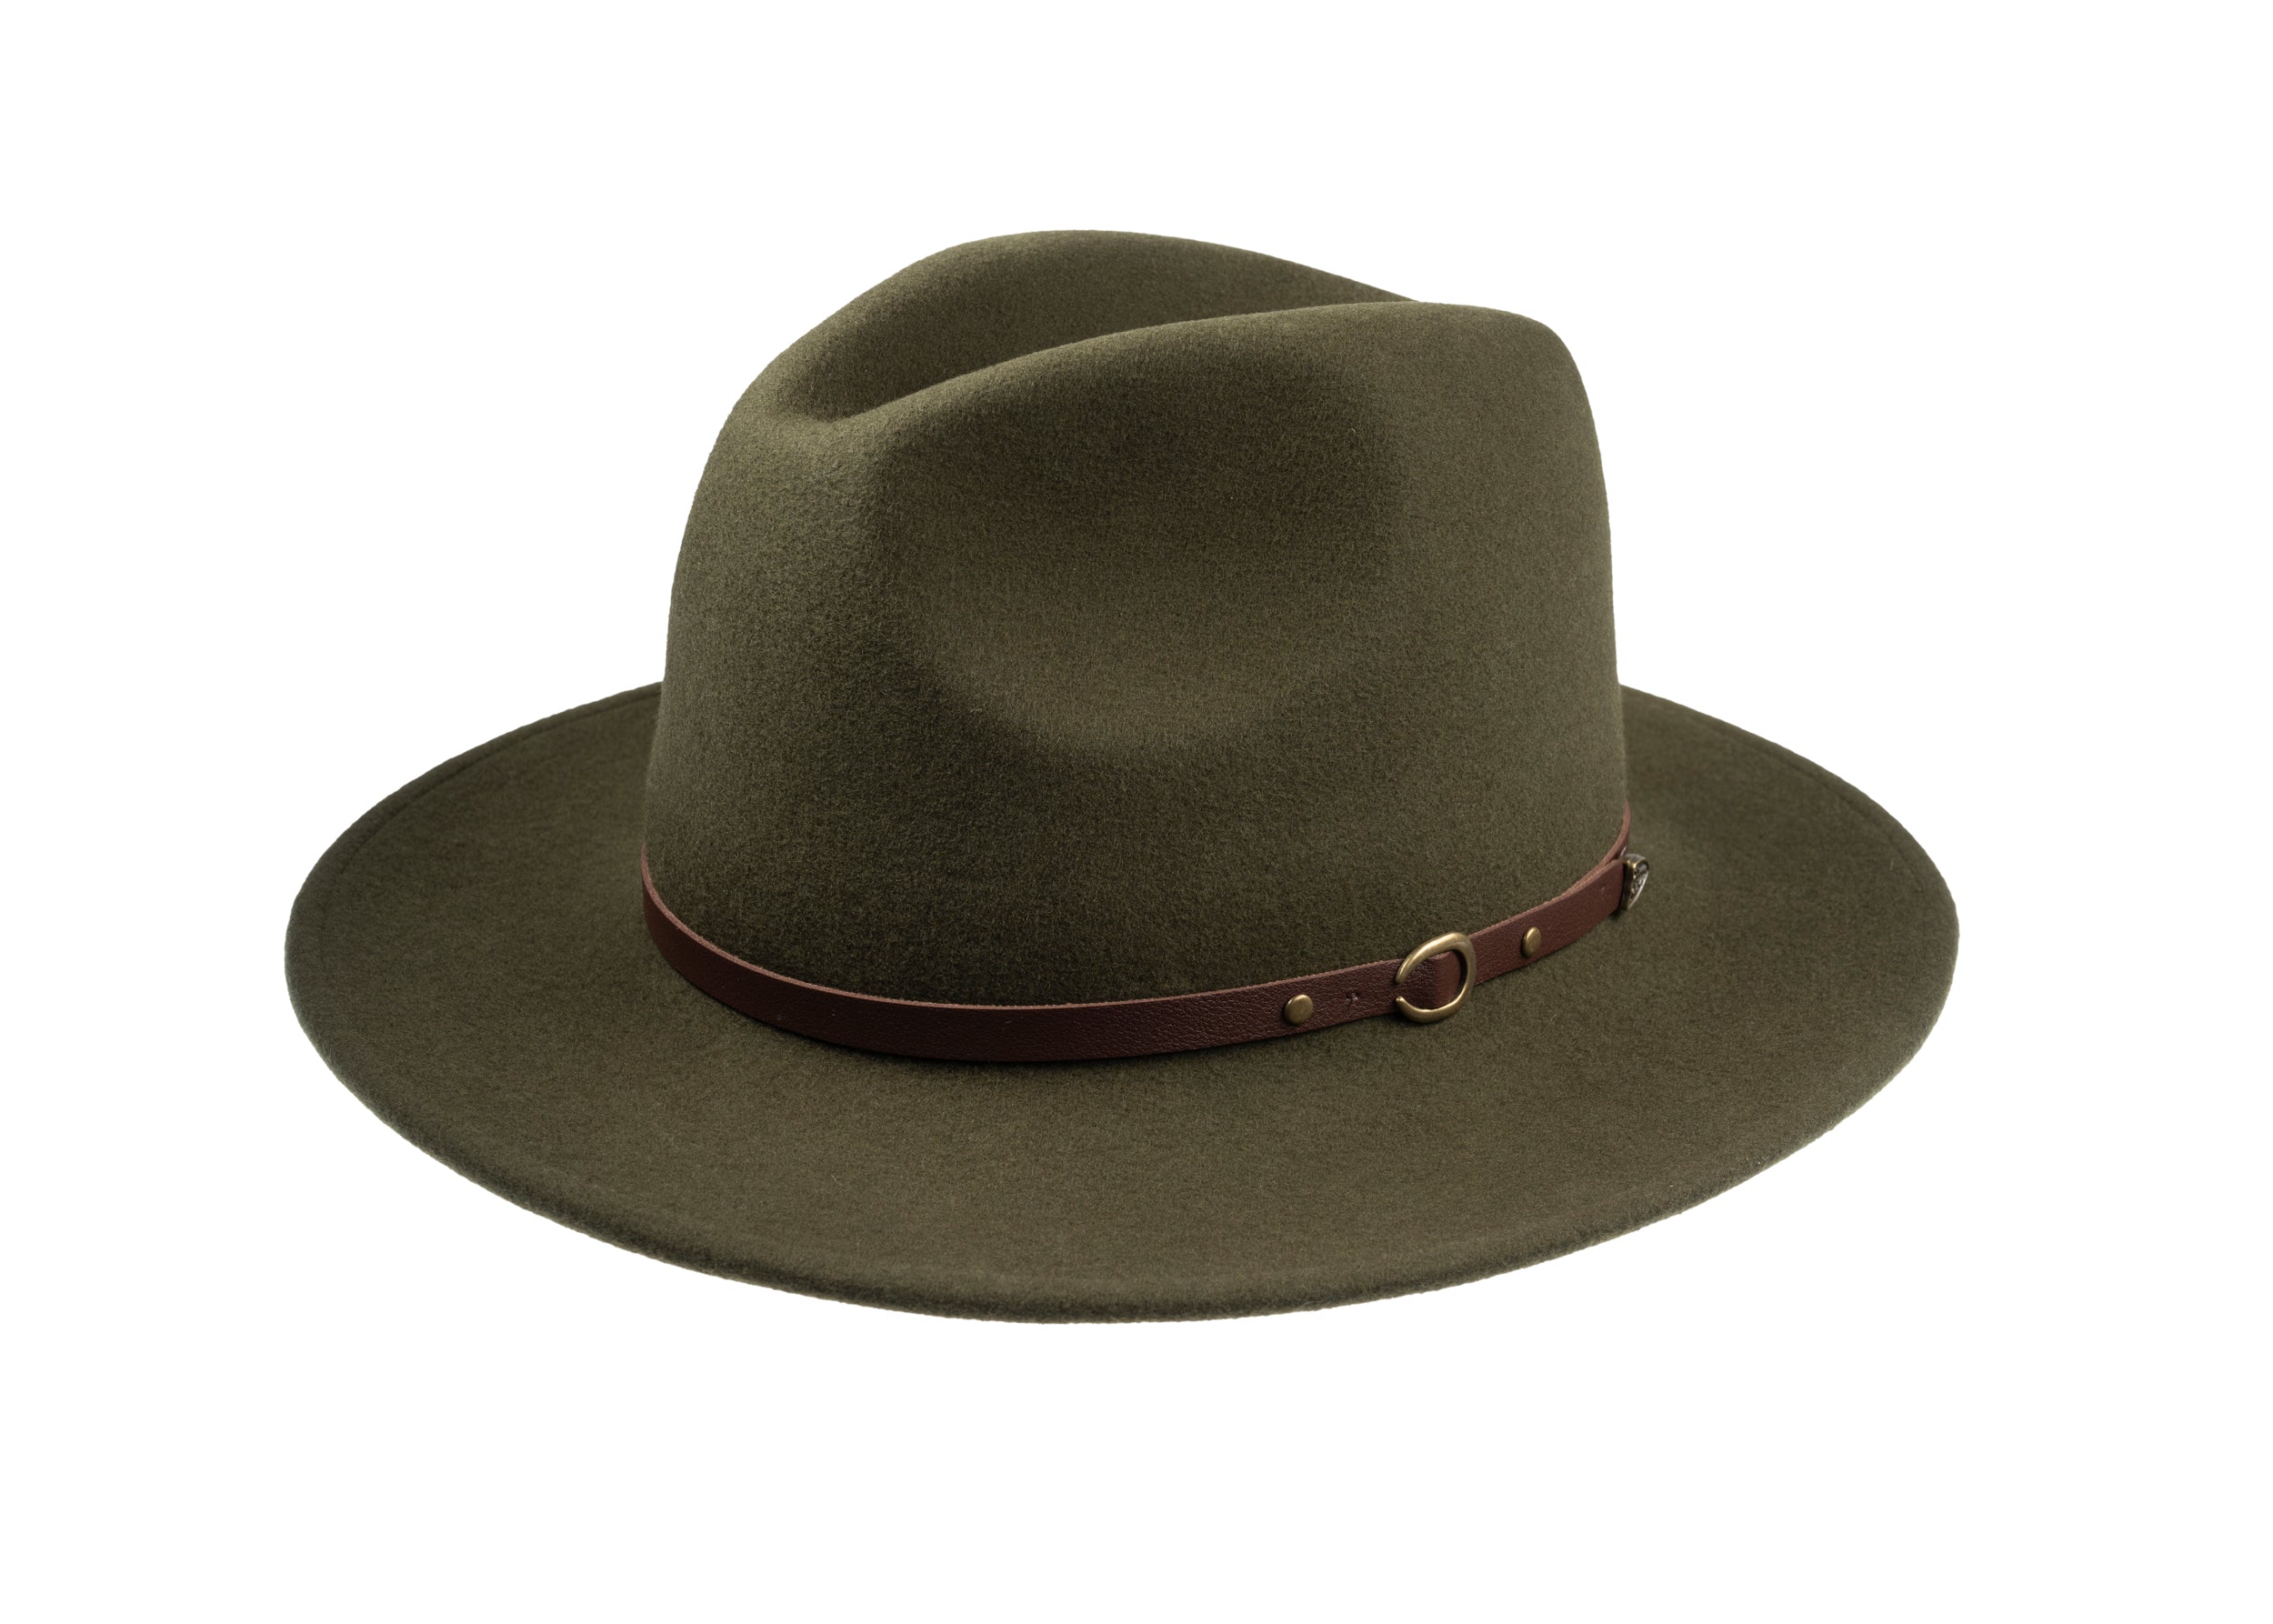
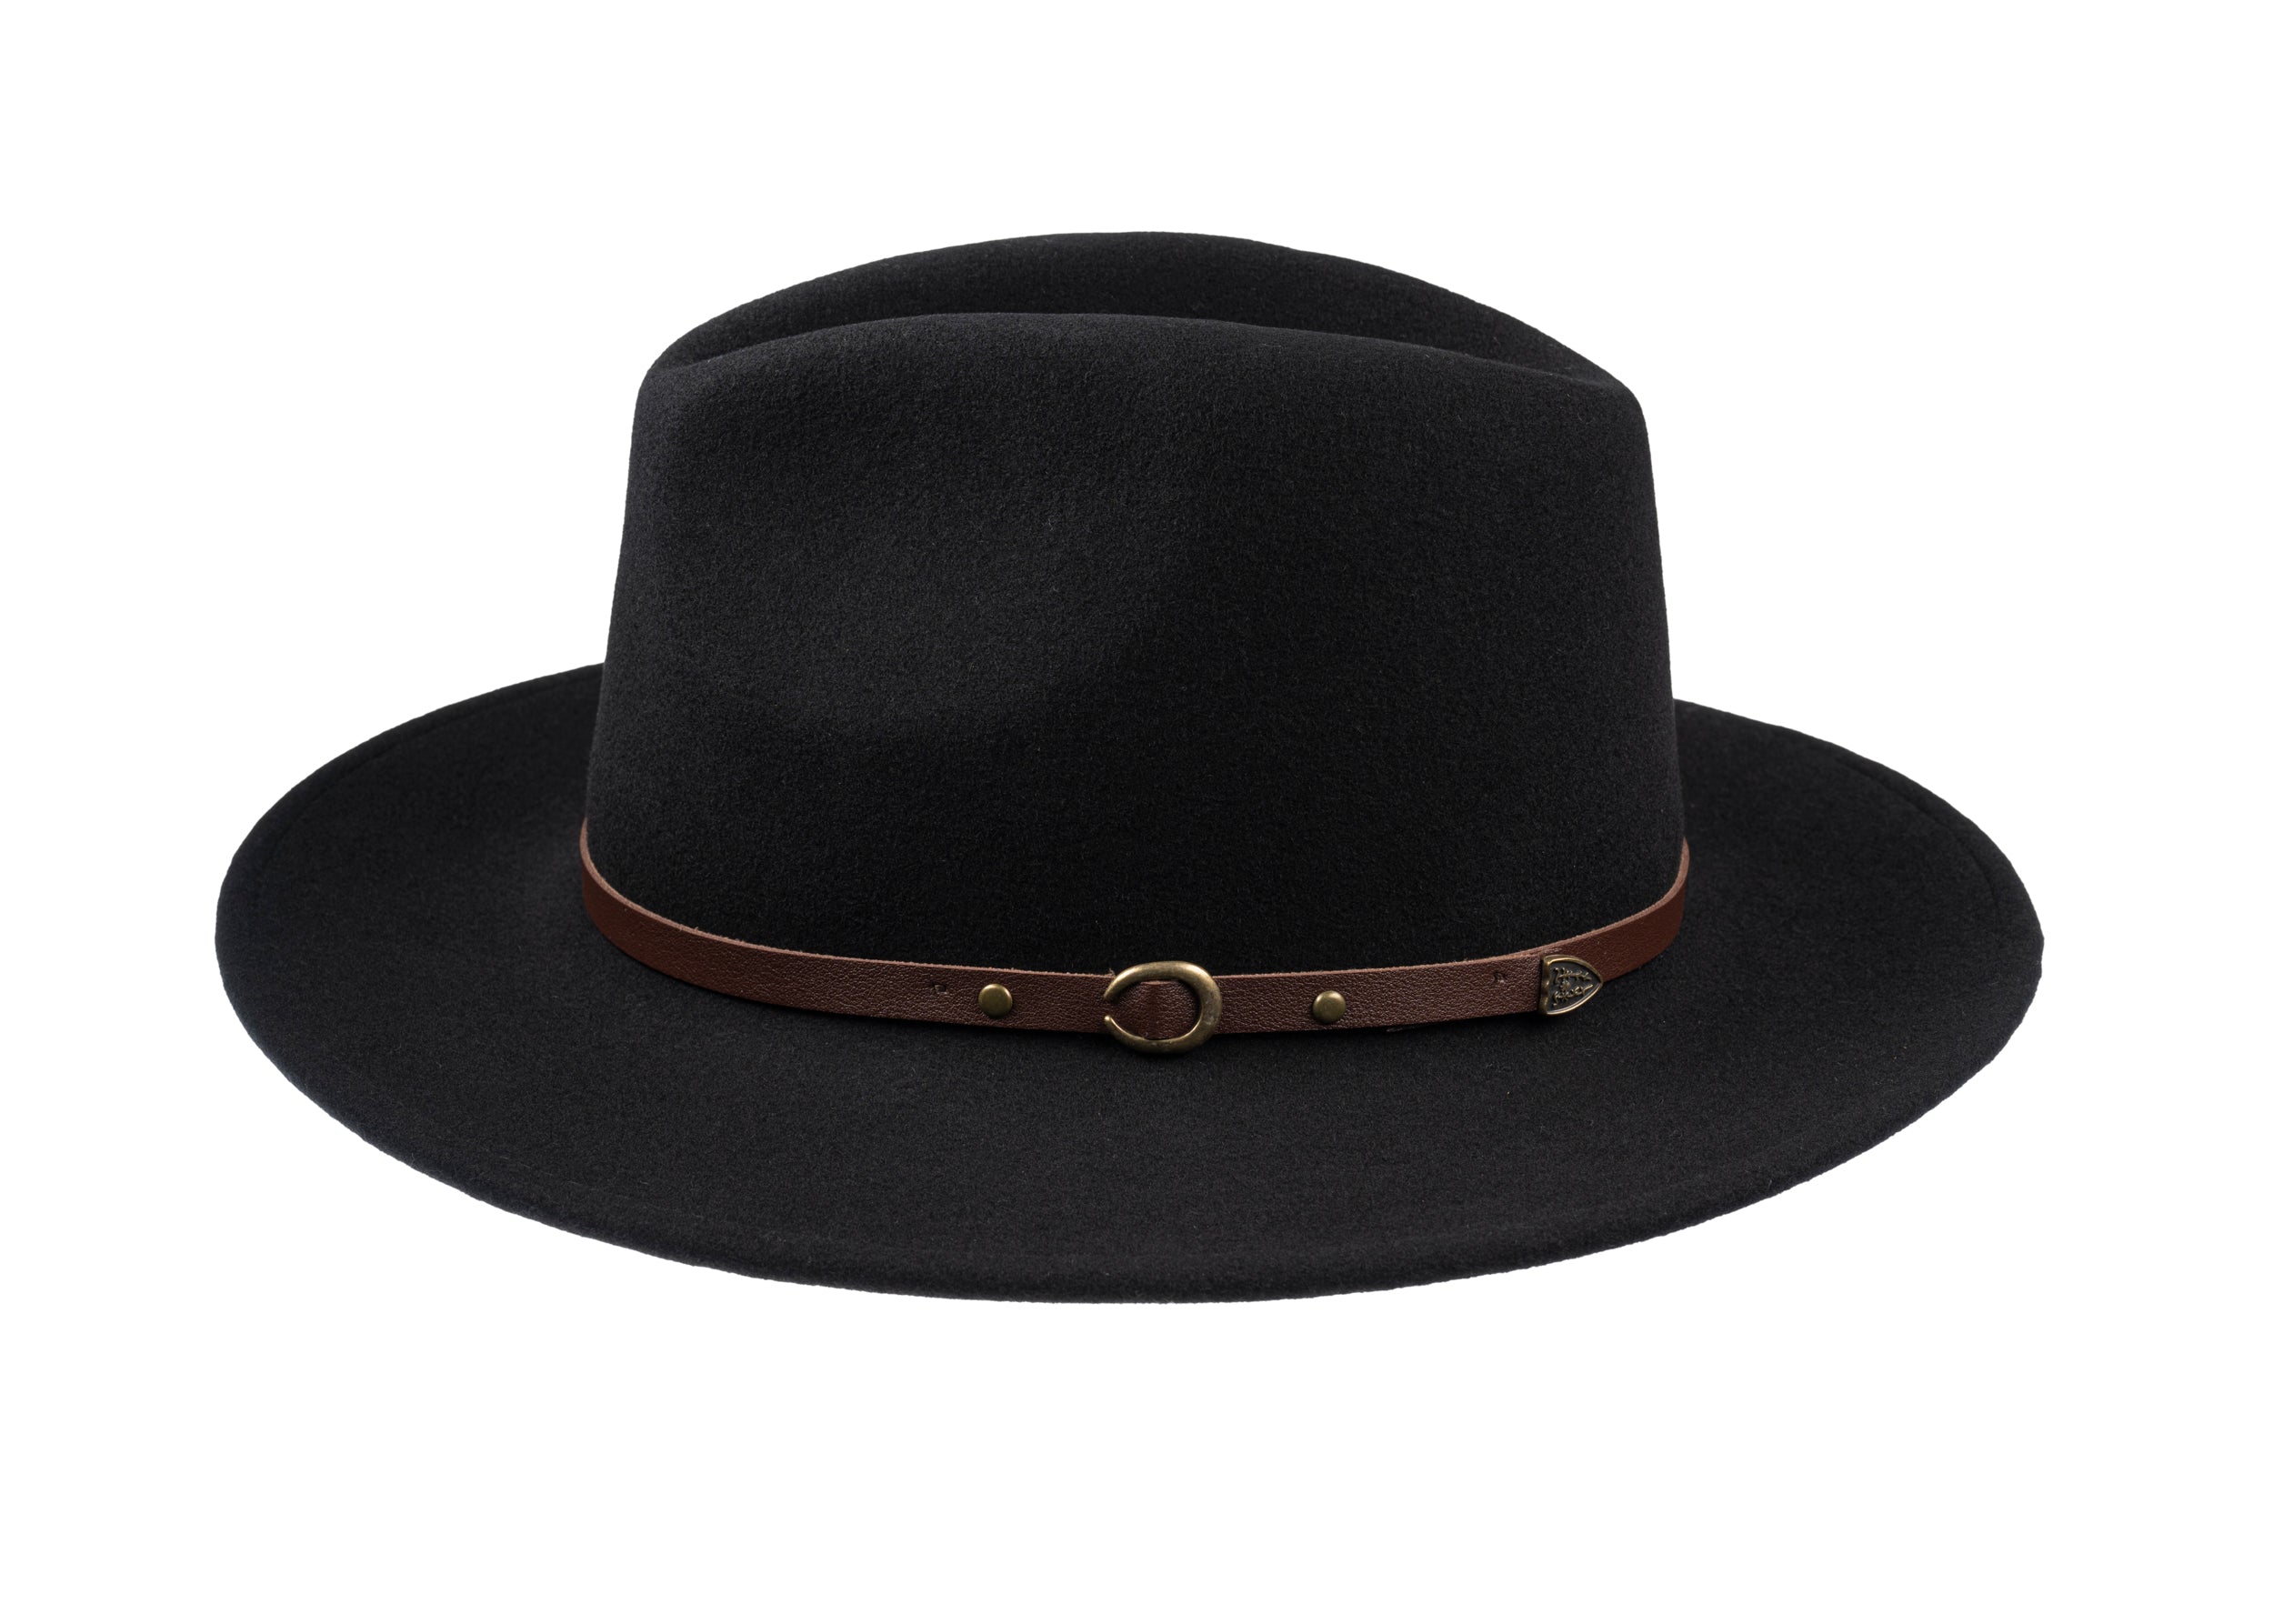
Begin at the bench with a considered selection of fabrics and trims. Favour medium-heavy tweeds, worsted wool, and soft moleskin for authentic drape and texture, and bear in mind that small-scale weaves read well in close-up, while larger patterns resolve better at a distance. Cut a mock crown from each swatch and examine its drape, the direction of the nap, and how the weave reads under the set lighting. Then choose internal trimmings that perform as well as they look: leather or cotton sweatbands for absorbency, cotton-sateen or silk linings to control shine, and plain-backed tapes for neat internal seams. Finally, pin and stitch a trial lining and assess movement and breathability on an actor before committing to the final build.
Specify structural interlinings and hand work that will endure the rigours of filming. Shape the crown with hand-sewn pad-stitching, and insert buckram or a woven horsehair canvas in the peak to provide spring and recovery. Baste by hand, then finish with small, even topstitches so joins read as period-appropriate on camera. Plan controlled ageing and blocking: steam-block crowns to set the form, and apply non-uniform abrasion at high-contact points with gentle rubbing or light brushing to soften nap and sheen while keeping the process reversible. Photograph swatches and test caps under the intended camera and lighting, and maintain a ledger of fabric samples, stitch types, finishing notes, and traces of the ageing technique. Record button styles, binding colours, and label placement so wardrobe and props teams can reproduce or match caps across scenes.
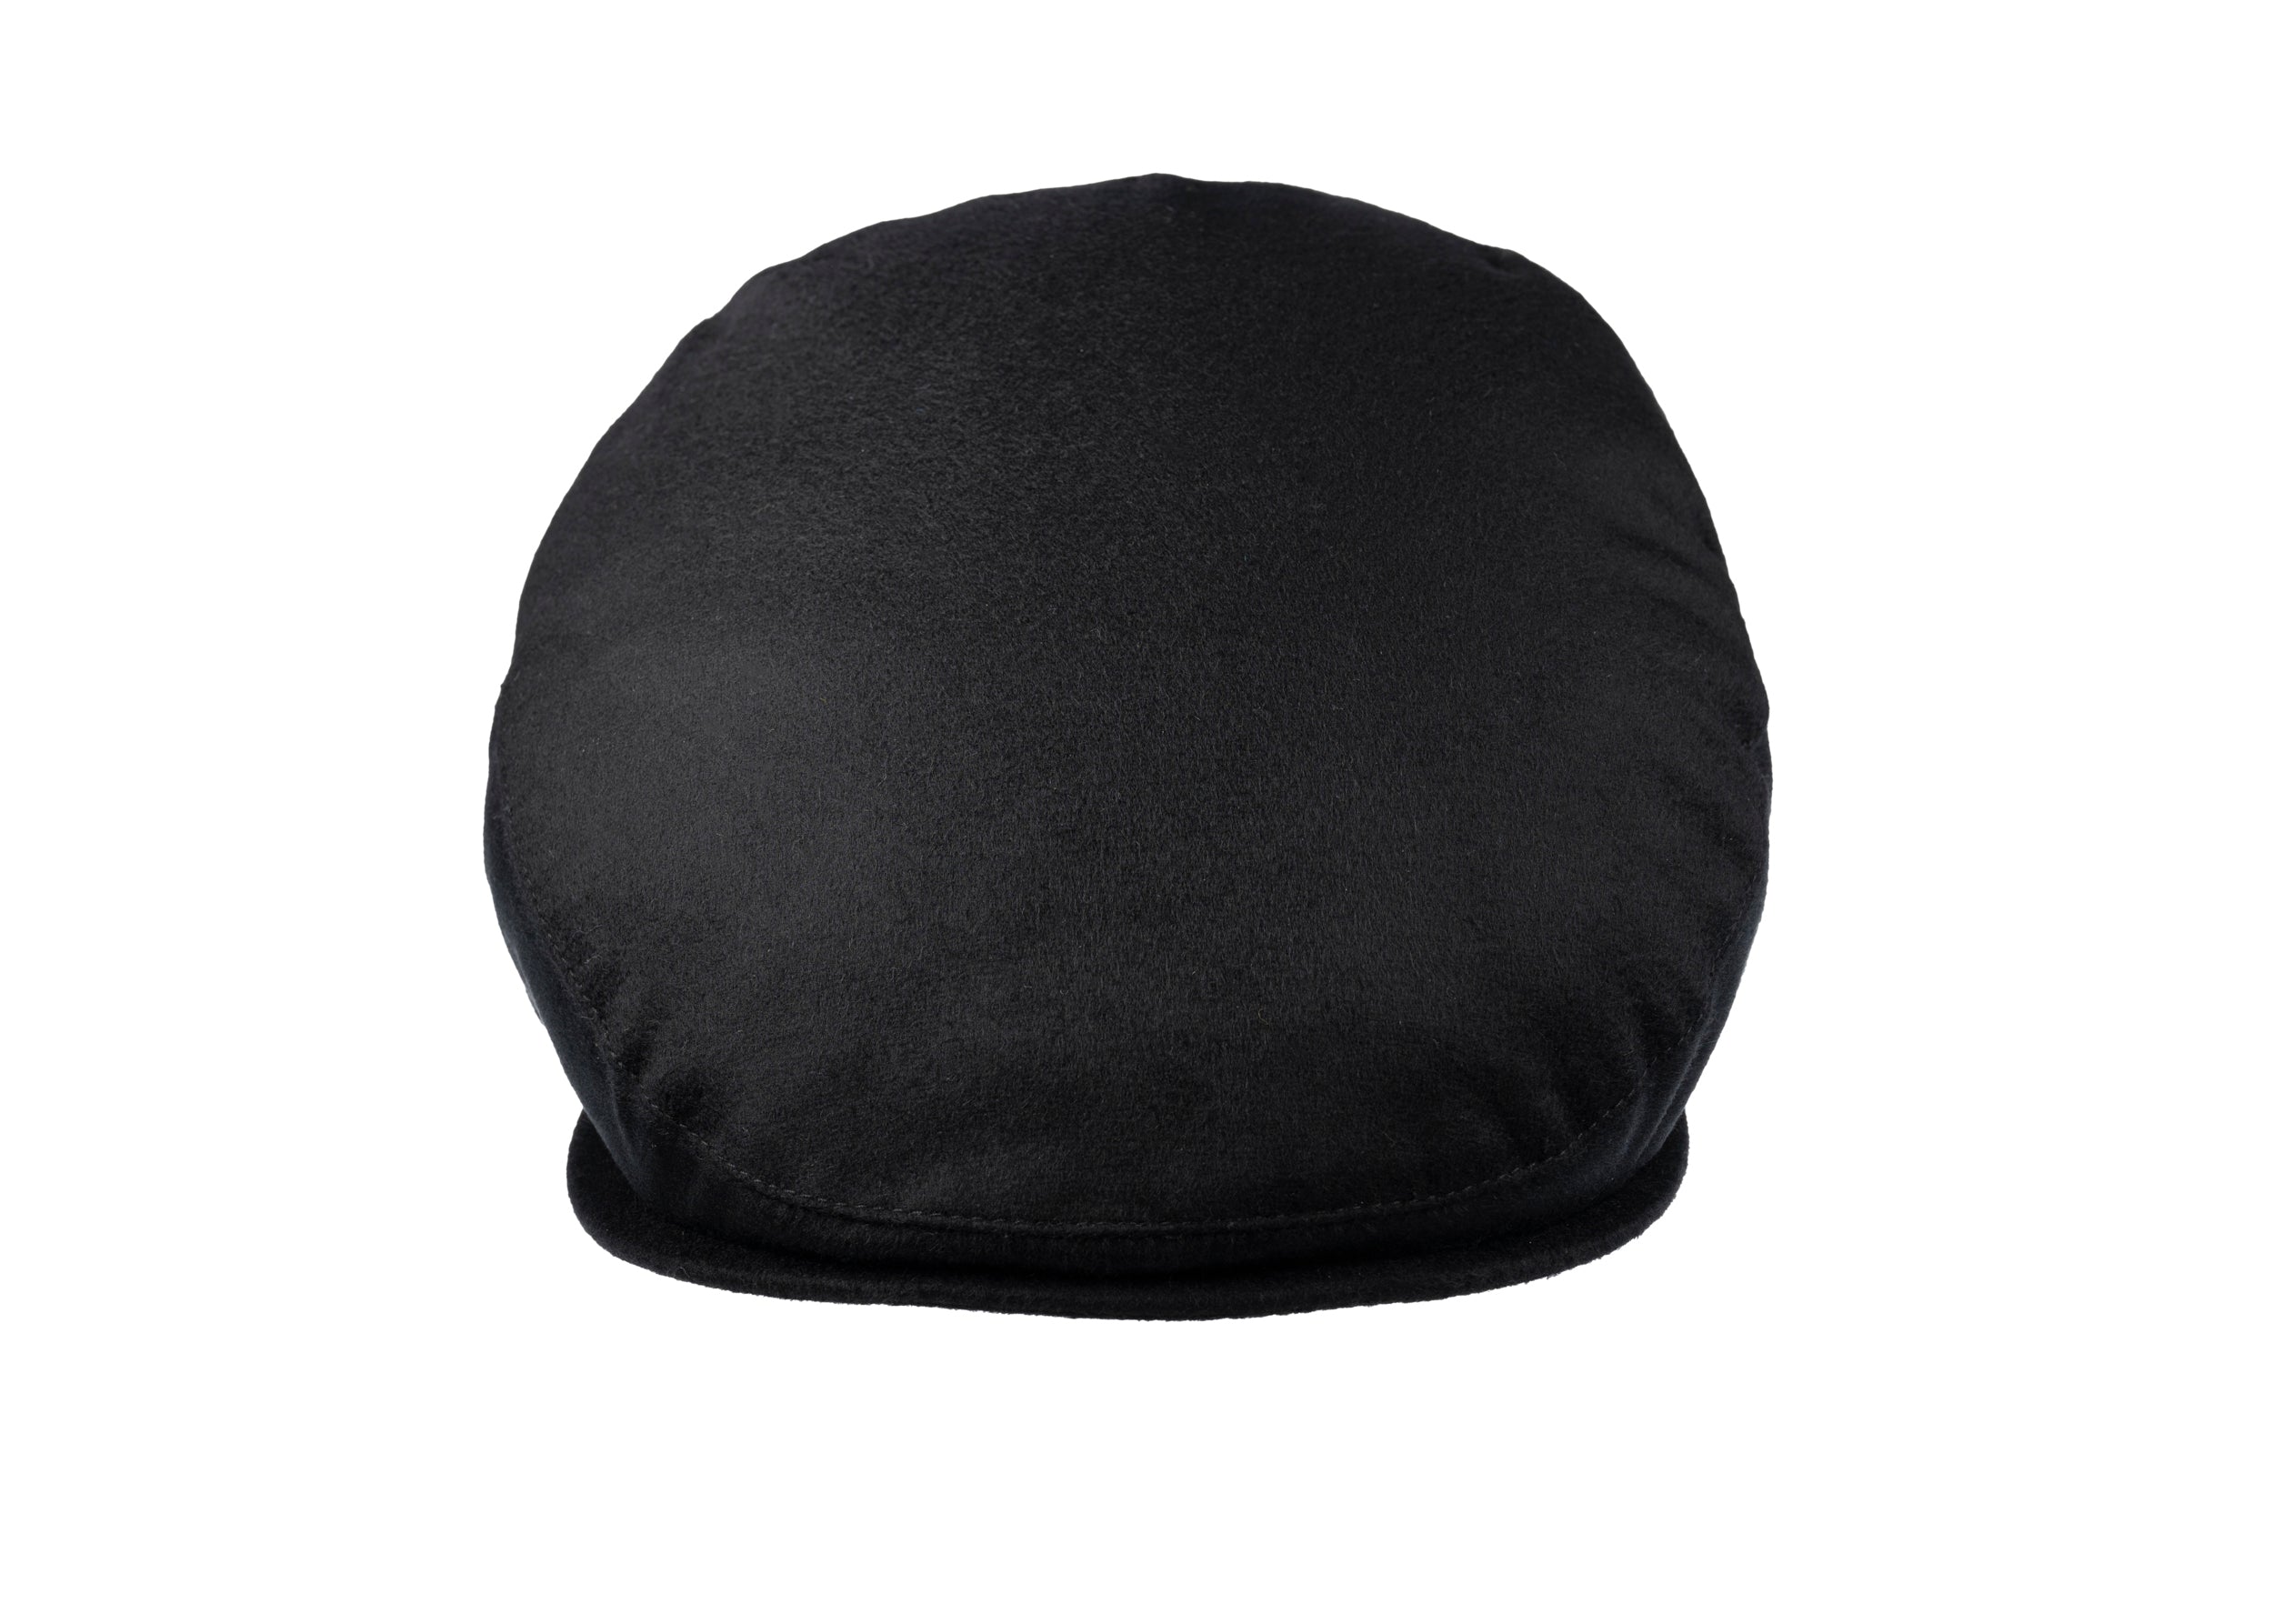
Opt for a highly polished hat for camera-ready detail.

How pattern and cut determine camera-ready hat construction
Patterns and silhouettes are adjusted with the camera in mind. Crowns may be slightly flattened or deepened, brims altered, and seam lines shifted after photographing test swatches at the intended distance and with the chosen lens so motifs scale correctly and the cap reads on camera rather than resolving into visual noise. Fabrics are cut with a consistent nap and grain, and stripes or checks are repositioned to avoid distracting diagonals. Matte weaves are preferred to minimise specular highlights; camera swatches under the set lighting reveal any unwanted sheen or moire. Panels are re-cut where necessary until texture and shape register in the frame, rather than compete with it.
Milliners and costume workshops control a cap’s internal structure with selective interfacing and hand pad-stitching, using lightweight canvas only where shape is required so the cap sits softly without bulk. Seam allowances are trimmed close to the face so edges read thin on camera. Each shell is hand-blocked on a wooden or resin block shaped to the performer’s head, then pinned and steamed to set the curves, before being finished with hand-rolled bands and blind-stitching to the lining. Costume teams photograph the blocked cap from the intended camera angles and refine pad-stitching or pressing to soften any harsh silhouettes, keeping duplicates blocked to the same head for continuity. Interiors are labelled with actor, look, and scene notes, and a small repair kit, together with a multi-angle photo log shot under set lighting, allows hair, props, and costume to match wear and enables rapid on-set fixes.
Camera-ready headwear protocol
- Camera-testing checklist: set the intended lens and shooting distance, recreate on-set lighting and camera settings, photograph swatches and blocked caps from the planned angles, evaluate scale, moiré, and specular highlights, and log pass or fail with specific adjustment notes.
- Fabric and surface treatment guidance: favour matte weaves, control nap and grain, reposition stripes and checks to avoid diagonal distractions, apply selective interfacing and hand pad-stitching, trim seam allowances near the face, and photograph treated swatches to confirm texture reads rather than reflects on camera.
- Blocking, fit and continuity workflow: hand-block each shell on an actor-specific wooden or resin block, pin and steam to lock curves, keep duplicates blocked to the same head for continuity, label interiors with actor, look, and scene, and maintain multi-angle photo logs plus a small repair kit and quick-fix notes for on-set matching.

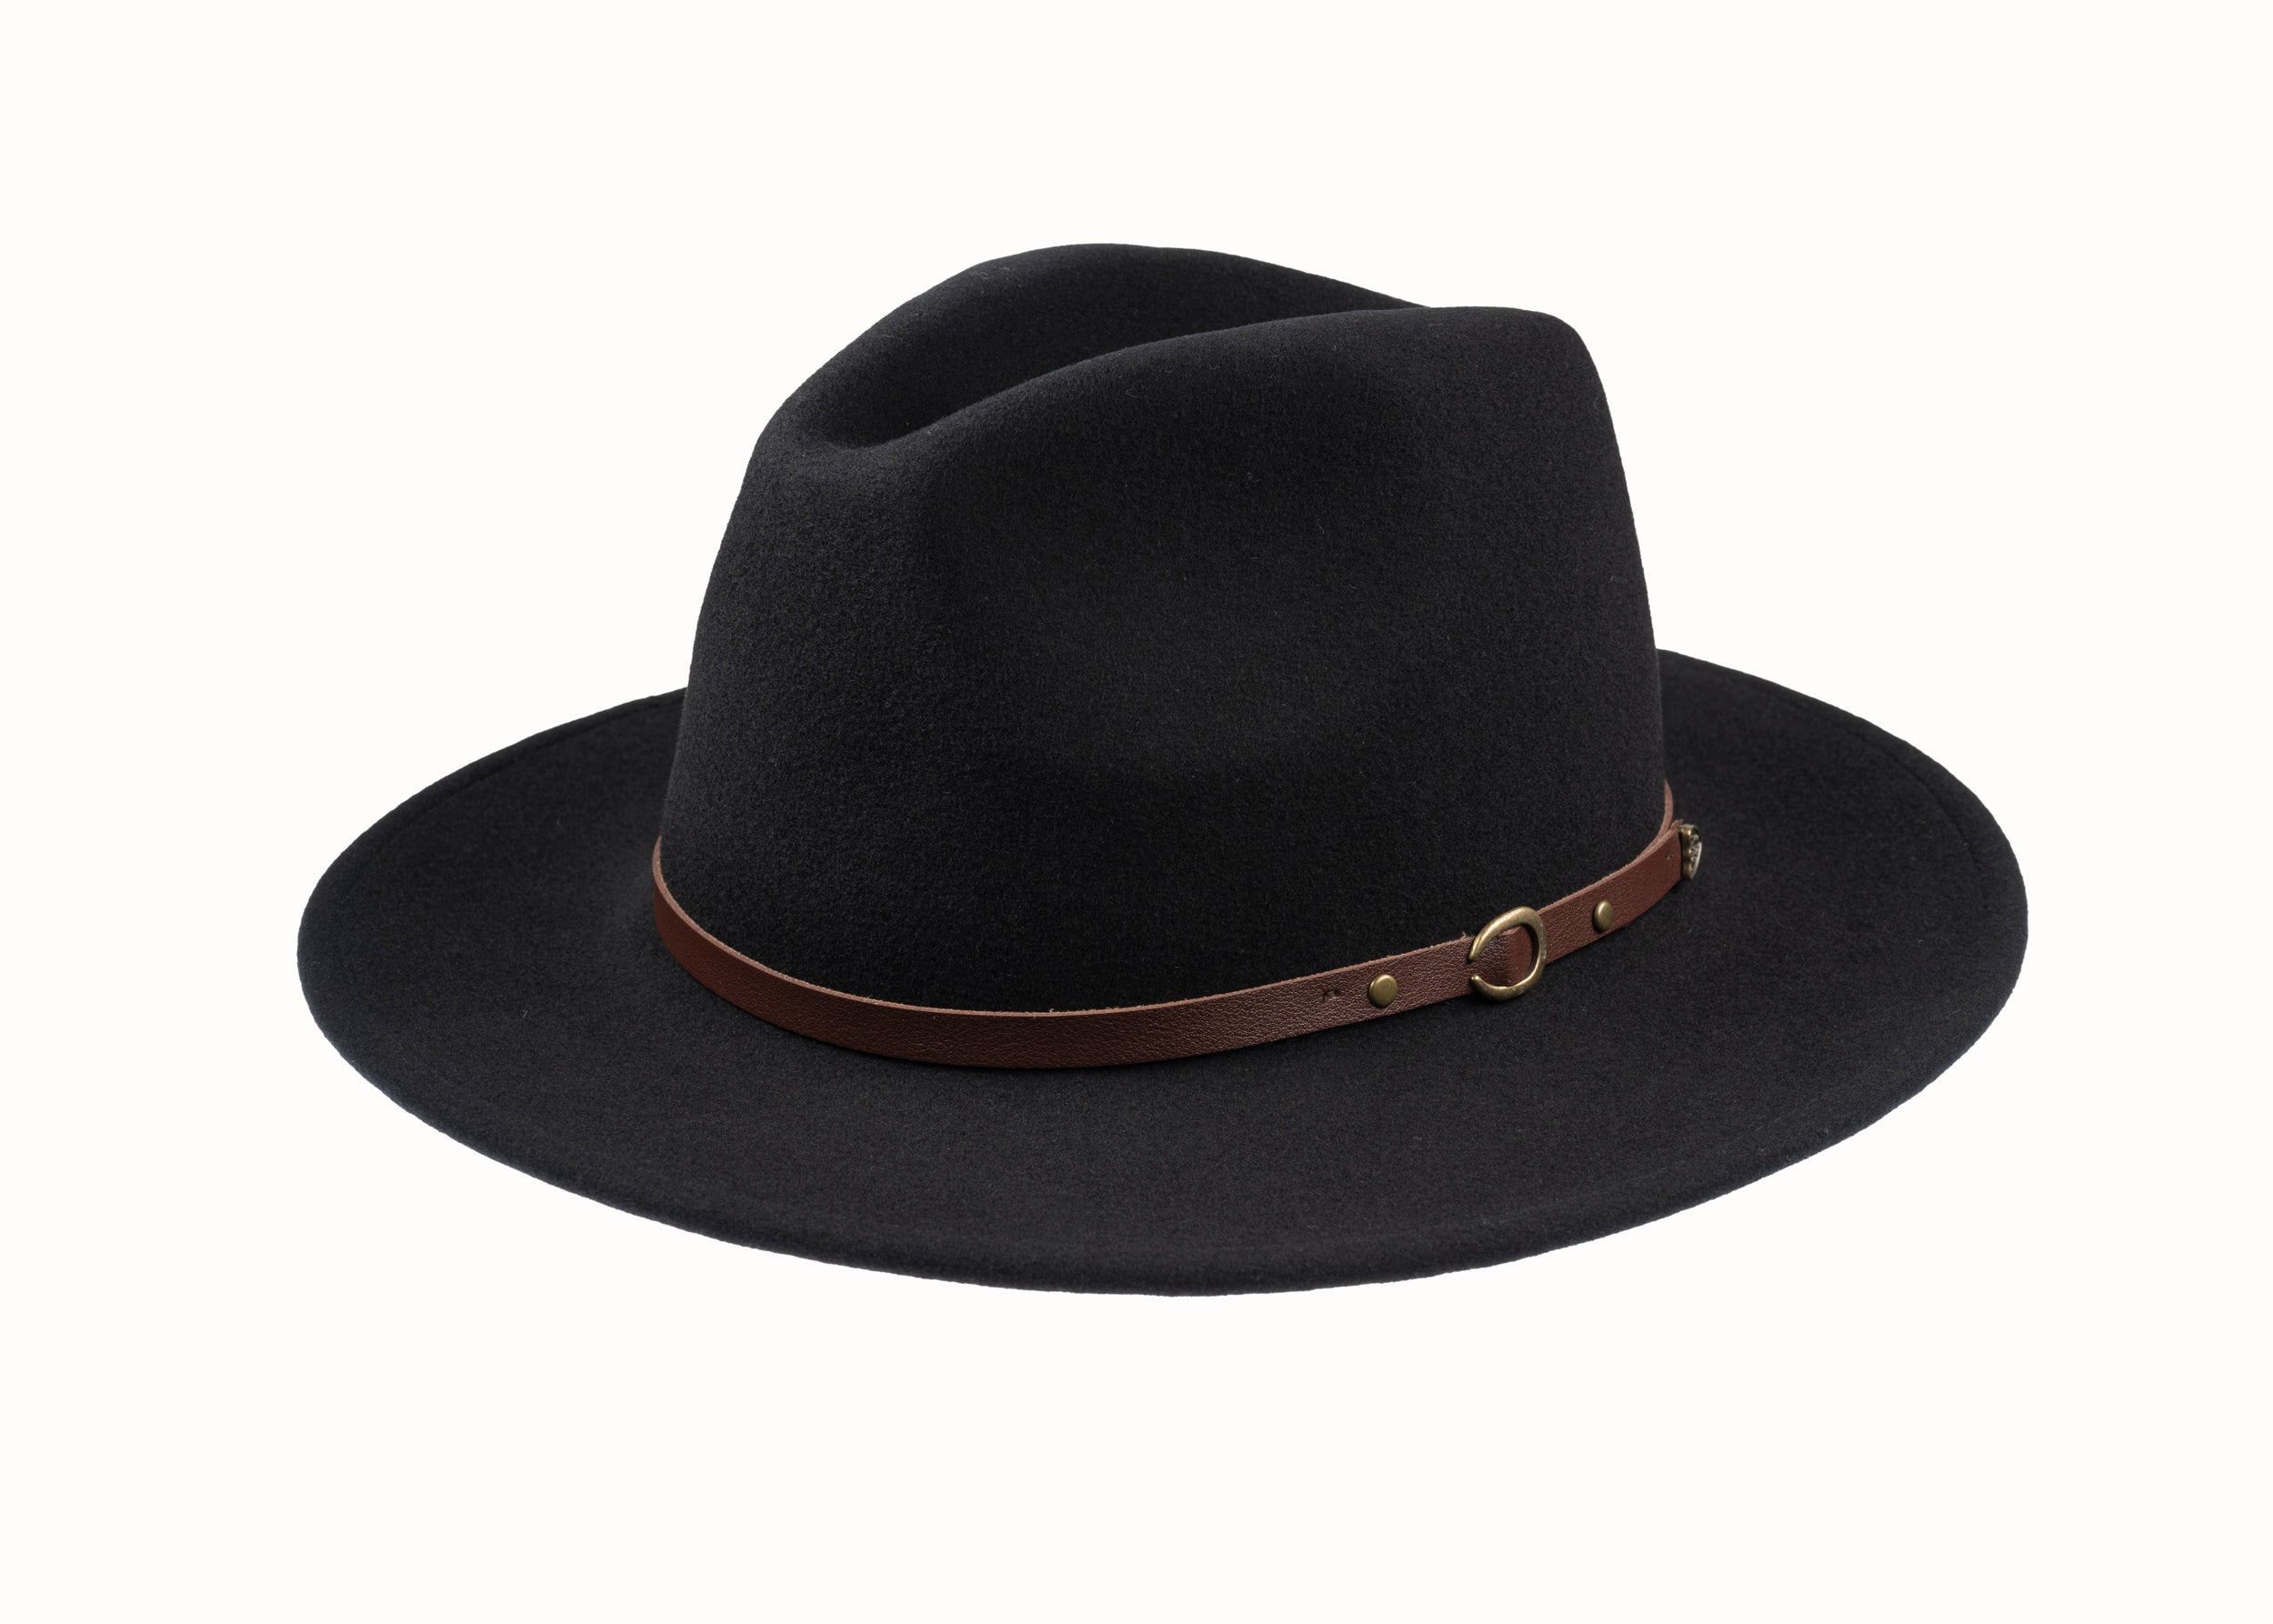
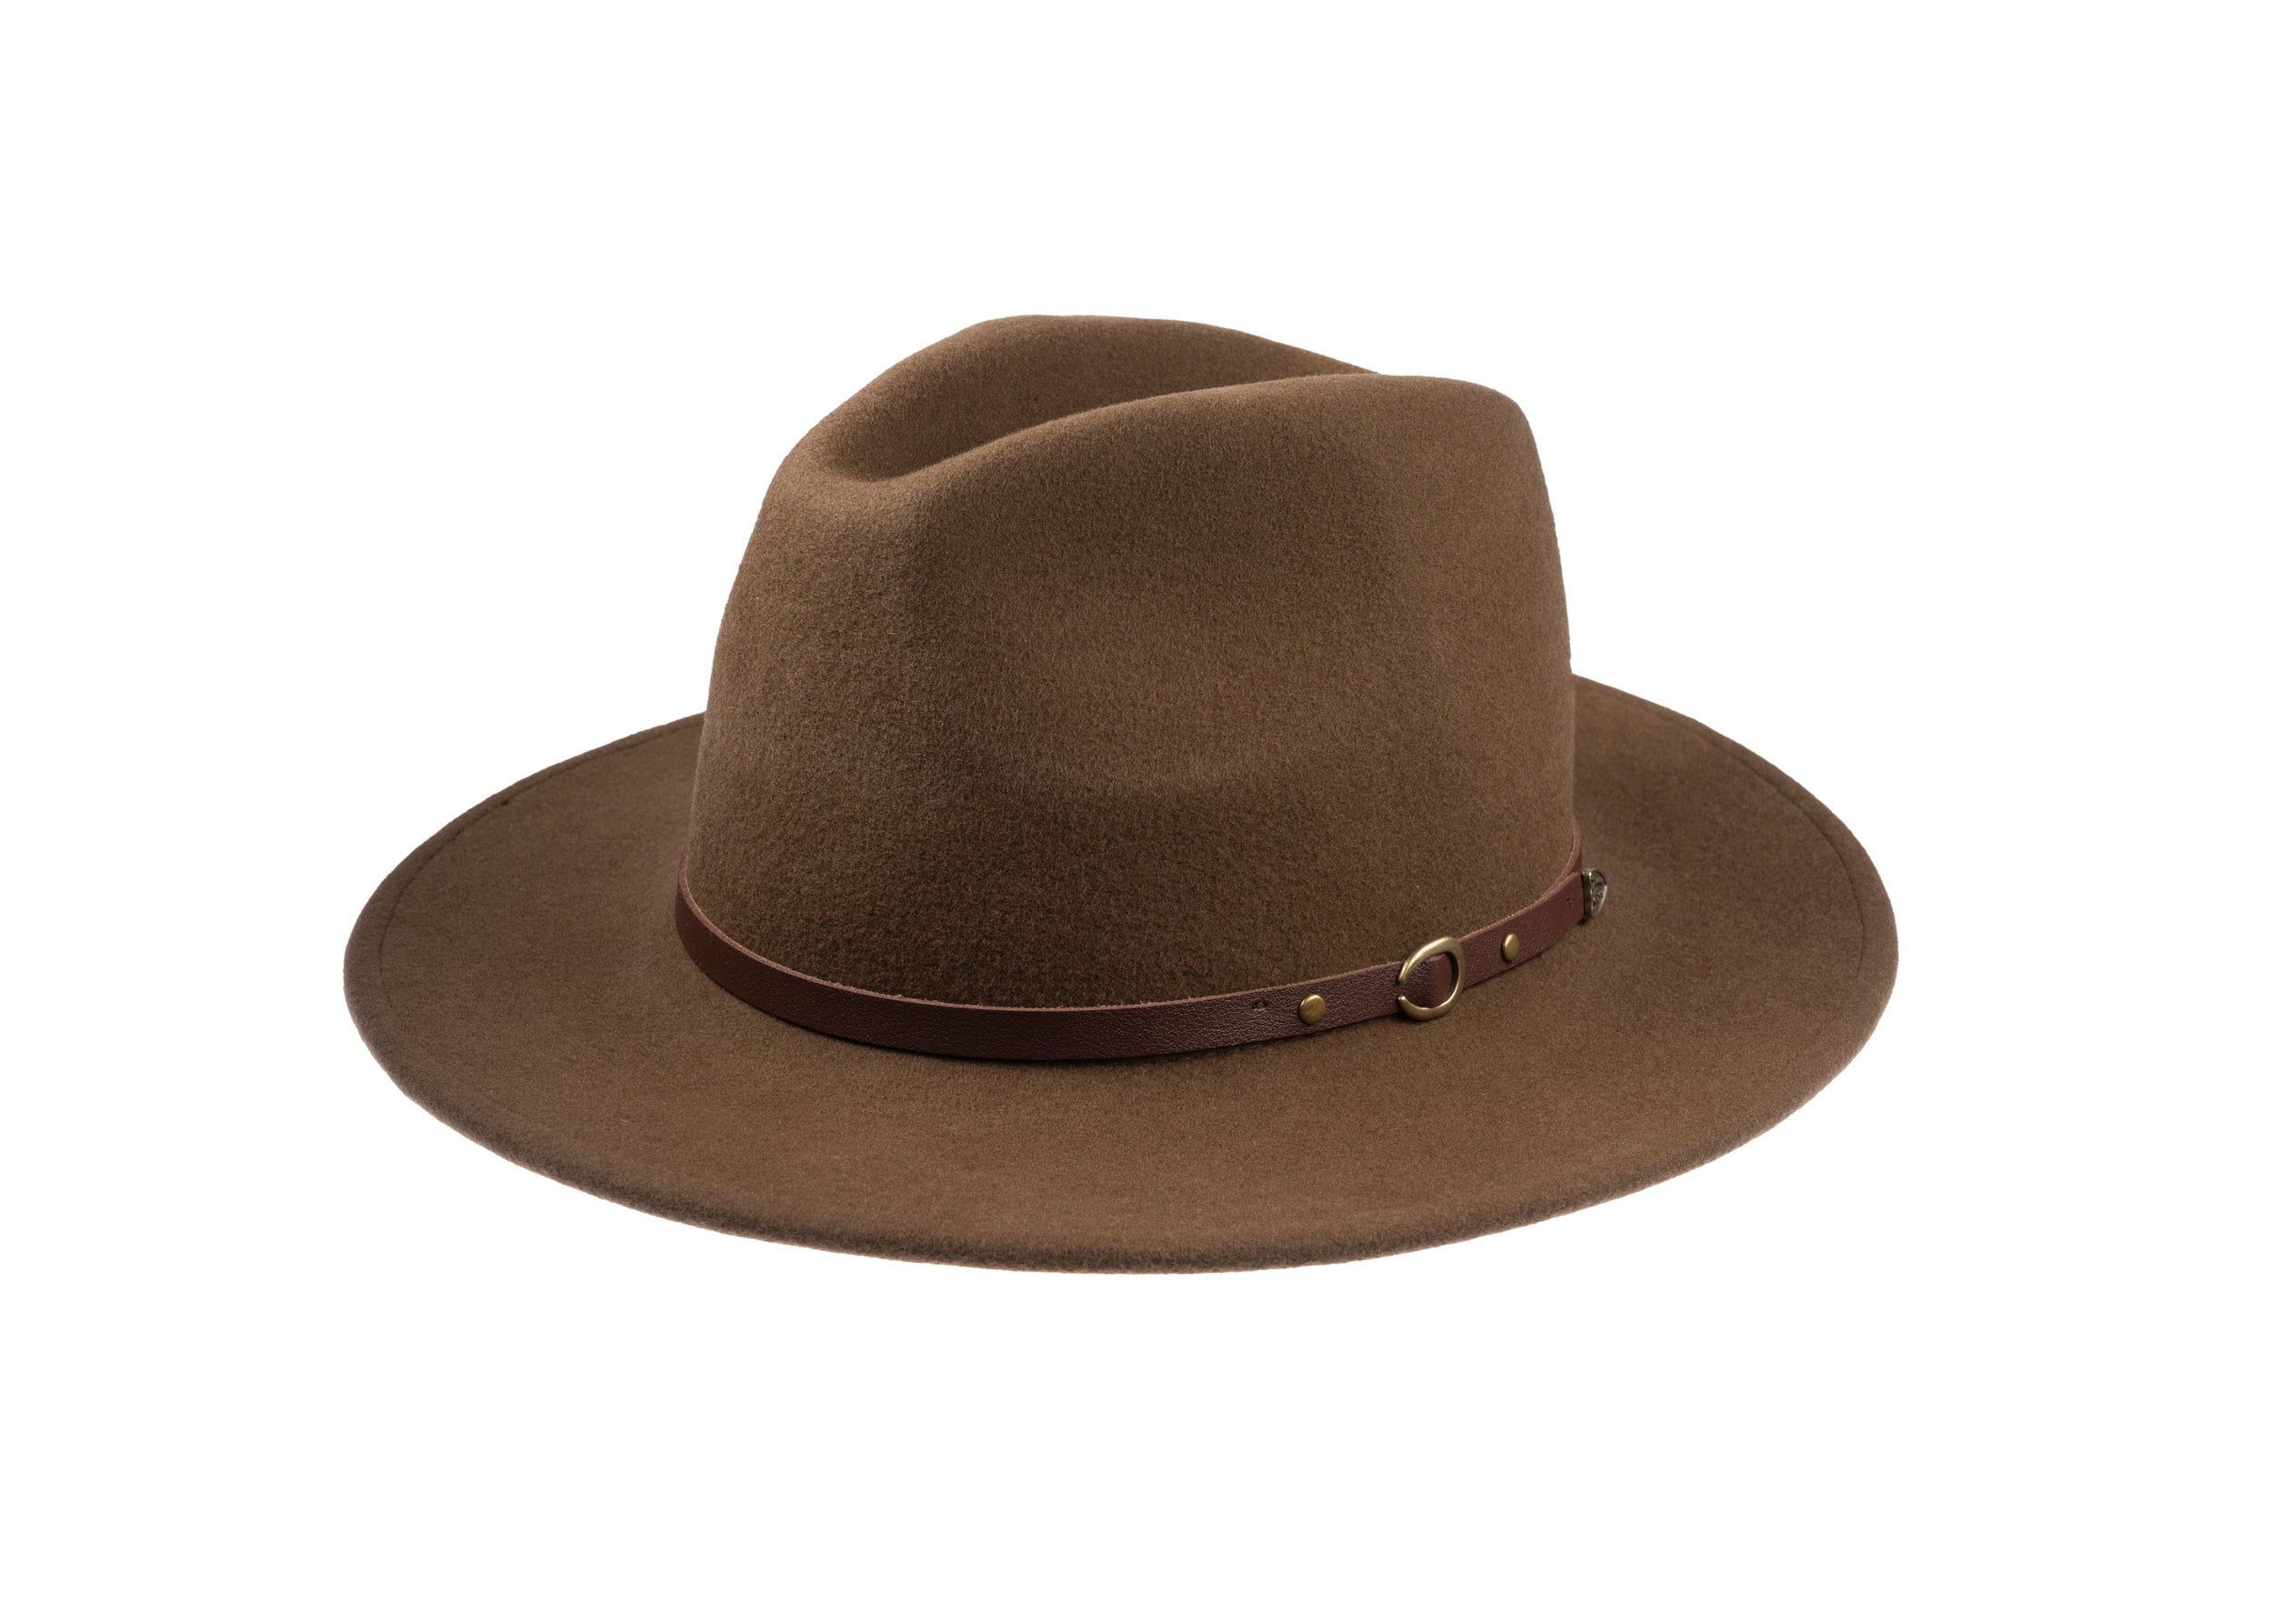
How hand finish, shape, and age translate on screen
Cloth weight, weave, and interlining determine a cap's on-screen silhouette. A denser canvas behind the crown and peak preserves a crisp profile under hot lights, while a lighter, looser lining permits natural slouch and creasing that reads as wear in medium shots. Makers choose weave texture and nap to control sheen and how the camera catches light, and they vary interlining thickness to balance movement with structure. For shaping, cutters steam and mould the cap on a block sized to the actor, pinning or tacking in small increments and photographing profiles from three angles to confirm crown height and peak roll. Those incremental tweaks are decisive: subtle shifts in crown height or peak roll change the character shorthand the camera reads.
Hand-finishing focuses on stitchwork, edge treatment, and nap control. Consistent hand-stitch lengths, hidden tacks at stress points, neat sweatbands, and edge binding reduce fray and withstand close inspection better than machine-only seams. Nap, the raised fibres of the fabric, is managed so it lies and recovers where it meets the face or brim. Ageing treatments employ targeted abrasion, dilute dye washes, and selective flattening of the nap in high-contact zones; each technique is tested under production lighting and on camera to ensure the wear registers as authentic rather than exaggerated or flat. On set, teams keep labelled copies for close-up and stunt work, maintain a visual log with photographs and notes, and carry a small repair kit. A routine of light steaming, brushing, and pigment touch-ups allows continuity to be reproduced consistently. These are the details that reward closer inspection.
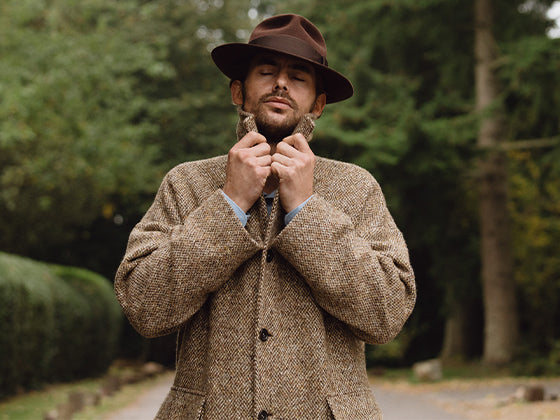
Opt for wool–linen cloth to keep shape and breathability.

How to manage fittings, spare hats, and on-set care
Fittings follow a repeatable routine. Wardrobe staff measure four head points, test each cap over the performer’s rehearsal hair, and photograph three-quarter and profile views. All internal adjustments, including brim roll and sweatband position, are recorded on a single alteration sheet to preserve continuity and to inform subsequent builds. For each performer, the department prepares numbered duplicate caps, attaches a fabric swatch and a note of wear state, and rotates spares so wear distributes evenly. A clear, photographed inventory allows dressers to replace a piece with an identical example at a moment's notice.
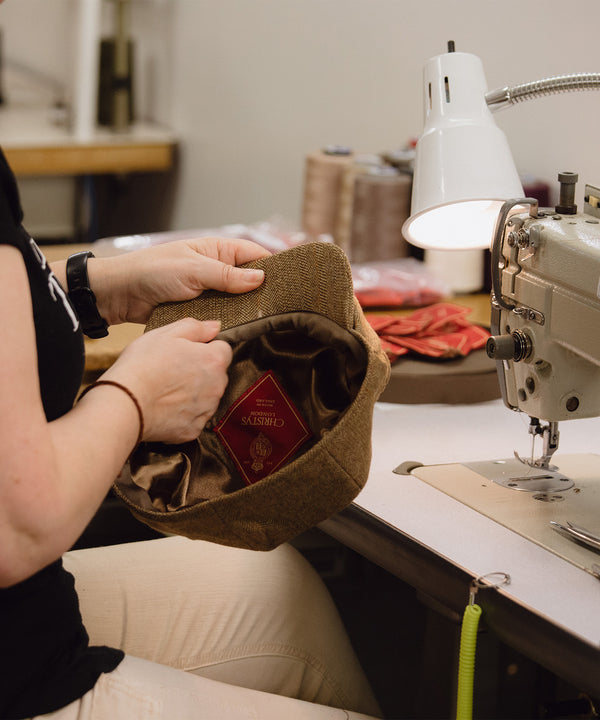
Between takes, the wardrobe team restores a cap’s shape with gentle steam and a hat block, pats sweatbands with an absorbent cloth, replaces removable liners as required, and stores caps on breathable covers or stands to avoid crushing and lingering odour. A compact repair kit containing fine needles, matching thread, spare lining panels, edge glue, and blocking tools, together with at least one dresser trained in invisible hand-stitching and minor re-blocking, keeps caps ready for filming. The kit enables seamless lining swaps and invisible repairs so continuity is not compromised. Each cap is photographed in situ and annotated for visible blemishes and bespoke finishing, such as hand-burnished edges or targeted distressing. Those notes are filed on continuity sheets to help props and costume teams match patina and construction across scenes.
Effective screen hats reconcile archival accuracy with the demands of filming through a precise brief, careful sampling of materials, and camera-led patterning. Photographed swatches, pad-stitching, steam-blocking on actor-sized blocks shaped by hand, and a disciplined set of labelled duplicates and repair kits turn a period silhouette into a resilient, camera-ready object.
Each stage, from fabric selection and patterning to hand finishing and on-set care, represents a practical checkpoint for preserving silhouette, nap (the direction of a fabric's pile), and overall continuity. Work through these checkpoints with calibrated tests, detailed photographic records, and unambiguous swapping protocols so wardrobe teams can match colour, wear, and shape across takes, maintaining continuity without interrupting the performance.
What should a production brief include to make flat caps read correctly on camera?
Start with primary sources and measurable silhouette cues such as crown height, brim depth, and crown-to-peak ratio, then run calico toiles to test how hair and wig rigs alter profile; specify a hierarchy of builds for close-ups, stunts, and background, and record exact hand-finishing and ageing targets so finishers can reproduce surface character consistently.
How do makers select fabrics and trimmings that are authentic yet camera-friendly?
They sample swatches under set lighting, favouring medium‑heavy tweeds, worsted wool, or moleskin for texture and drape, then choose linings and sweatbands that control shine and absorbency, while photographing and logging fabric, stitch types, and trims so choices can be matched across duplicates.
How are patterns and blocking adjusted for the lens rather than just the body?
Patterns are photographed at the intended shooting distance and lens, then crowns, brims, and seam placements are altered so motifs and shapes scale correctly; shells are hand-blocked on actor‑specific wooden or resin blocks, pinned and steamed to lock curves and maintain continuity among duplicates.
What hand-finishing and ageing methods make caps look lived-in without weakening them?
Use pad-stitching, hand-rolled bands, hidden tacks, and small even stitches for durable close-up detail, and apply controlled ageing such as targeted abrasion, dilute dye washes, and nap flattening that are tested under production lighting and kept reversible where possible.
How do wardrobe teams manage continuity, spares, and on-set care for flat caps?
They prepare numbered, labelled duplicates with fabric swatches and wear states, keep multi-angle photographic logs and a compact repair kit with needles, thread, spare panels, glue, and blocking tools, and restore caps between takes with gentle steam, brushing, and pigment touch-ups to ensure seamless swaps.