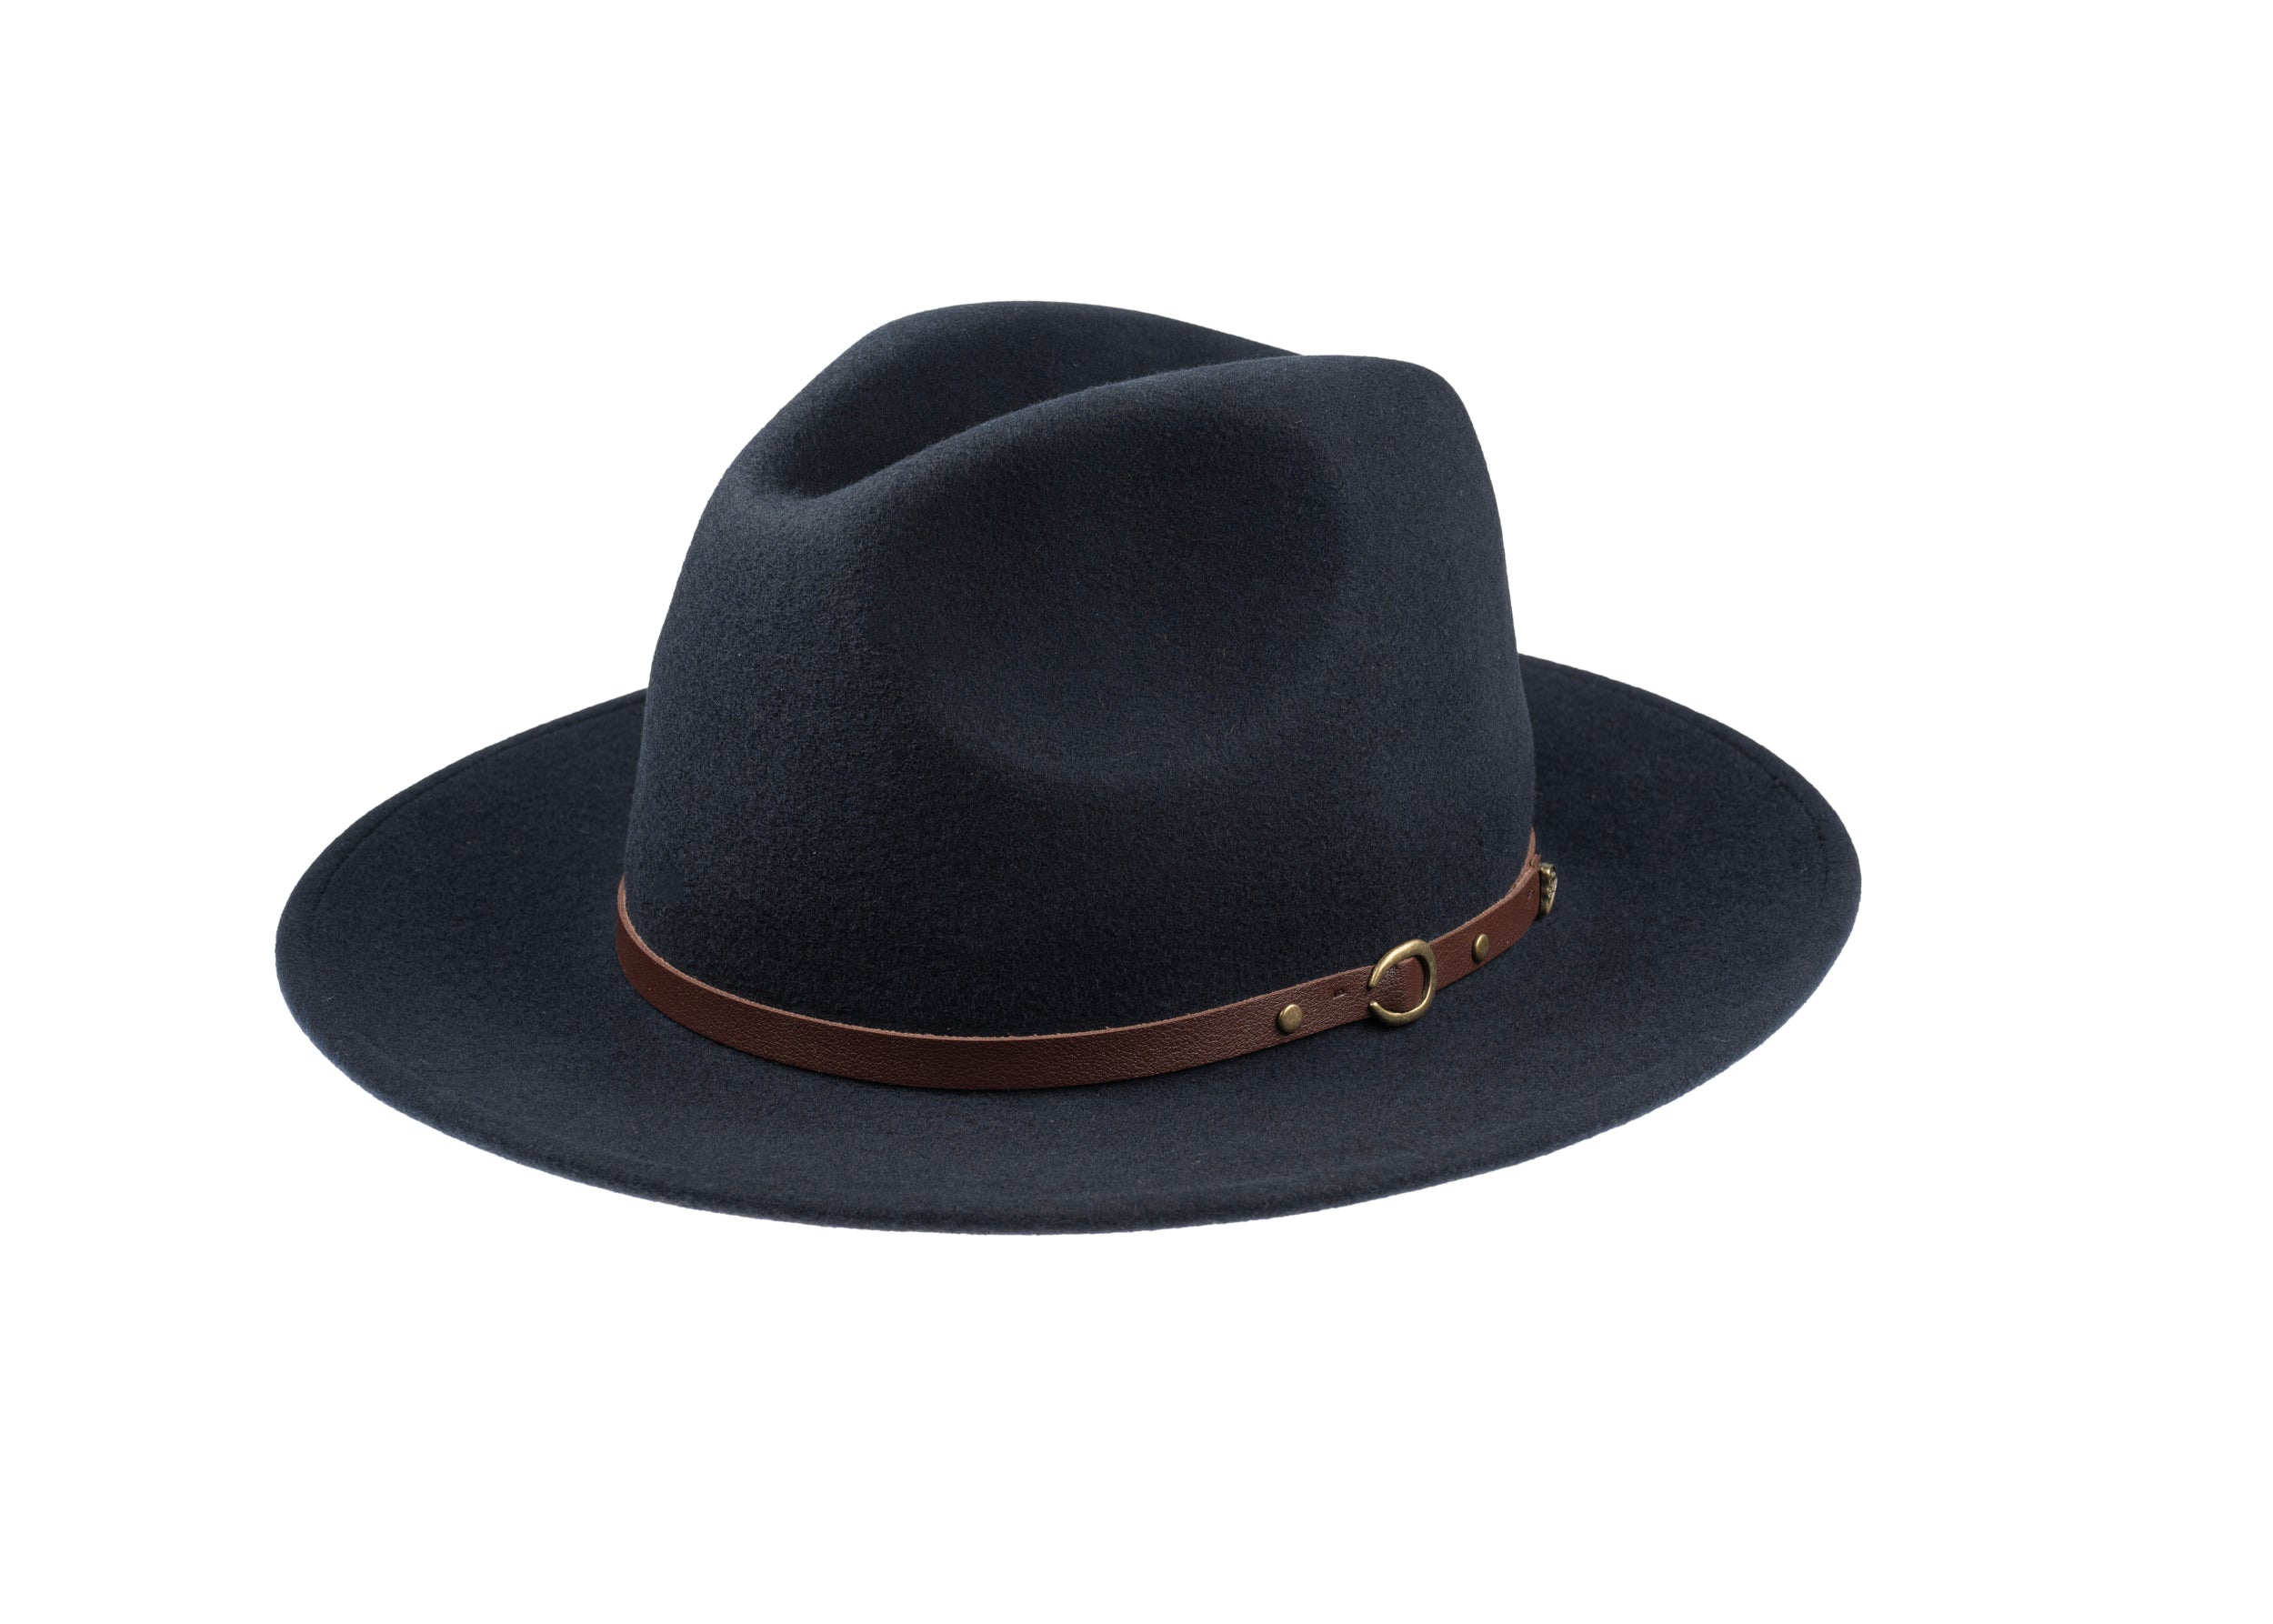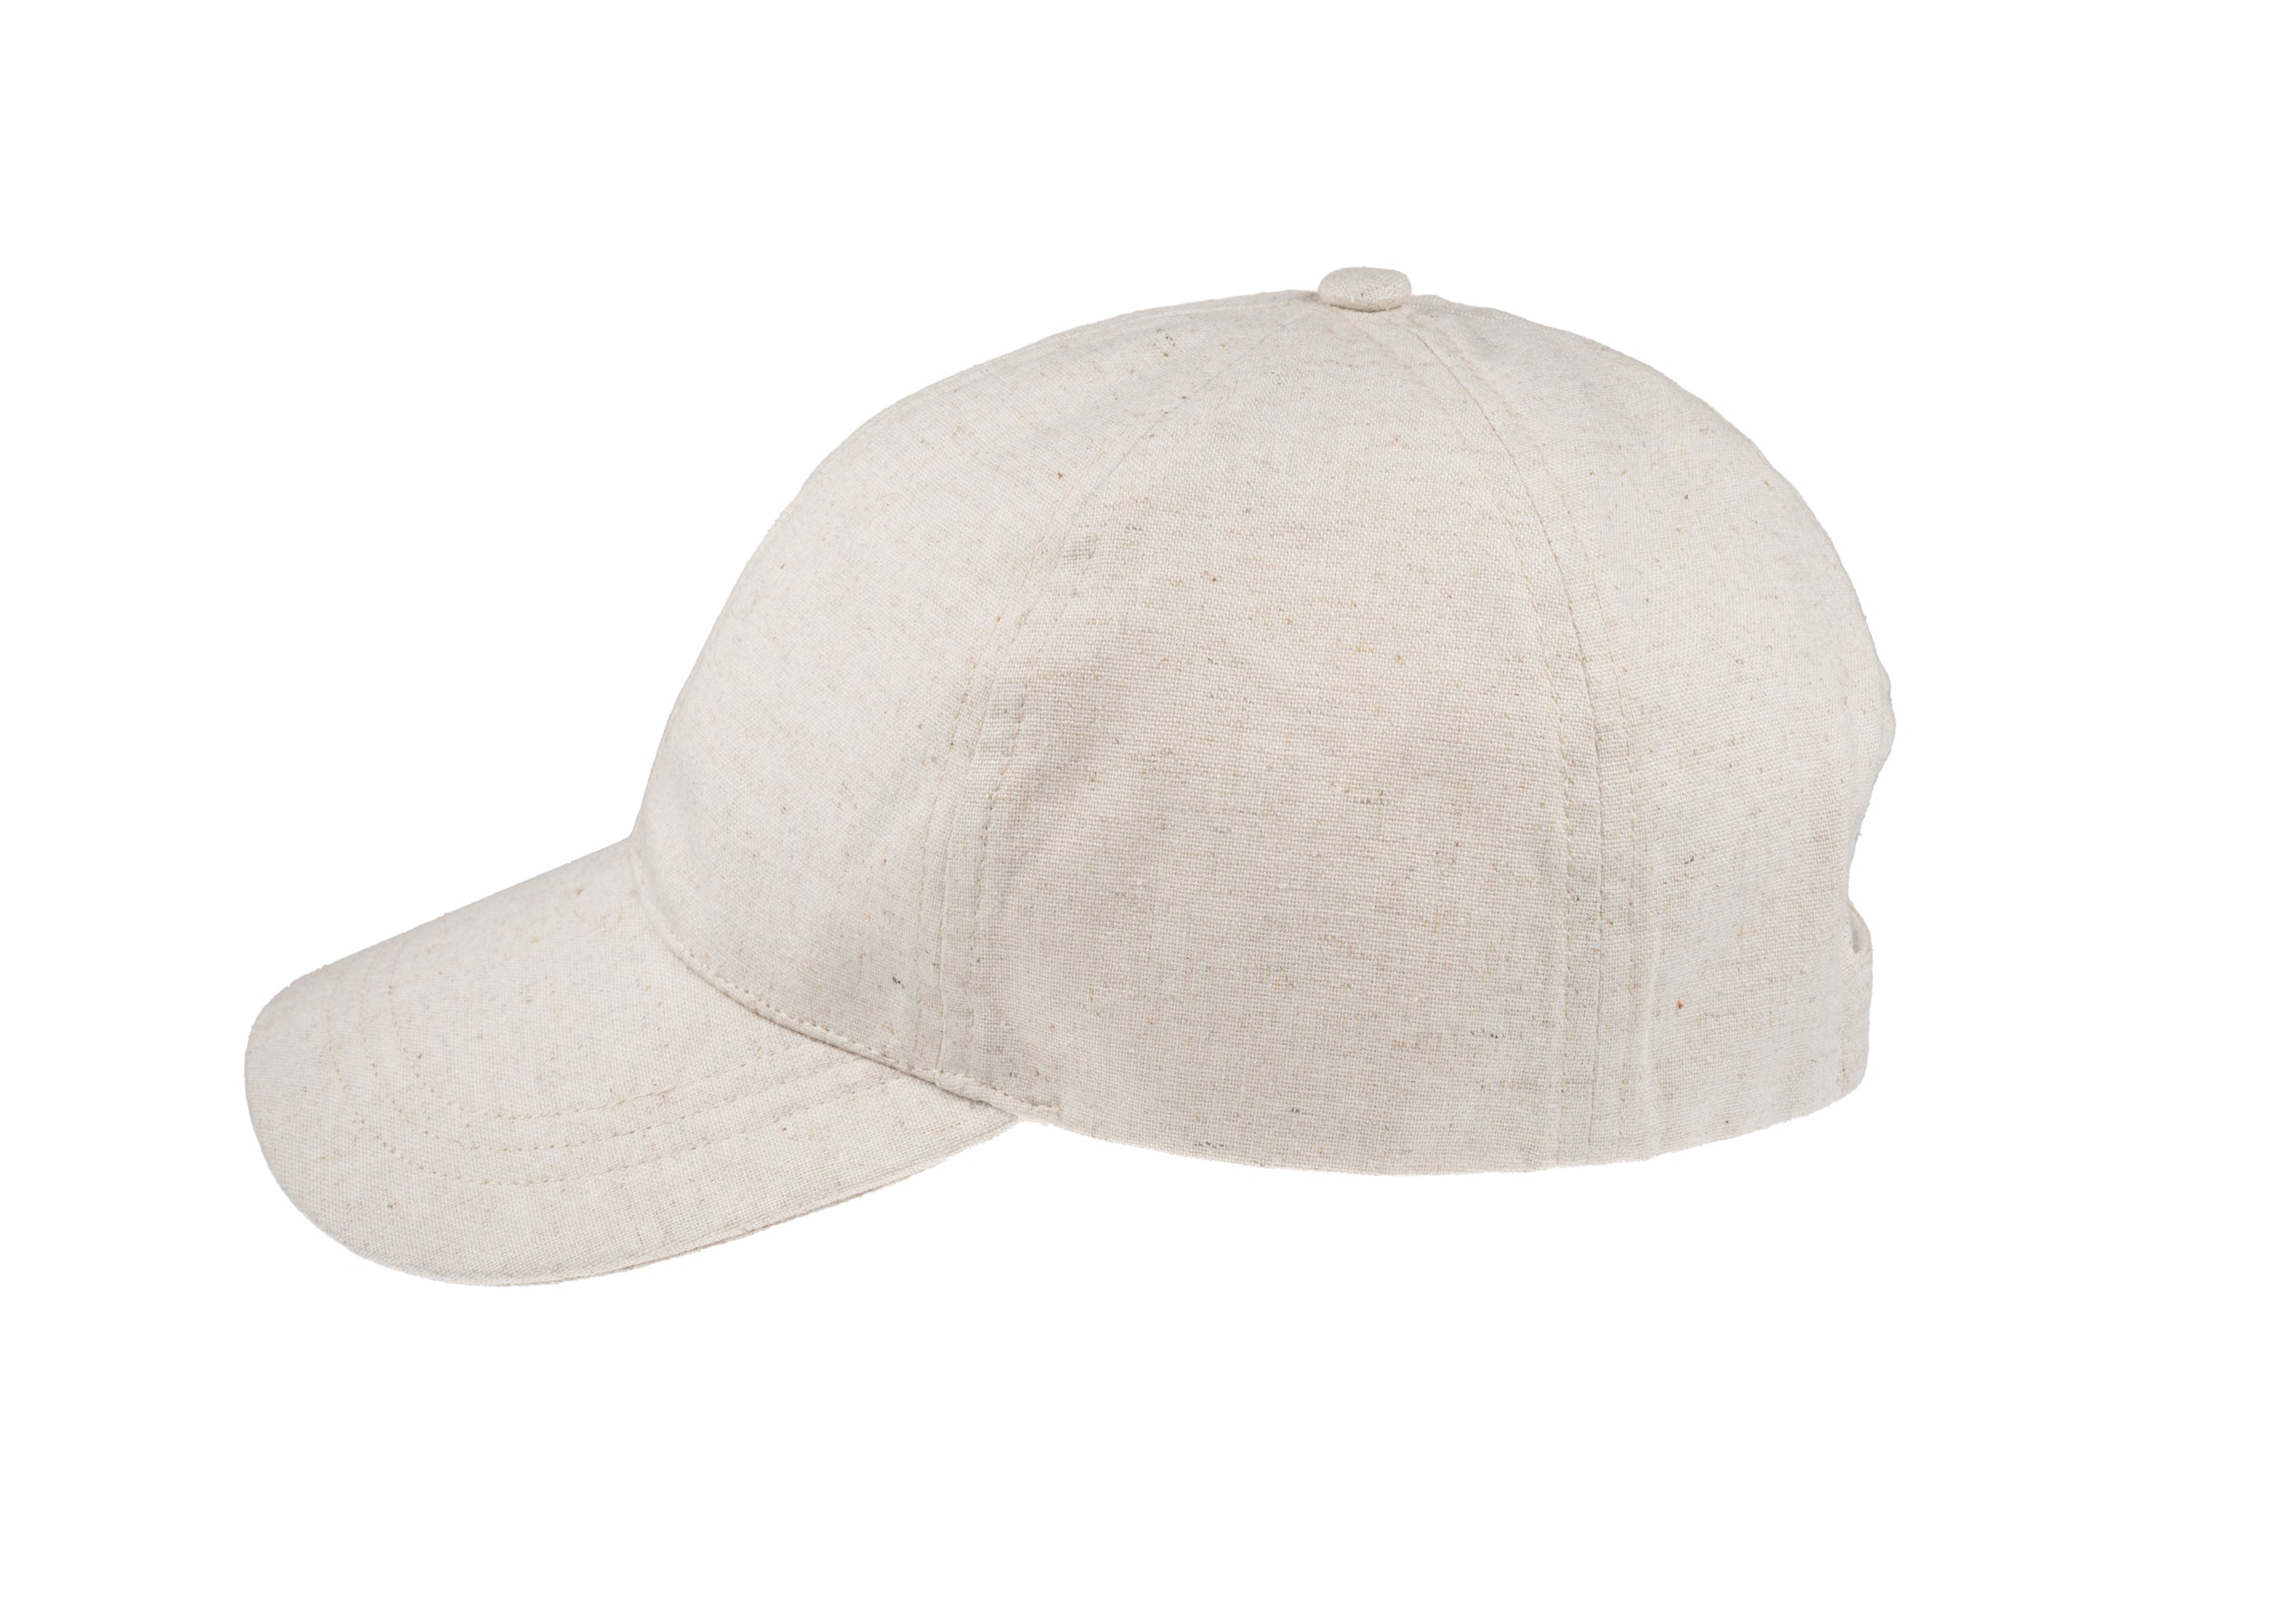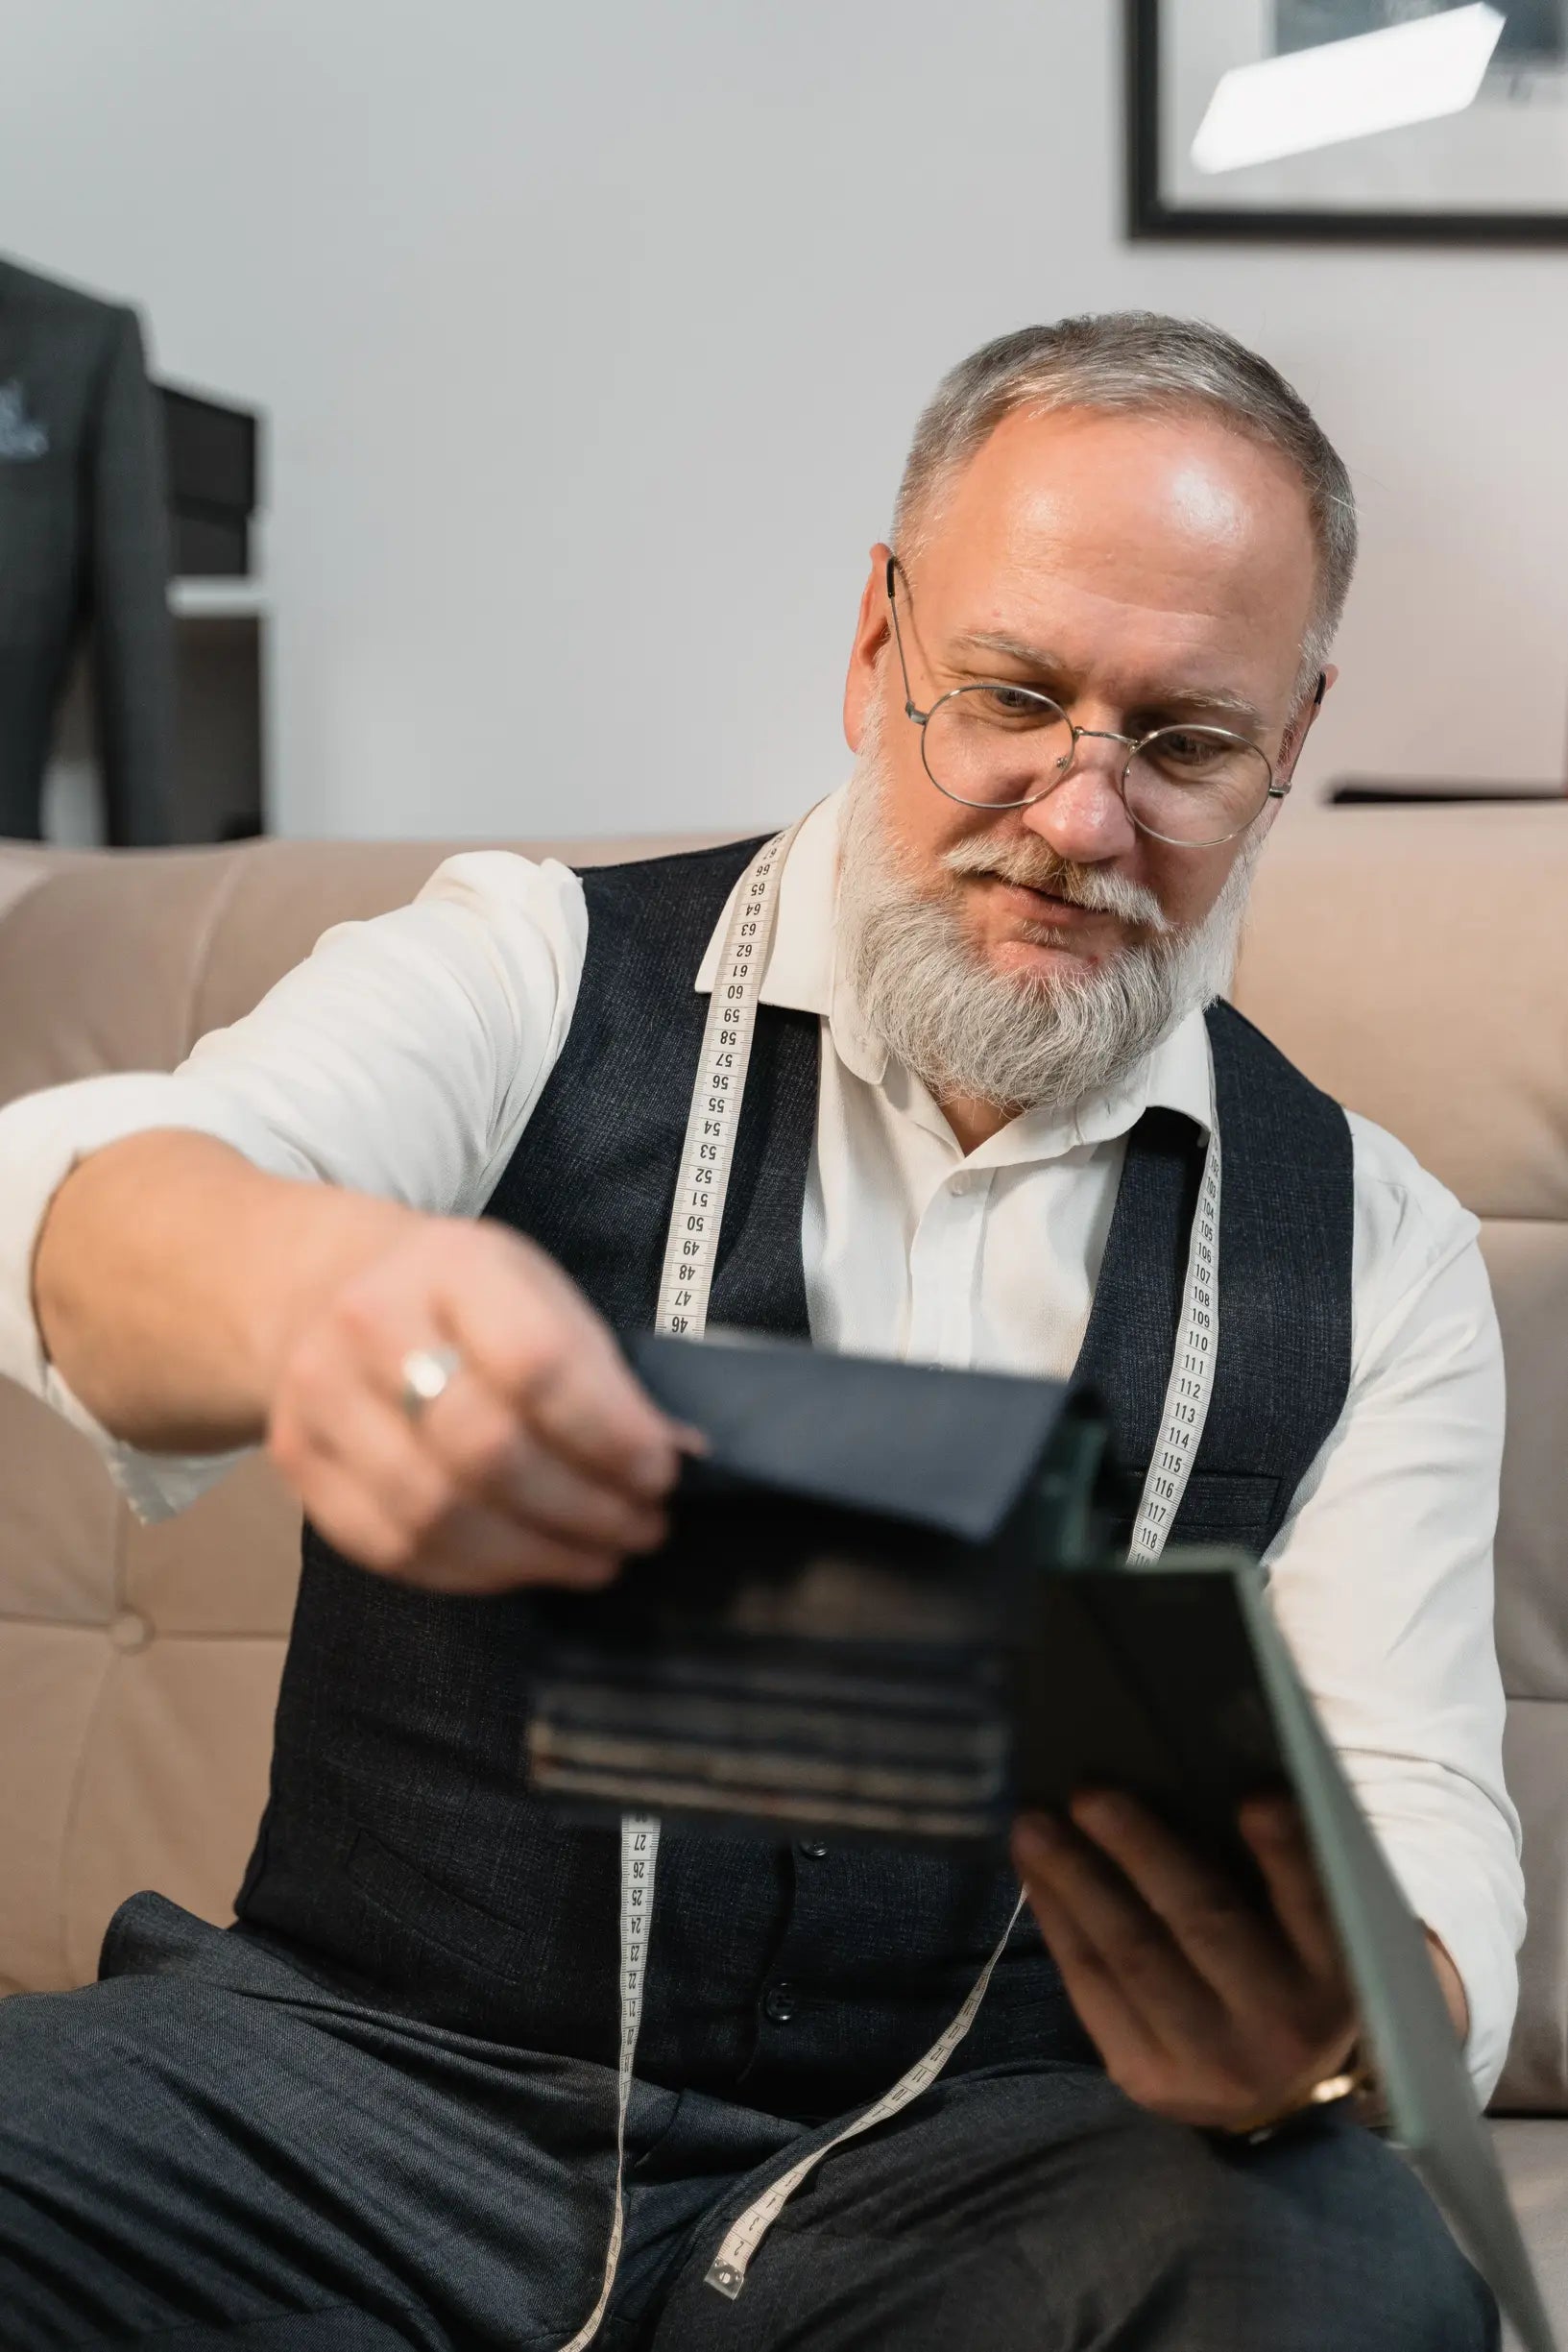


Why do two caps of the same style sit so differently? A cap's silhouette owes as much to unseen workshop decisions, such as blocking, trimming, and hand-finishing, as it does to the paper pattern.
Bias-cut wool will drape differently to a tightly woven cotton, while interlinings, blocking, and hand-formed brims either lock a shape or allow movement. This guide explains how three decisions — fabric cut, internal structure, and brim finishing — determine a cap's drape, crown, and brim, and how to recognise each when choosing or making a cap.

How fabric and cut determine a garment's drape
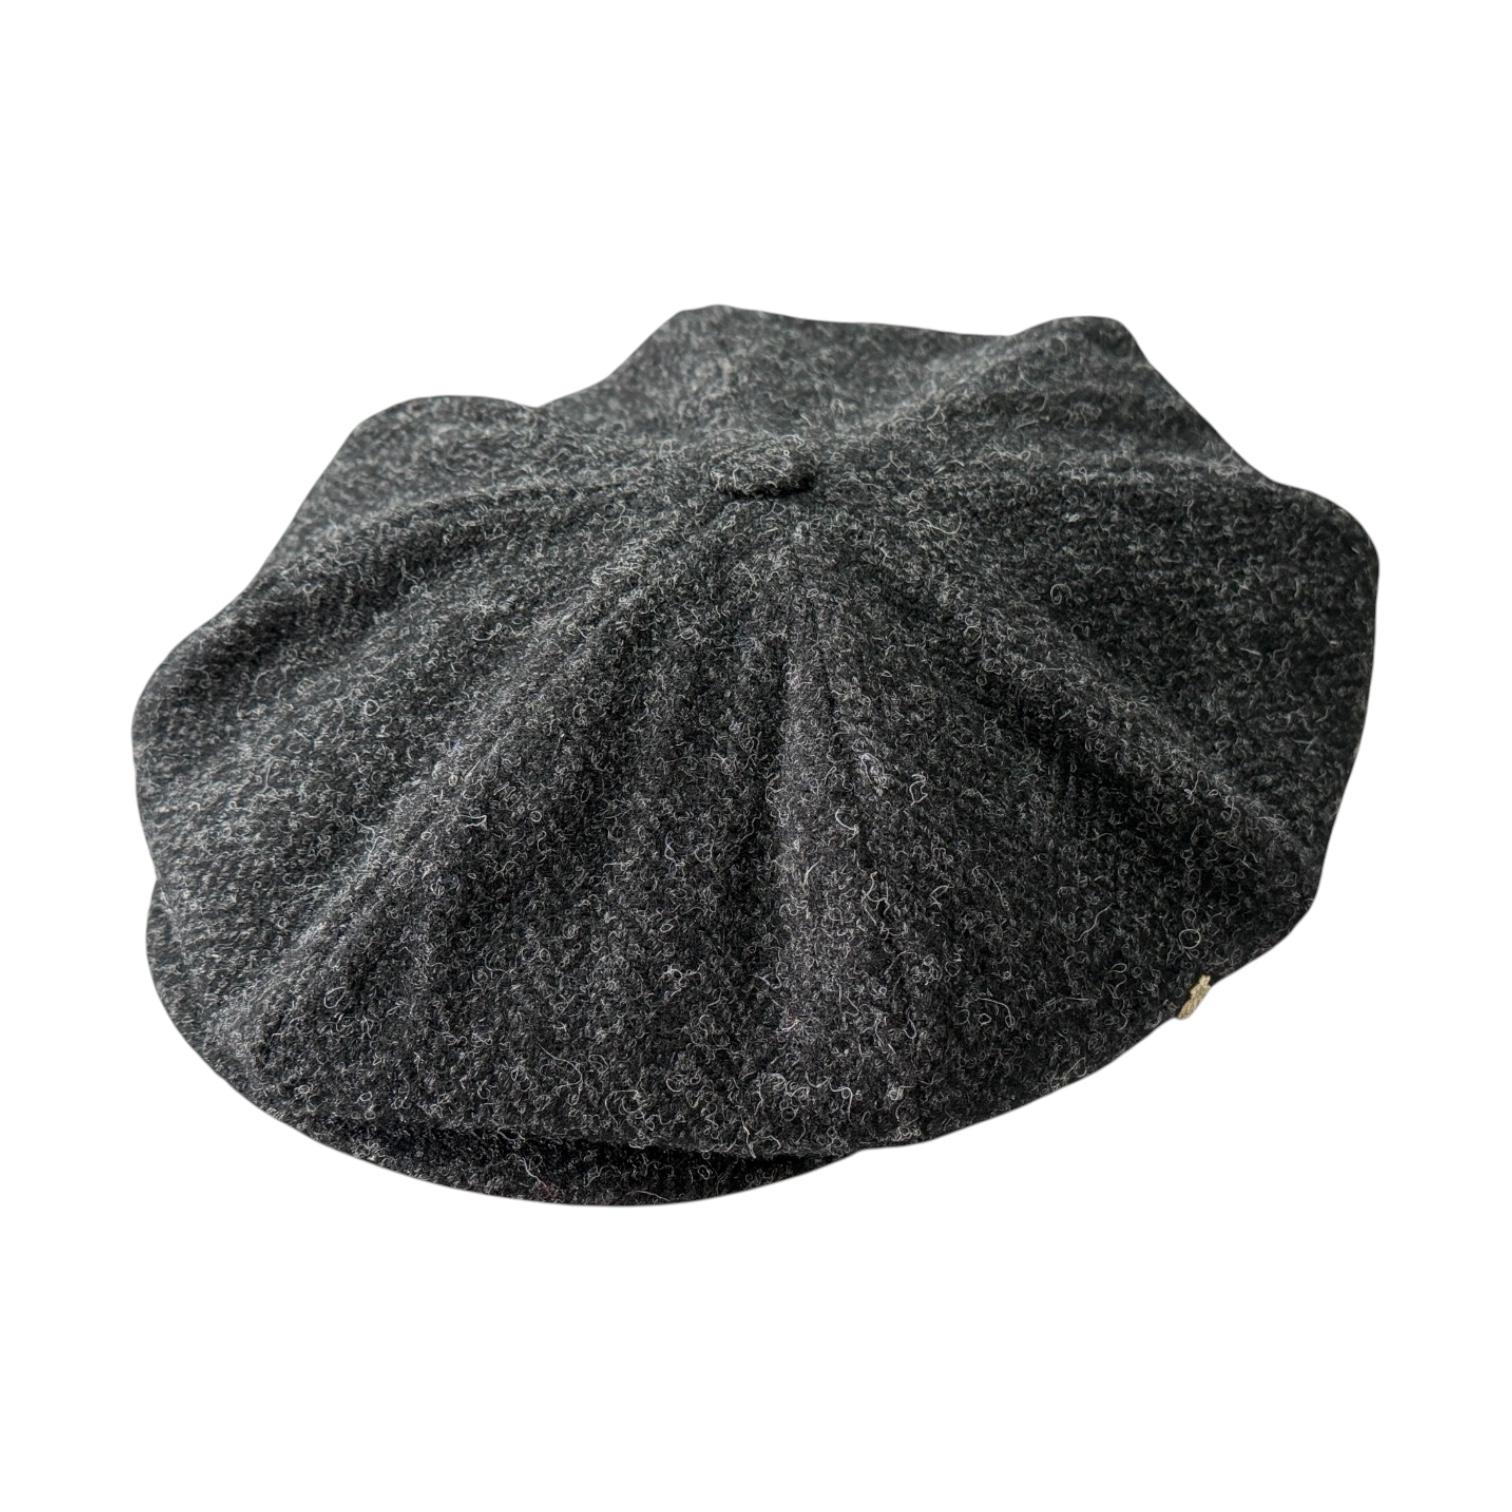
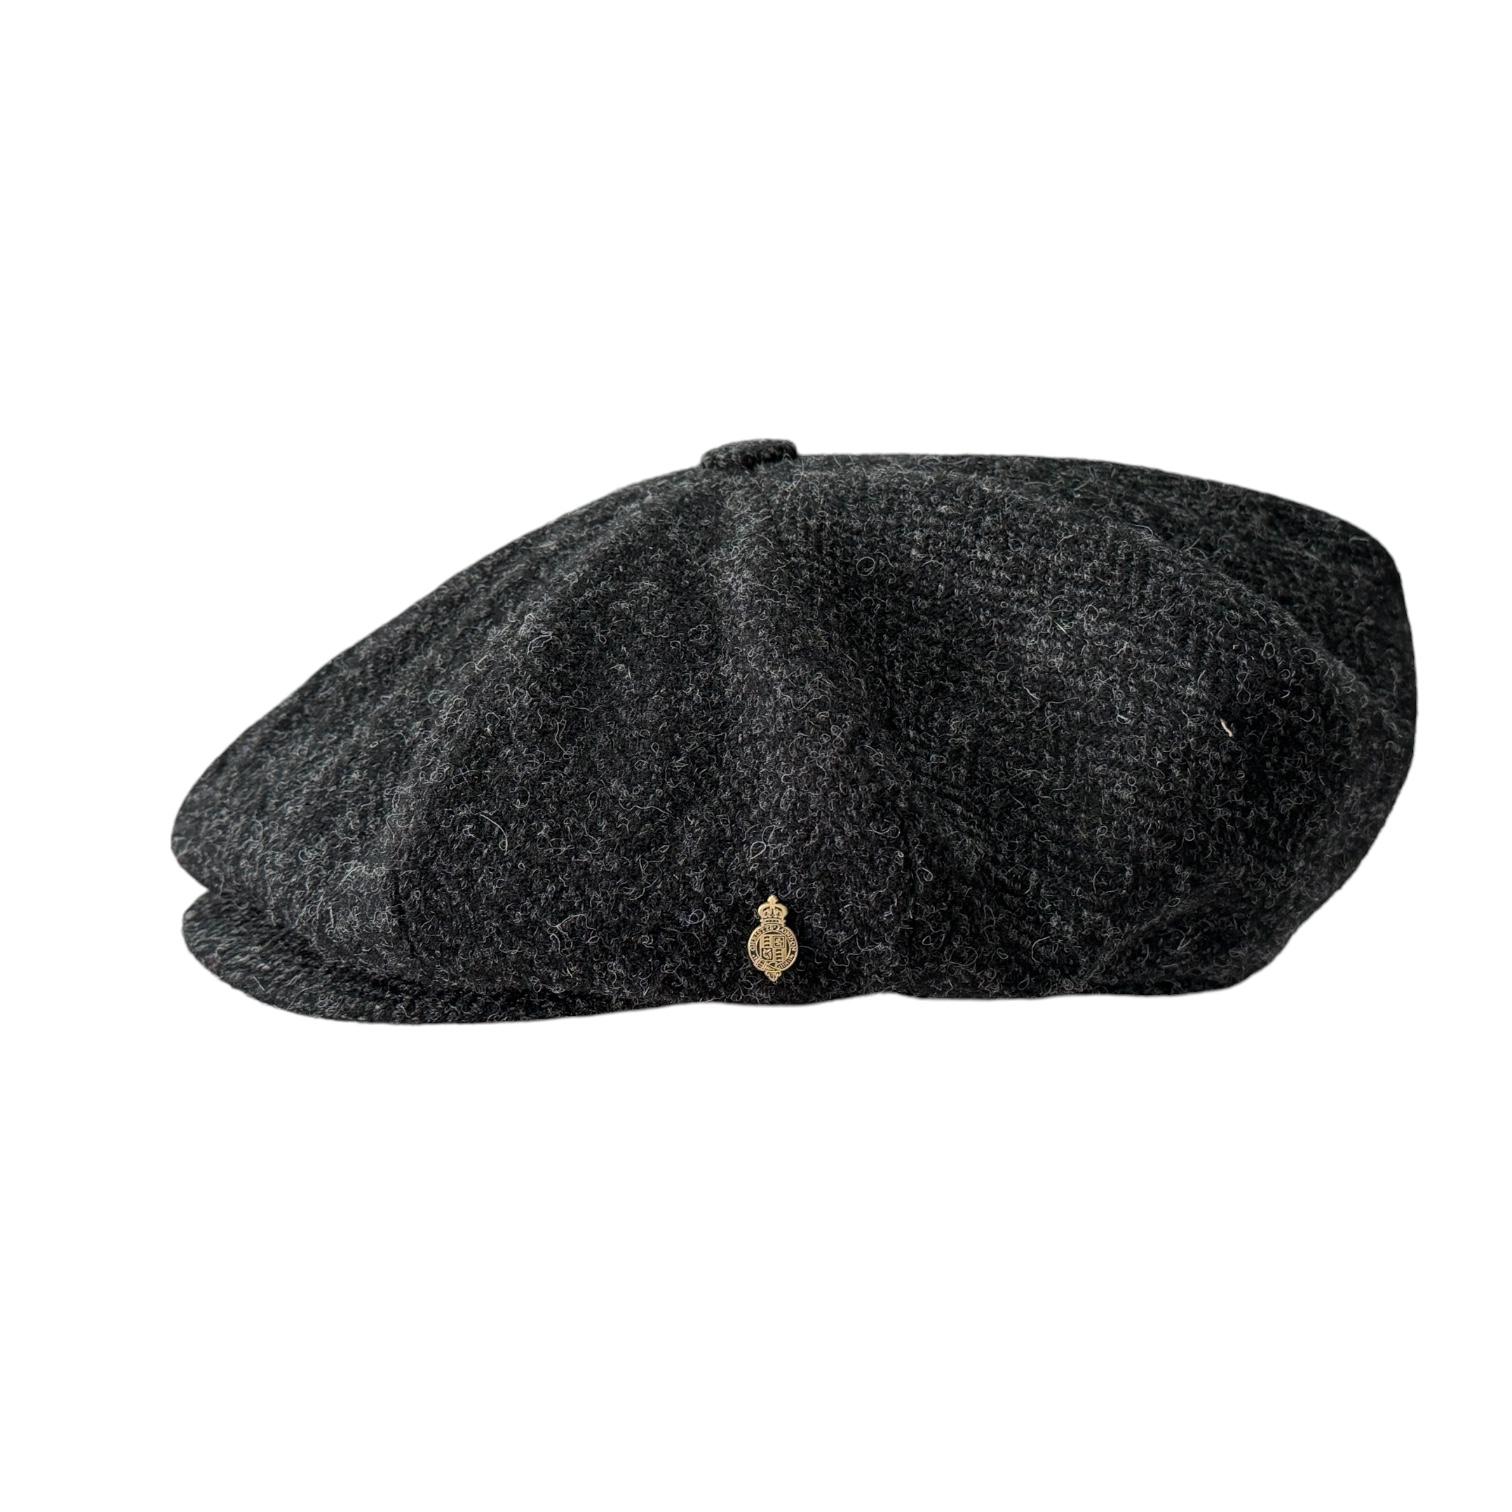
Begin with the fabric. Fibre and weave set the hand and fall: worsted wool gives a crisp, held crown, linen collapses into soft folds, and silk slips and clings. Drape a swatch over a millinery block to see how a cloth will behave on the head. Panel geometry and pattern choices then translate that behaviour into line: more, narrower panels produce a smooth, rounded crown, while fewer, wider panels yield a shallower, more angular profile. Simple alterations, such as raising the crown, adding a centre seam, or inserting darts, are best judged with a calico toile. Orienting pieces on the straight grain locks in structure; cutting on the bias, or rotating pieces forty-five degrees, introduces stretch. A brief workshop exercise, comparing identical pieces cut on straight and bias grain, makes clear how each will mould to the block.
Inside a cap, lining and interlining choices span a spectrum. Unfused linings allow the cap to settle and conform to the wearer, soft canvas gives a gentle shape, and fused interlinings preserve a permanent line. Before committing, test adhesives and interlinings on a scrap of the same materials so you can check for unwanted stiffness, puckering, and how the assembly will age. Use pad-stitching where you want a controlled fall, and fuse only where you accept rigidity. Edge and finishing details further refine silhouette: narrow sweatbands and lightweight linings encourage a dropped crown, while heavier linings, wider sweatbands, and dense topstitching hold a higher line. Subtle changes to brim roll or sweatband width will alter the perceived profile. Set shapes with low heat and steam, and rely on tactile comparison rather than vigorous pressing. Make successive samples and compare them so the final silhouette reflects deliberate construction choices. These are the details that reward closer inspection.
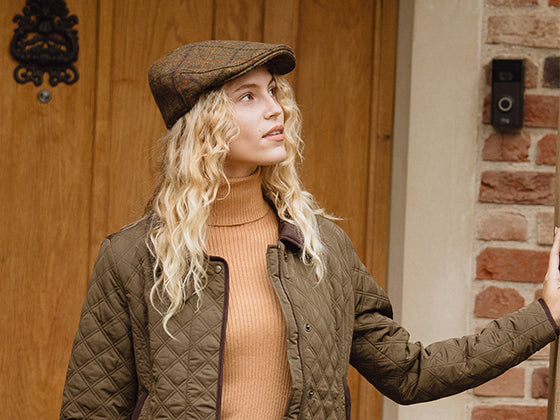
Select a fine wool felt for durable, arena-ready structure.

How to fit interlinings and block the crown for a lasting shape
Start by testing interlining stiffness on the block with samples of stiff buckram, canvas, and softer linings. Observe how front to back rigidity and the interlining's spring alter the cap's character: some linings produce a crisp edge, others a relaxed slouch. Choose the interlining that gives the desired firmness without over-supporting the brim. Use a block slightly smaller than the finished sweatband to allow controlled stretch and ensure a true fit. Baste the crown in quarters, then stretch and secure it to the block so even tension sets the silhouette and prevents pockets or twists.
After testing and selecting an interlining on the block, anchor the layers with strategic hand-basting along the seam lines to prevent slippage, then set radial tacks from the crown apex toward the brim to control fold distribution and maintain symmetry. Shape the piece gently with warmth and a fine mist, moulding from the apex down so the fibres relax and take a permanent set as they cool, rather than forcing the form with forceful pressure. Work in sequential presses, allowing each stage to cool before the next so the shape locks without distorting the grain or introducing wrinkles. Finish by fitting a shaped sweatband, adding a discreet stay or tape at the crown seam, and trimming seam allowances precisely so internal tension distributes evenly, minimises rebound, and preserves how the cap sits over time.
Use foam inserts for a precise, invisible sweatband fit.

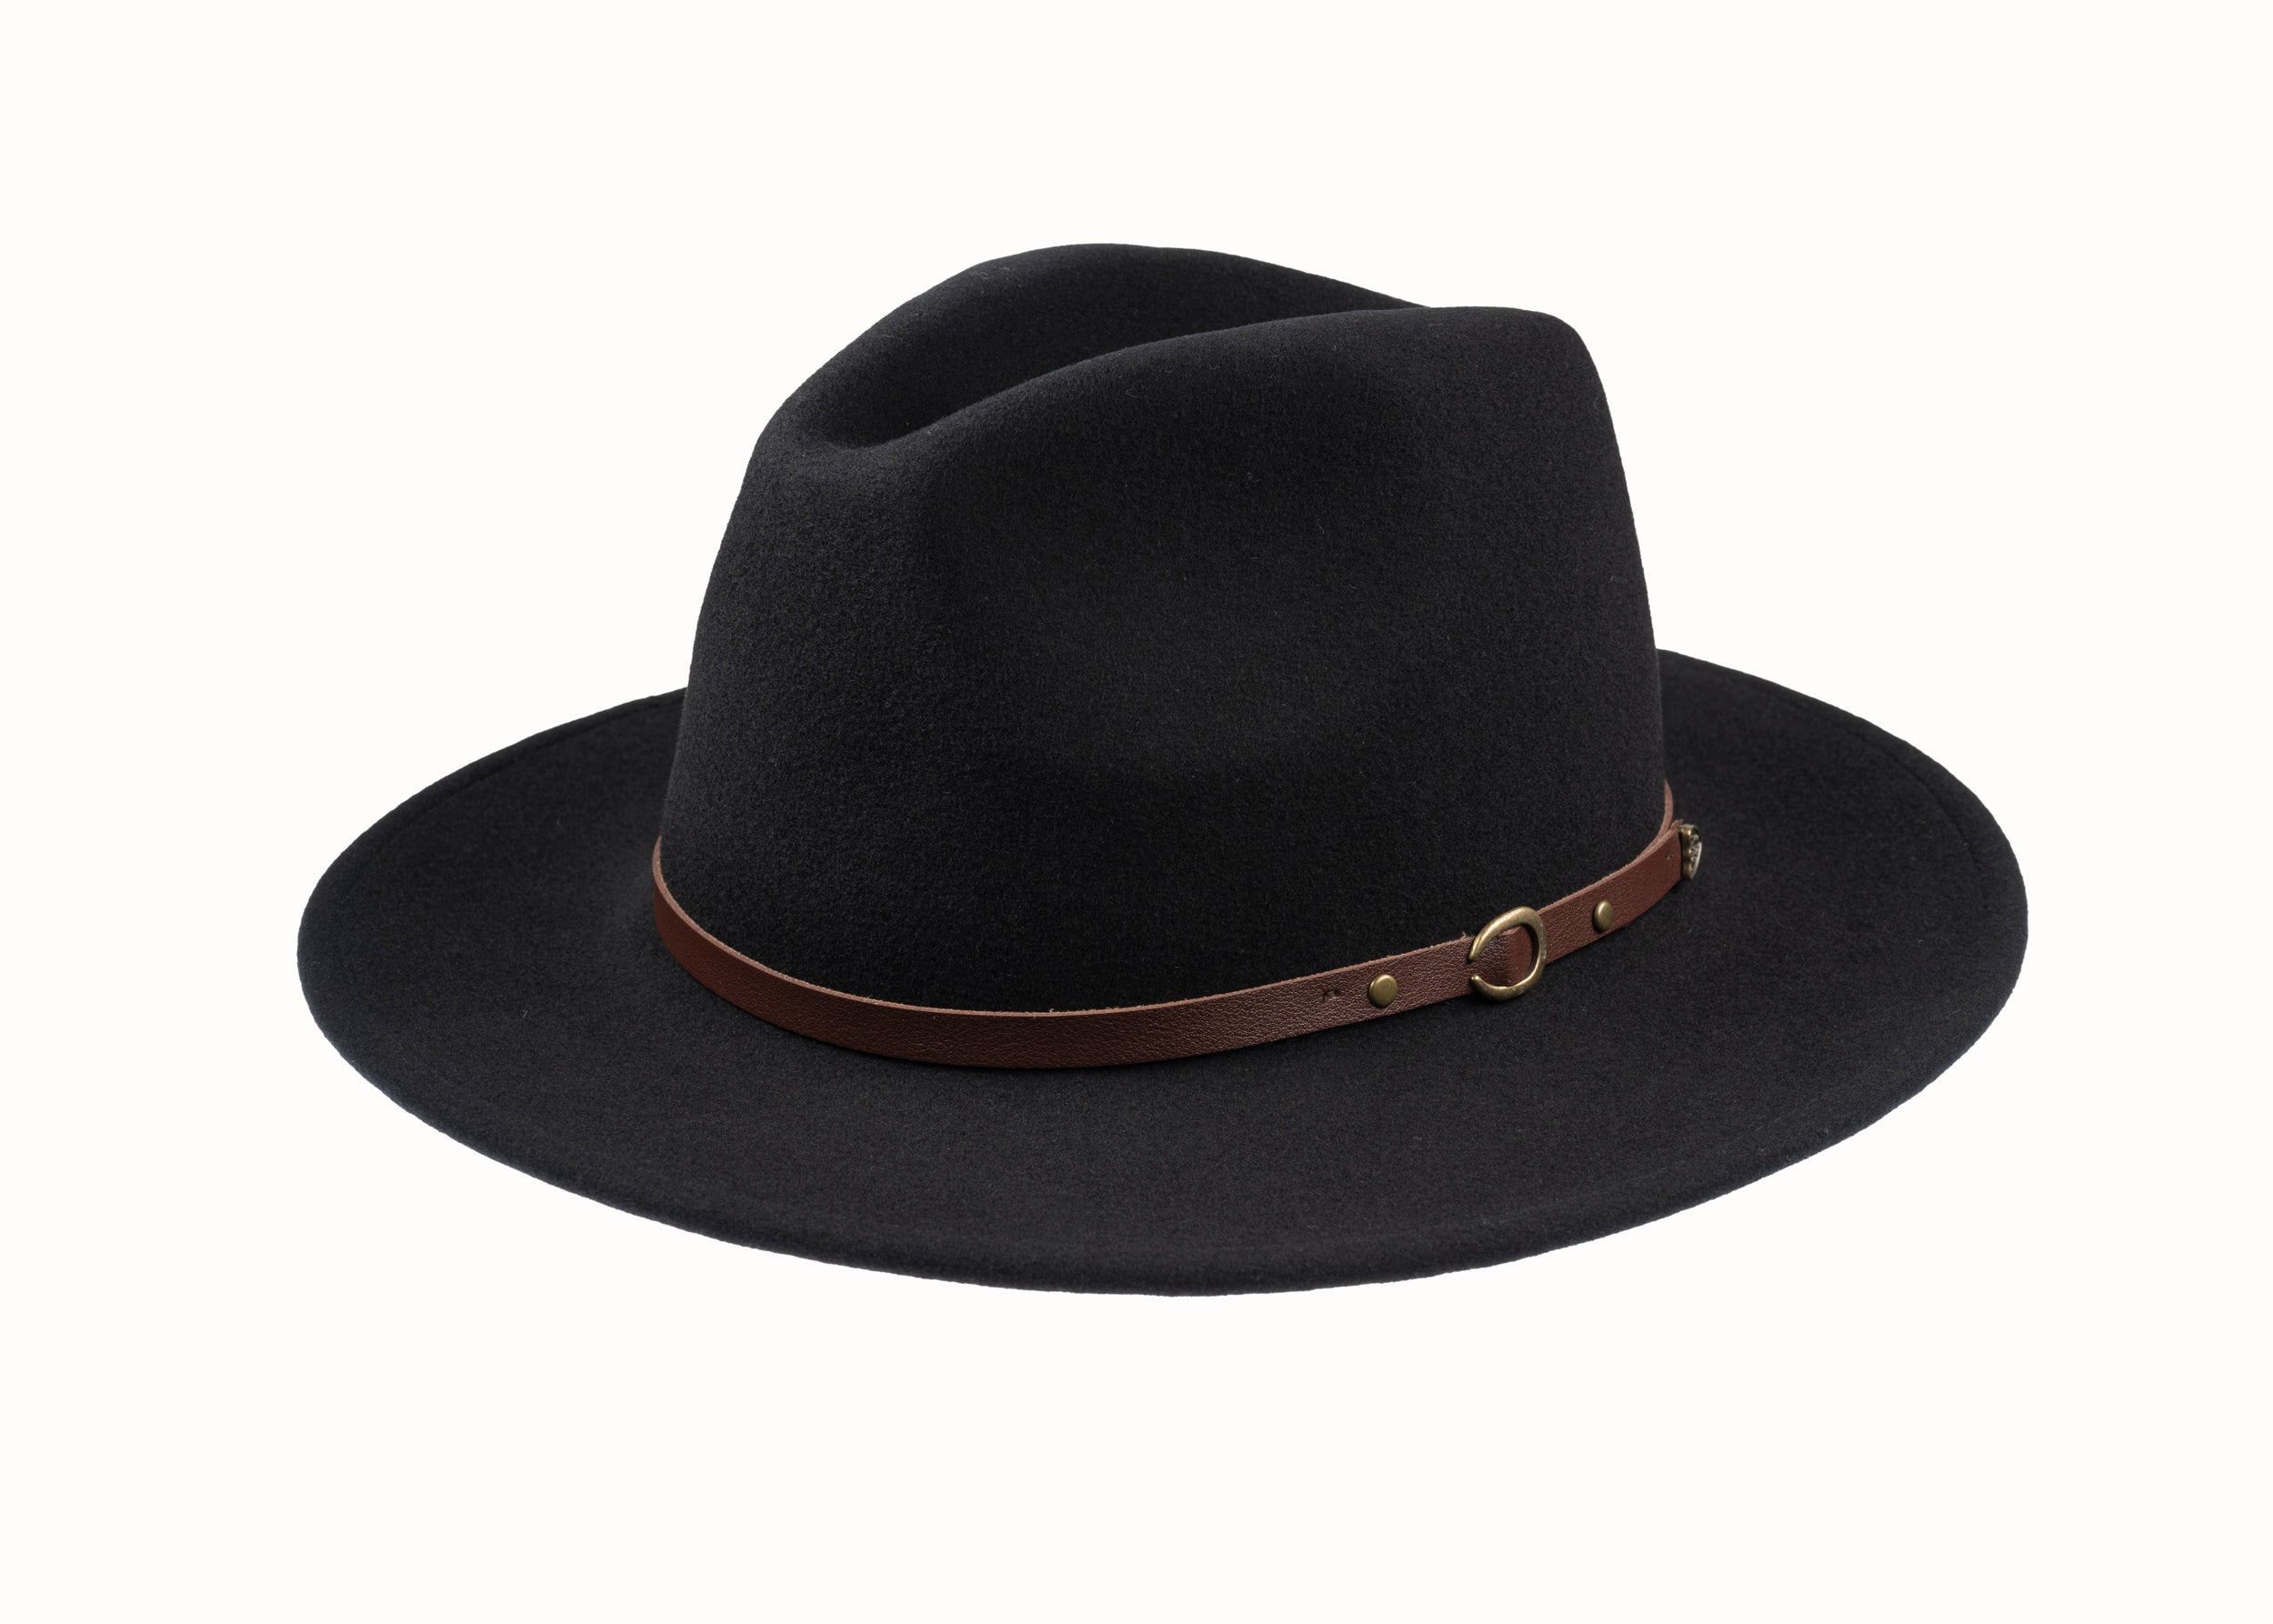
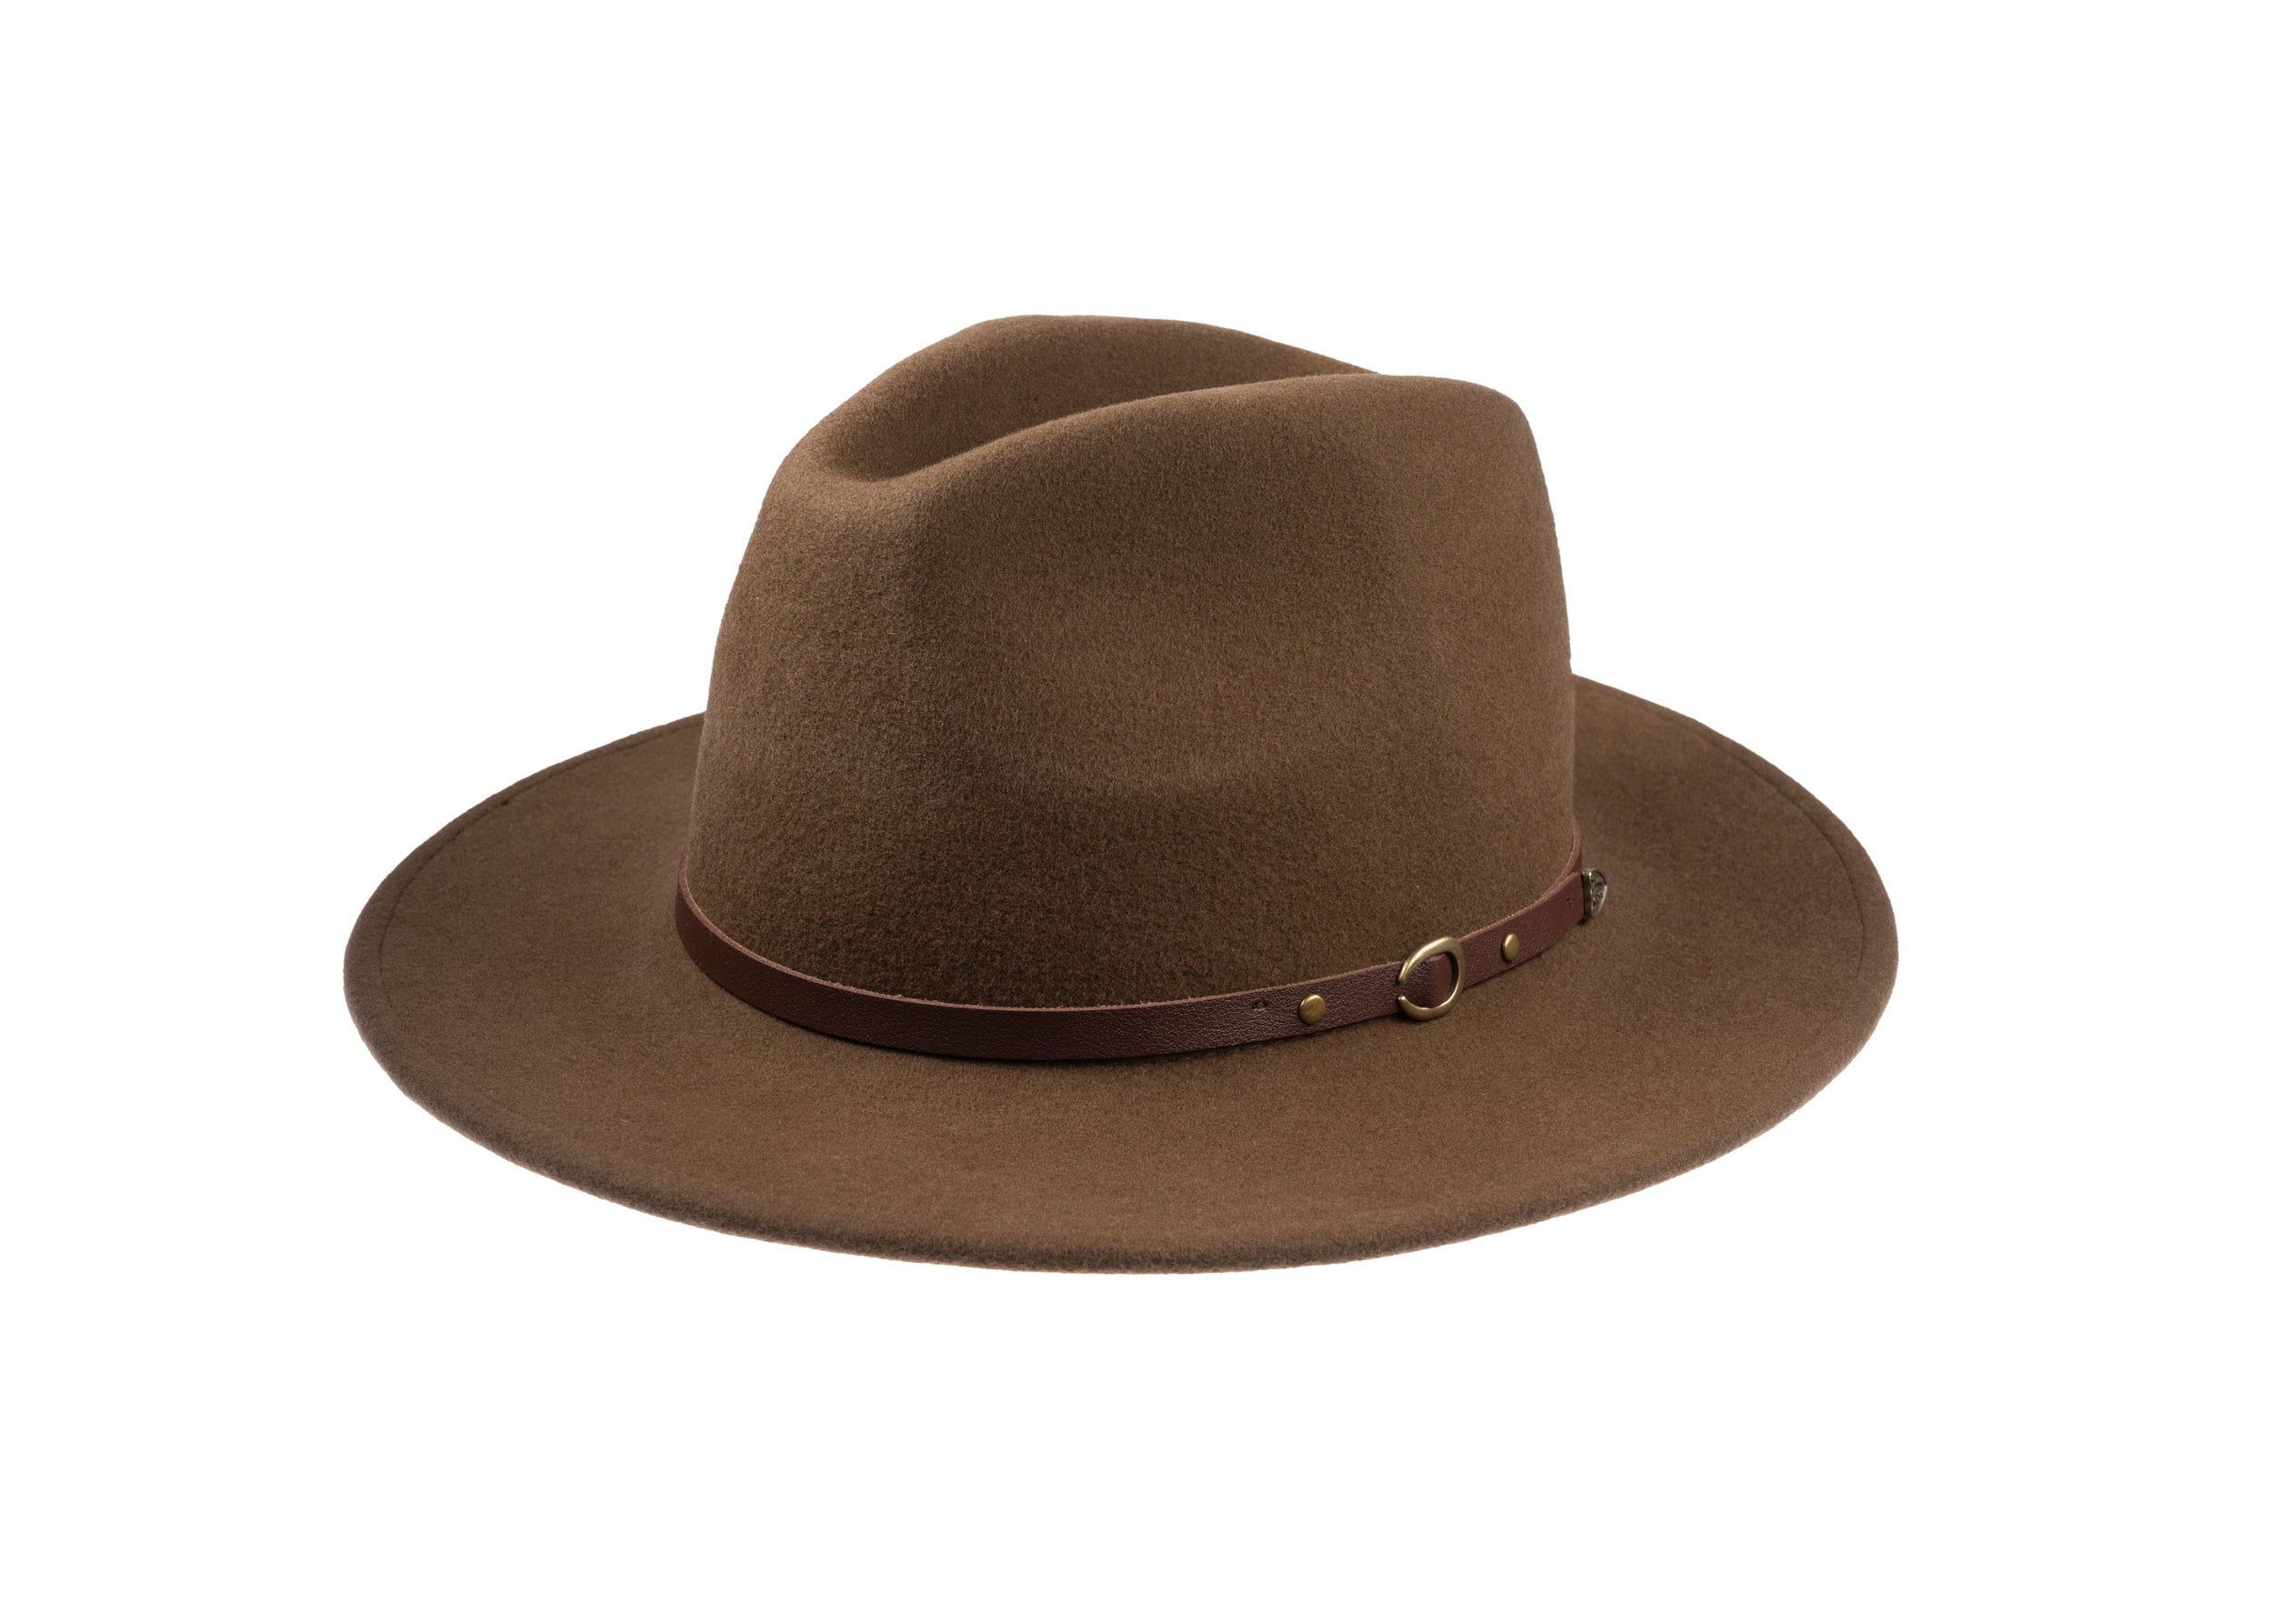
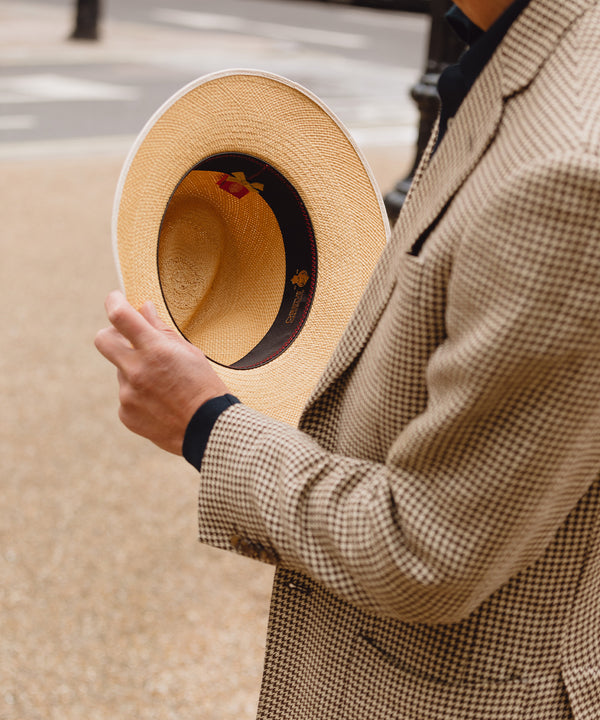
Shape the brim by hand to define the silhouette
Shape the brim on a hat block using short, controlled bursts of steam and repeated moulding, then leave the piece to cool on the block to lock the curve. Felts set crisper and retain that shape for longer, whereas straw and woven materials relax sooner, so plan shaping and finishing in that order. Decide early whether the edge will be raw, piped, or wired: a narrow wire sewn into the brim tape gives a sharp rollback that holds in the wind, while a piped or raw edge yields a softer line. Stitch the braid or wire to the underside with evenly spaced tacks to control roll and prevent rippling. Finish with fine hand-stitching and close-set tacks, and shape the sweatband to reinforce the crown-to-brim junction.
Small changes to brim width and pitch alter perceived crown height and face proportion. Test adjustments incrementally: cut cardboard templates or fit a removable stiffener, and examine the hat on a neutral head-form from three angles before committing to millimetre changes. Layer stiffness deliberately: light interfacing produces a relaxed, beach-ready drape, medium gives everyday structure, and firm horsehair or braid yields formal rigidity. Stitch the interfacing to the brim spring so mobility and rebound remain consistent. Use removable or reversible stiffeners when travelability matters, and favour a shaped form for storage. If humidity or wear softens the set, a brief steam and rehanging on a hat tree or block will restore the profile. Over time, consistent storage and these small finishing choices reveal how a piece ages.
A cap's silhouette is the sum of cloth, interlining, and brim work. Each hidden workshop choice alters the crown's drape and the line of the edge. Swatching fabrics, blocking interlinings, and shaping brims by hand show how small decisions yield a distinct profile.
Treat three practical checkpoints as your guide to cap construction: cloth and cut; interlinings and blocking; and brim finishing. Compare successive iterations on the block, favouring measured tension and a careful, hand-finished edge. That attention lets you predict how a cap will sit and helps preserve its shape over time.