


Why do some cashmere caps feel like a second skin while others lose their shape after a few wears? The difference lies in a sequence of considered craft decisions, from fibre grade and yarn twist to blocking, seam finishing, and hand-set trims; many of these steps are shaped and hand-finished, and it is the detail that rewards closer inspection.
This post guides the reader through the five hands-on stages of hatmaking: selecting and dehairing fibres, cutting and assembling the crown, hand blocking and steaming, shaping the brim, and hand-stitching trims and linings. It explains which tasks require a craftsperson's touch, where machine work suffices, and how each decision shapes fit, feel, and longevity.

1. Select cashmere fibres and remove guard hairs
Assessors begin by handling each fleece, inspecting it by eye and touch to record fibre diameter, length, crimp, the proportion of coarse guard hairs, colour variation, and provenance so traceability is maintained. They separate the soft undercoat from the guard hairs by hand, holding small tufts to the light and using a fine-tooth comb or dehairing tool, then weigh the retained undercoat to estimate yield and softness. Small samples receive micron readings where available, and artisans knit or felt tiny swatches that undergo gentle wet blocking to reveal shrinkage, loft, drape, and the fibres' response to steam and moisture. The results are both measurable and tactile, with subtle characteristics emerging under close examination.
To achieve consistency, fibres from adjacent batches are blended and drafted by hand, evening out colour, diameter, and length to reduce future pilling and unevenness in blocking. Artisans retain labelled swatches and sensory notes on scent, cleanliness, and handle after dehairing, linking those records to blocking results so selection decisions can be traced to finished-cap performance. This hands-on routine permits measurable tests to be correlated with how a cap behaves in the blocking room, providing evidence rather than assertion about a material's suitability. The outcome is a reproducible workflow that balances empirical measurement with tactile judgement, helping predict how a cashmere cap will shape and perform.
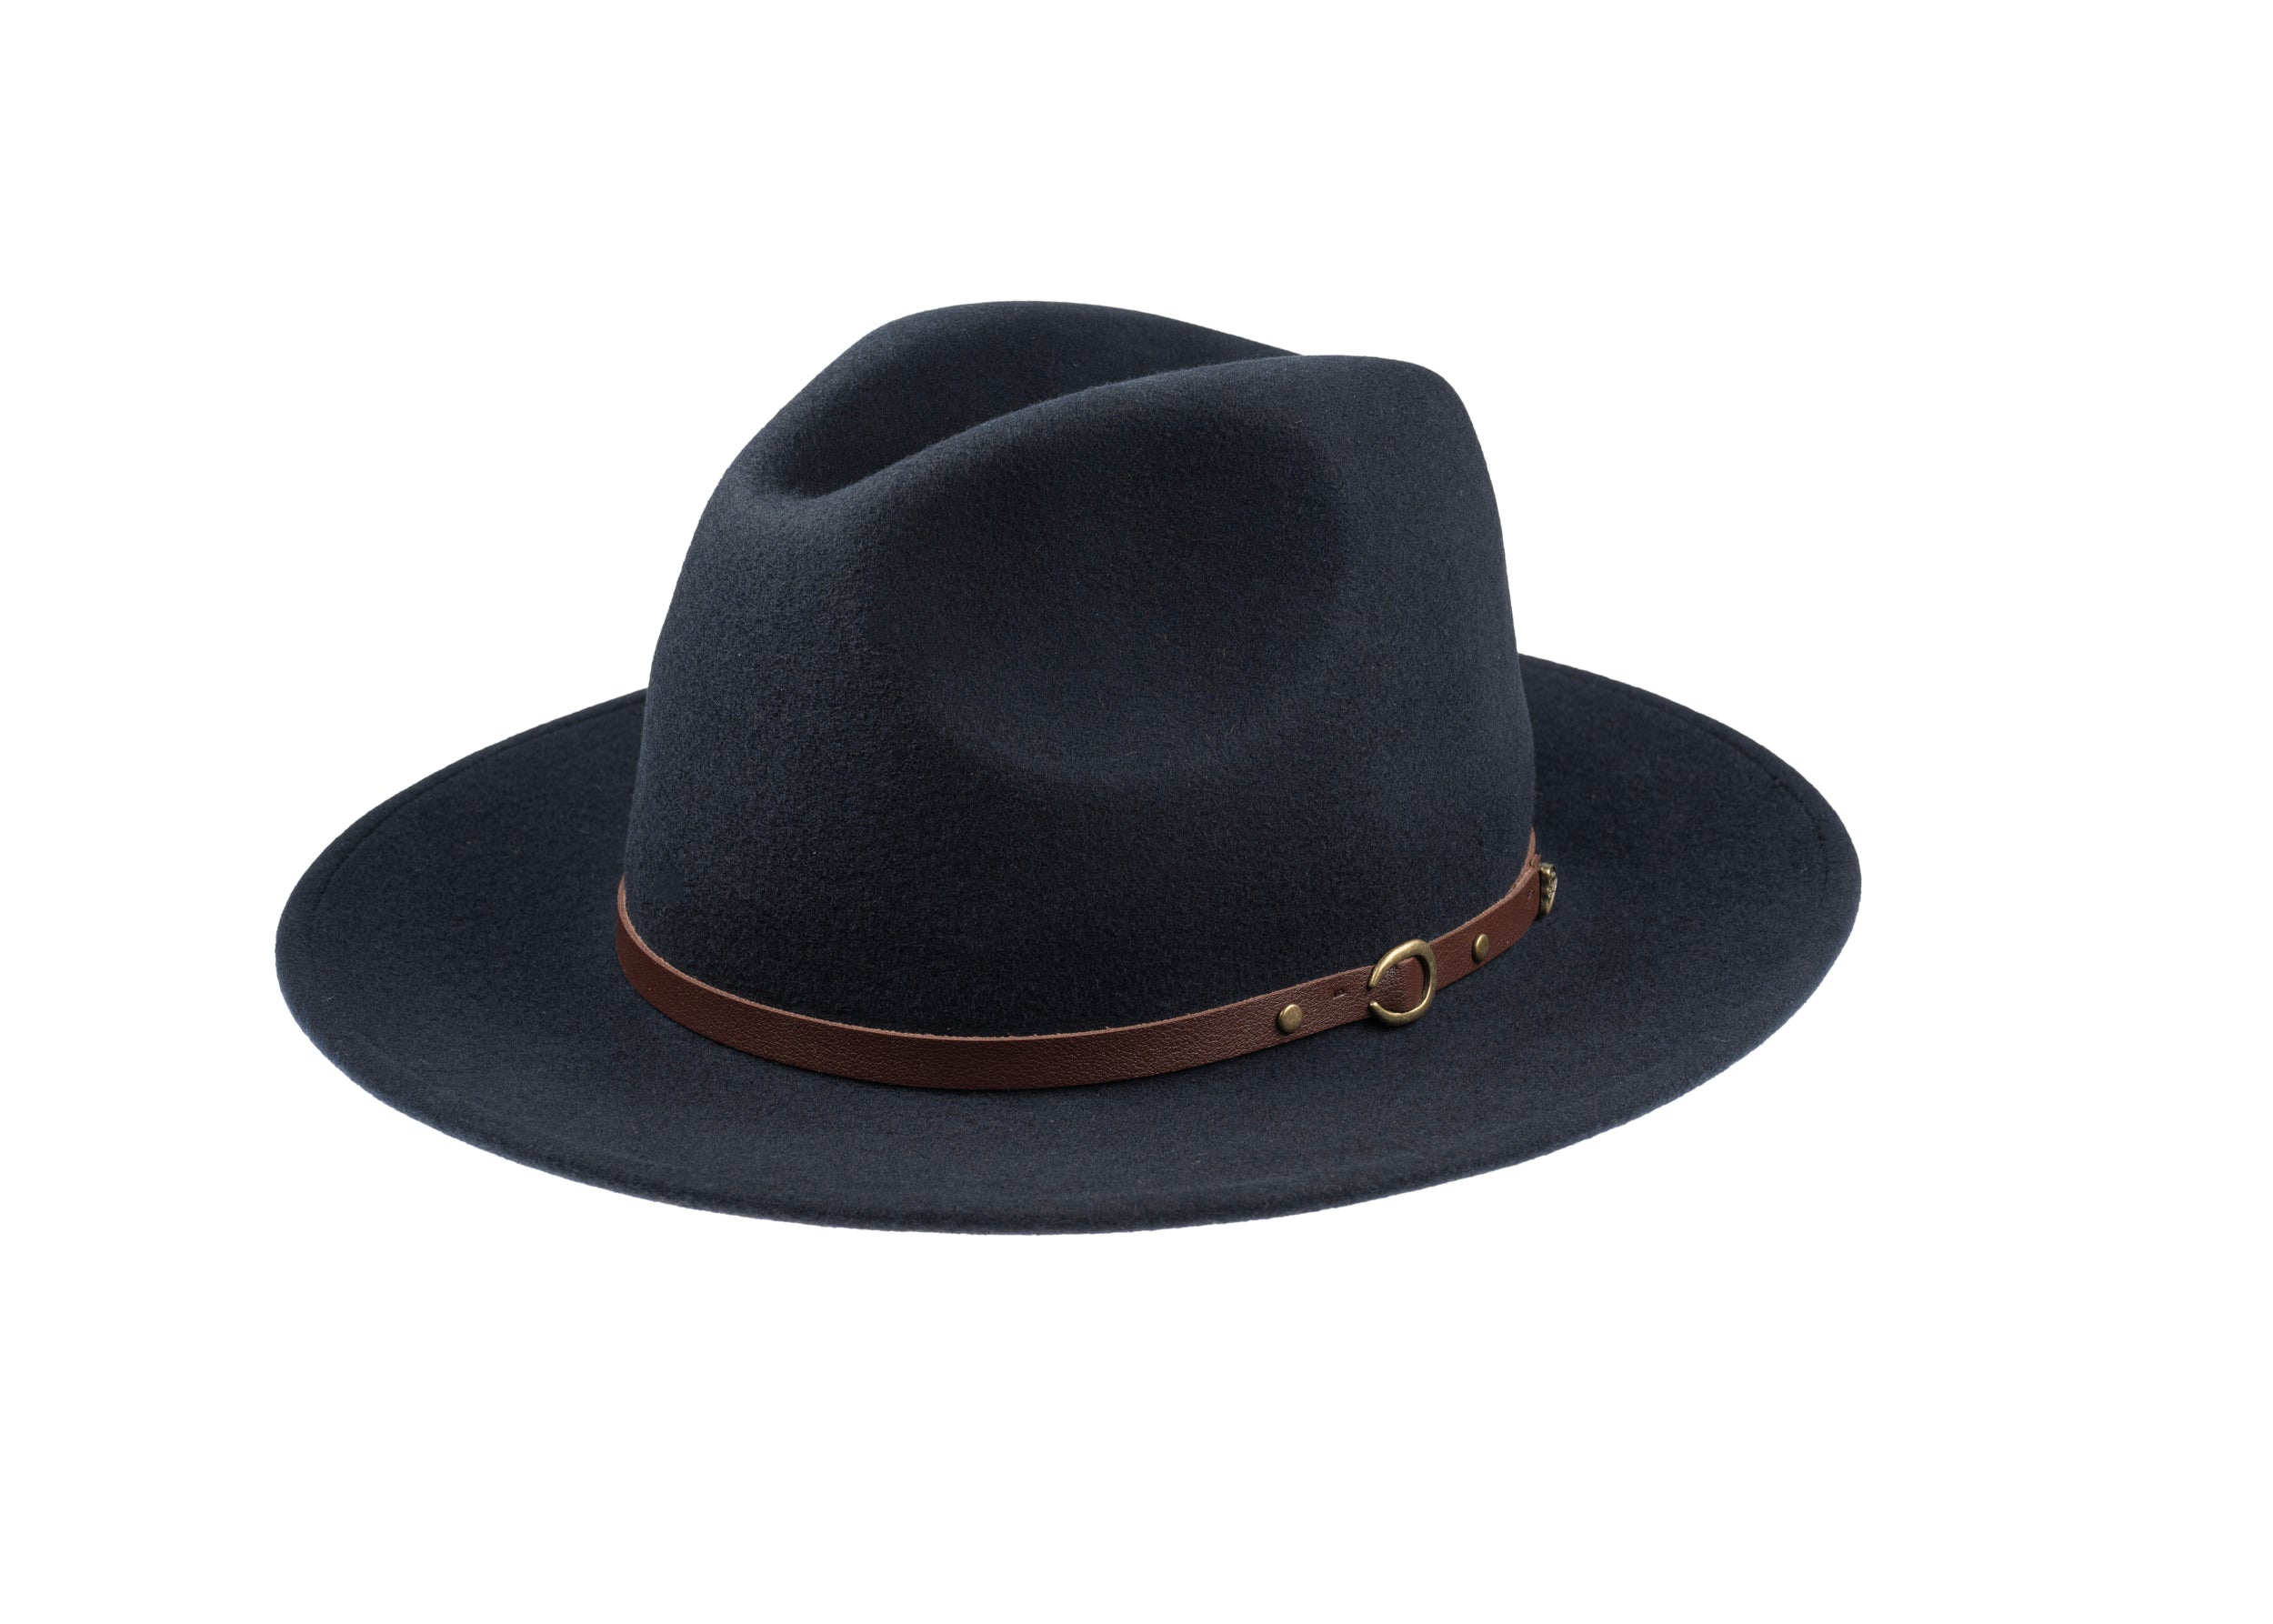
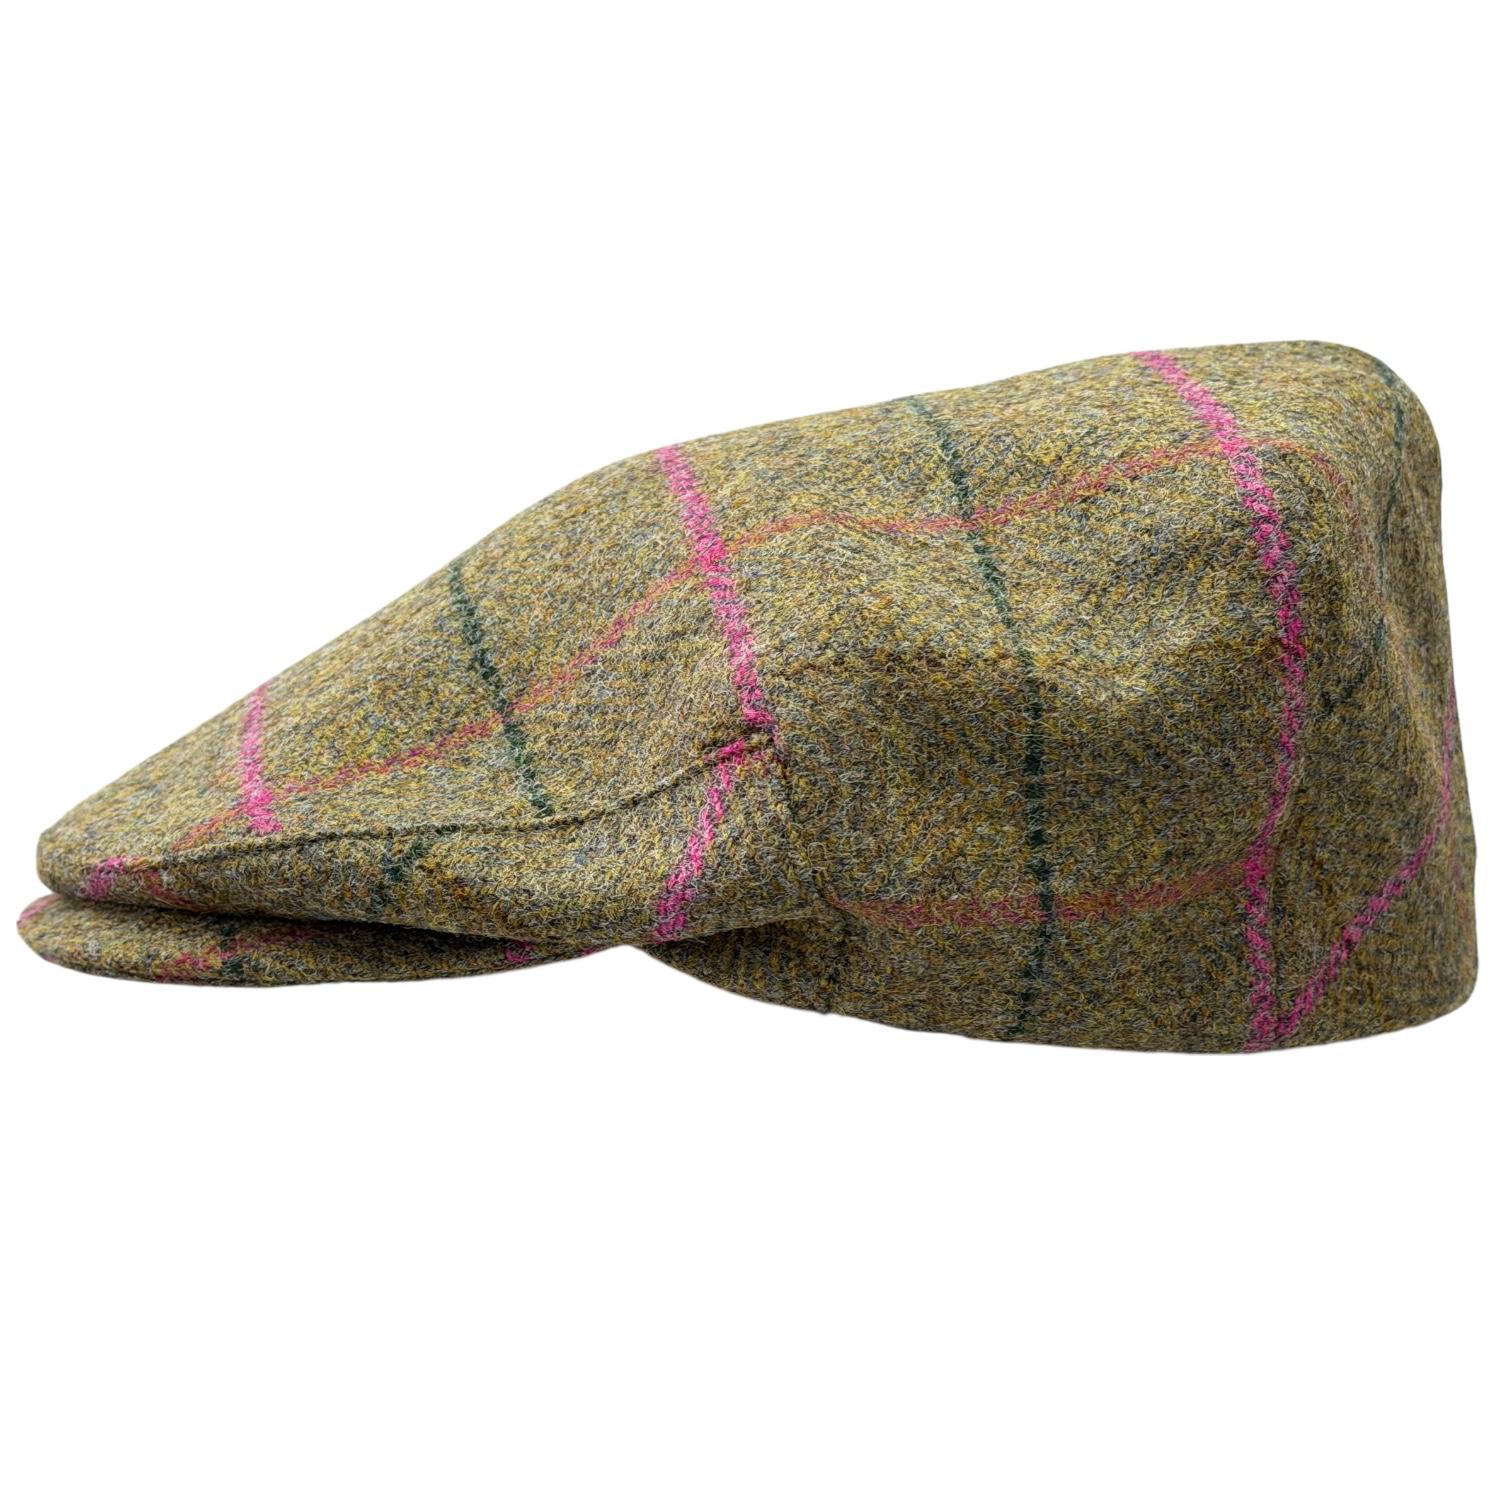
Choose a hand-finished Merino felt for everyday wear.

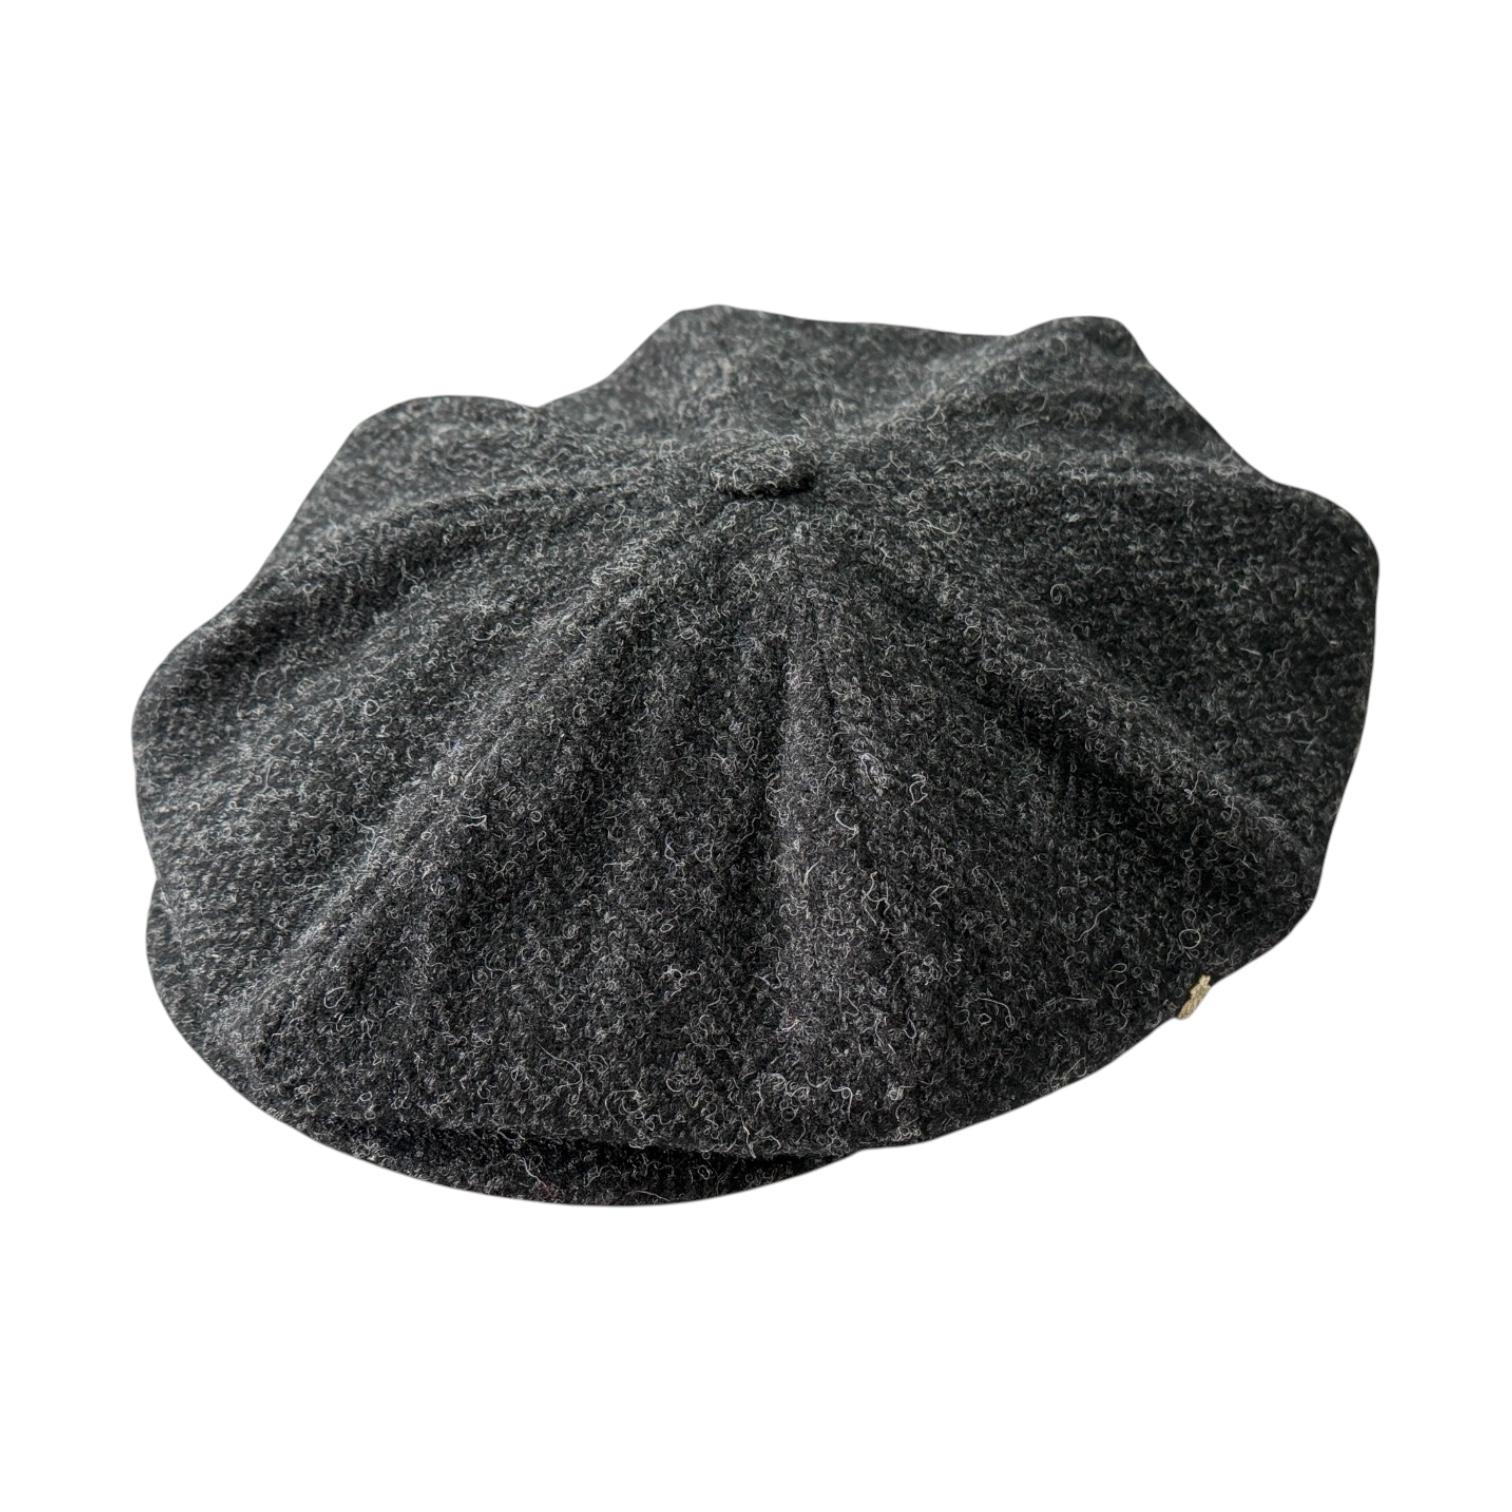
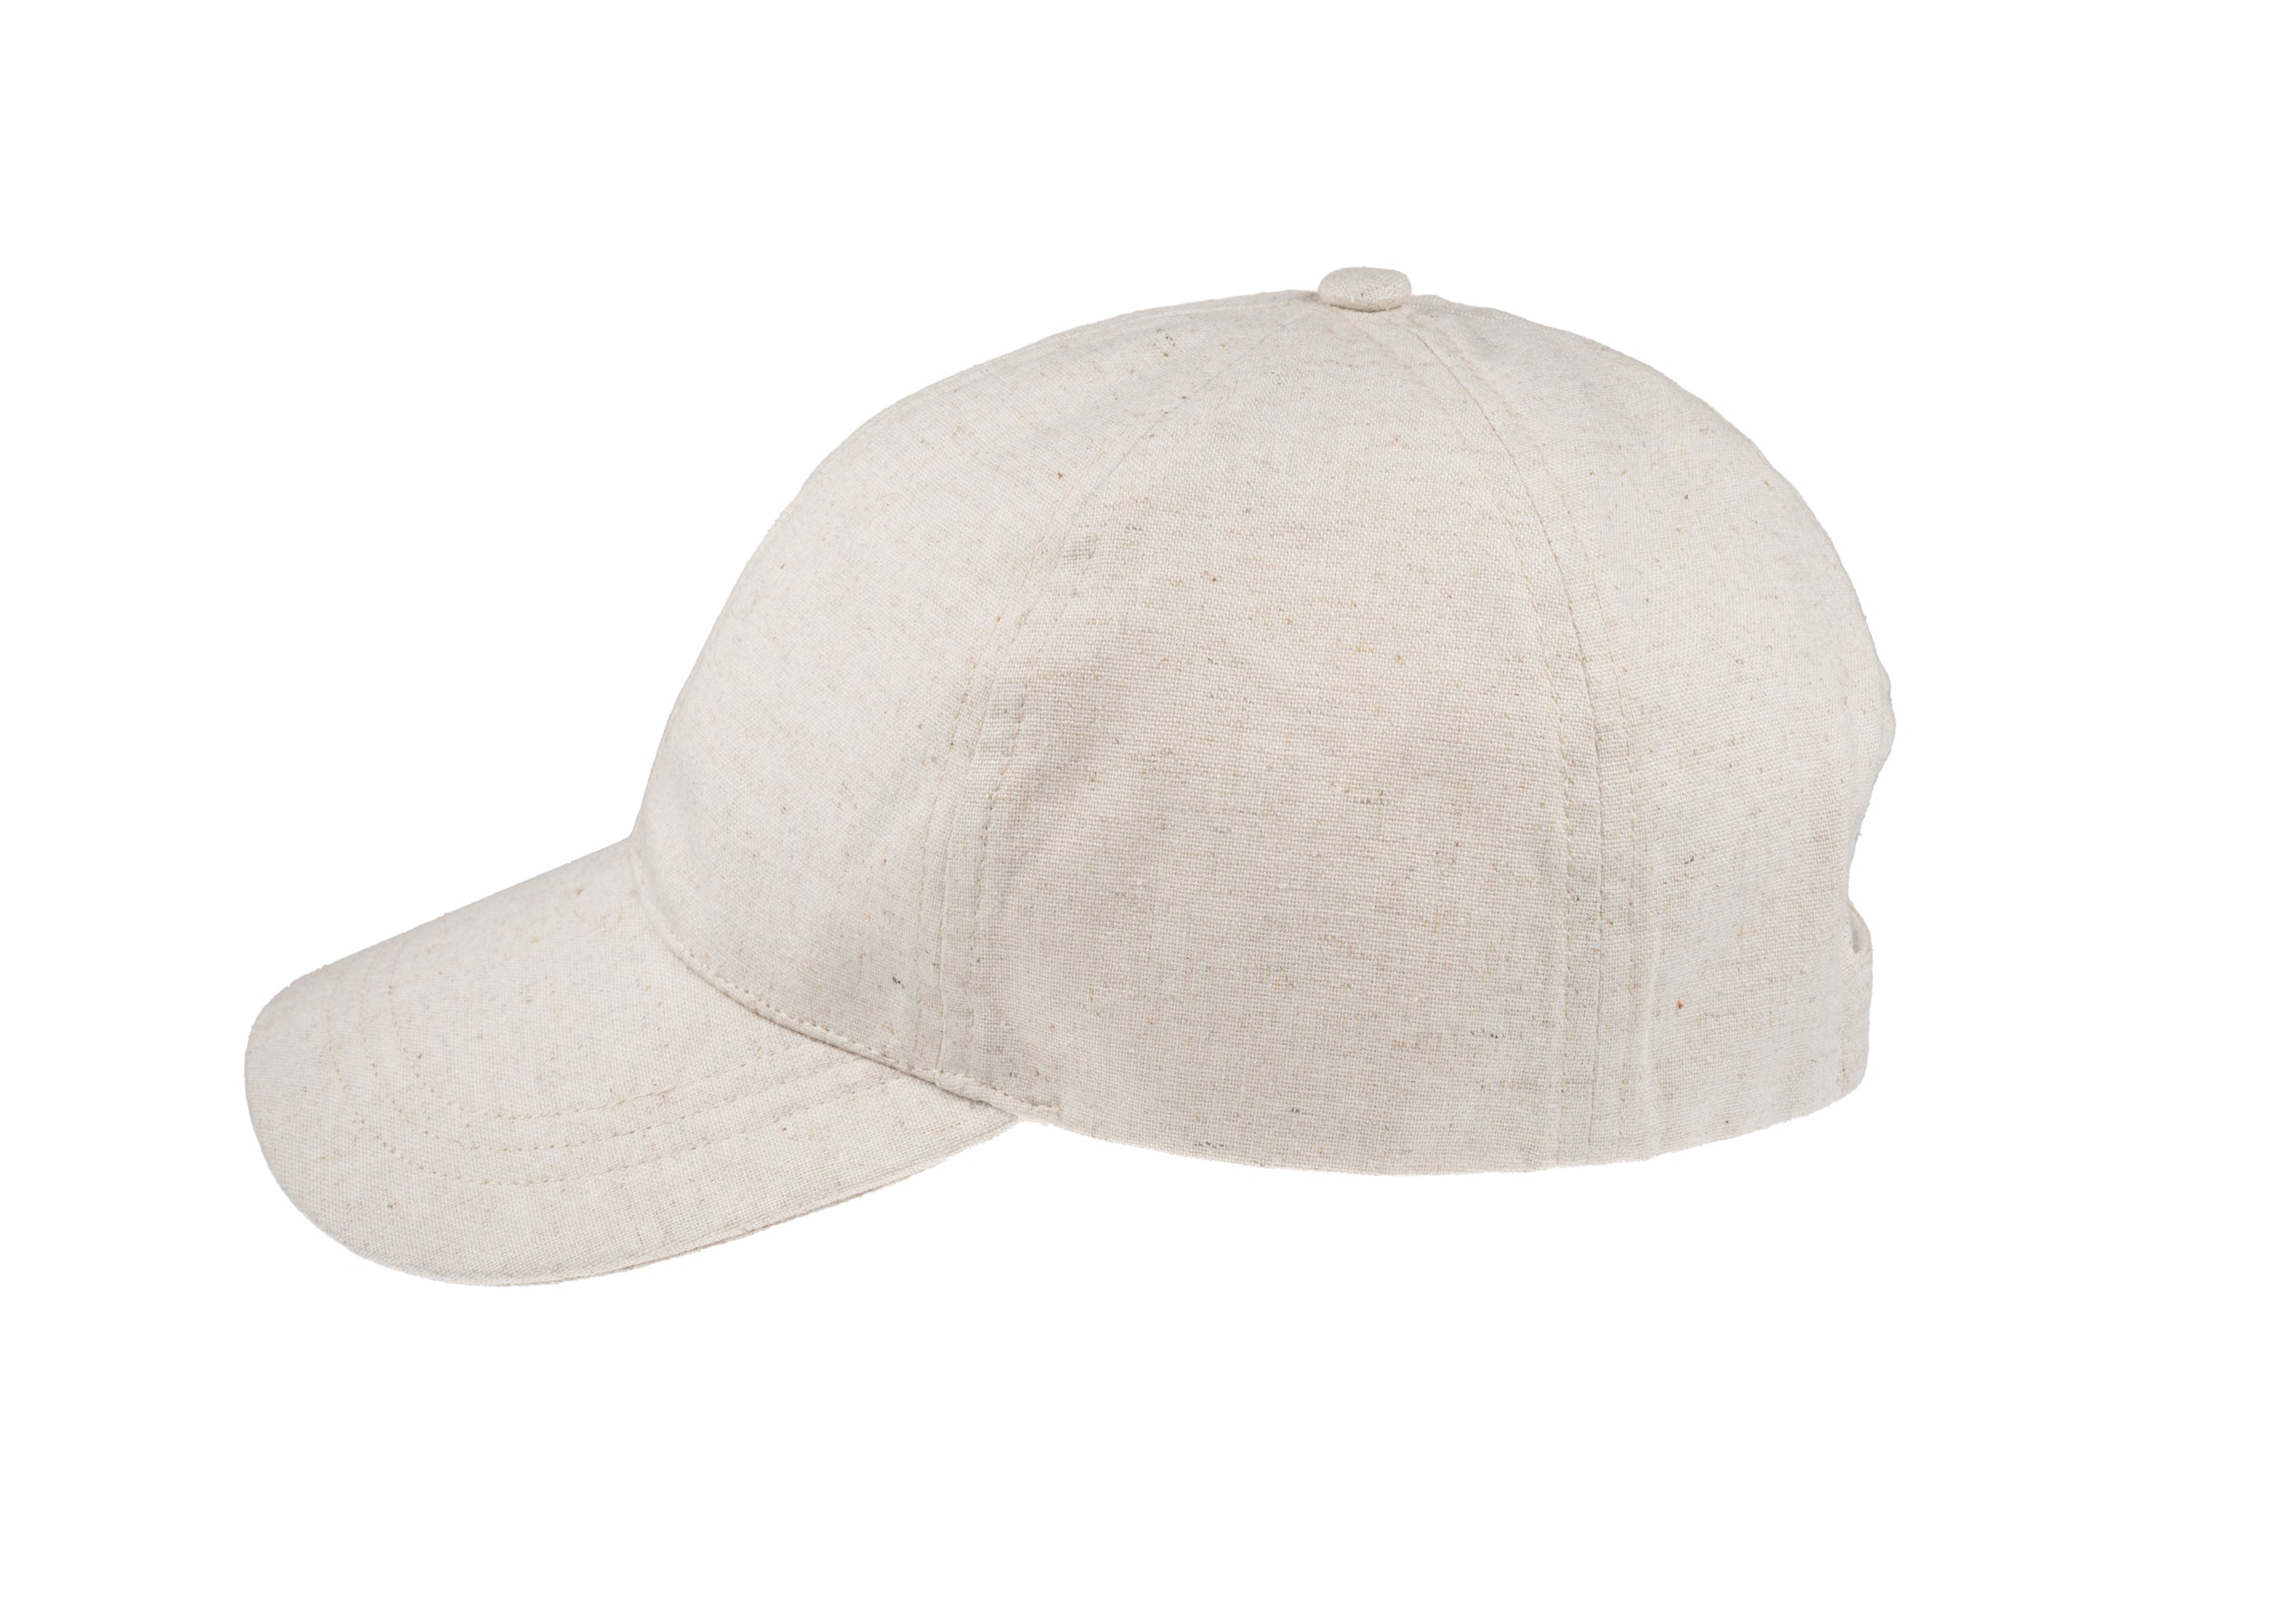
2. Cut the panels and assemble the crown by hand
Choose the panel count deliberately and cut with the nap in mind. Three, four, six, or eight panels alter the crown's curvature; more panels yield a smoother dome and introduce fewer tension lines. Lay templates on a single layer so the pile runs consistently toward the back, mark matching notches, and transfer the quarter points, apex, and easing marks with a tracing wheel or tailor's chalk to ensure accurate alignment. Maintain a consistent seam allowance of around 6 to 8 millimetres to reduce puckering, and apply stay-stitching to curved edges to prevent stretching before you fasten the seams.
Baste the panels with long running stitches, then fit the crown on a hat block to check the ease at each seam. That early fitting avoids time-consuming rework after trimming. Hand-assemble the side seams with a mattress stitch or a fine whip stitch to keep the join invisible, and place short backstitches at points of strain. When working with dense cashmere, use a curved needle so the thread passes without crushing the fibre. Press the seams open through a damp press cloth, and set the curve with gentle hand pressure or a clapper. Block the crown on a wooden form, then lightly brush the pile to restore its loft. These hand-finished steps produce a softer, more natural crown and reward closer inspection.
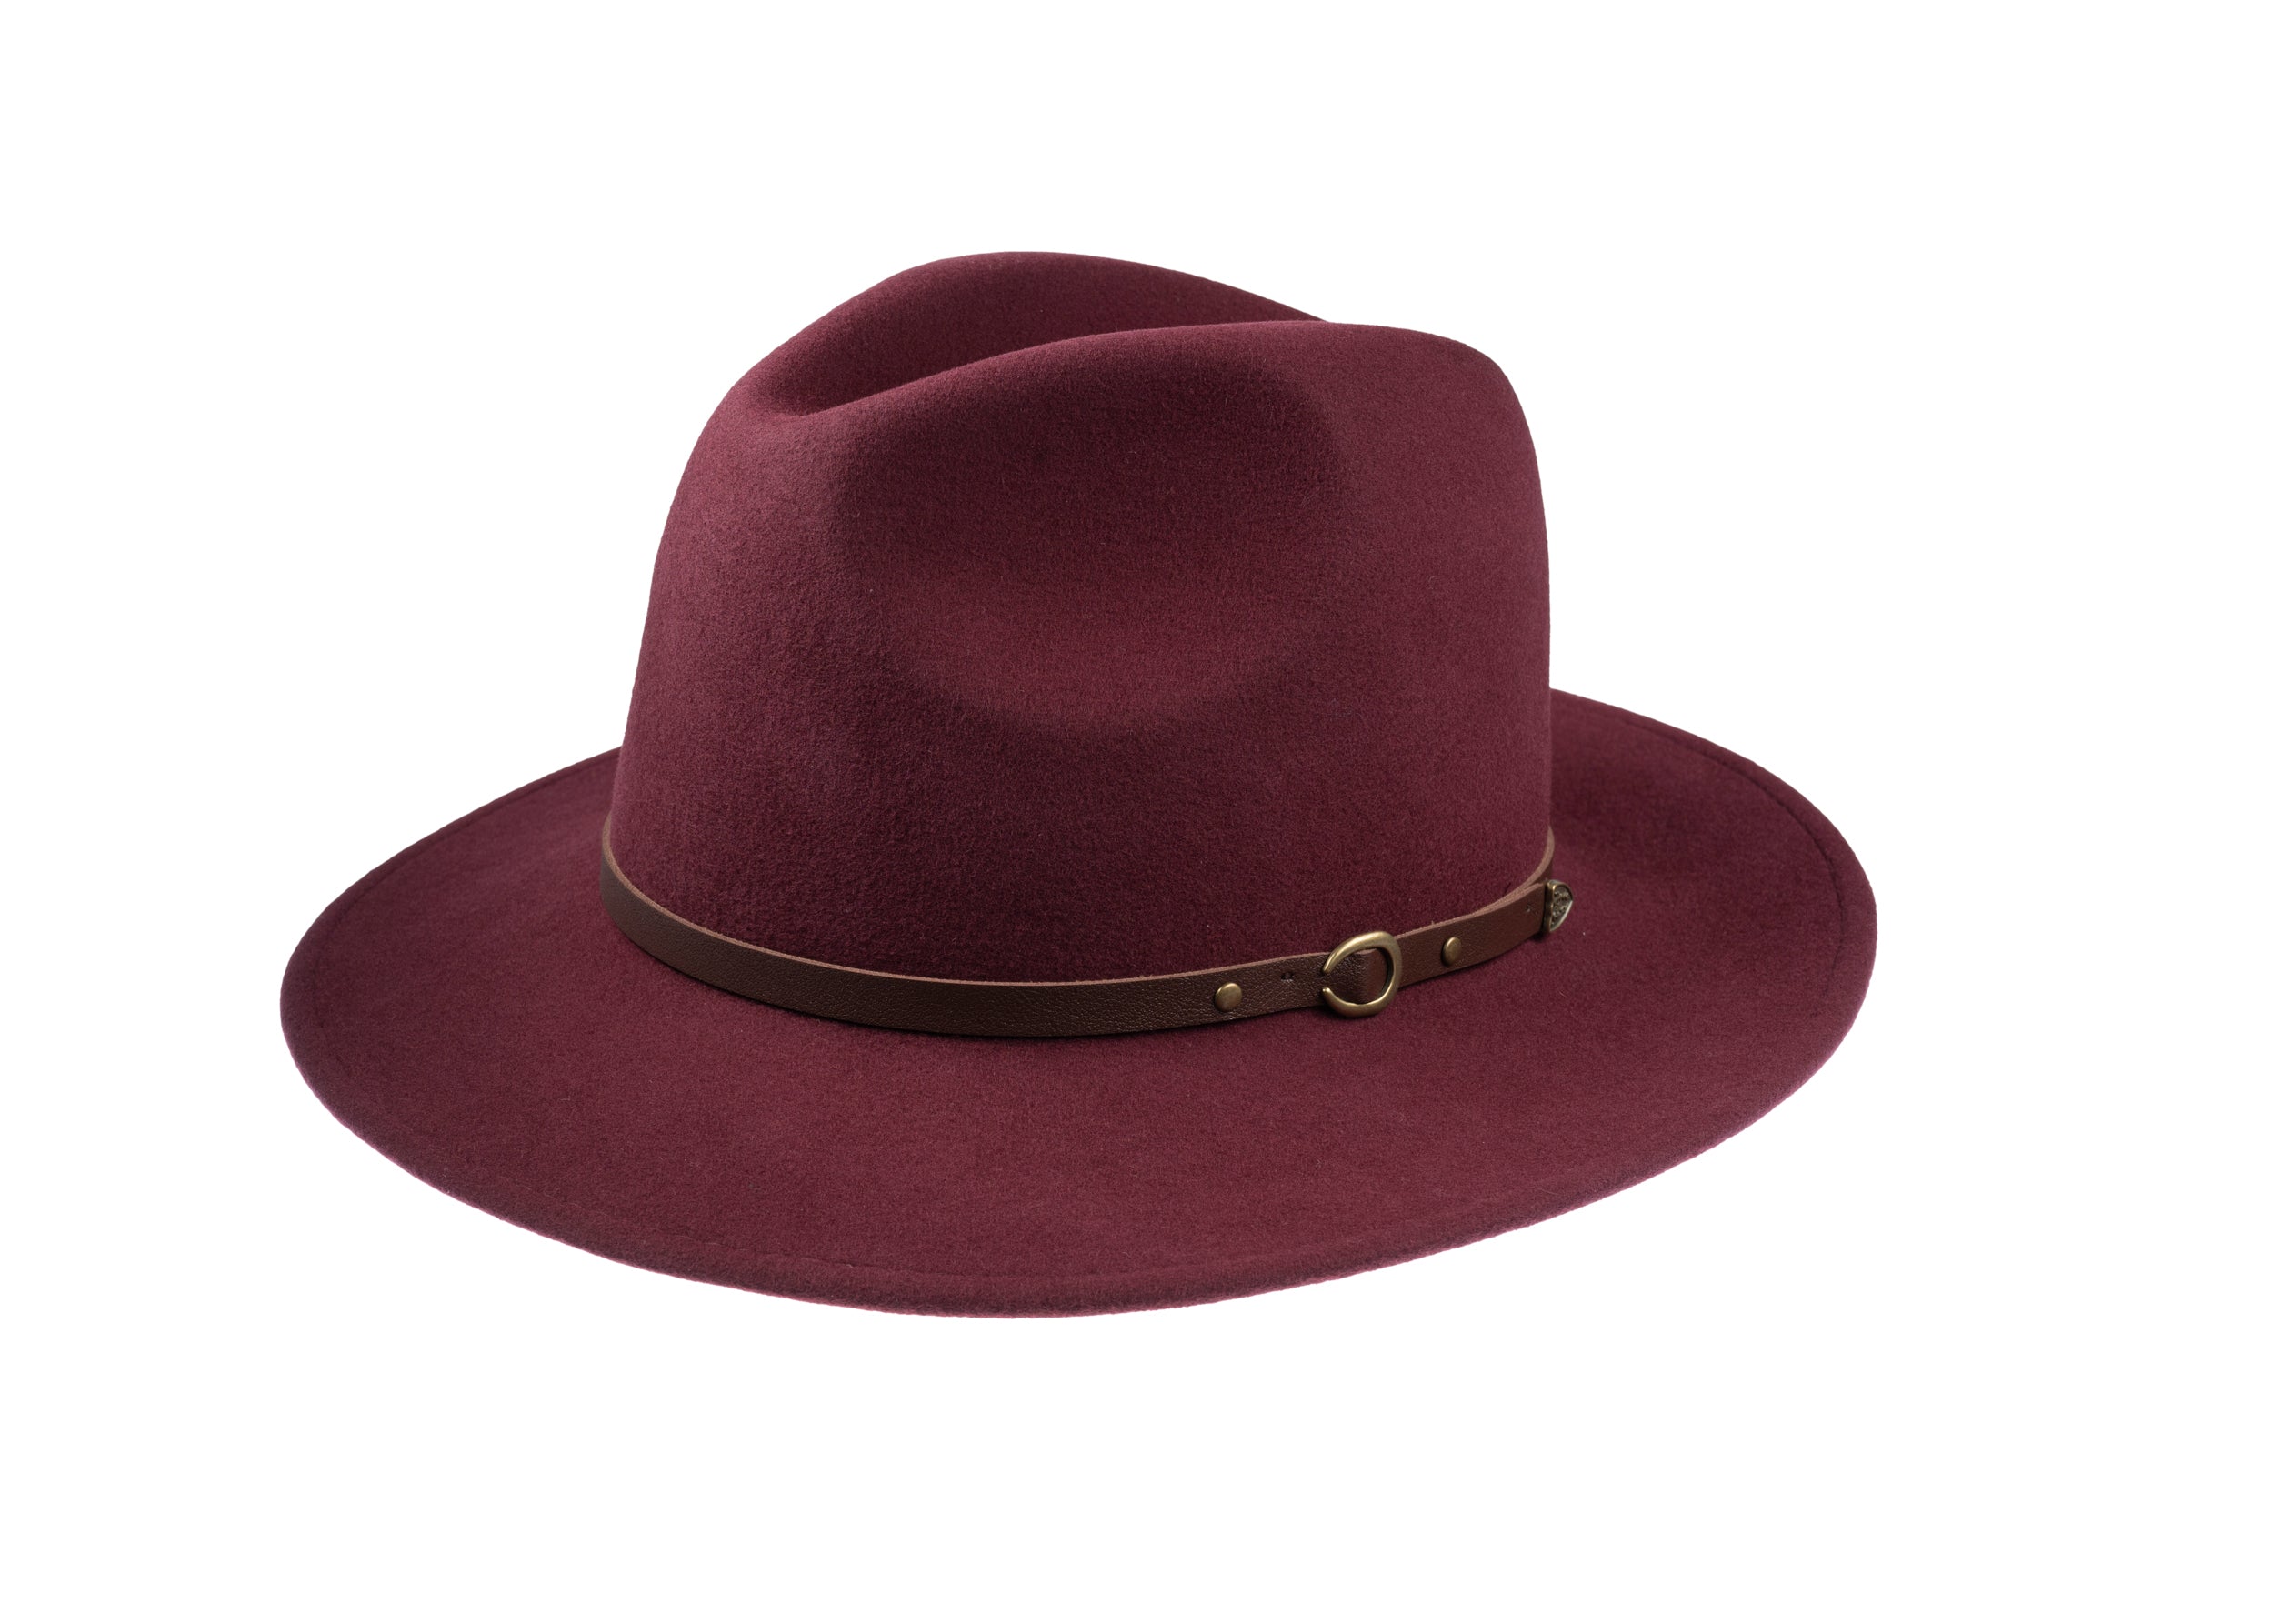
Choose cashmere for a softer, naturally shaped crown.

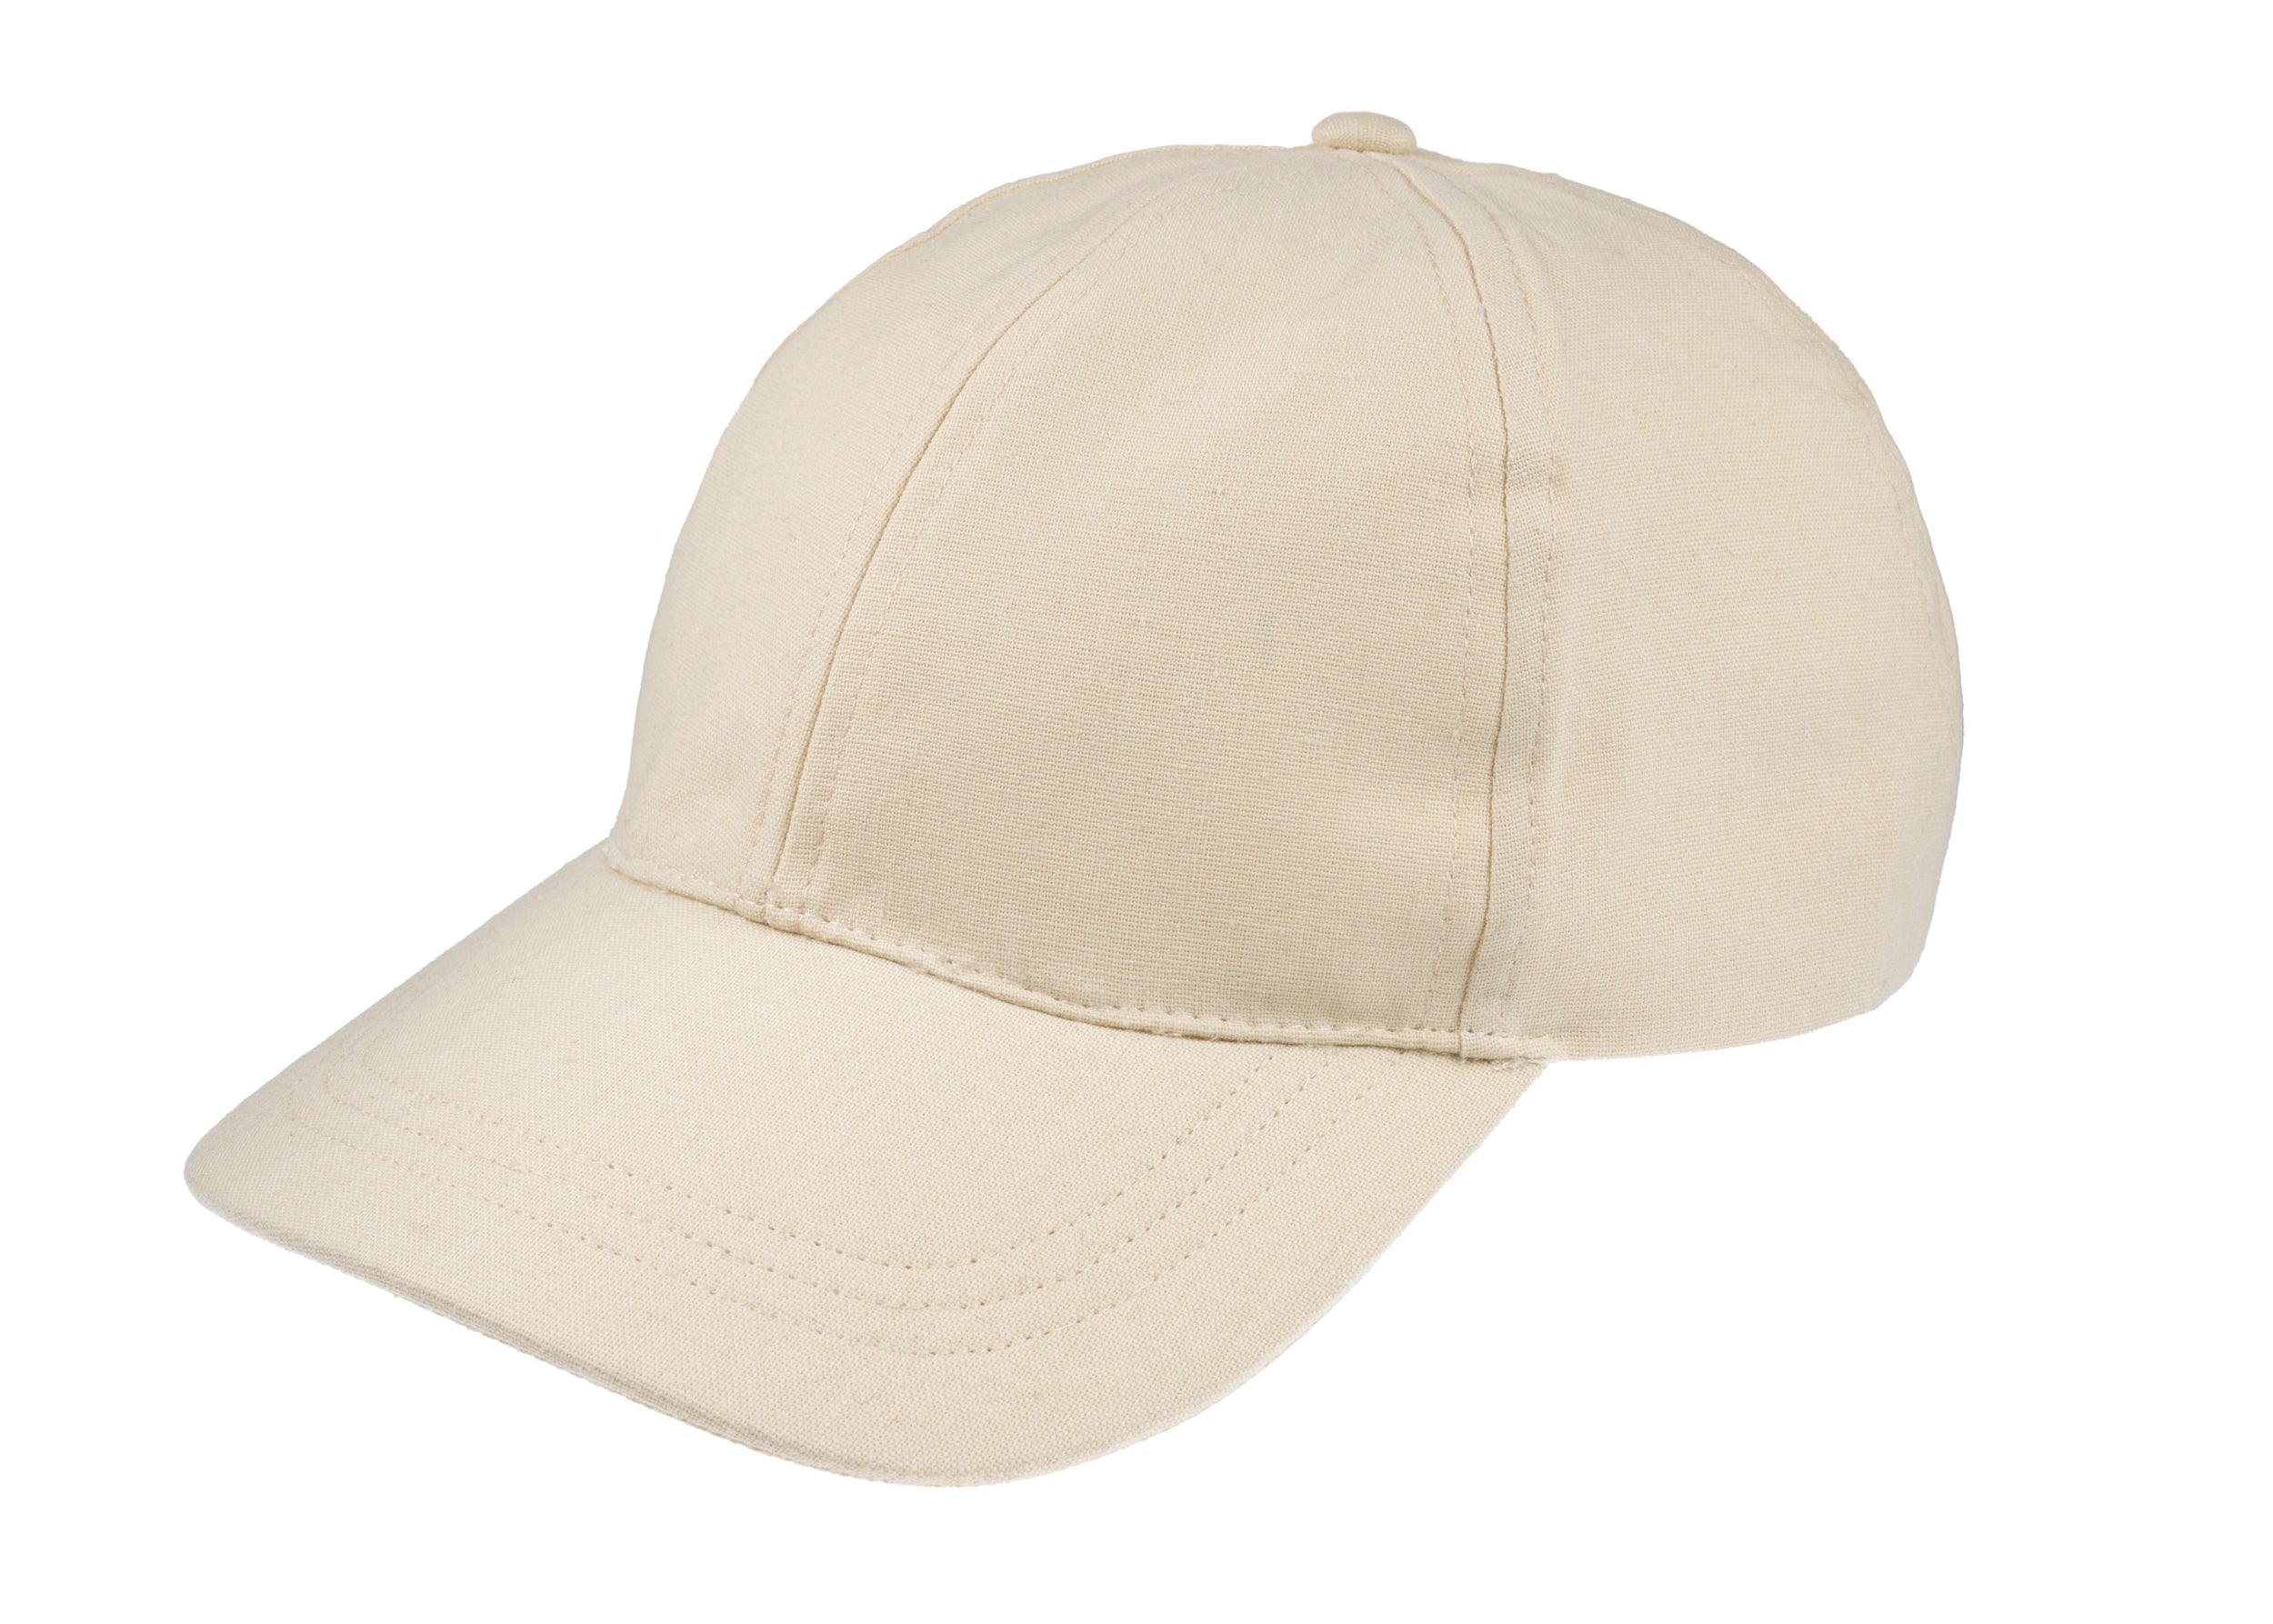
3. Hand-block and steam-mould the cap
Start by stretching the assembled crown over a purpose-built mould that matches the intended head size and profile. Ensure the block is clean and that seam alignment is marked so the cashmere does not snag. Evenly mist or apply steam to relax the fibre scales; this makes the nap receptive to shaping. While the nap is open, shape the piece by hand, using gentle tension and smoothing to reorient the fibres and set the form without felting. Work methodically in small areas, beginning with the crown, then the sides, then the brim, checking symmetry and seam alignment as you go. Use pins or clamps only where additional hold is required.
Allow the cap to dry on the mould so the fibres cool and re-bond to the new shape. When removed, inspect for unevenness, puckering, or nap reversal, and rework only those areas by hand rather than returning the piece to a full steam cycle. Smooth the pile with a soft brush, then check the fit on a life-sized head form to judge drape and balance. Store the finished cap on a form or in a breathable cover to preserve its shape and the hand of the cashmere. This incremental, hand-led method prevents unwanted felting and helps retain the knit's softness and loft.
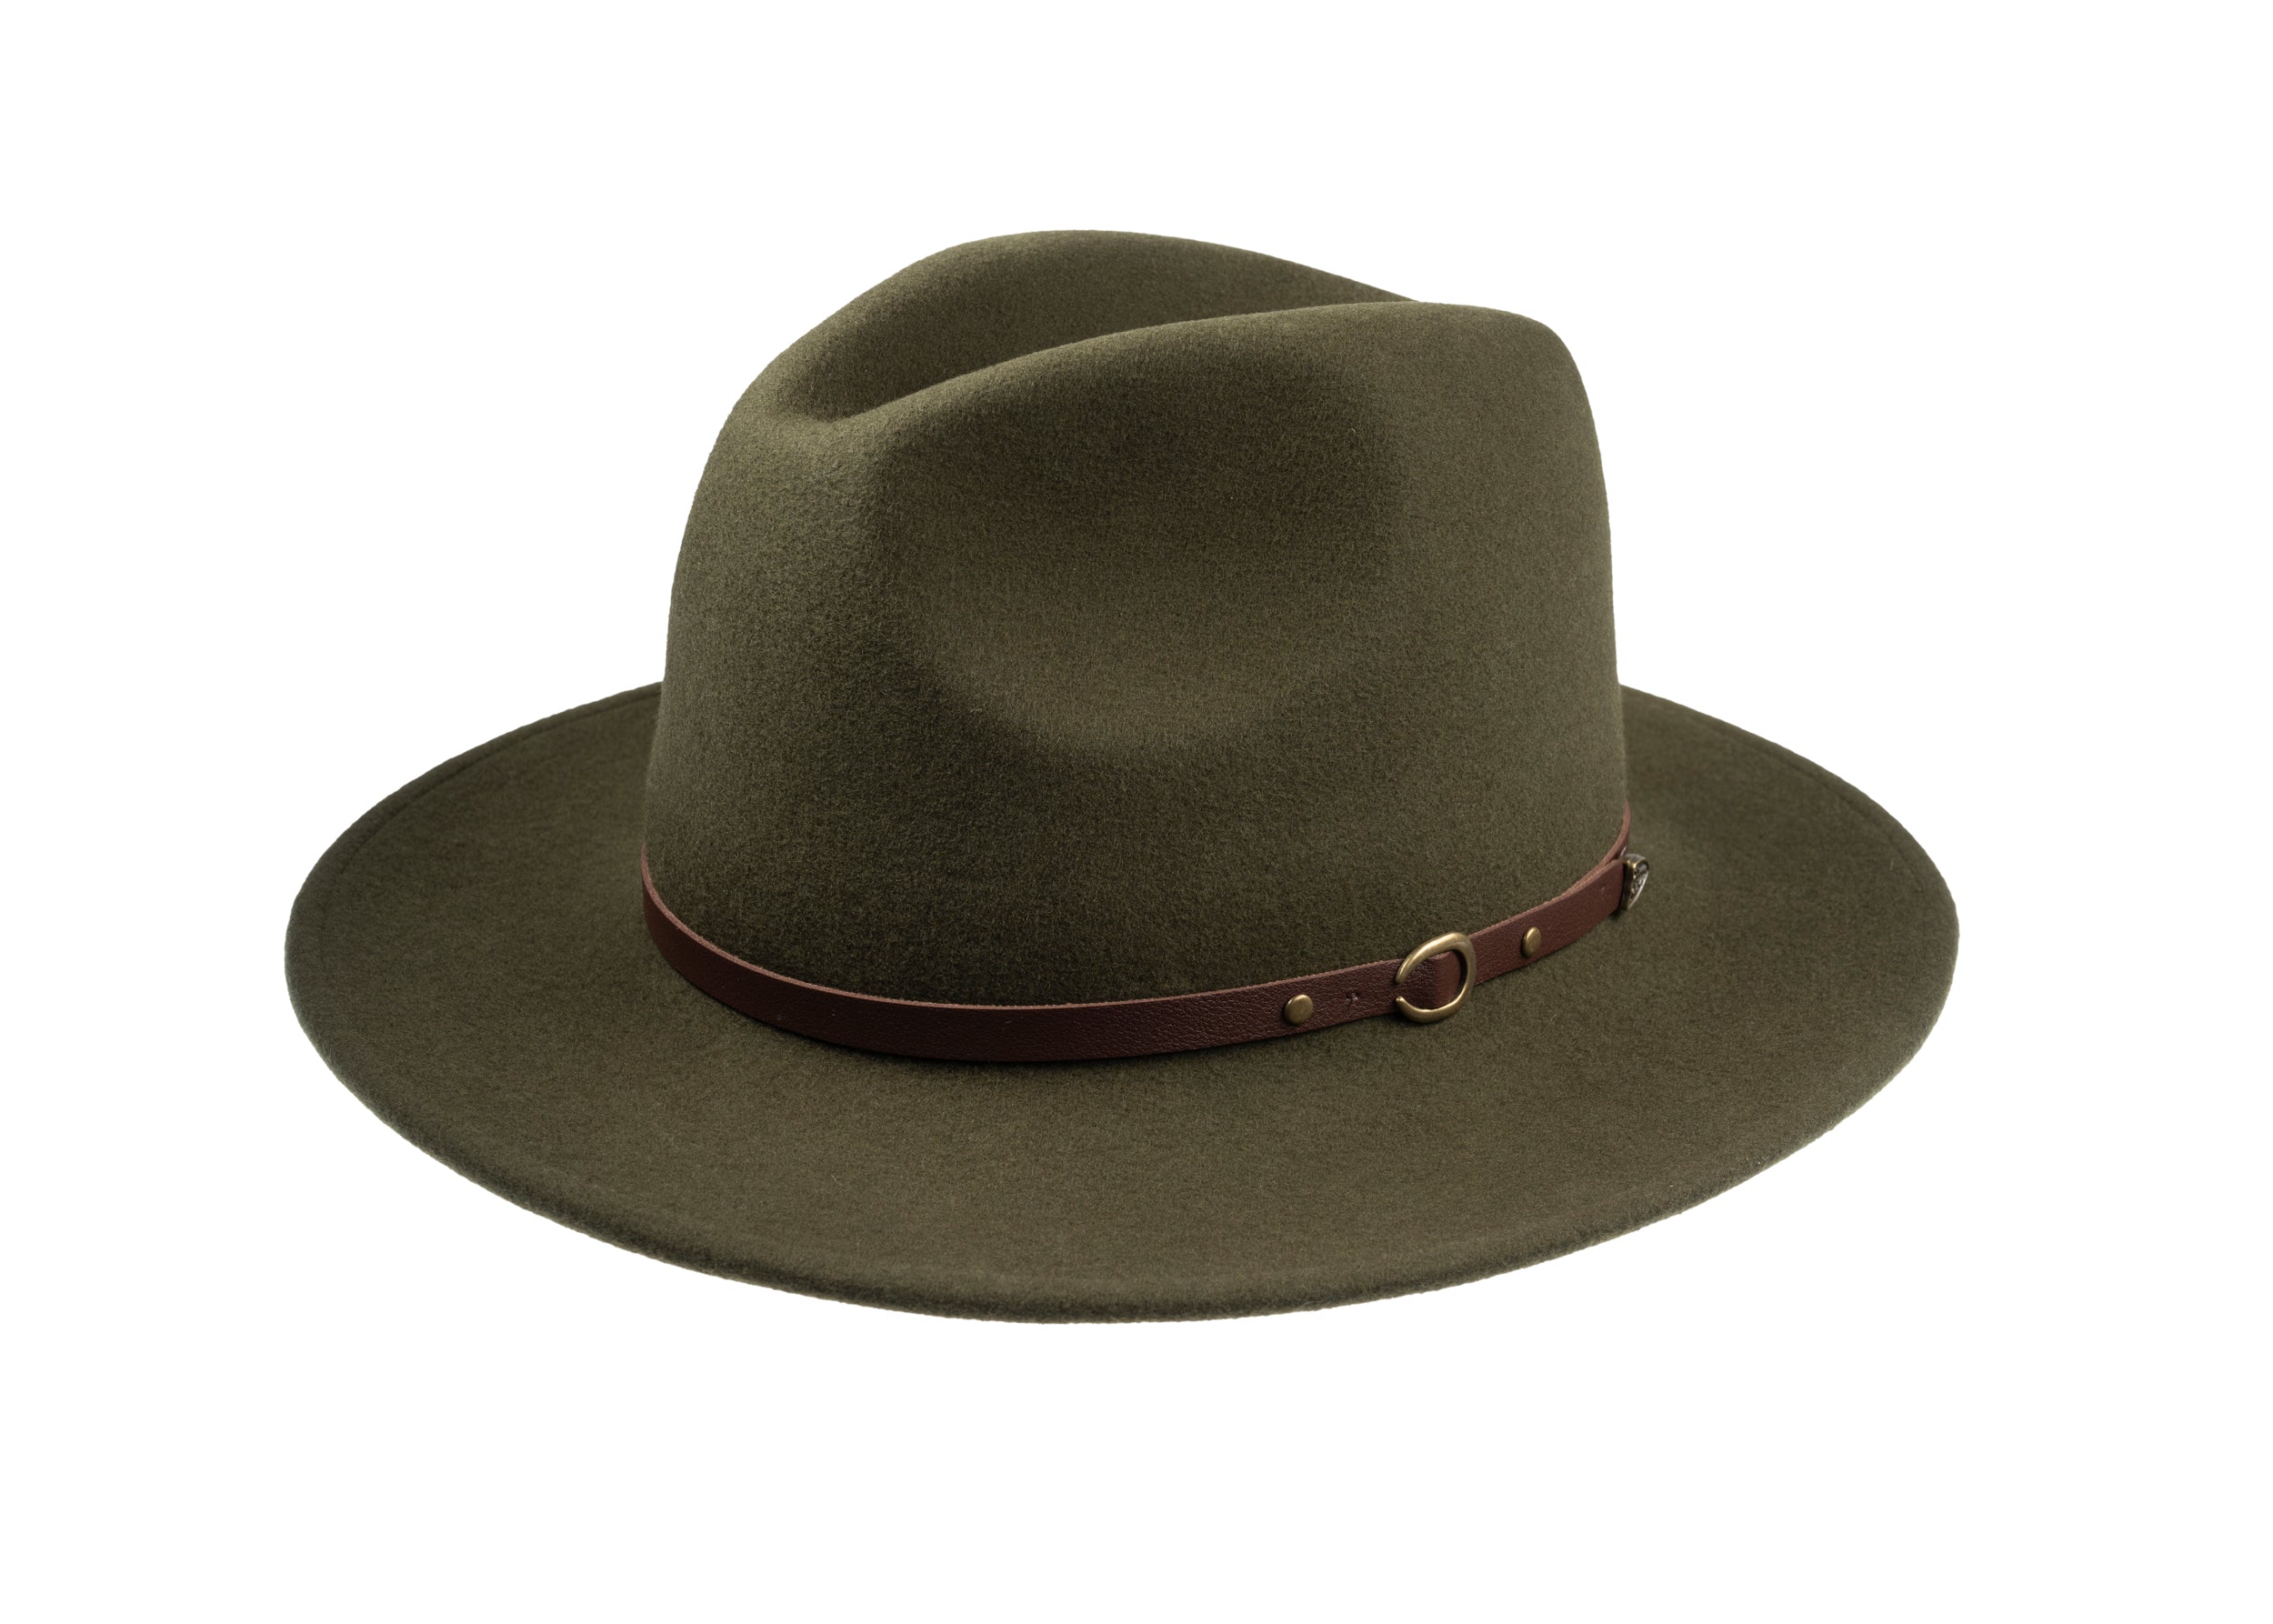
Choose a cashmere cap that holds shape.

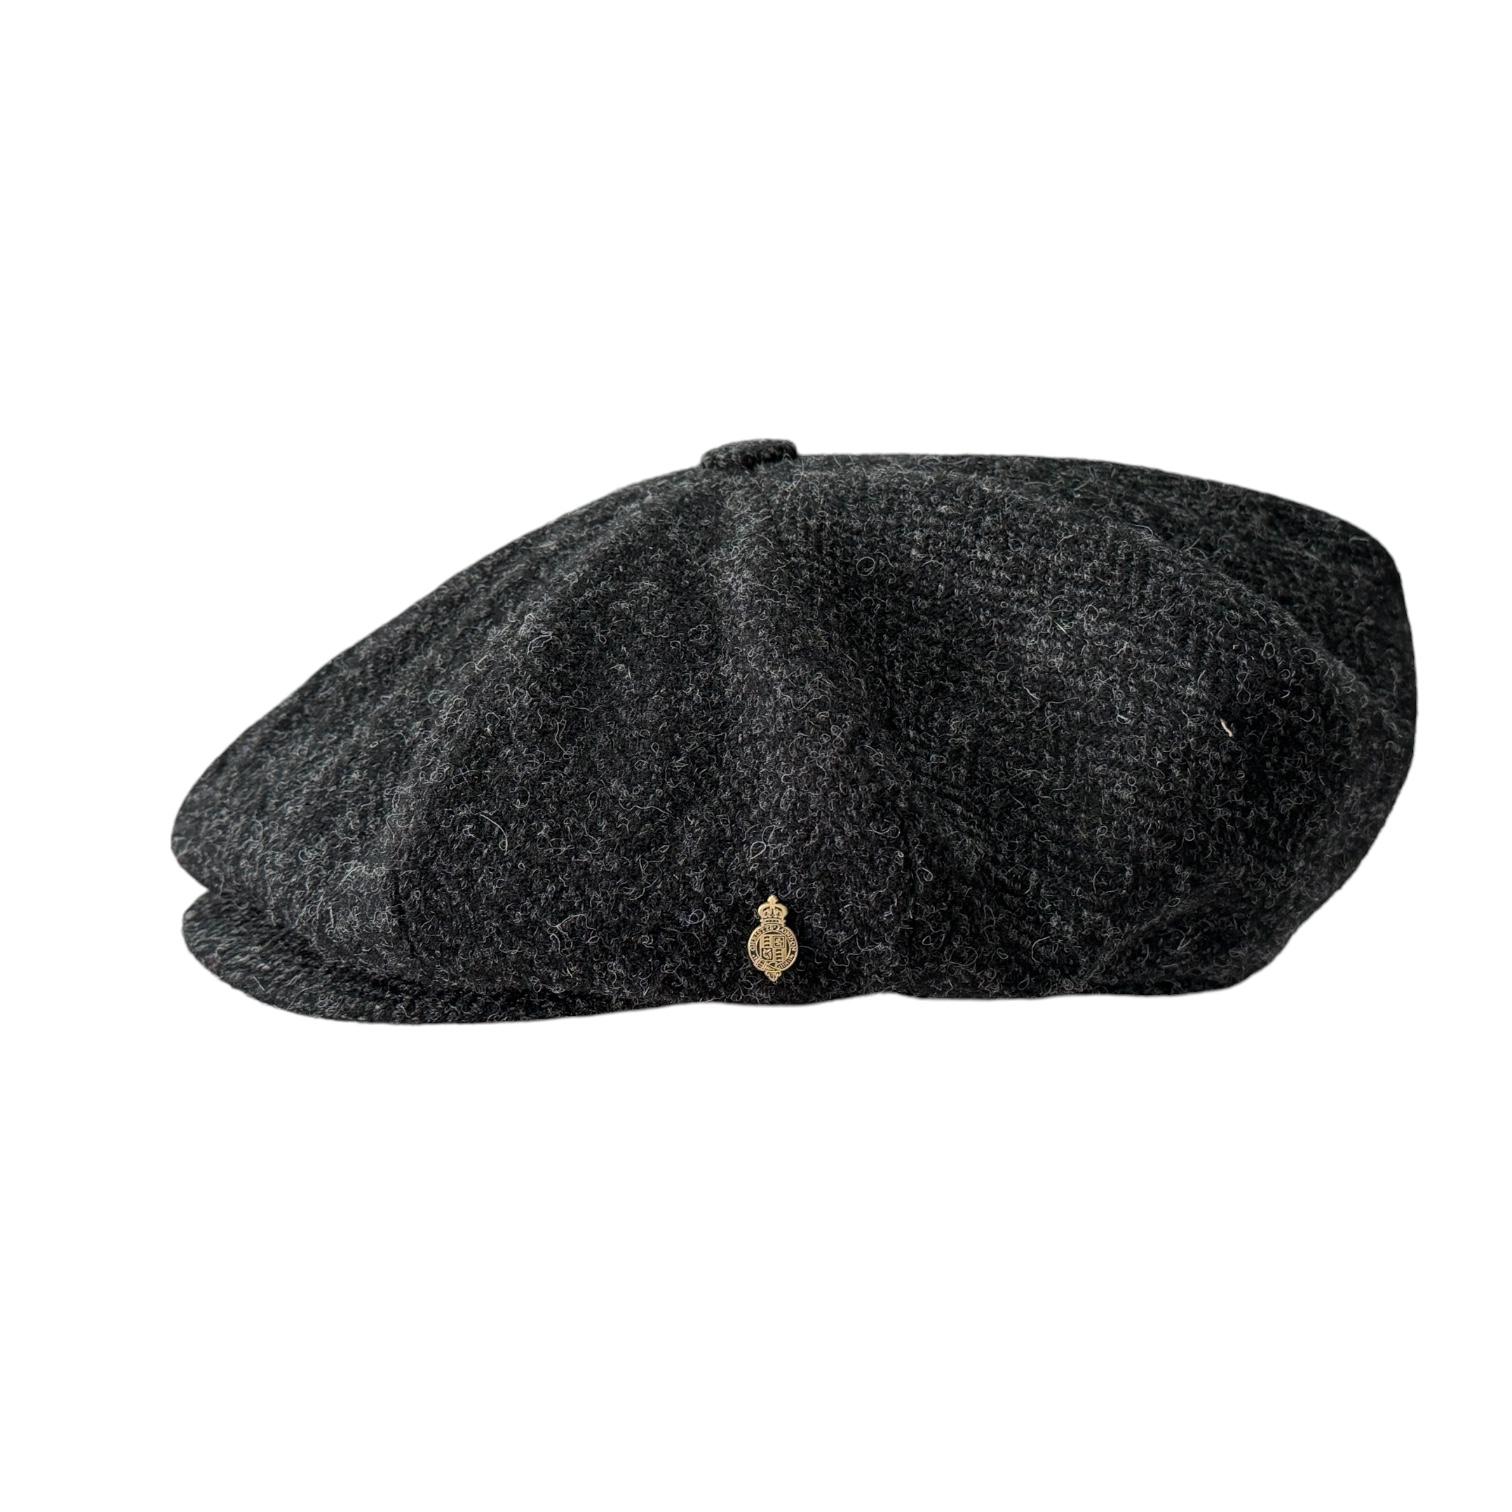
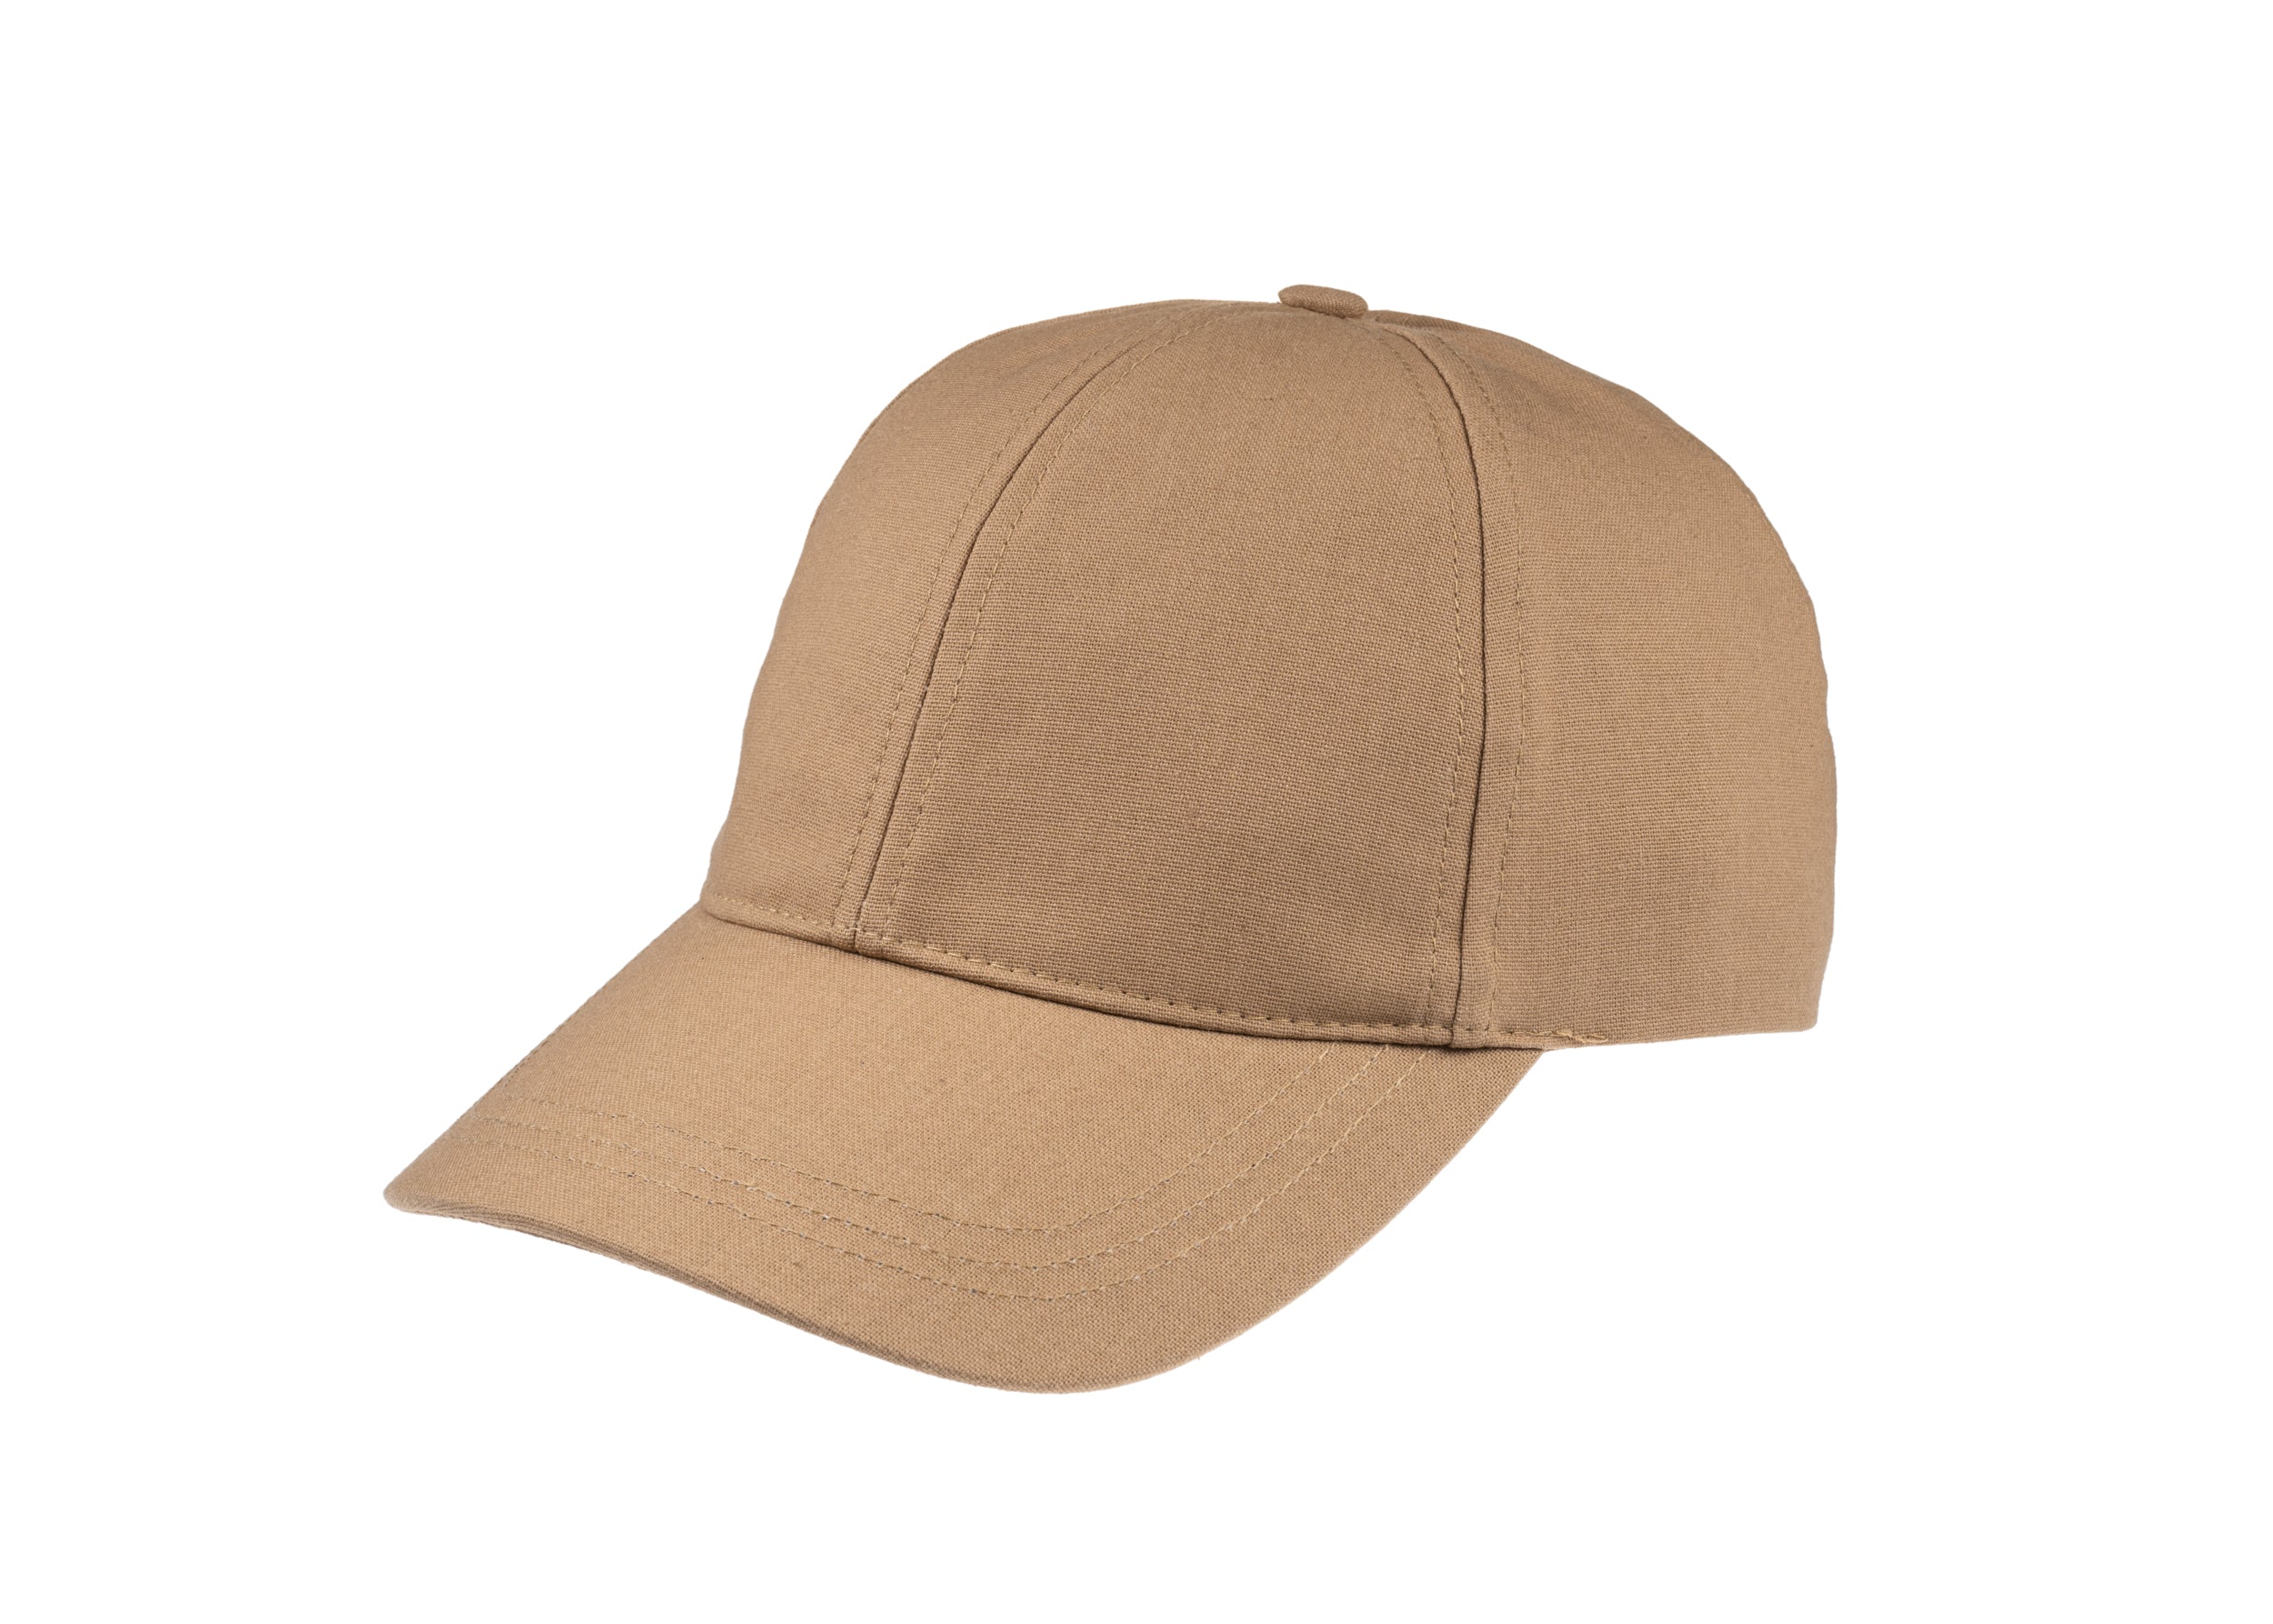
4. Shape the brim, finish the edges by hand
Place the cap on a shaped wooden or horn block and pin the brim lightly. Use short bursts of steam through a damp pressing cloth to coax the curve, testing first on a scrap of cashmere to judge how much steam the fibre will tolerate without compressing the loft. Roll or press the brim edge by hand and secure it with a few discrete tailor's tacks or small stitches, keeping tension even around the circumference so the edge sits flat yet remains flexible in wear. Finish the edge by hand: a neat blind stitch, a close overcast, or a narrow hand-applied hem tape, with stitch spacing and thread thickness matched to the fabric weight so the seam integrates with the nap. Remove loose fibres and lift the nap along the brim with a fine brush or comb, then refresh the surface with a gentle steam and reshape on the block to restore the soft handle that distinguishes cashmere.
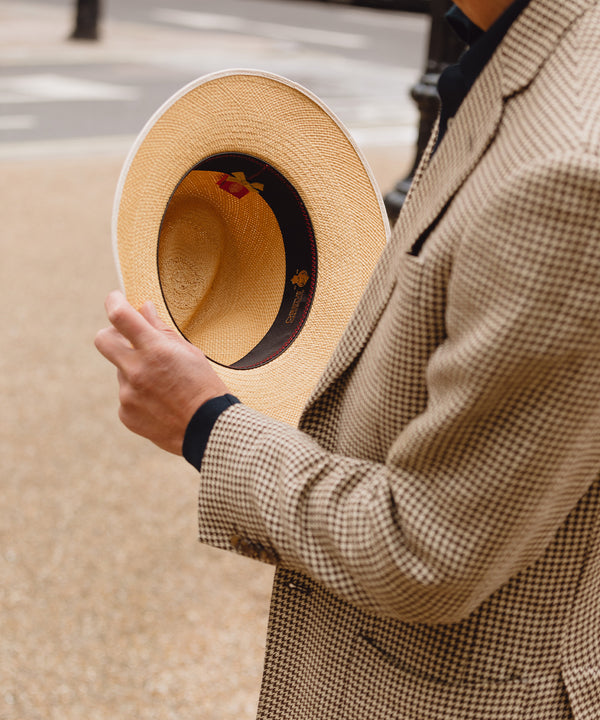
Shaped and finished by hand, the process preserves fibre alignment and the subtle geometry that machine work tends to flatten, producing a more comfortable fit and an edge that retains its definition over time. Discrete tacks and carefully matched stitch sizes allow the seam to sit as part of the nap rather than interrupt it. The resulting silhouette suits country occasions and smart outdoor events, with a soft hand and the durability often associated with cashmere. These subtle touches become apparent when handled.
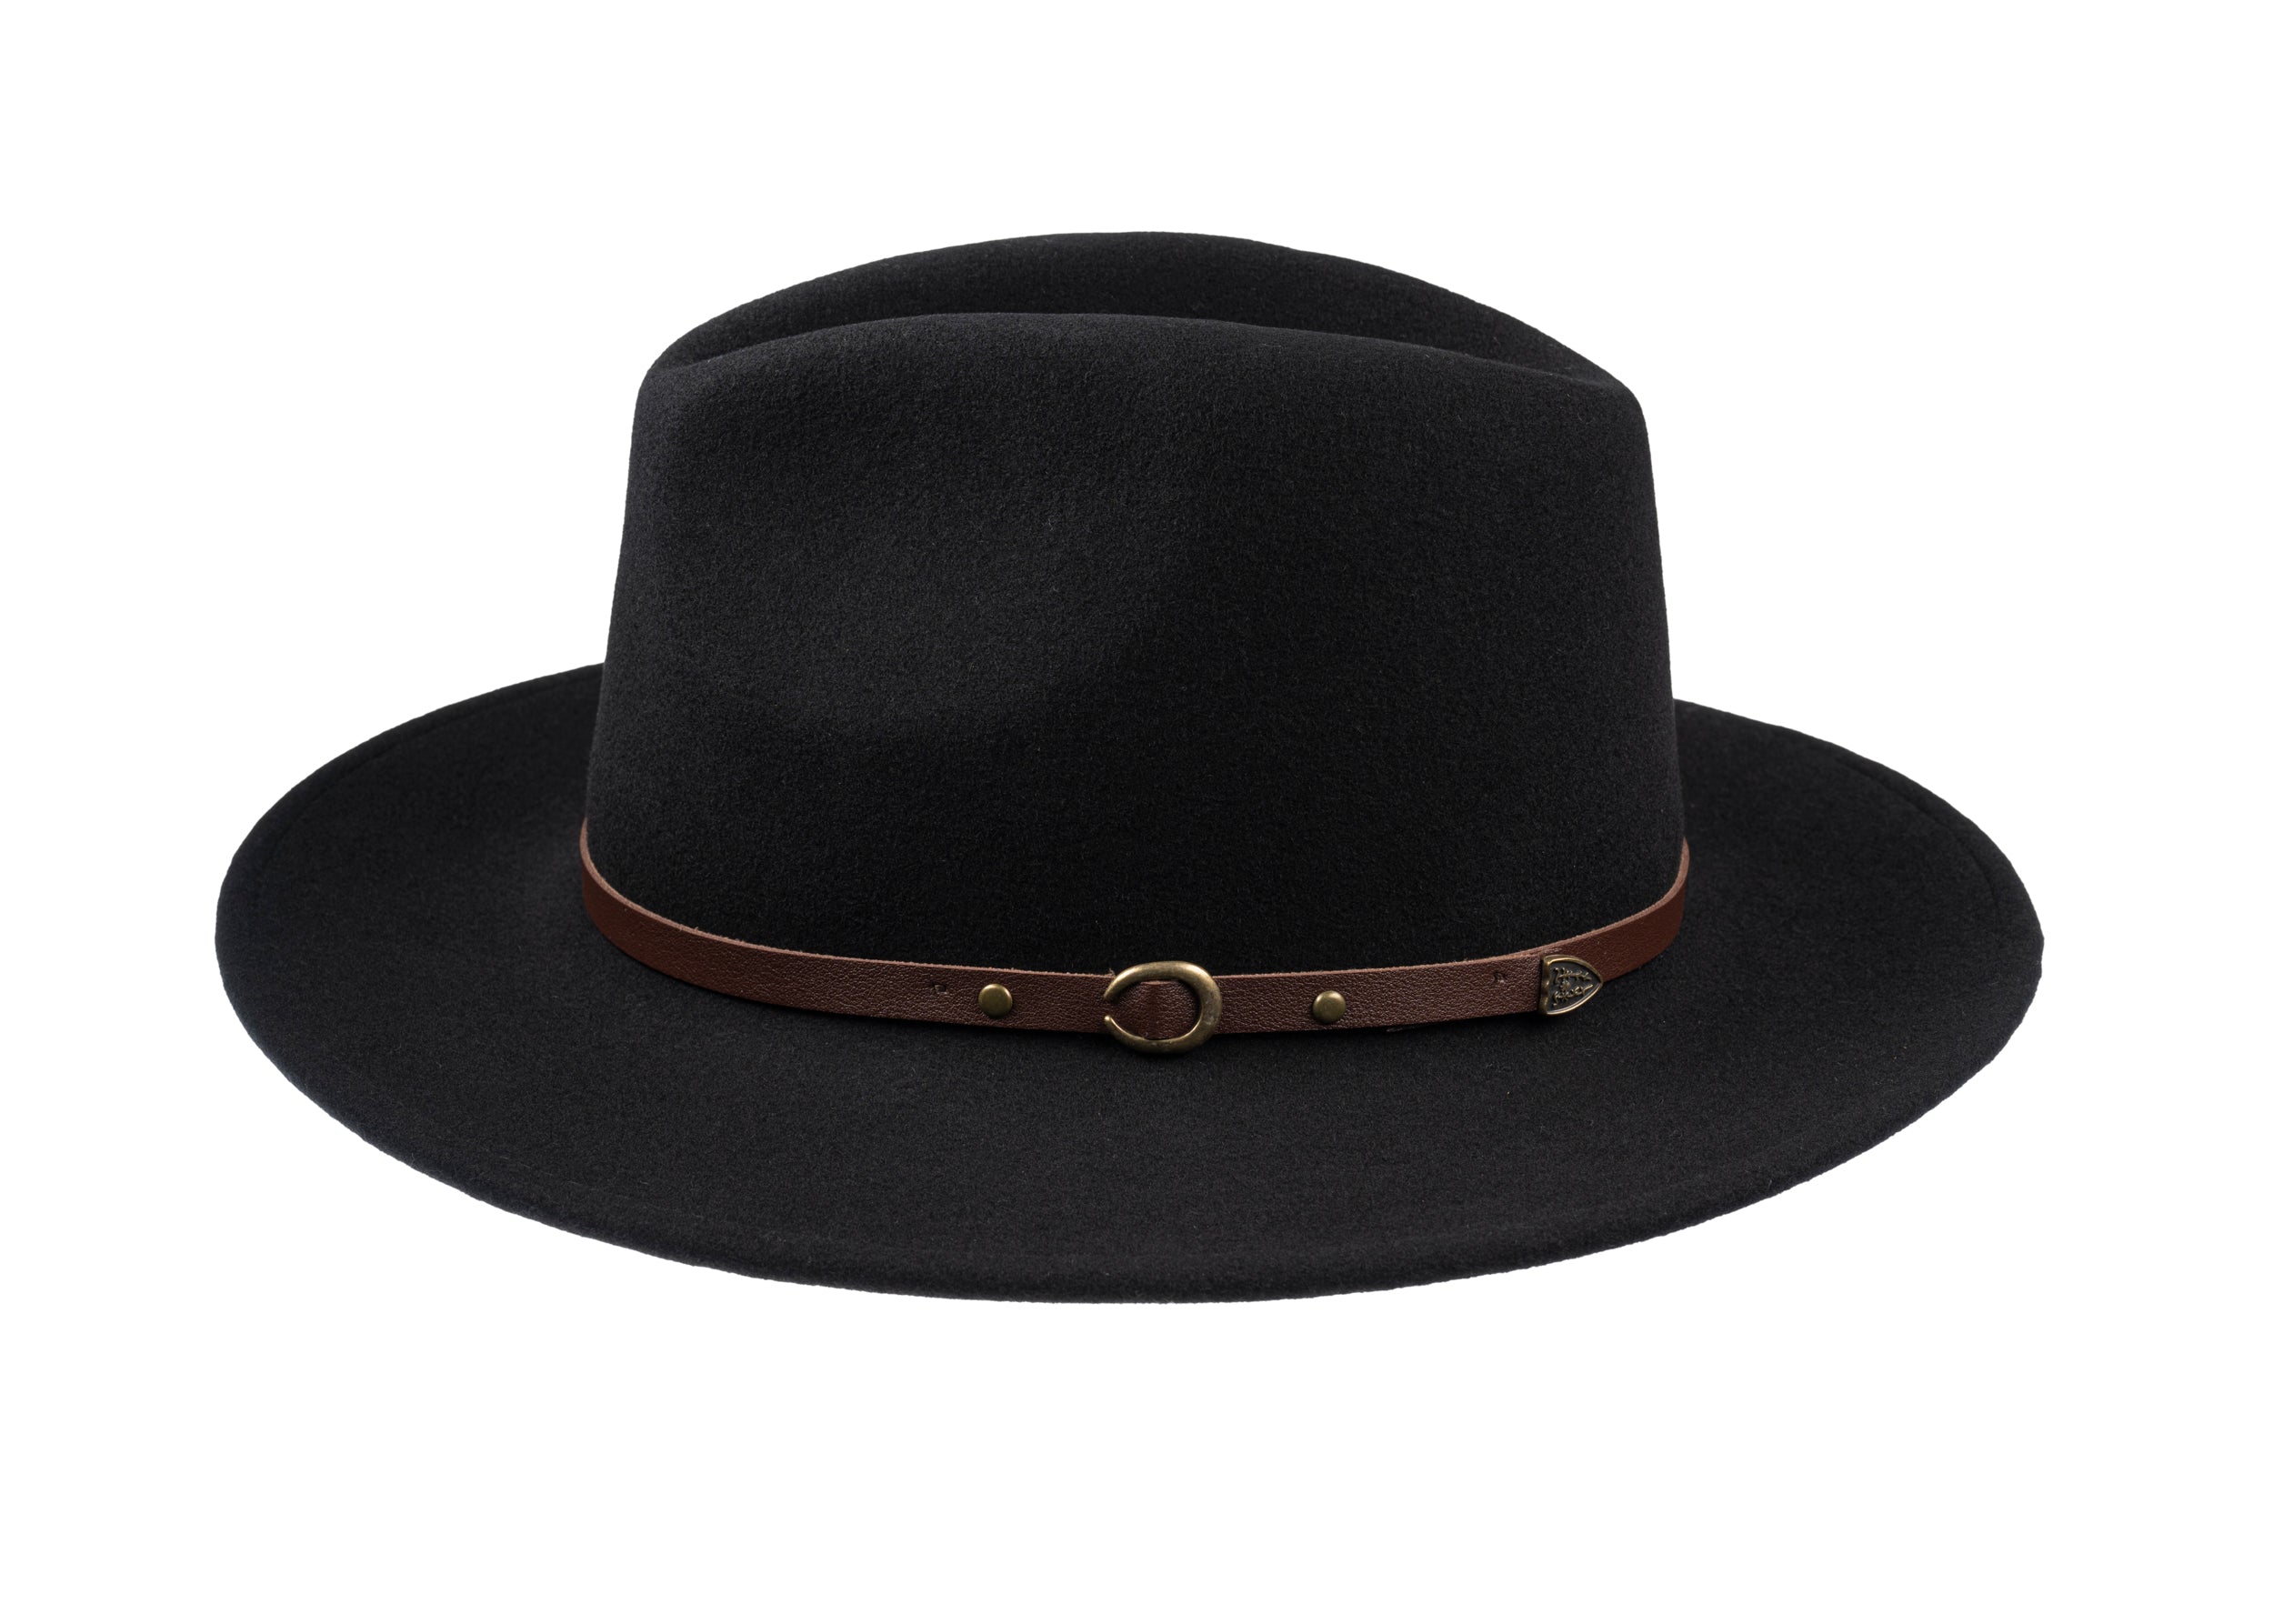
Choose a hand-shaped cashmere cap for lasting softness.

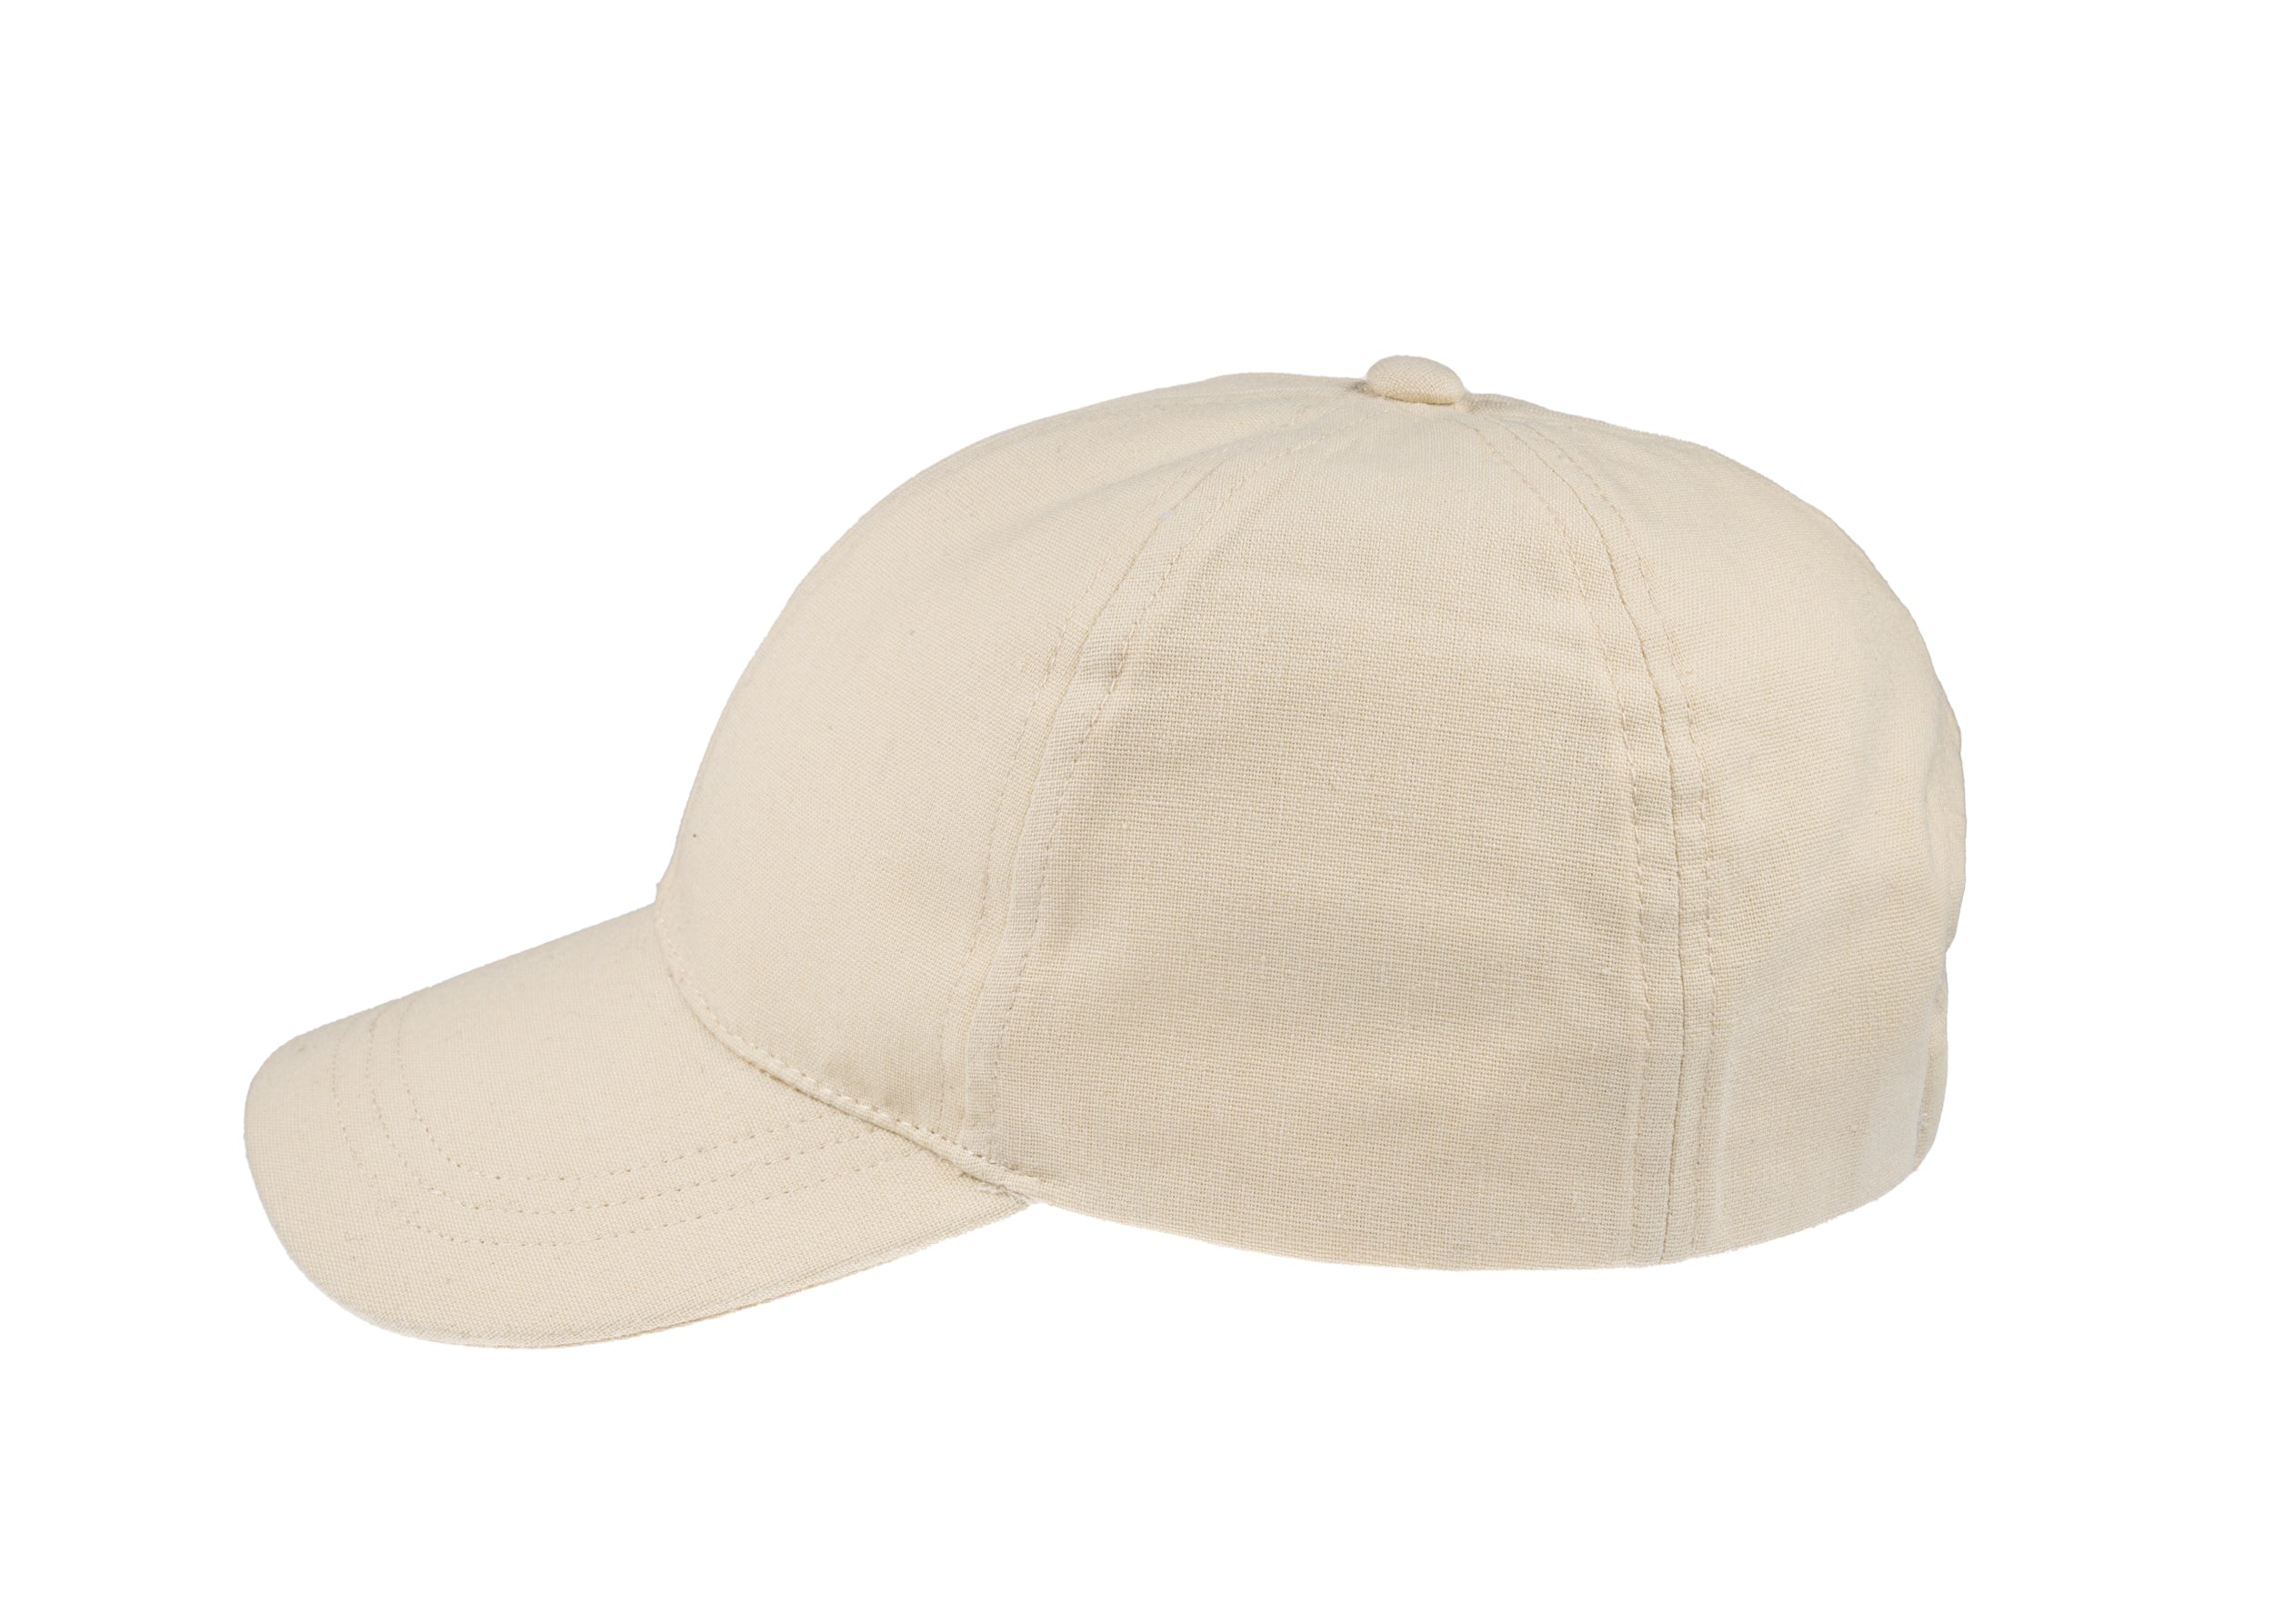
5. Hand-stitch trims, set the lining, and inspect the cap
Work with a fine silk or cotton-blend thread and a curved milliner's needle. Use small, even slip or ladder stitches to attach trims invisibly, taking care to preserve the cashmere nap. Pre-shape the lining on the same wooden block used for blocking, then ease it into the crown and secure it with evenly distributed tacks at the cardinal points: front, back, and both sides. Fasten the lining with a continuous blind or catch stitch so it moves with the cap and reduces friction against the knit. Position the internal band by hand, pad lightly if required, and catch-stitch it into the seam allowance so it lies flat and manages perspiration without abrading the cashmere. Throughout the process, check seam alignment and stitch tension, and re-stitch any areas that cause puckering or distort the drape.
Examine the cap in strong, even light for skipped stitches, needle holes, and inconsistent nap direction. Correct any faults that would alter the intended shape. Trim loose fibres, brush the nap in one direction, and set the form with a gentle steam through a pressing cloth. Reinforce high-stress points with concealed bartacks. Record any fit adjustments so the wearer receives clear care guidance and the maker can reproduce successful details on future caps.
Shape, handle, and longevity begin with a succession of hands-on choices: fibre selection and dehairing, panel cutting, blocking with steam, brim finishing, and final hand-stitching. Each decision leaves a trace that you can measure or observe, such as micron readings and swatch response at selection, panel count and seam ease at assembly, steam-set contours after blocking, brim tension after finishing, and the position of lining tacks in the hand-stitching. Those traces have practical effects: a finer micron and careful dehairing produce a smoother handle; more panels and a modest seam ease yield a closer, more anatomical fit; steam-setting fixes the cap’s contours; correct brim tension resists flaring; and neatly placed lining tacks keep the interior stable. Taken together, these details explain why some caps mould closely to the head, whereas others relax and flatten.
When assessing a cap, attend to four practical details: that the nap runs the same way across all panels, that seams show even ease so the panels lie without puckering, that the brim is softly set rather than rigid, and that the stitching is invisible and evenly spaced. These characteristics indicate careful construction and hand-finishing, and they make a cap easier to maintain. Store a cap on a properly blocked form when not worn, and refresh it sparingly with steam and a soft brush to preserve the maker's intent and prolong its useful life.