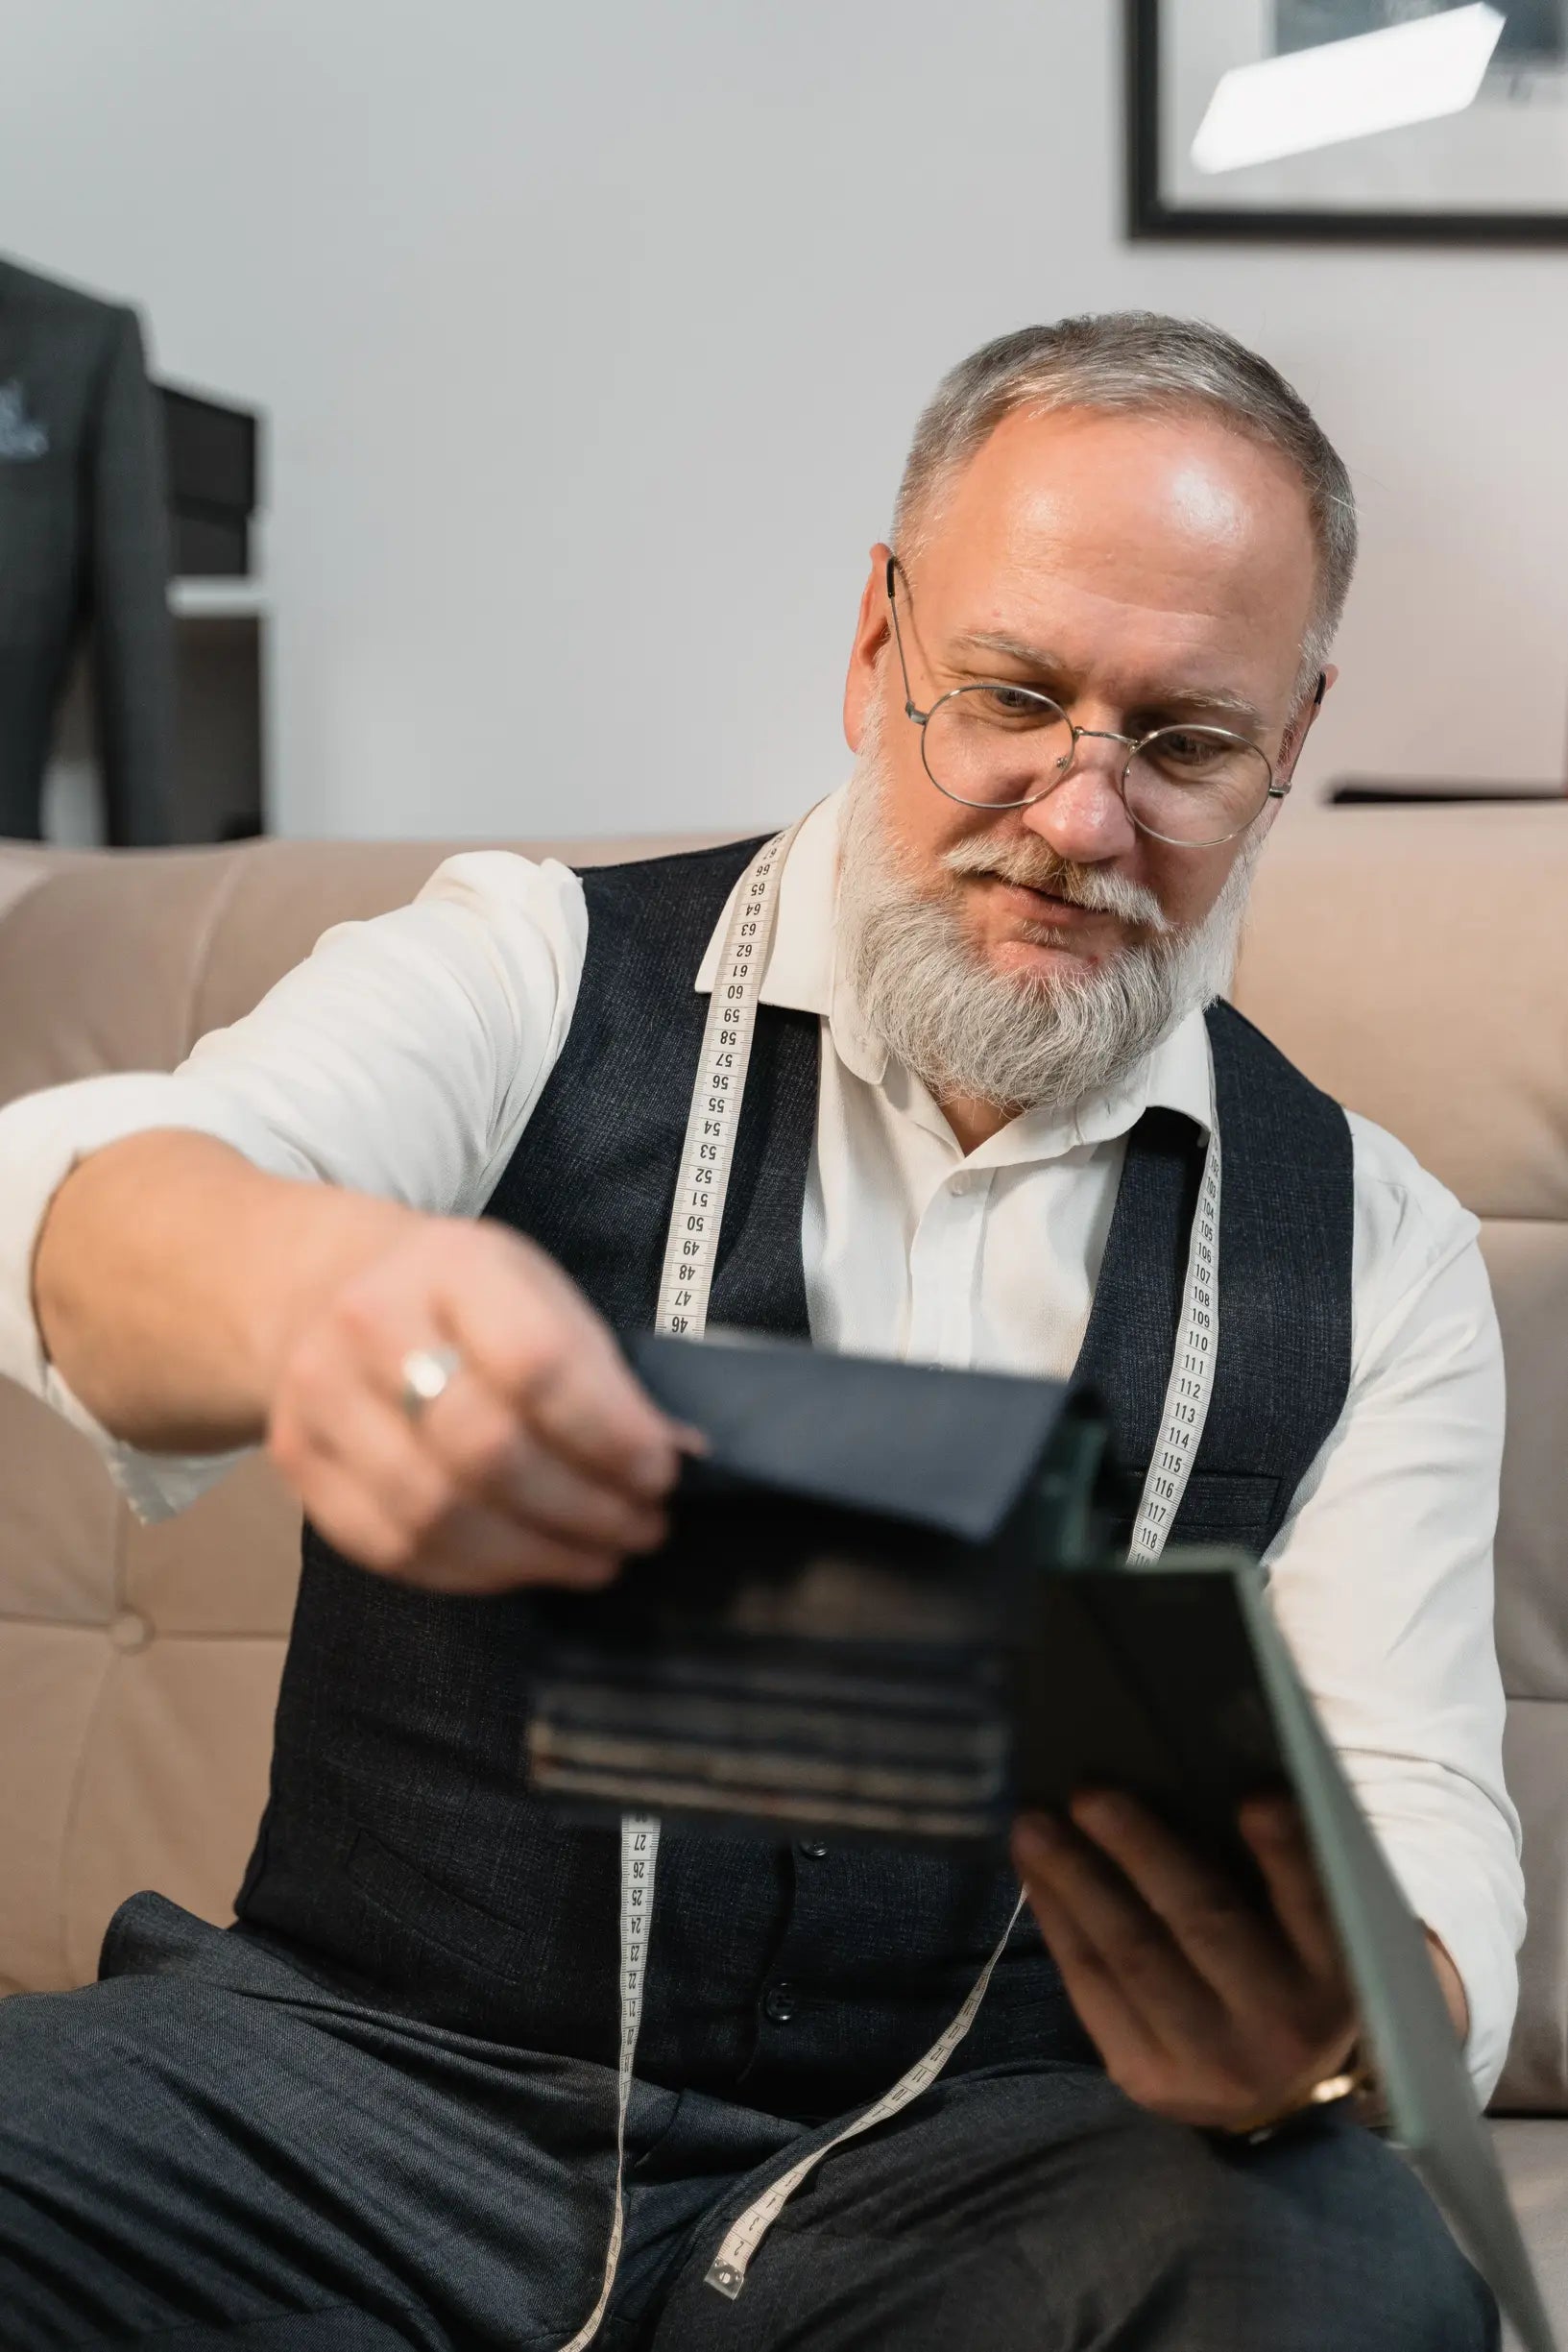


A well-made hat can quietly distinguish an outfit; many appear impeccable until a seam unravels or a brim sags after a few wears. Knowing which craft cues to seek allows the discerning wearer to separate pieces that will endure from those that will falter.
This guide sets out five hands-on checks: material provenance and fibre quality, hand blocking and shaping, hand-finished trim and detailing, construction and reinforcement points, and care, repairability, and authentication. Apply them when examining a hat and look for telling signs: labelled materials or consistent fibre character to confirm provenance and quality; even, well-controlled blocking and subtle shaping that betray hand work; neatly set ribbons, hand-stitched trims, and fine finishing at the seams as evidence of hand-finishing; sturdy reinforcements at the crown, brim, and sweatband where durability matters; and maker marks, accessible stitching, or documentation that aid repair and authentication. Taken together, these indicators reveal the degree of skilled hand-finishing, suggest likely long-term resilience, and help you judge whether a piece is worth keeping or repairing.

1. Confirm material provenance and fibre quality
Ask for clear provenance and the exact fibre content: the farm or country of origin, the mill or spinner, and any third-party traceability or laboratory certificates. Consistent source data helps explain colour, strength, and how the material will take to felting. Examine staple length and surface by sight and touch. Long-staple wool or a high-quality fur felt feels smoother and silkier, sheds fewer loose hairs, and resists pilling; short-staple fibres tend to be hairy, matt, and more prone to shedding at cut edges. Press the crown and brim to test rebound and to detect hollow or thin spots. Even resistance under the fingers is a sign of well-refelted material or tightly plaited straw. These are the details that reward closer inspection.
At the counter, make a few simple, non-destructive checks. Place a single bead of water on the surface: if it beads, the finish or tightness of the fabric resists moisture; if it soaks in, the material is more open or untreated. Hold the brim to strong light to reveal gaps or an inconsistent weave, and inspect seams and trims for excessive fuzz or migrating fibres. Ask how the fibres were spun and finished: worsted yarns are combed and lie smooth, producing a firmer, more durable fabric, while woollen-spun fibres are looser and yield a softer, loftier handle. Ask also how vigorously the felt was worked in fulling, the process that compacts the fibres, because that choice alters both longevity and feel. Even dye penetration and minimal surface fluff indicate fibre-reactive dyes and a thorough finish. Finally, a sweatband that springs back to shape, together with a brim that offers uniform resistance, gives practical assurance the hat will settle and wear well.
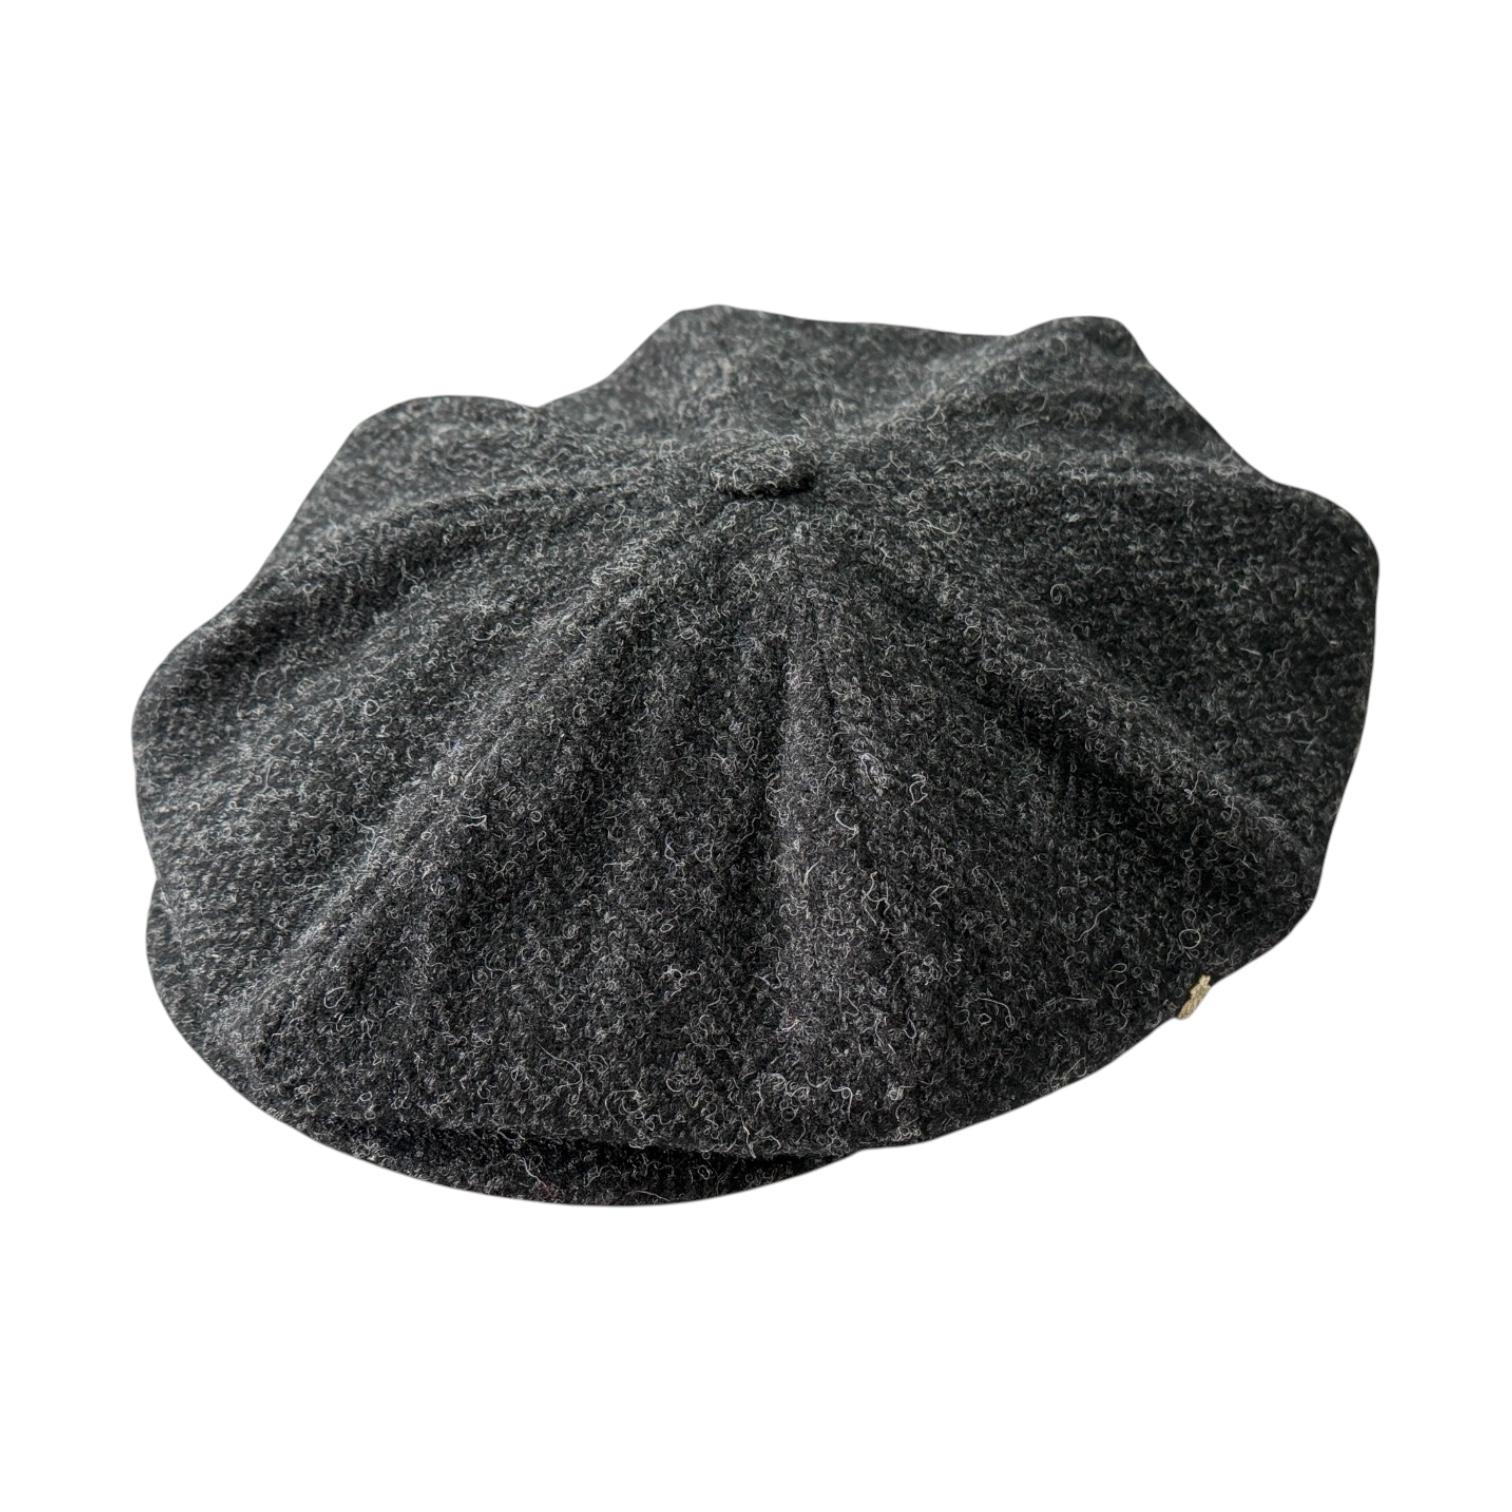
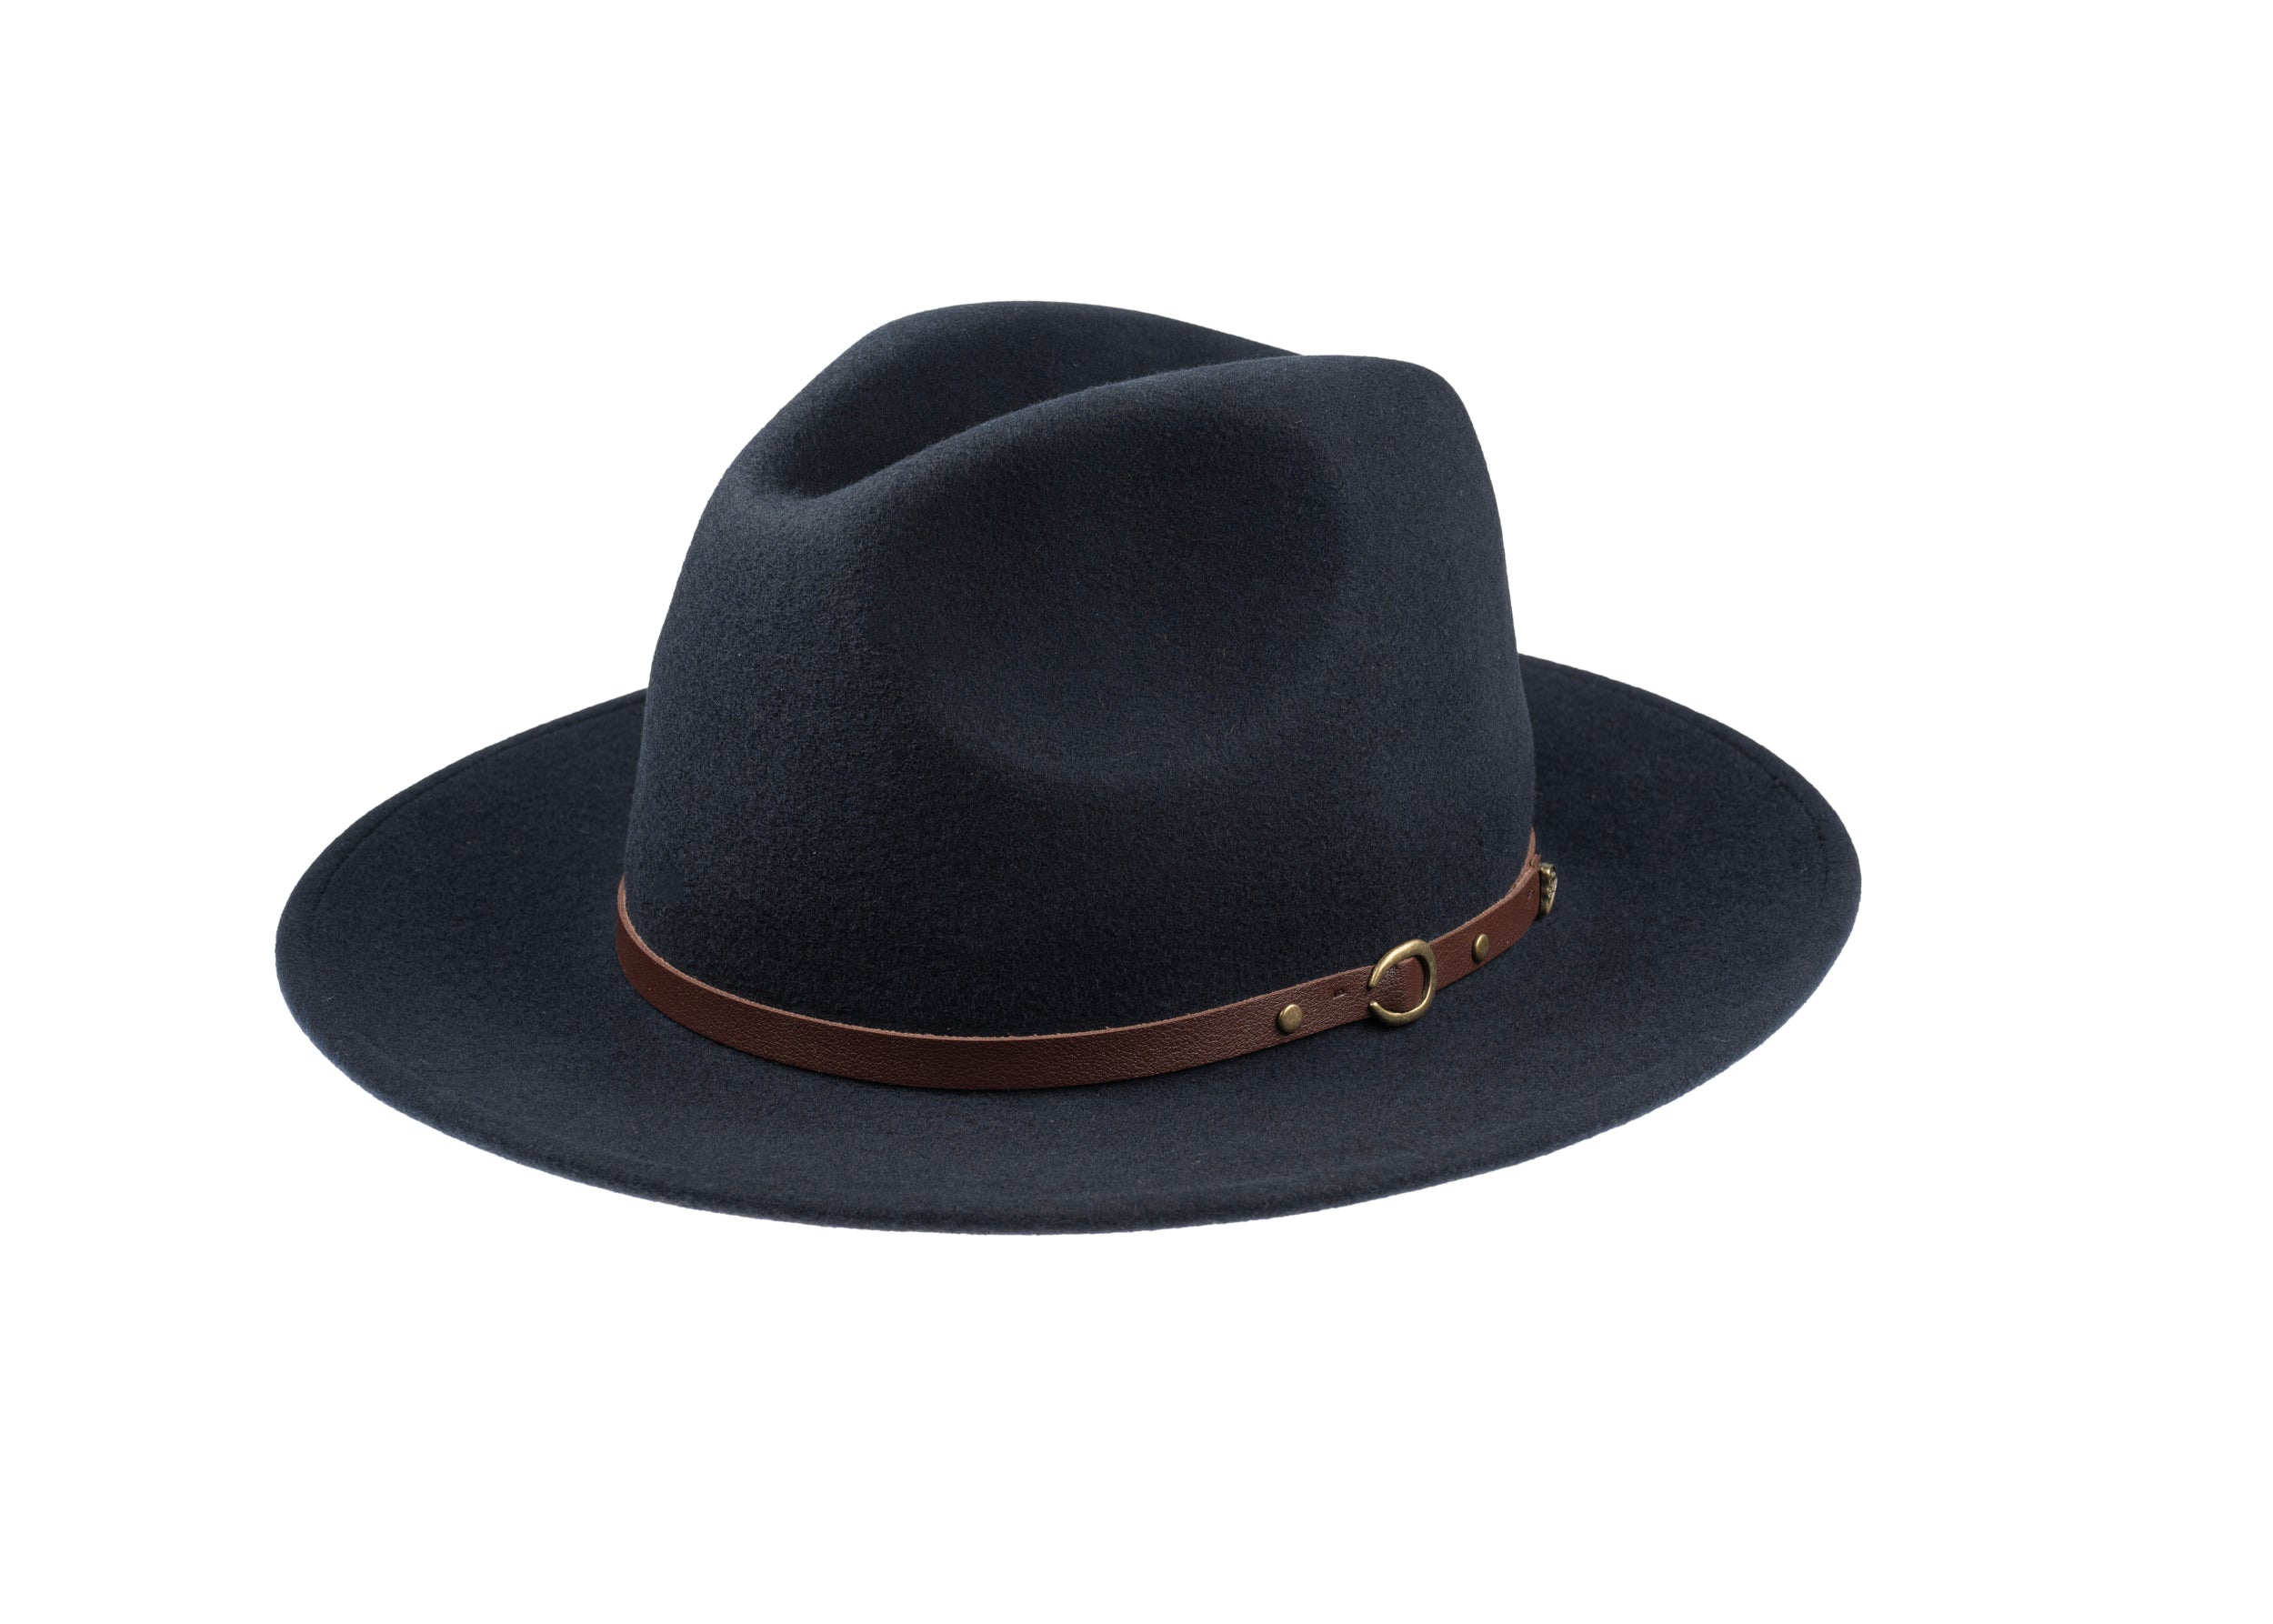
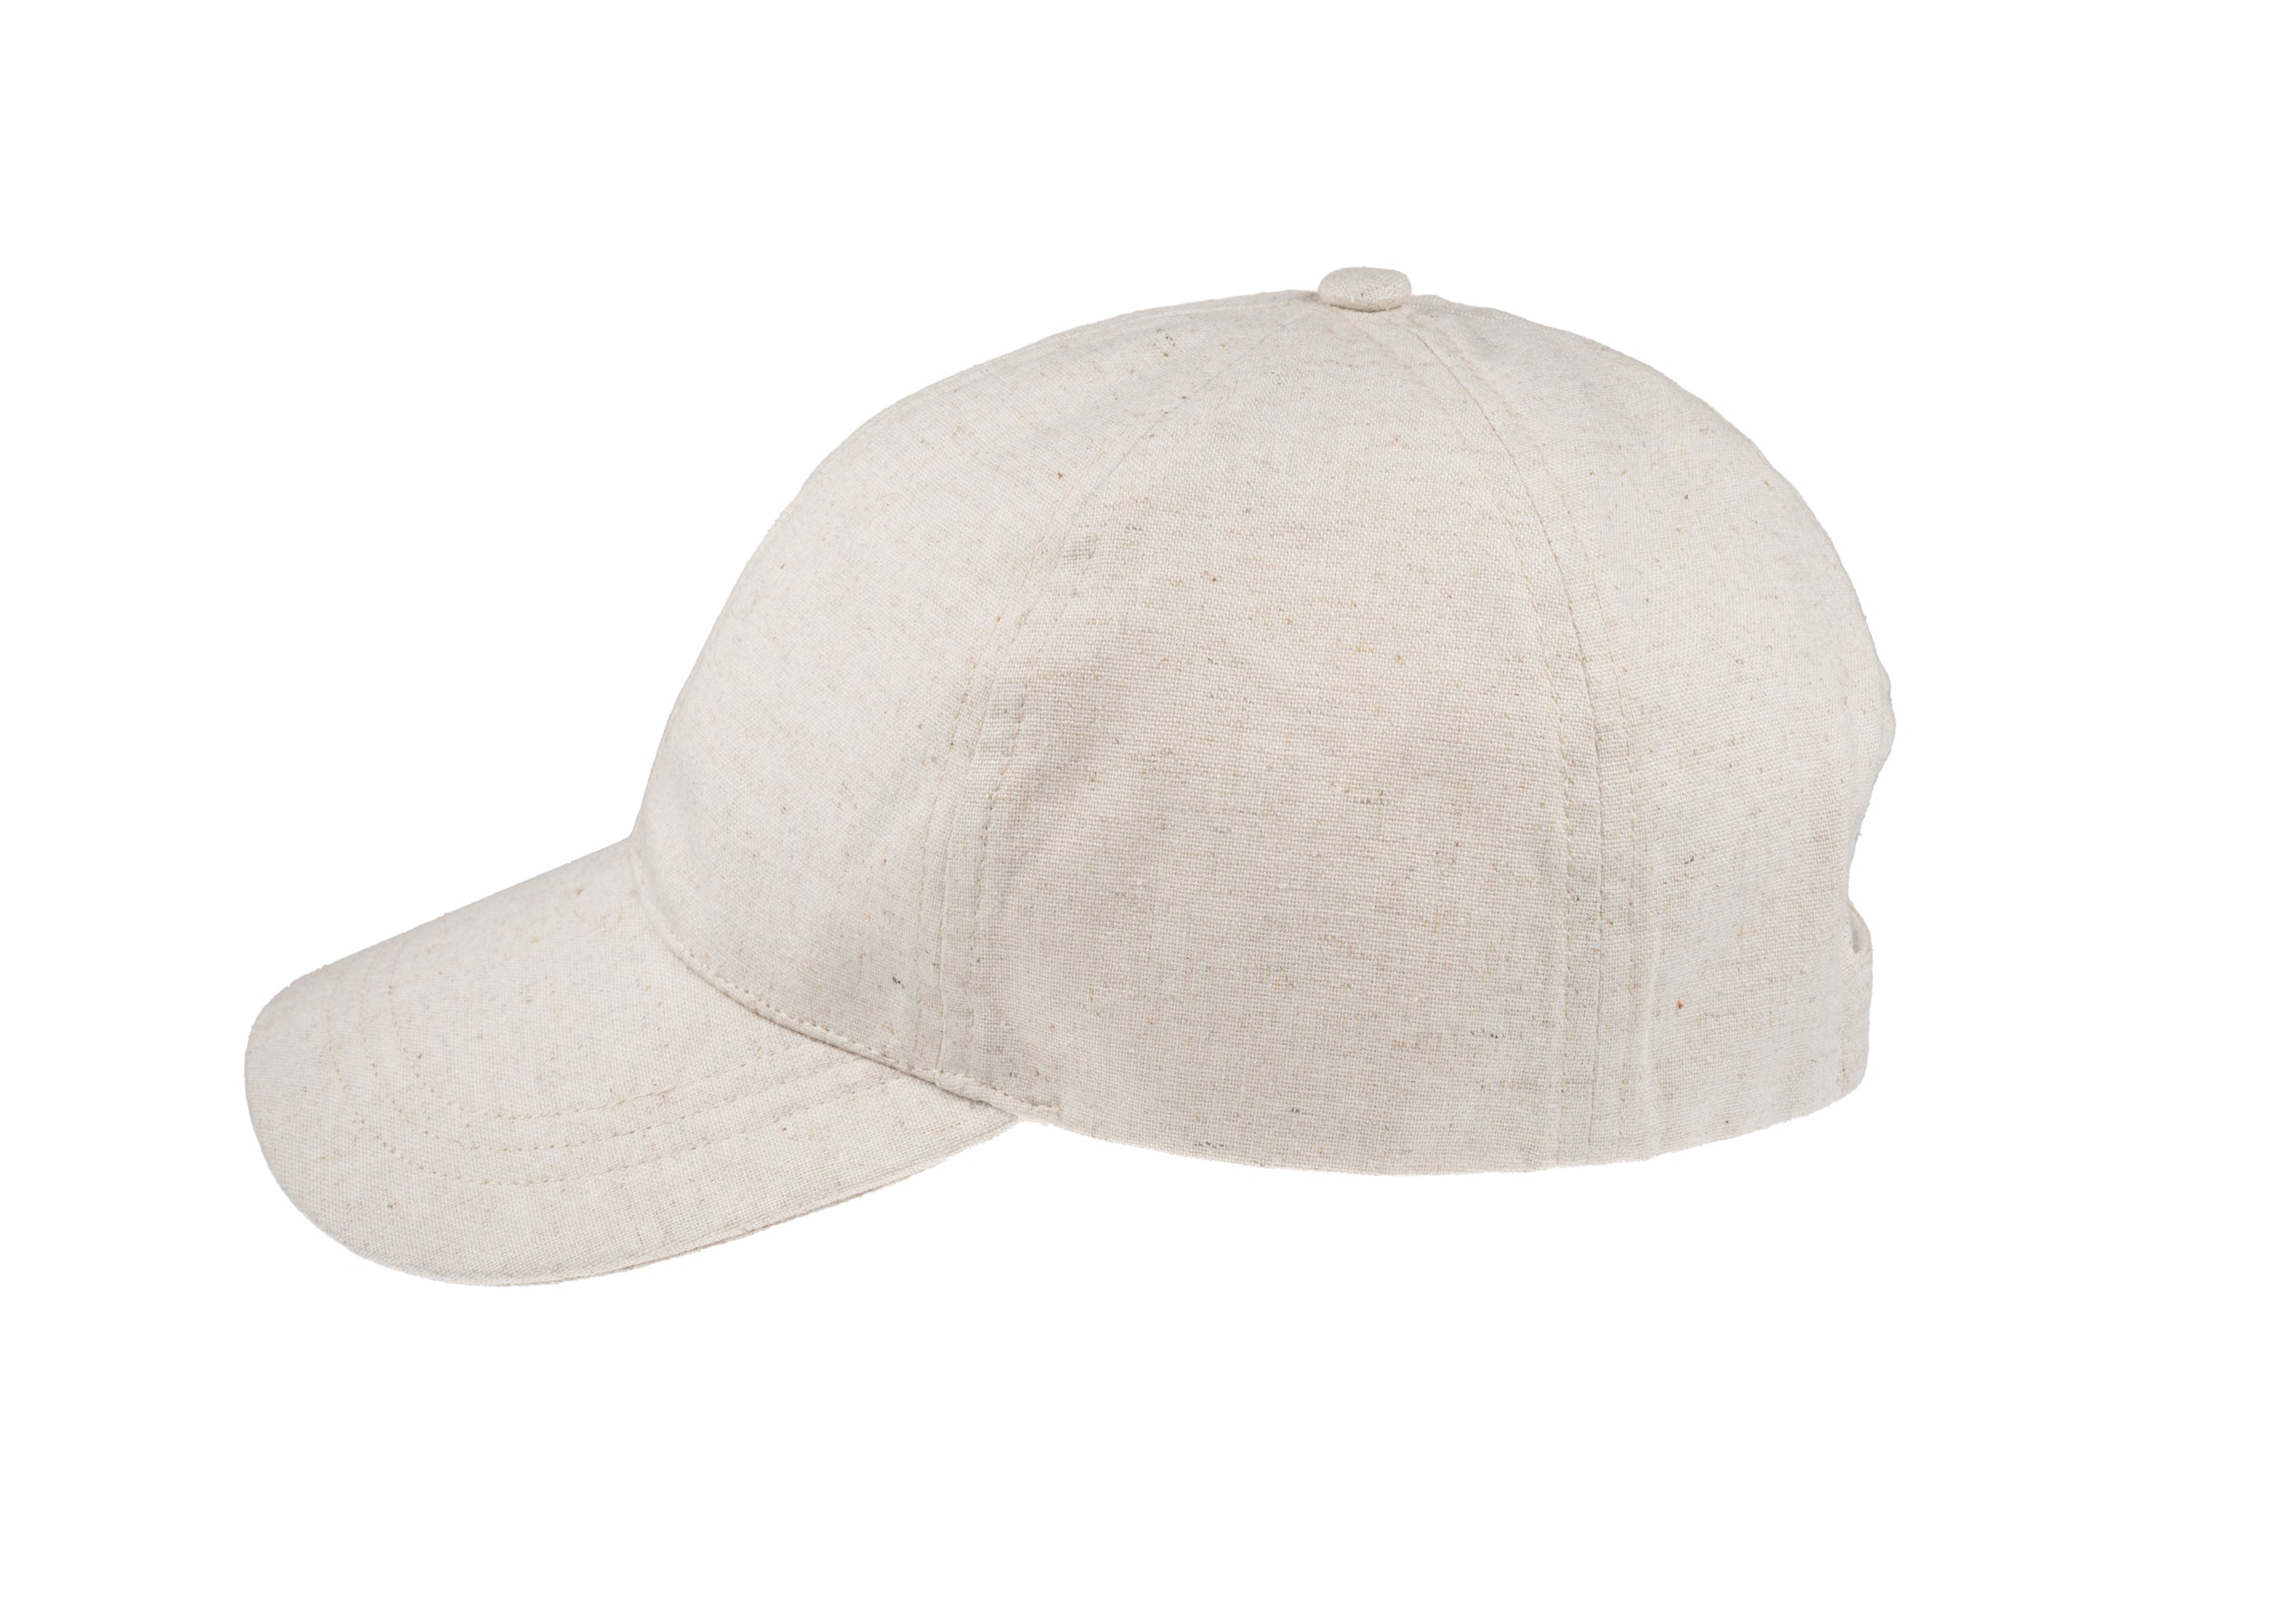
Choose hand-finished Merino felt for lasting, everyday wear.

2. Assess whether a hat has been hand-blocked and hand-shaped
With a fingertip, work from the front to the back and along the sides to confirm a smooth, continuous crown profile and even wall thickness. Irregular compression lines or small tool impressions inside the crown are signs the hat was blocked and shaped by hand rather than moulded by machine. Press the brim lightly at several points and observe its response: a hand-shaped brim will present an even roll, subtle internal shaping where the block guided the edge, and a springy memory that returns it to its intended plane. Gently lift the sweatband to see how the hat meets the head; a fit that hugs the crown without puckers, together with neat hand tacking or slight stitch irregularities, indicates close, hand-finished work. Look for these cues up close.
Examine material direction and compression marks to judge how the maker controlled the fibres or plaits. On felt, note the nap direction and any deliberate compression where the block worked the fibres. On straw, look for tight, consistent plaiting and a curve that follows the block lines. View the hat from the front, the side, and from above, either on a head or a mannequin, to compare perspectives: tiny asymmetries, slight differences in brim roll, or modest tool marks indicate individual hand-finishing. These tactile and visual cues show how steam, pressure, and the block shaped the piece, rather than relying on mass-produced uniformity. Taken together, they allow you to distinguish careful hand-blocking by direct, observable evidence.
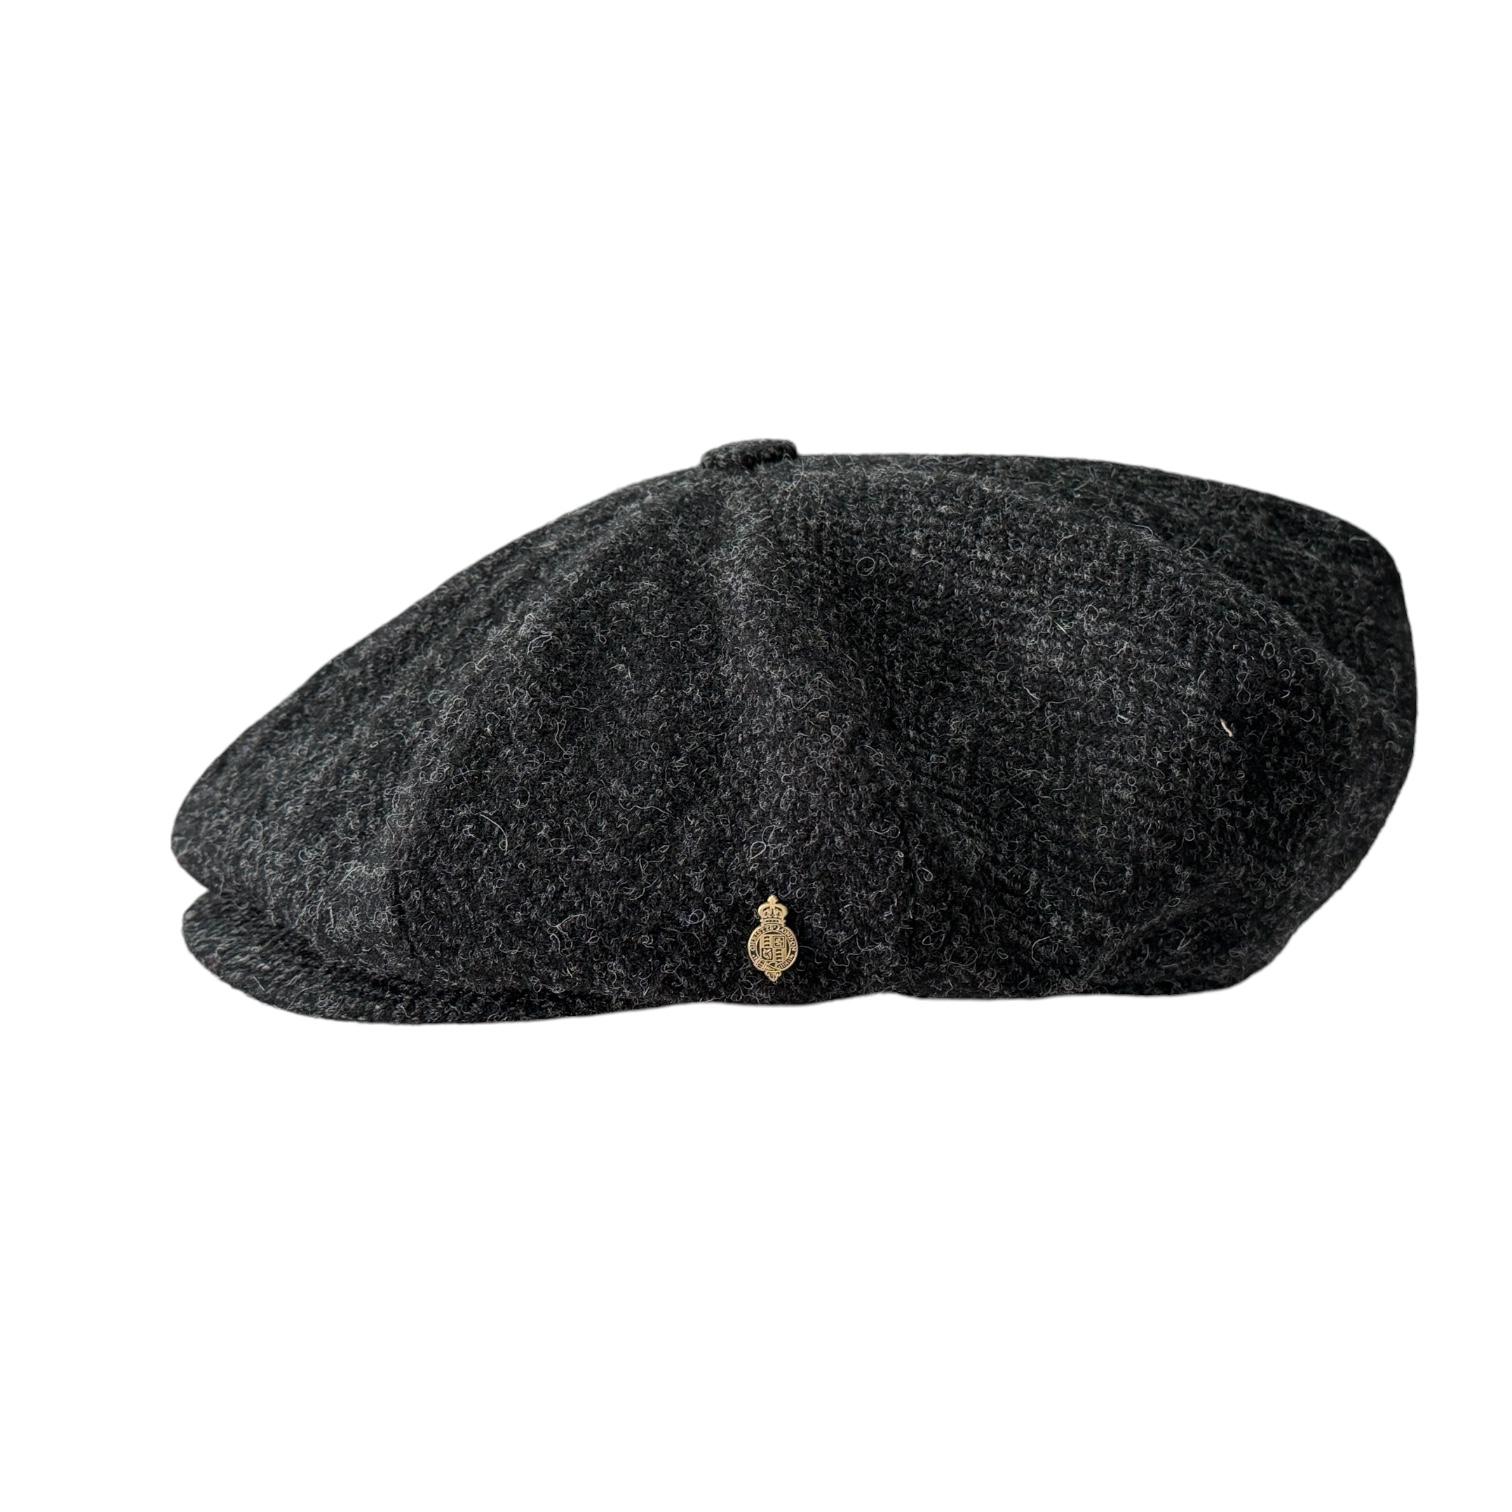
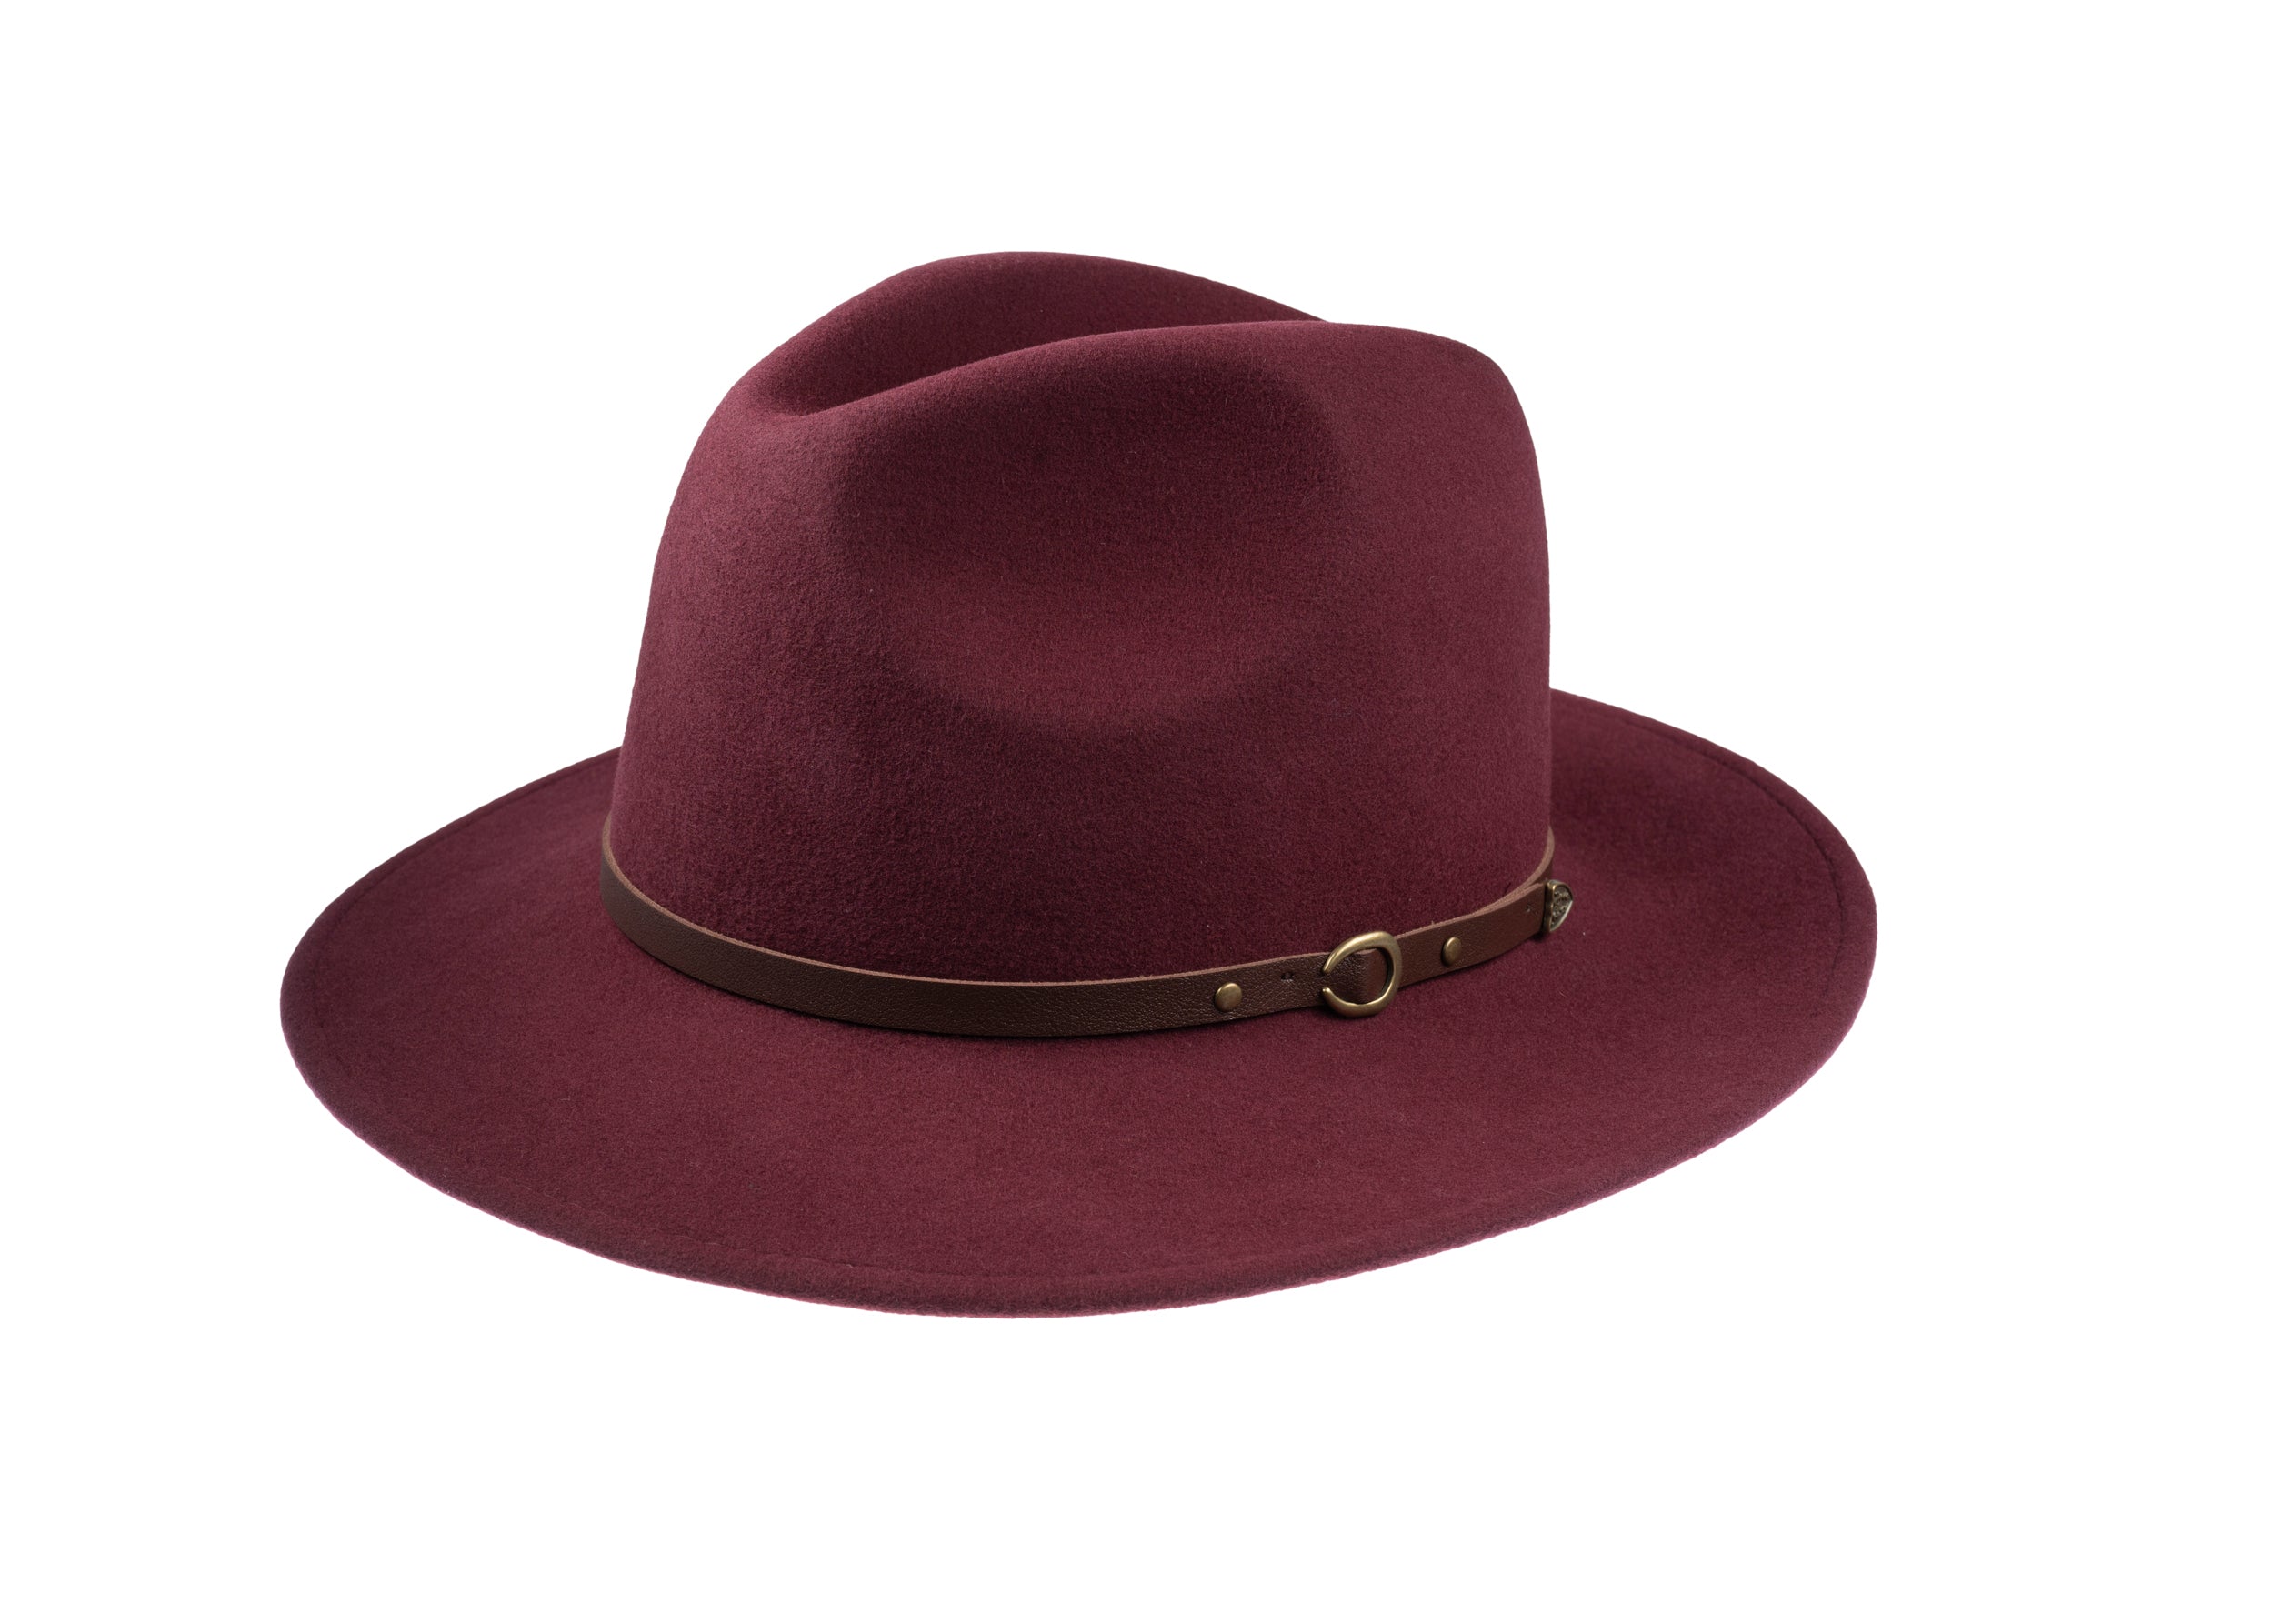
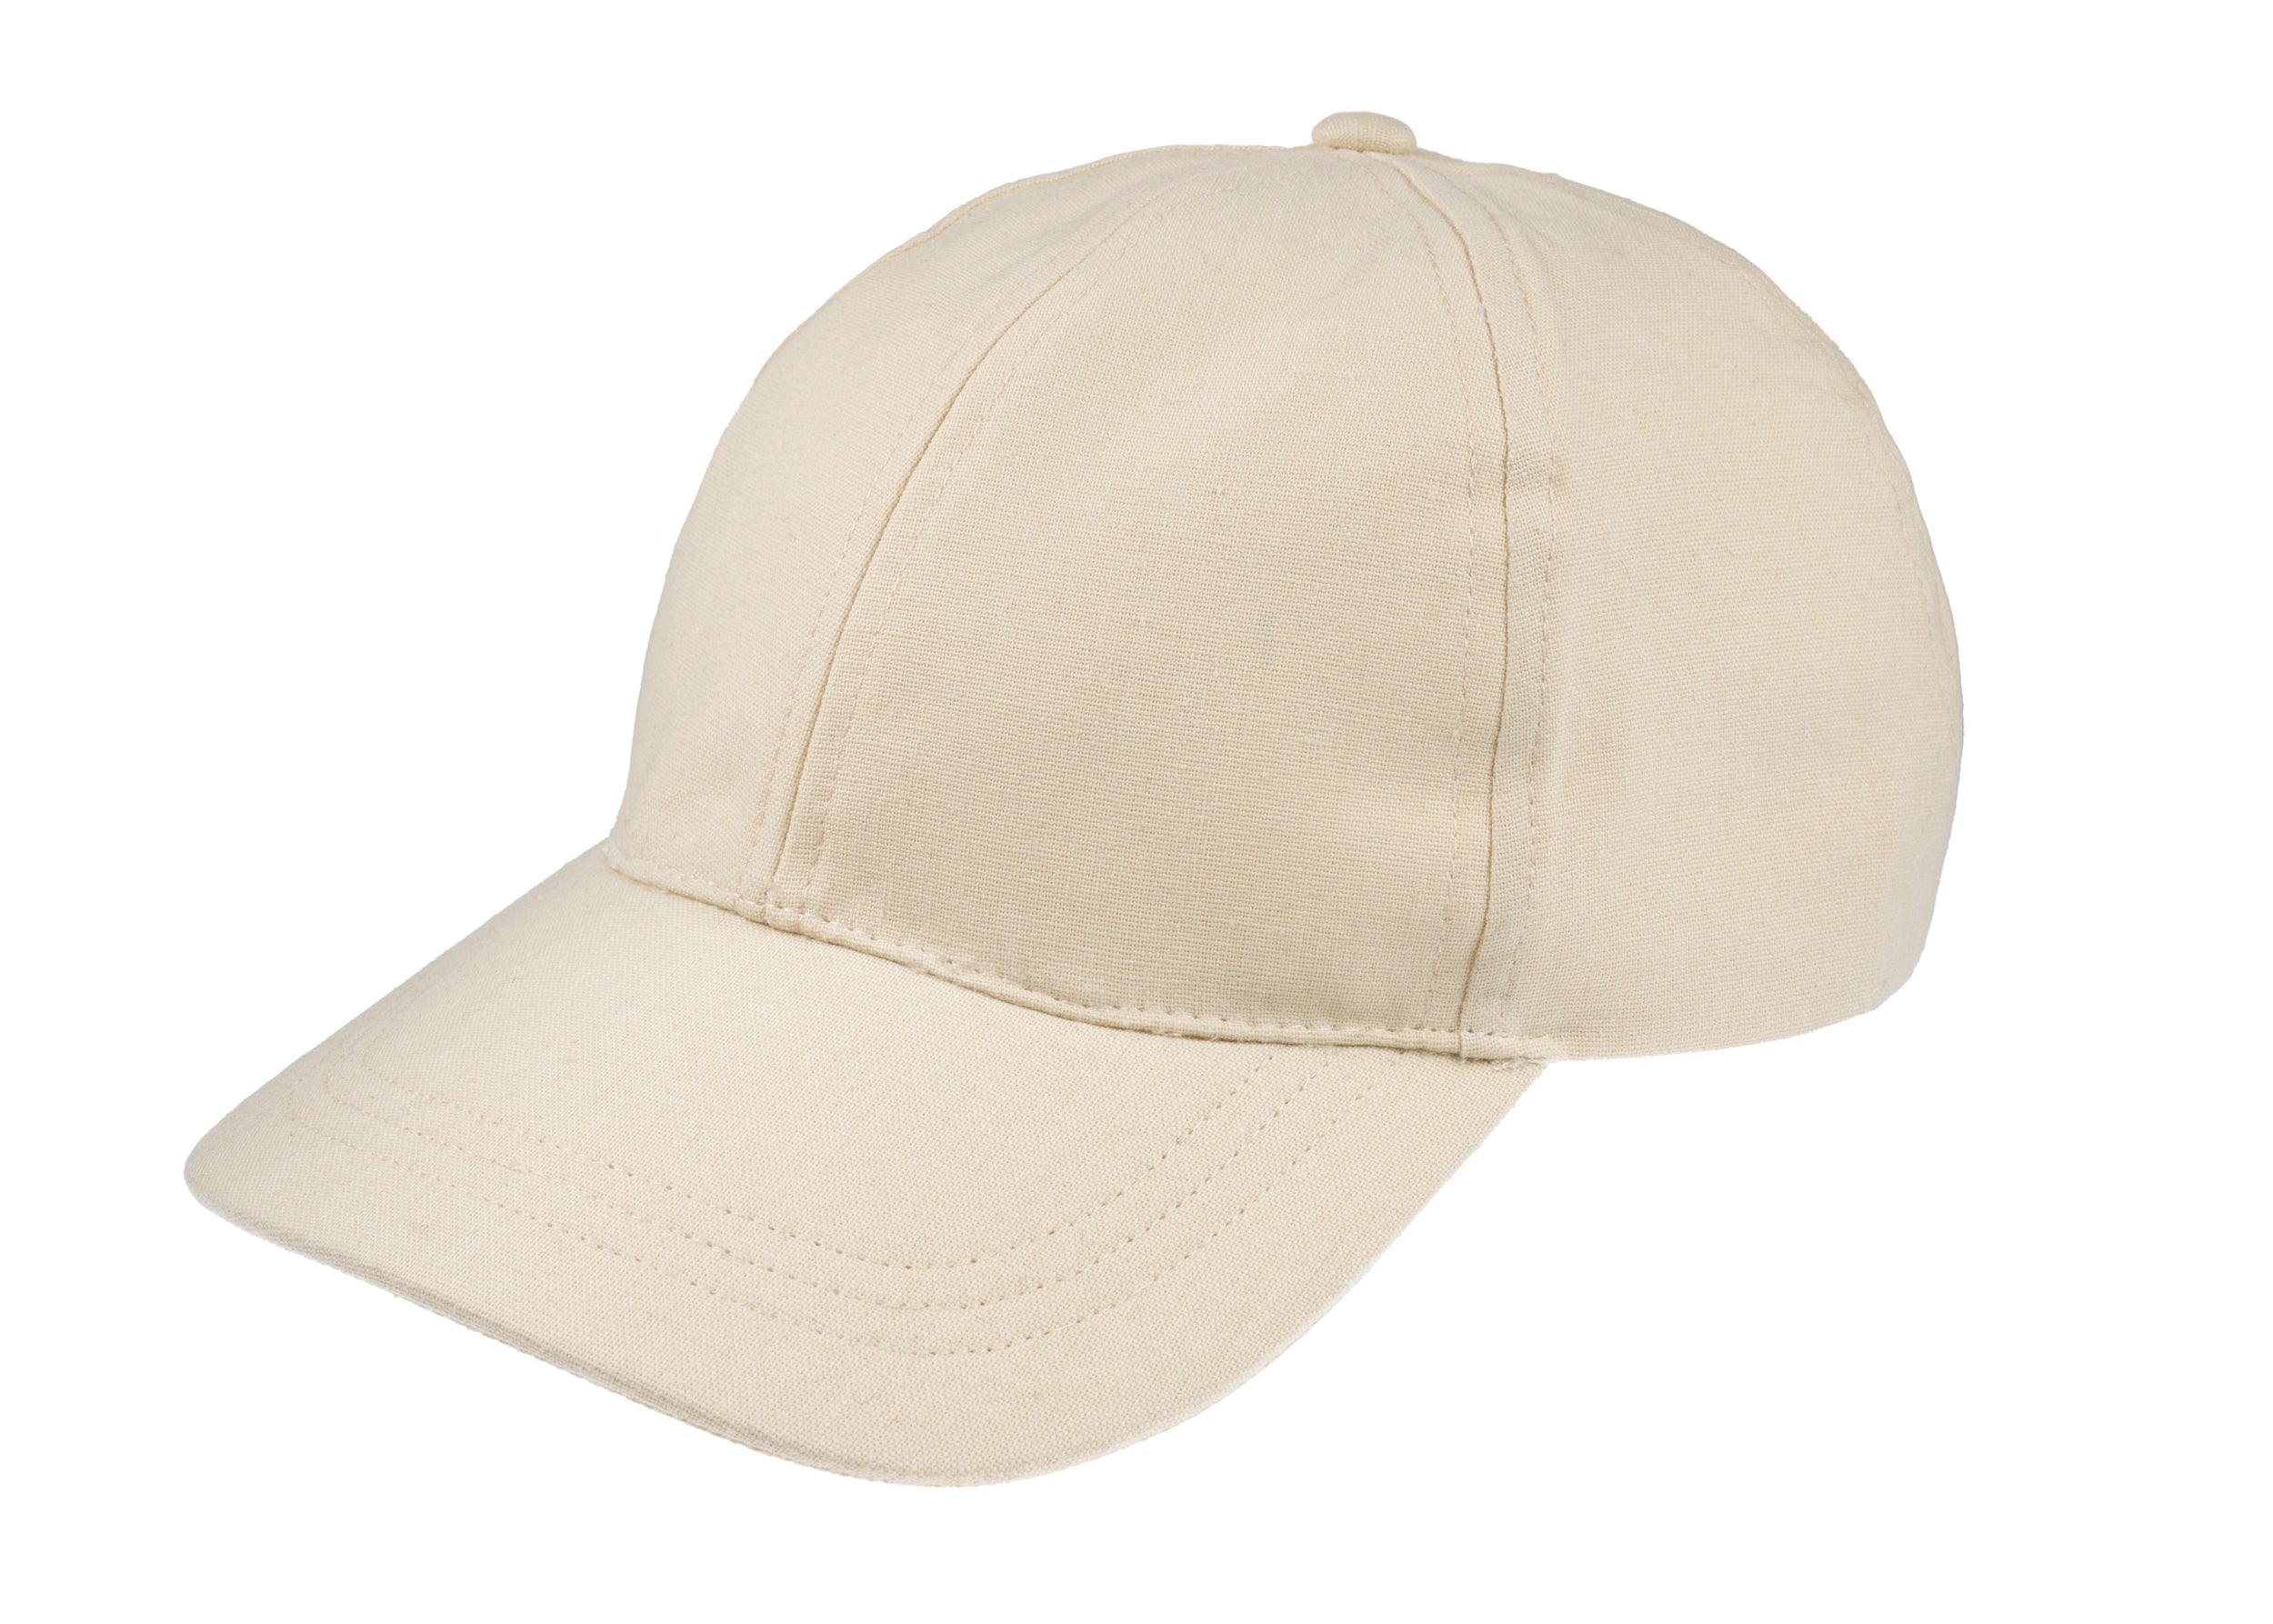
Look for a highly polished, precisely blocked hat.

3. Spot hand-finished trim and fine touches revealed on inspection
Inspect the stitching under good light, or with a loupe, focusing on the brim and the sweatband. Hand work typically shows as small, even stitches with slight variations in length or spacing, neat thread ends tucked away, and gentle changes of direction at curves, rather than machine-perfect repetition. Lift the band to examine attachment points: hand-finished trim is often tacked or slip-stitched so the fastenings sit beneath the band or sweatband, leaving the visible surface smooth. Run a fingertip along the brim and crown edges to detect a hand-burnished finish, a subtle tonal gradation and a sealed, smooth feel, free of stray fibres, that signify tight edge work. These physical clues indicate individual attention during construction, a level of detail that rewards closer inspection.
Peer inside the crown for faint impressions left by the block, a slight asymmetry that yields to gentle reshaping, and needle marks where the sweatband was fixed; these tool marks attest to the maker's hand. Examine trimming and hardware closely: band ends should be eased to lie flat, leather sweatbands attached with hidden or blind stitches, and metal fittings anchored with sewn reinforcements rather than plain rivets. Lift the trim to confirm threads are hand-placed and neatly finished, which reveals the quality of the work and makes future repairs straightforward.
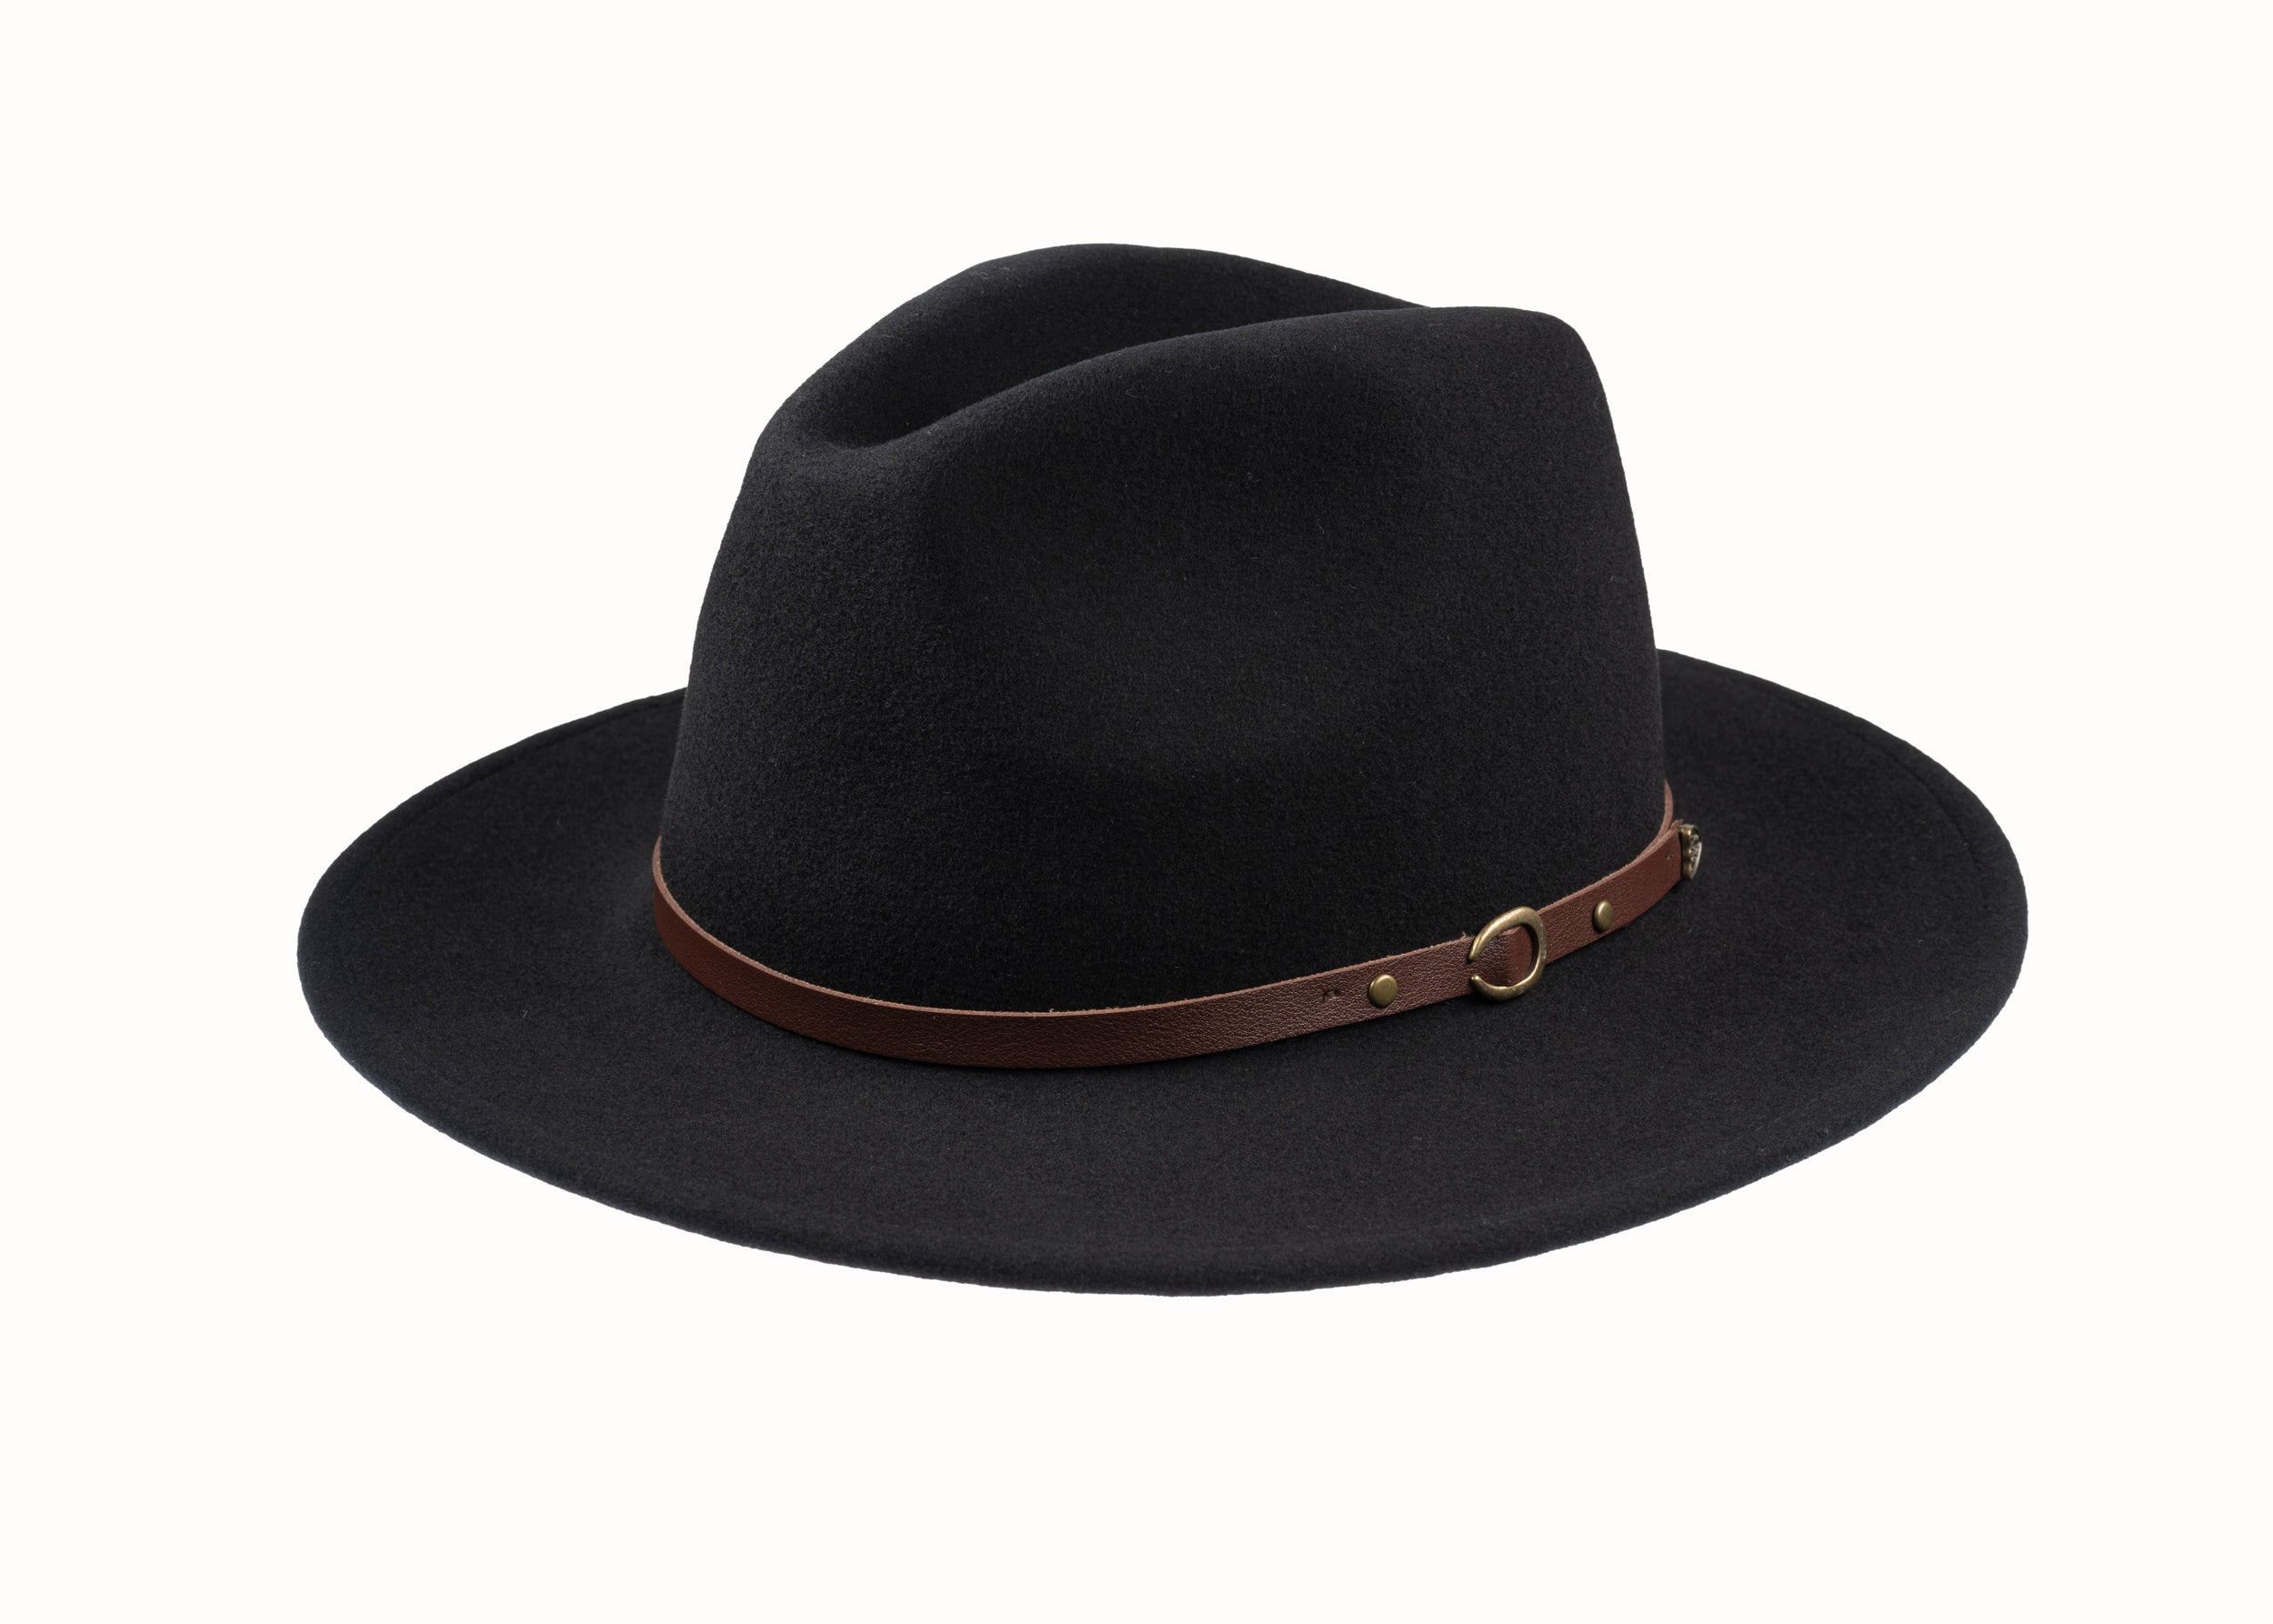
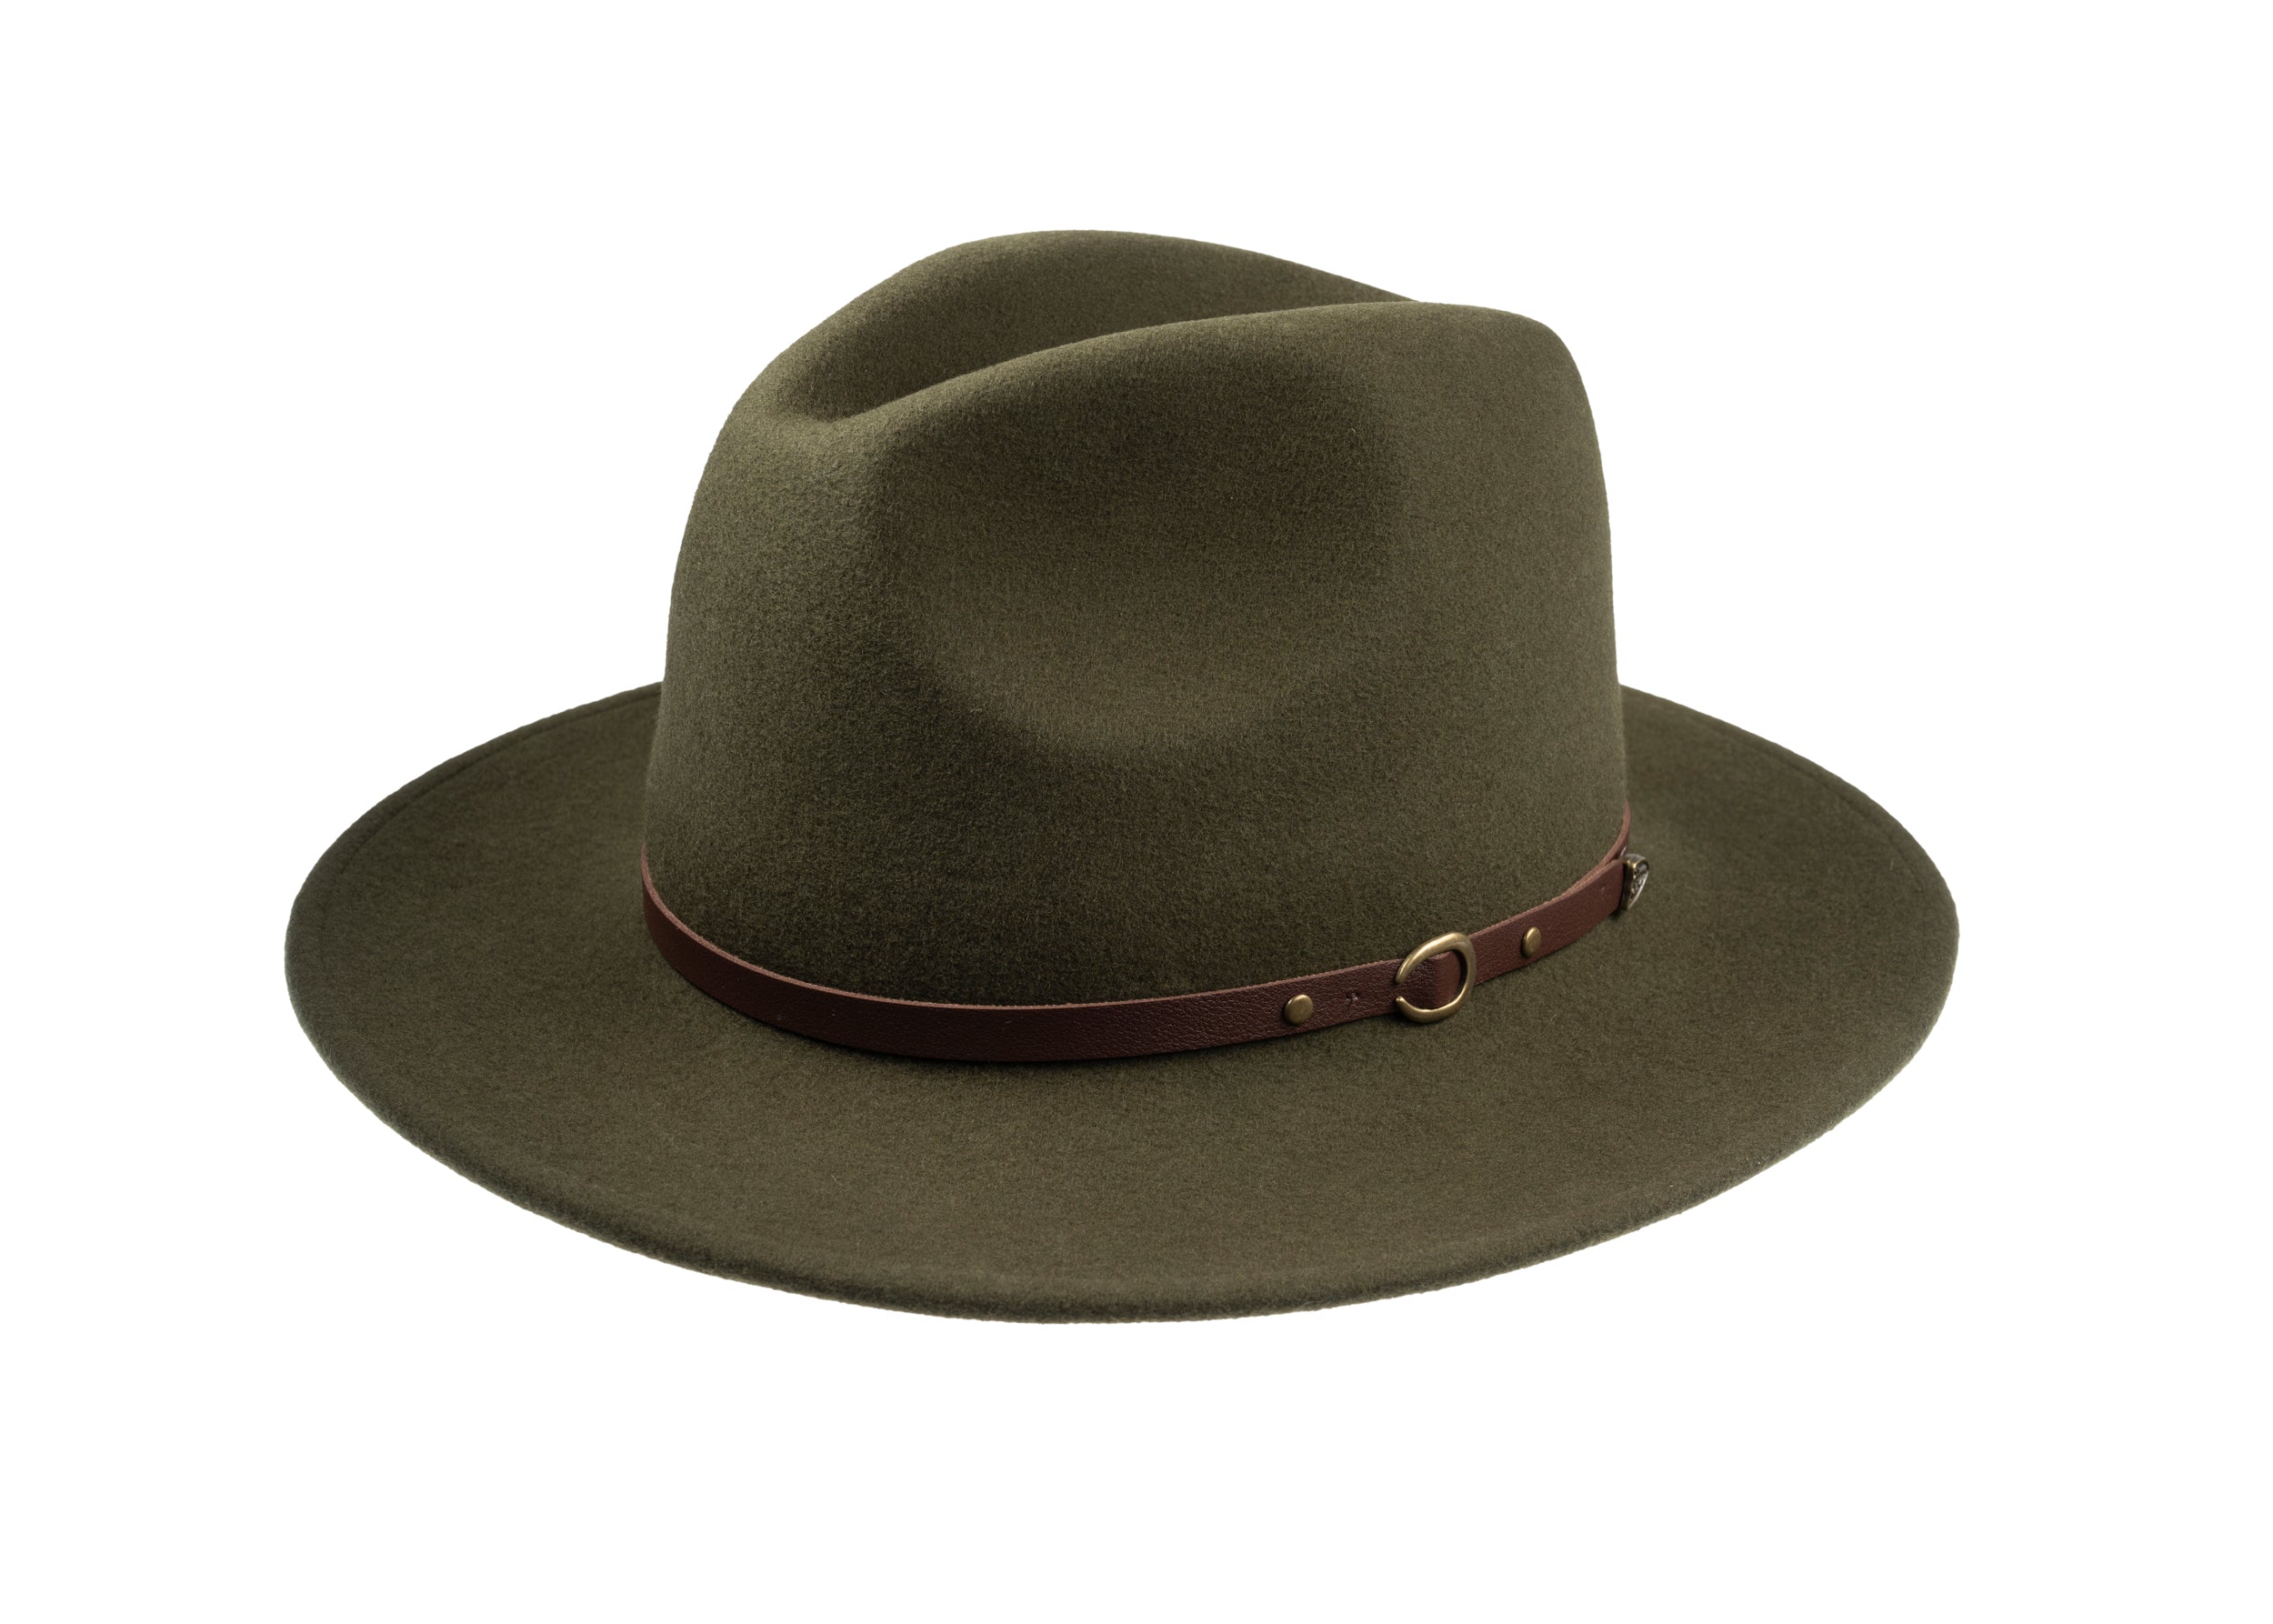
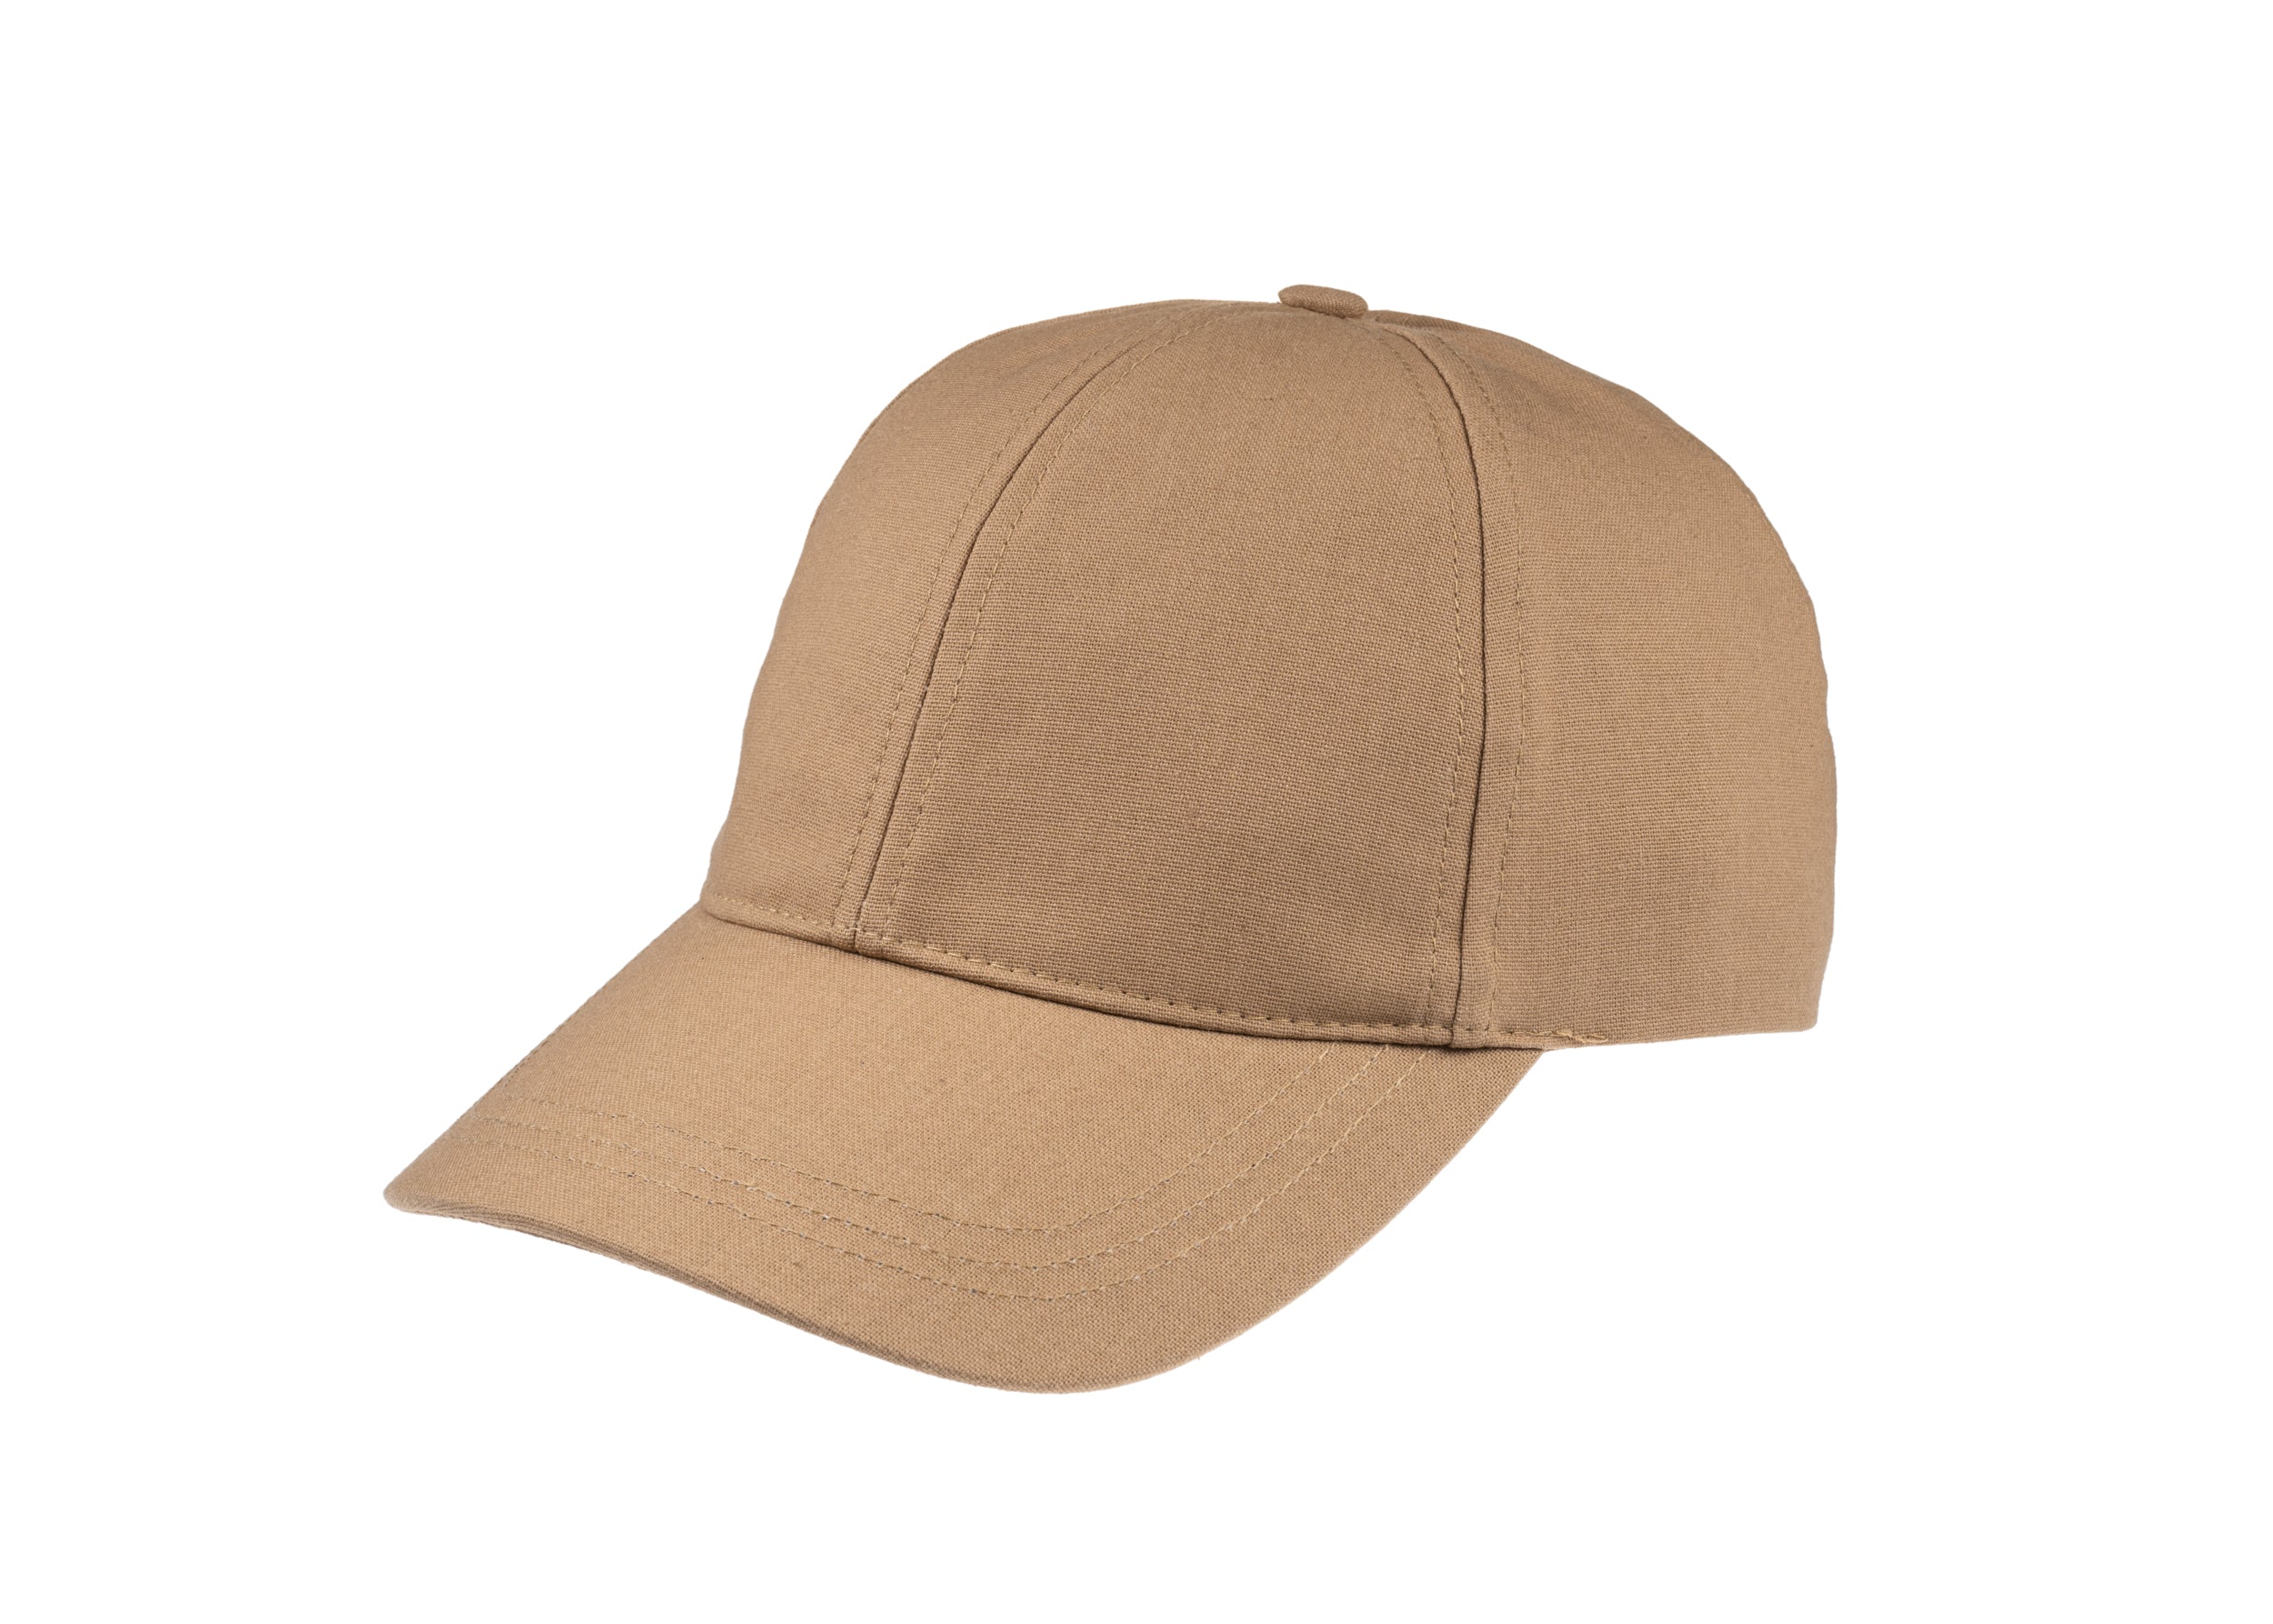
Opt for denser, highly polished construction and refined finish

4. Inspect construction, stitching, and reinforcement points
Turn the hat inside out and inspect the internal seams. Look for a uniform stitch length, no puckering, and backstitching at termination points. Note whether stitches penetrate the body rather than merely joining glued edges, and run a finger along each seam to detect skips or lumps. Examine the sweatband and the lining attachment. A sweatband fully sewn in with small tacking stitches at regular intervals indicates the lining can be removed, that the hat will breathe, and that it will settle to the head. Gently lift the lining at the back to check for sewn tacks rather than blobs of adhesive. Press the brim gently along its edge and at the centre. A wired or neatly rolled felt edge should return to line, and neat binding and topstitching will protect the core from abrasion. Uneven compression, exposed inner layers, or loose binding point to a weak edge. Small signs like these reveal construction quality and likely durability.
Feel inside the crown for a thin, even layer of canvas, buckram, or sewn-in stiffening that holds the shape without producing sharp creases. Check for sealed seam allowances and neat piping where panels meet; these act as reinforcements against moisture and wear. Inspect stress points where hardware and trims join the hat: bartack stitches, folded fabric backing, and symmetrical placement of hatband joins, buttons, and eyelets indicate attention to construction. A gentle tug on trims should reveal stitching rather than adhesive, which concentrates load and invites local failure. These tactile and visual checks reveal construction quality and indicate how well a hat will stand up to wear.
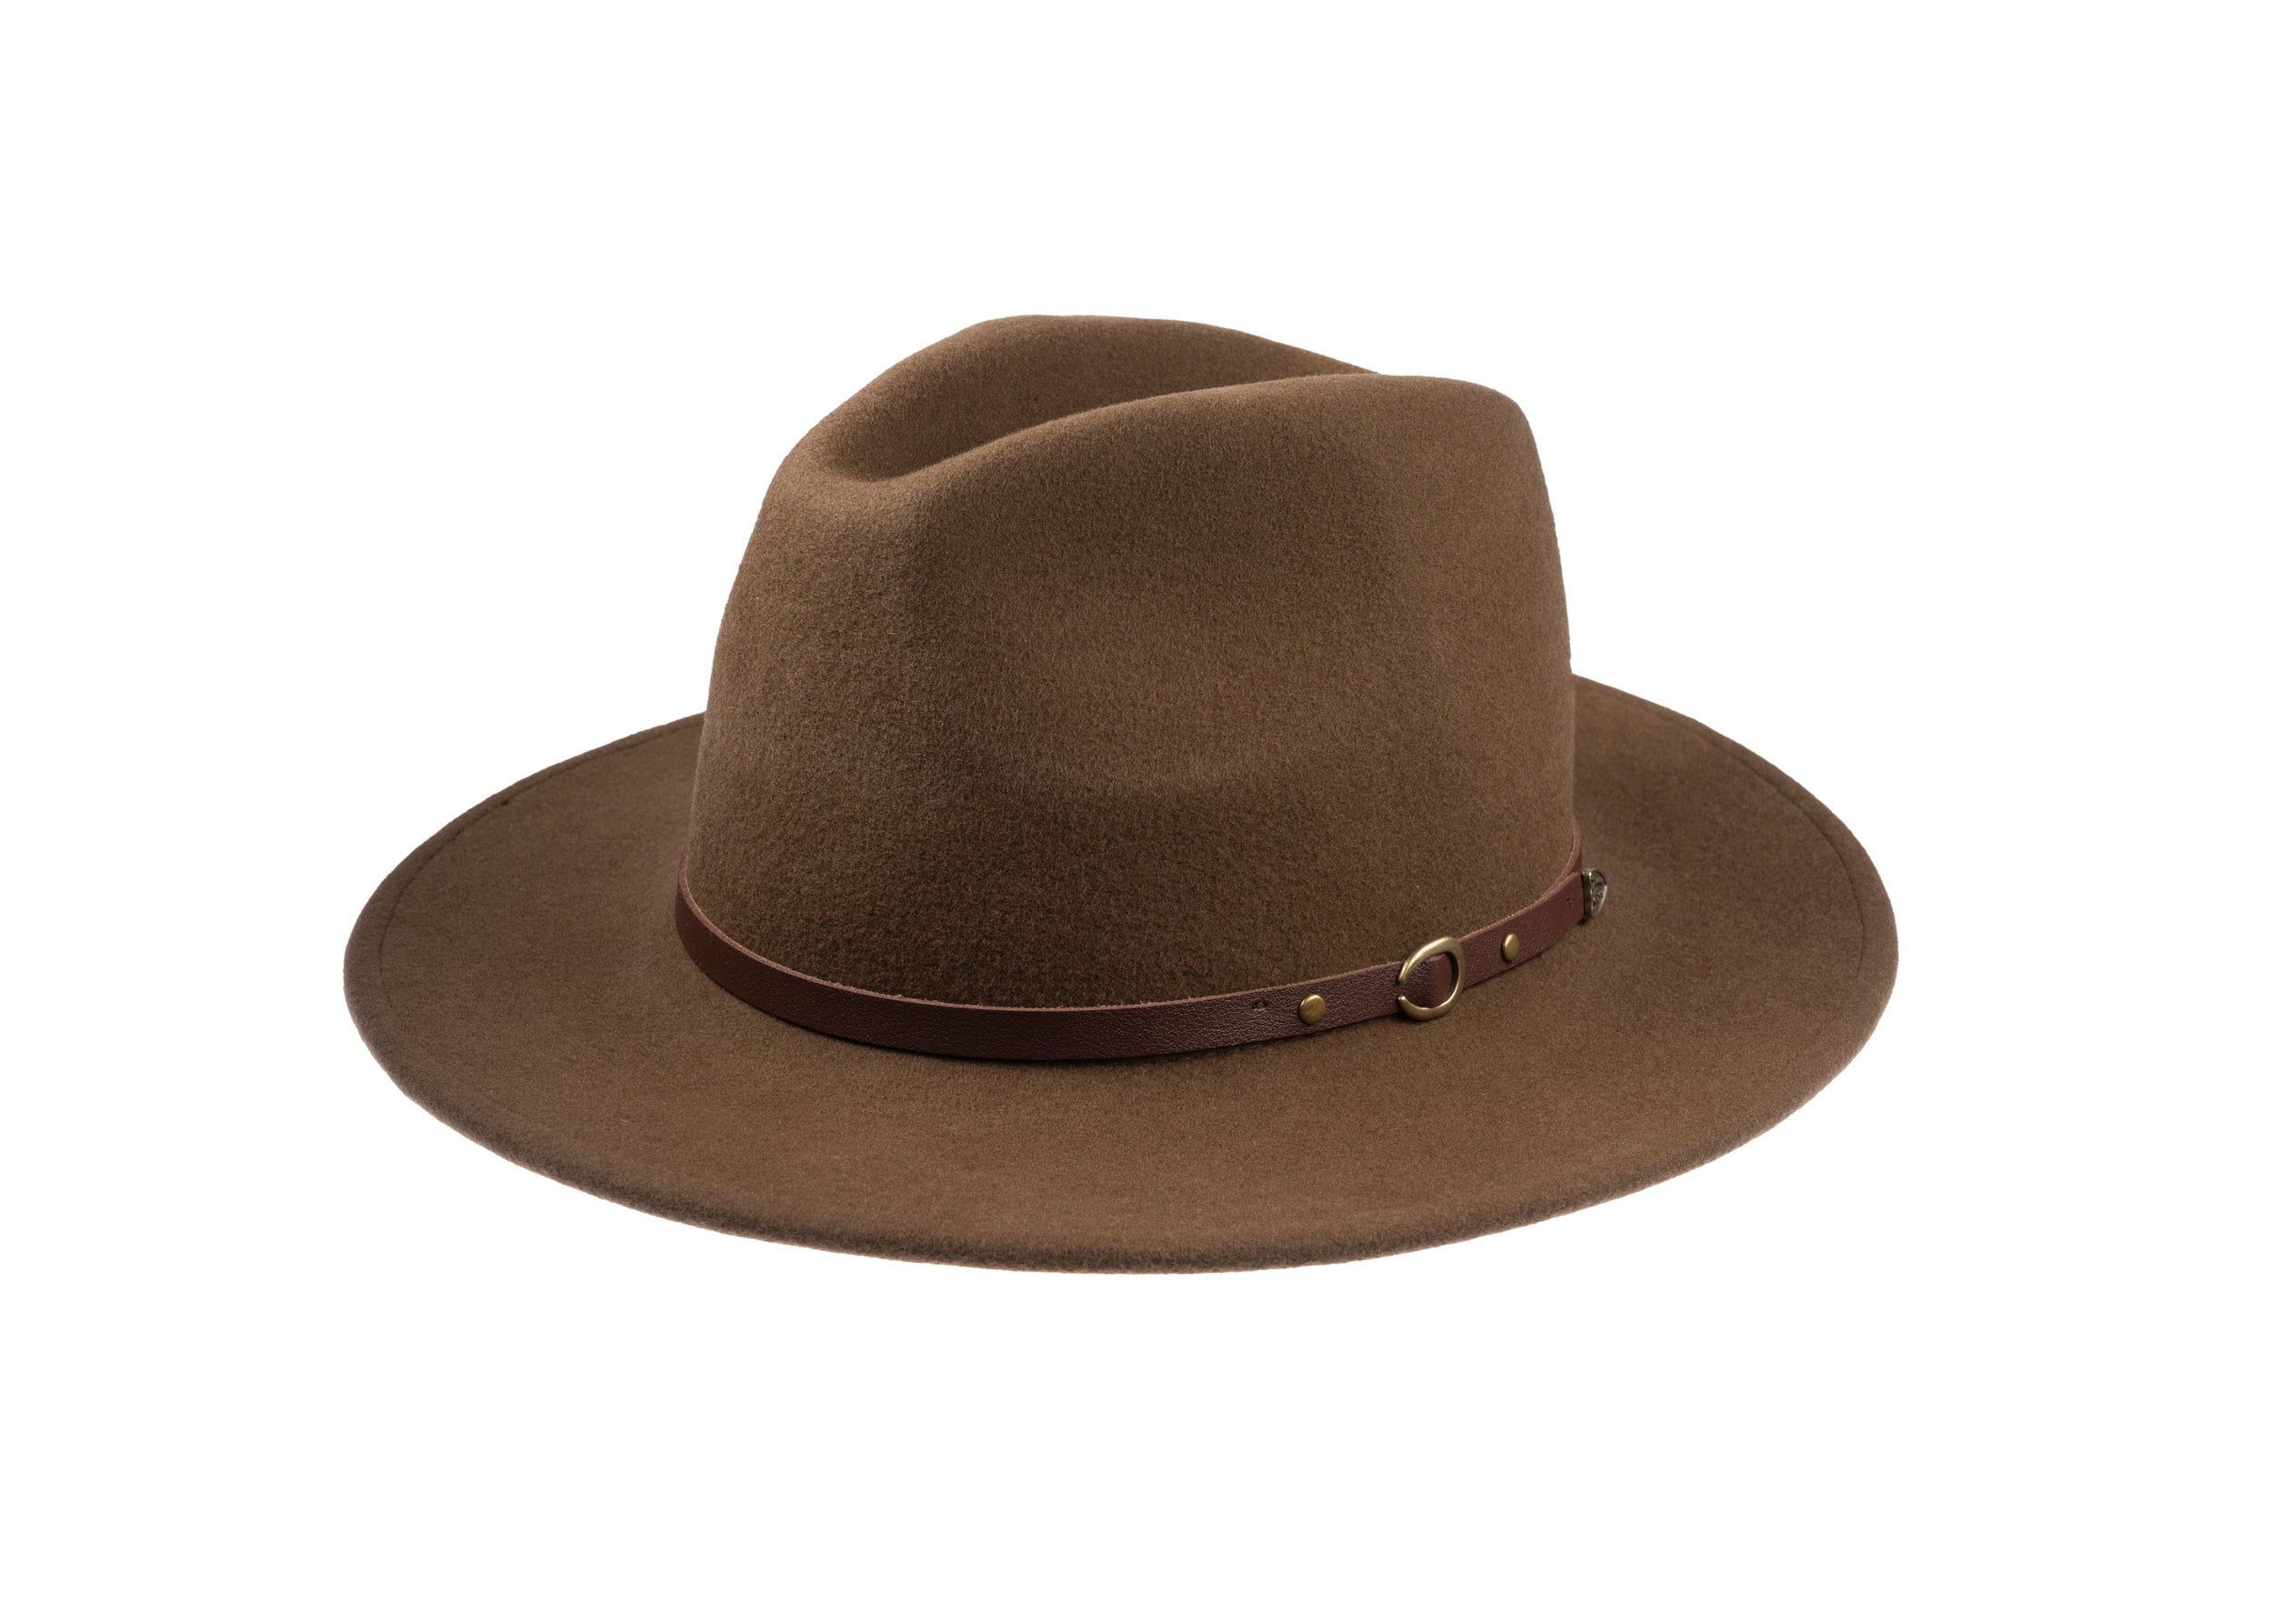
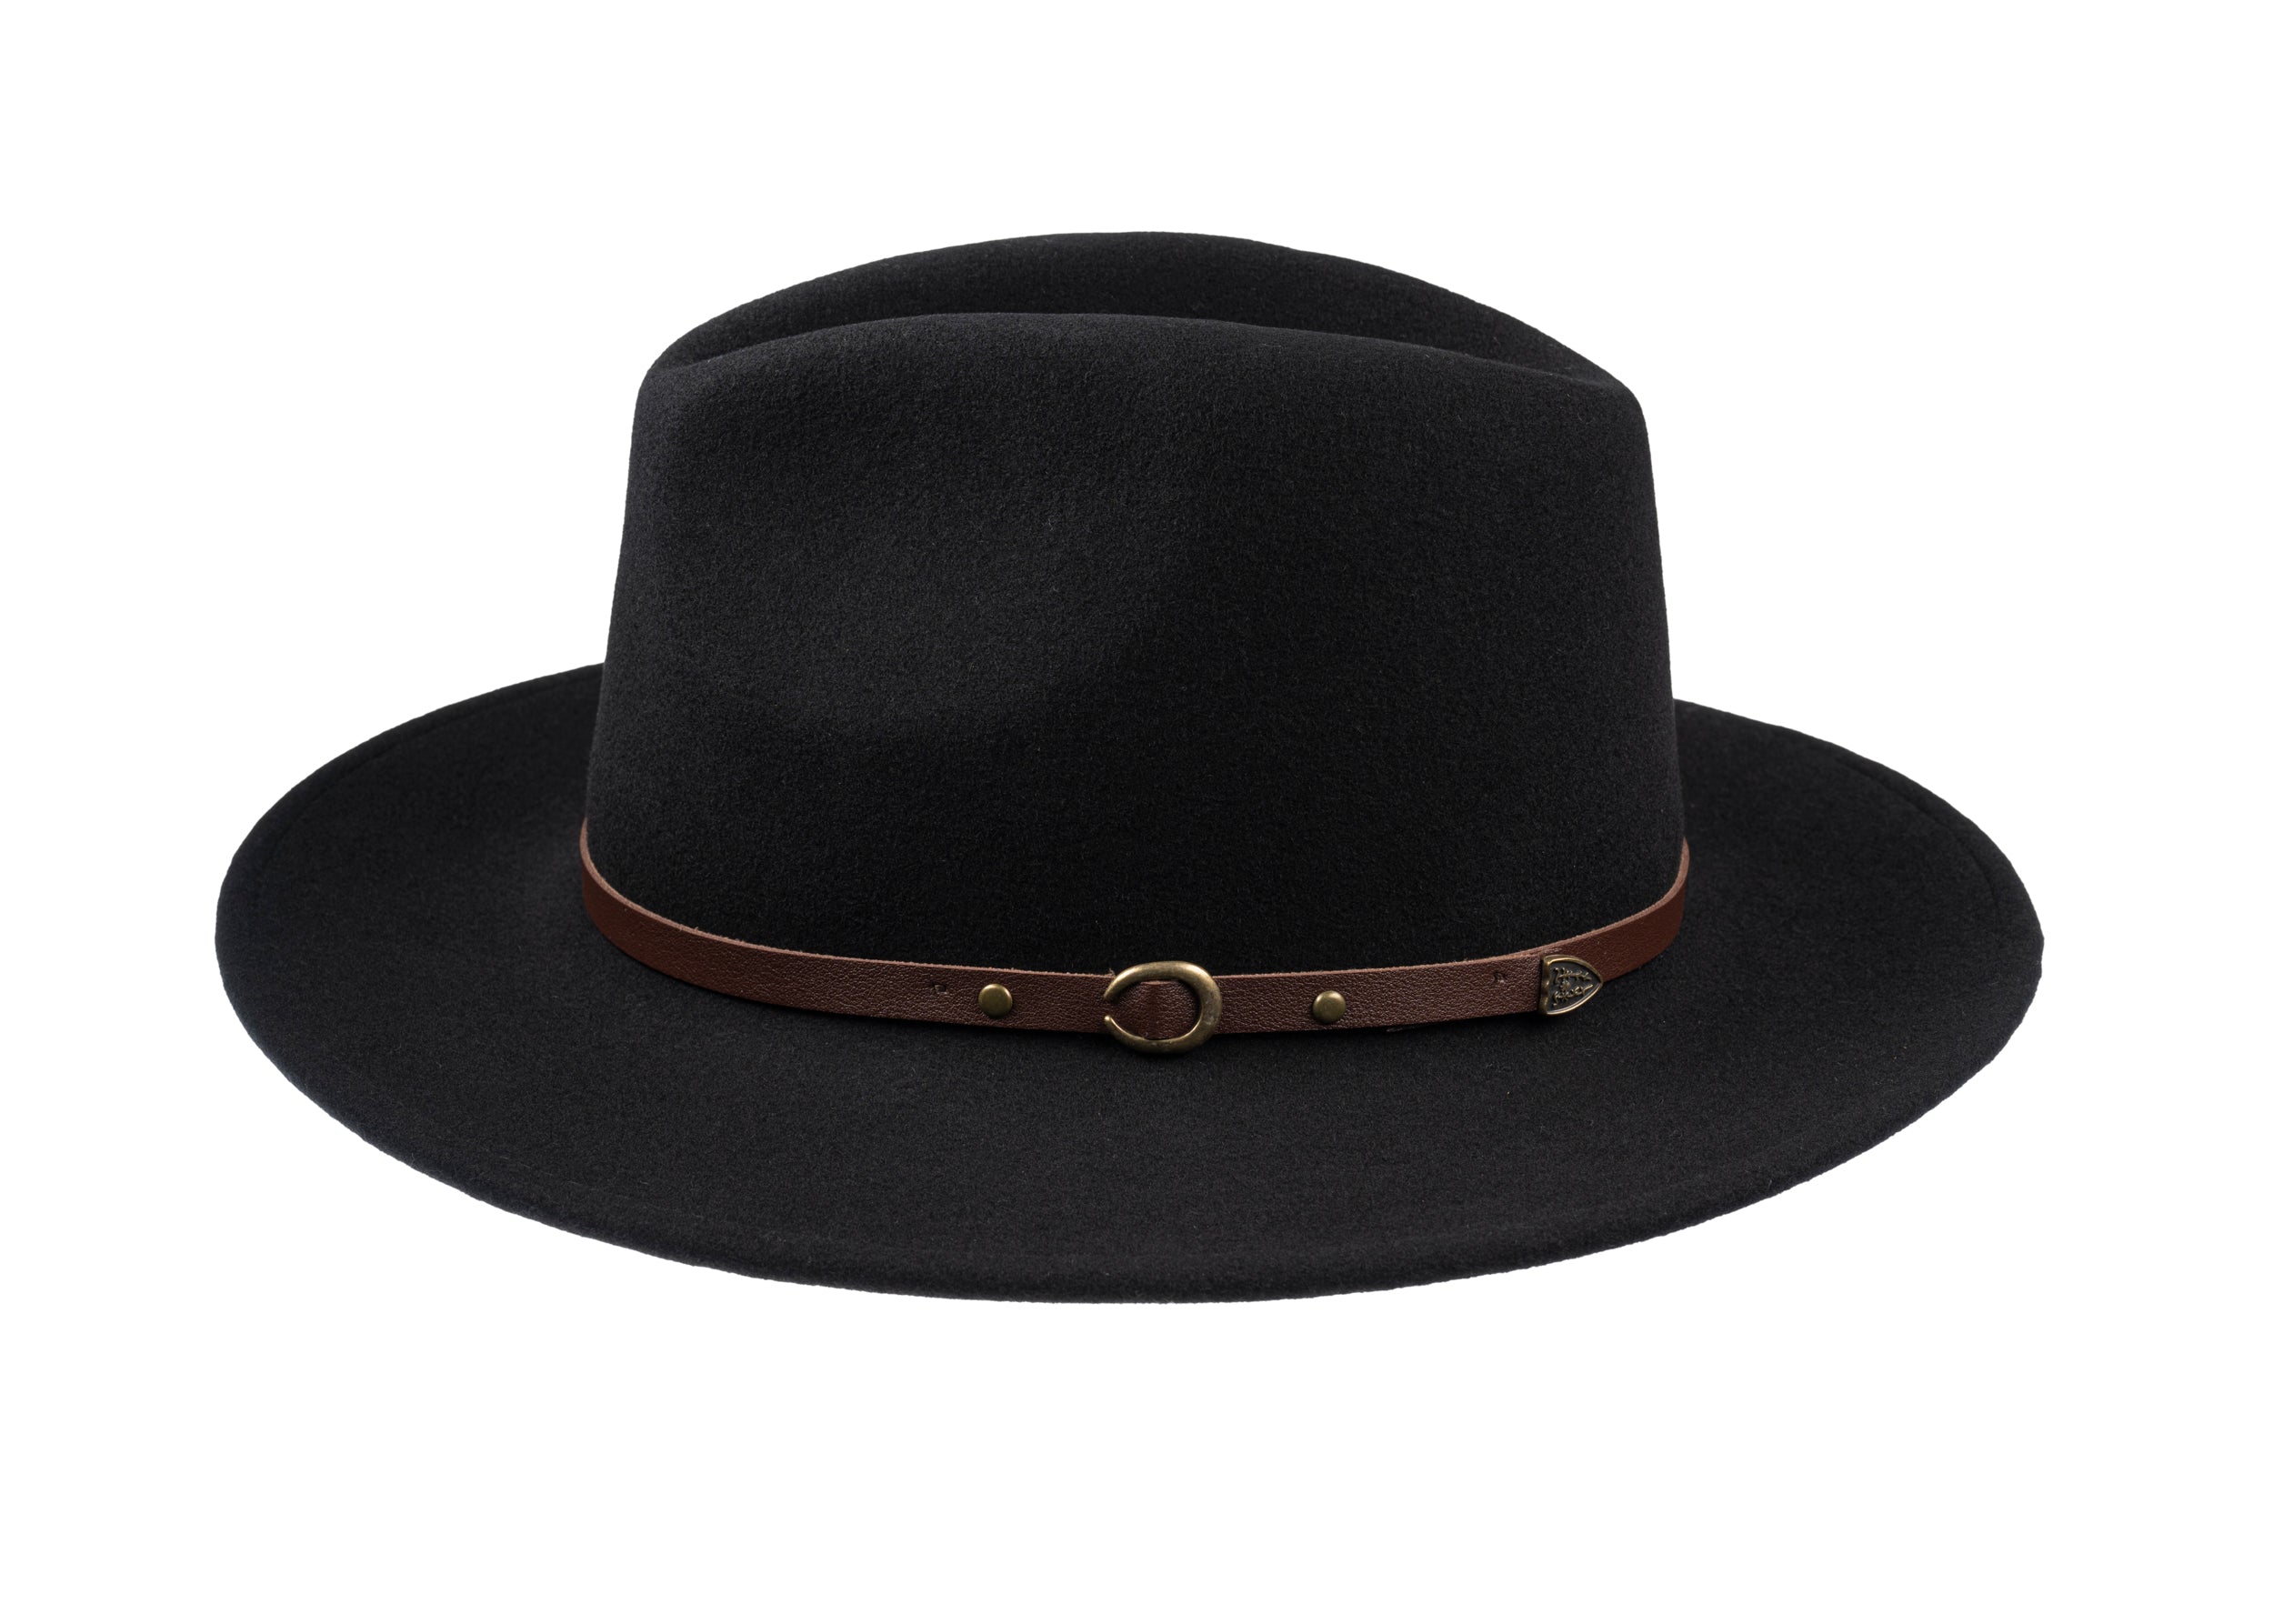
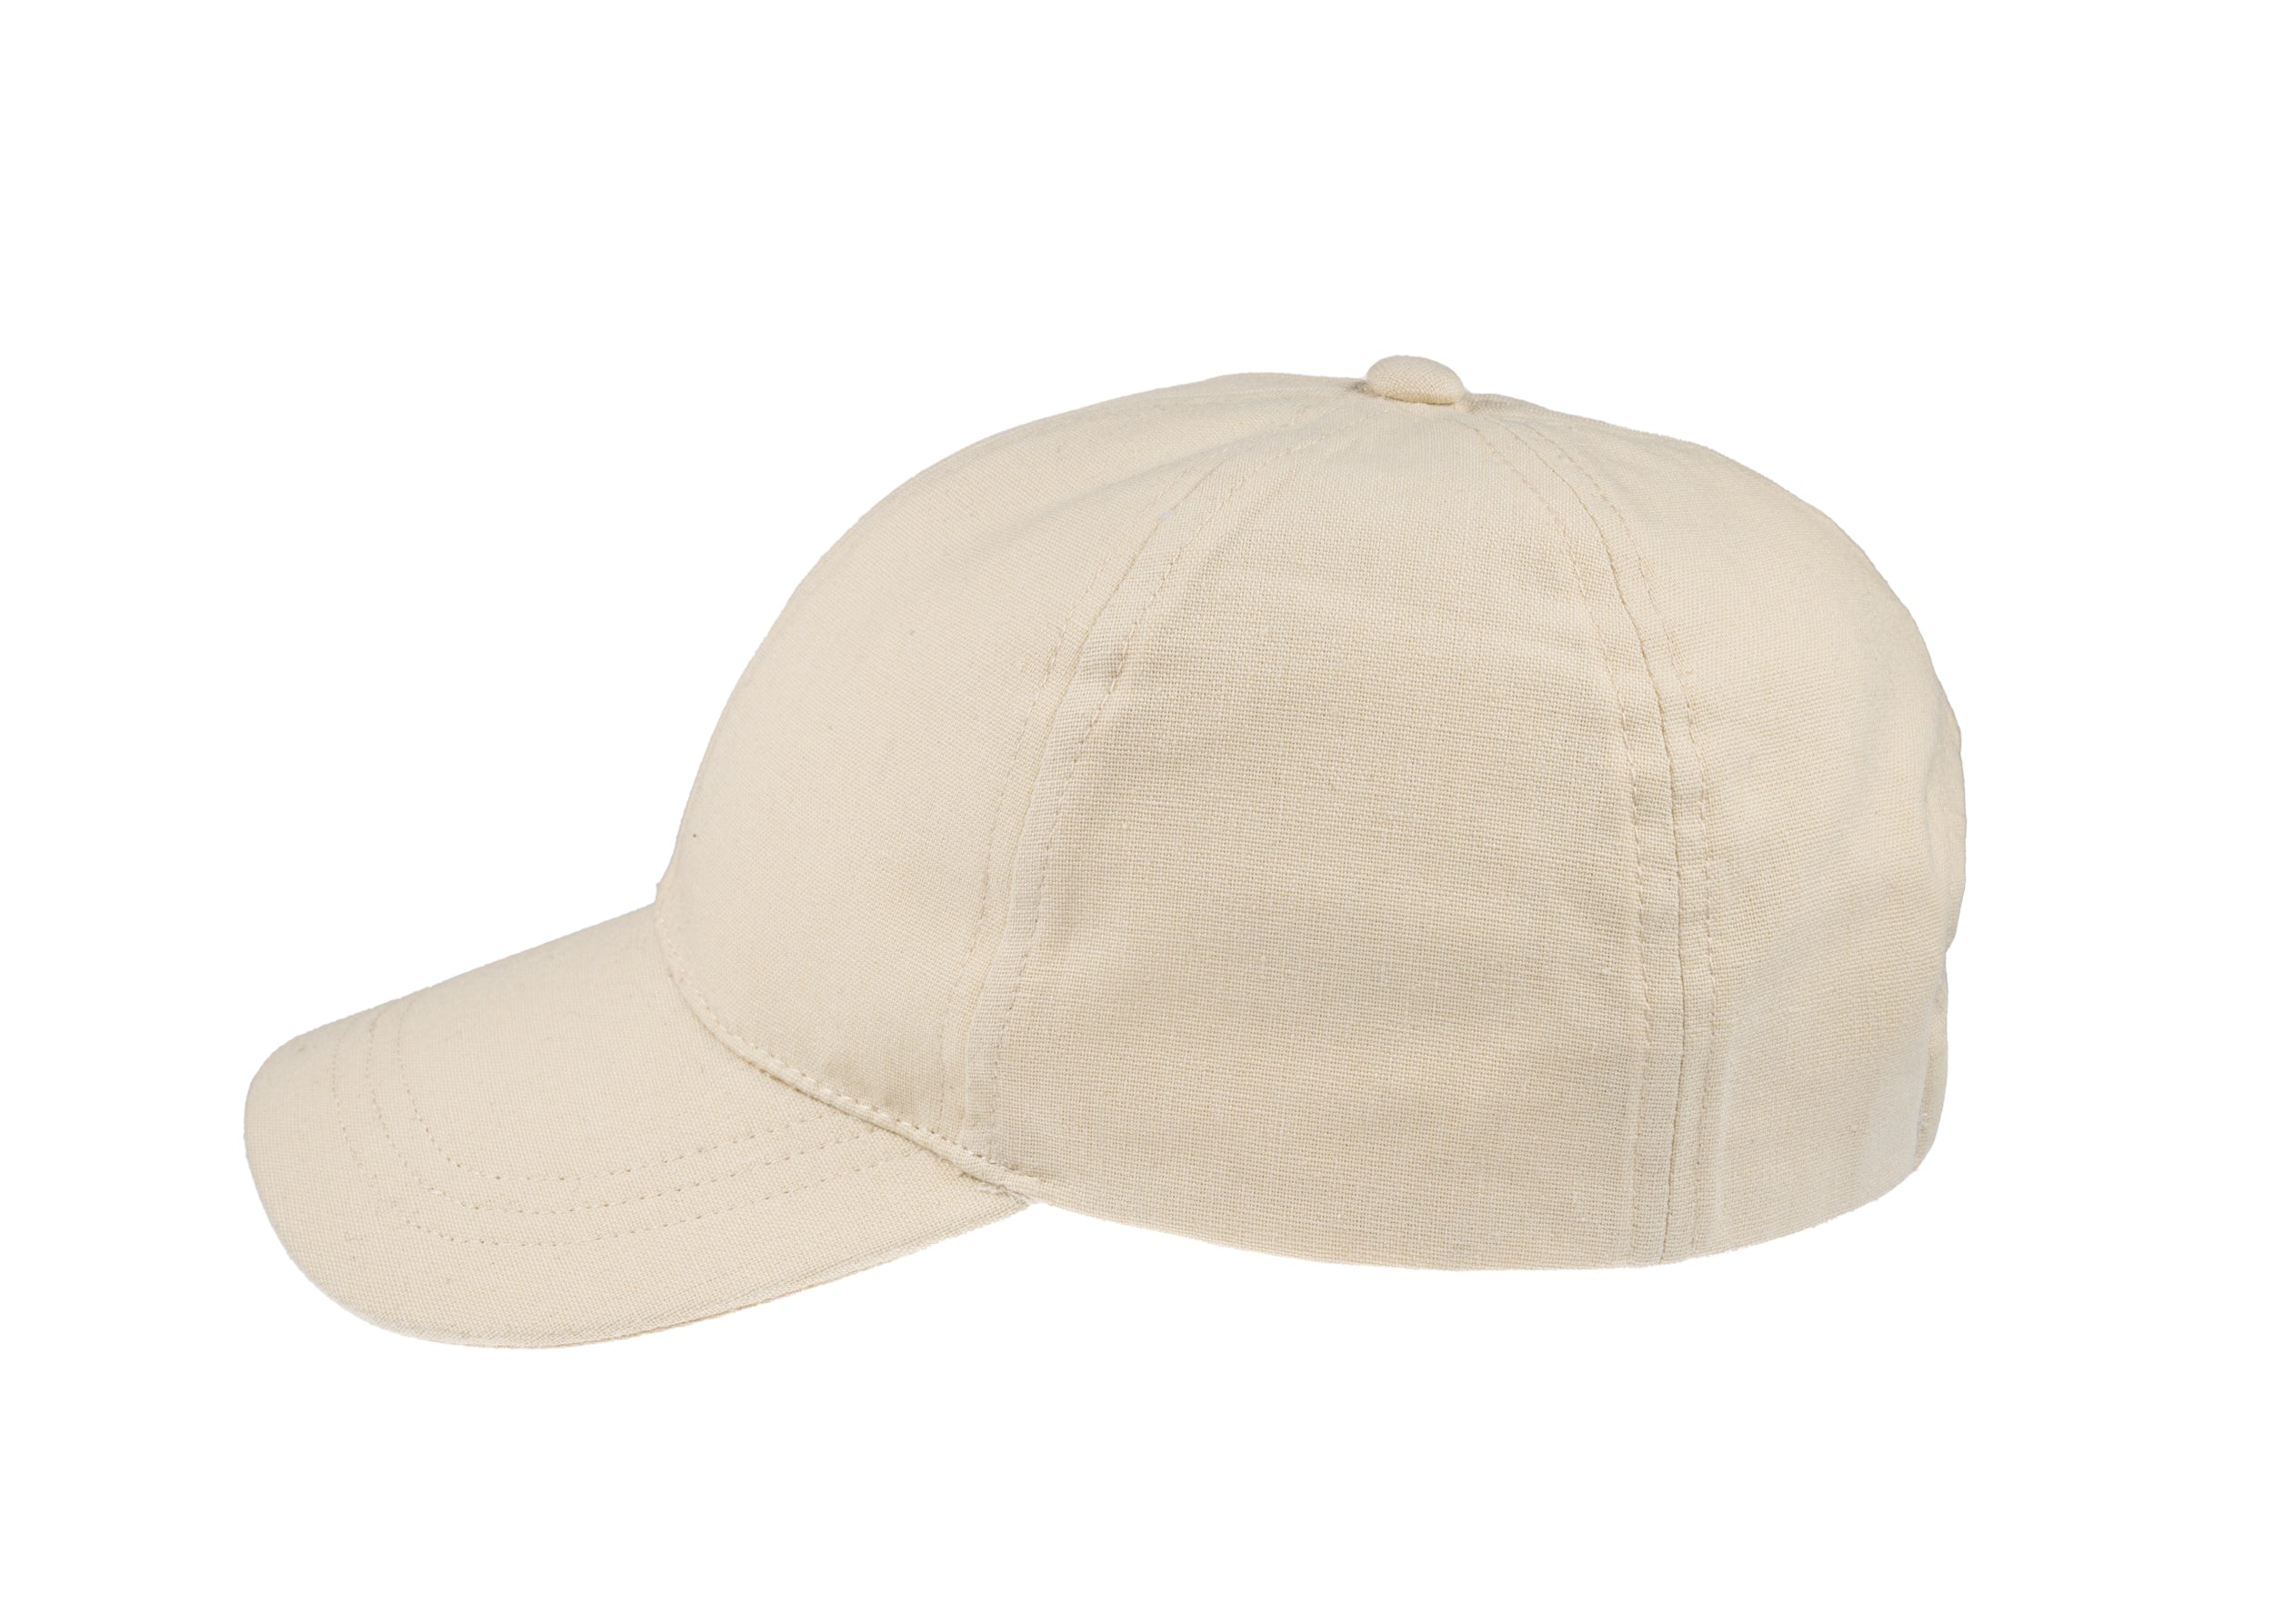
Choose a fully lined, blocked hat for lasting shape

5. Ask about care, repair options, and authenticity checks
Request a clear, written care routine and a short demonstration that covers cleaning, reshaping, storage, and whether the sweatband can be removed, so you can observe how the materials respond. Inspect construction details that affect longevity by asking which seams are hand-stitched and which are machine-stitched, and request close-up images of stitch density, bindings, and internal joins to assess likely restoration needs. Ask for before-and-after photographs of routine cleaning; they provide tangible evidence of finishing standards and material resilience.
When assessing a hat's longevity, probe repairability by component. Ask which parts can be replaced or restored, for example the sweatband, hatband, lining, or brim binding, and request photographs or records of past repairs to assess the maker's technique and finish. Verify authenticity and provenance by checking for maker's marks, internal stamps or sewn identifiers, and any certificate or workshop note, and cross-check those details against the construction. Clarify aftercare by asking whether the maker, or a recommended milliner, will undertake repairs, reblocking, alterations, and authentication, and request their repair procedure and postage instructions. Ask to see a sample repair log to understand how the hat will be documented and cared for over time.
A well-made hat shows its quality through particulars, not through labels or marketing claims. Examine fibre provenance, hand-blocking, finish, construction, and repairability; they provide concrete clues you can confirm by touch and sight, and by asking a few straightforward questions.
Methodically inspect the five checks: material, blocking, trim, reinforcement, and aftercare. Each reveals how a hat was made and how it is likely to wear. An evidence-led approach lets you decide whether to buy, keep, or commission repairs with quiet confidence.