


Unseen sweat patches and unexpected on-camera shine can quietly undo an otherwise considered shot, and they often appear at the most inconvenient moment. How can wardrobe teams safeguard garments and performers while preserving comfort, fit, and visual neutrality?
This post outlines how to detect on-set moisture and camera shine, assess cap construction and fabric behaviour under heat, apply discreet, craft-led preventive treatments, maintain pieces swiftly between takes, and dry, restore, and preserve shape after shooting. It provides concise checklists and practical fixes designed to reduce retakes, extend a garment's life, and keep performers comfortable under lights.

How to detect on-set moisture and camera shine
Wardrobe teams begin each take with close visual and tactile checks. They look for darker, damp-looking patches, press a clean tissue to confirm moisture, and note any salty odour that indicates perspiration rather than water. They catalogue which dyes and weaves darken or become translucent so garment behaviour on set can be anticipated. To approximate camera conditions they hold garments at the intended angle and light, or take a quick test frame: smooth, low-scatter fibres such as satin and polished synthetics produce specular highlights, whereas textured, brushed, or open weaves scatter light and read as matt.
Simple, craft-led construction changes reduce visible moisture and shine. Wardrobe teams sew thin, absorbent panels into linings at high-sweat zones, fit removable underarm pads with press-studs or hook-and-loop fastening, and add breathable natural-fibre linings that draw moisture away from the outer fabric. Each treatment is reversible and trialled on a hidden seam before being used. On set, teams keep several identically tailored spares, blot moisture immediately with tissue, then fan garments to dry, and swap to a prepared backup if a patch is likely to show. Mattifying blotting papers, or a light dusting of absorbent powder, are applied only after a test on an unseen area. A clearly defined rapid-change protocol, and a designated drying and repair station, reduce downtime and protect camera continuity. Teams compile a garment dossier that records fabric type, lining, observed behaviour under different lights, fixes applied, and effective camera angles. That record informs costume pre-selection, briefs for camera and lighting colleagues, and the development of standardised craft treatments that shorten troubleshooting on set.
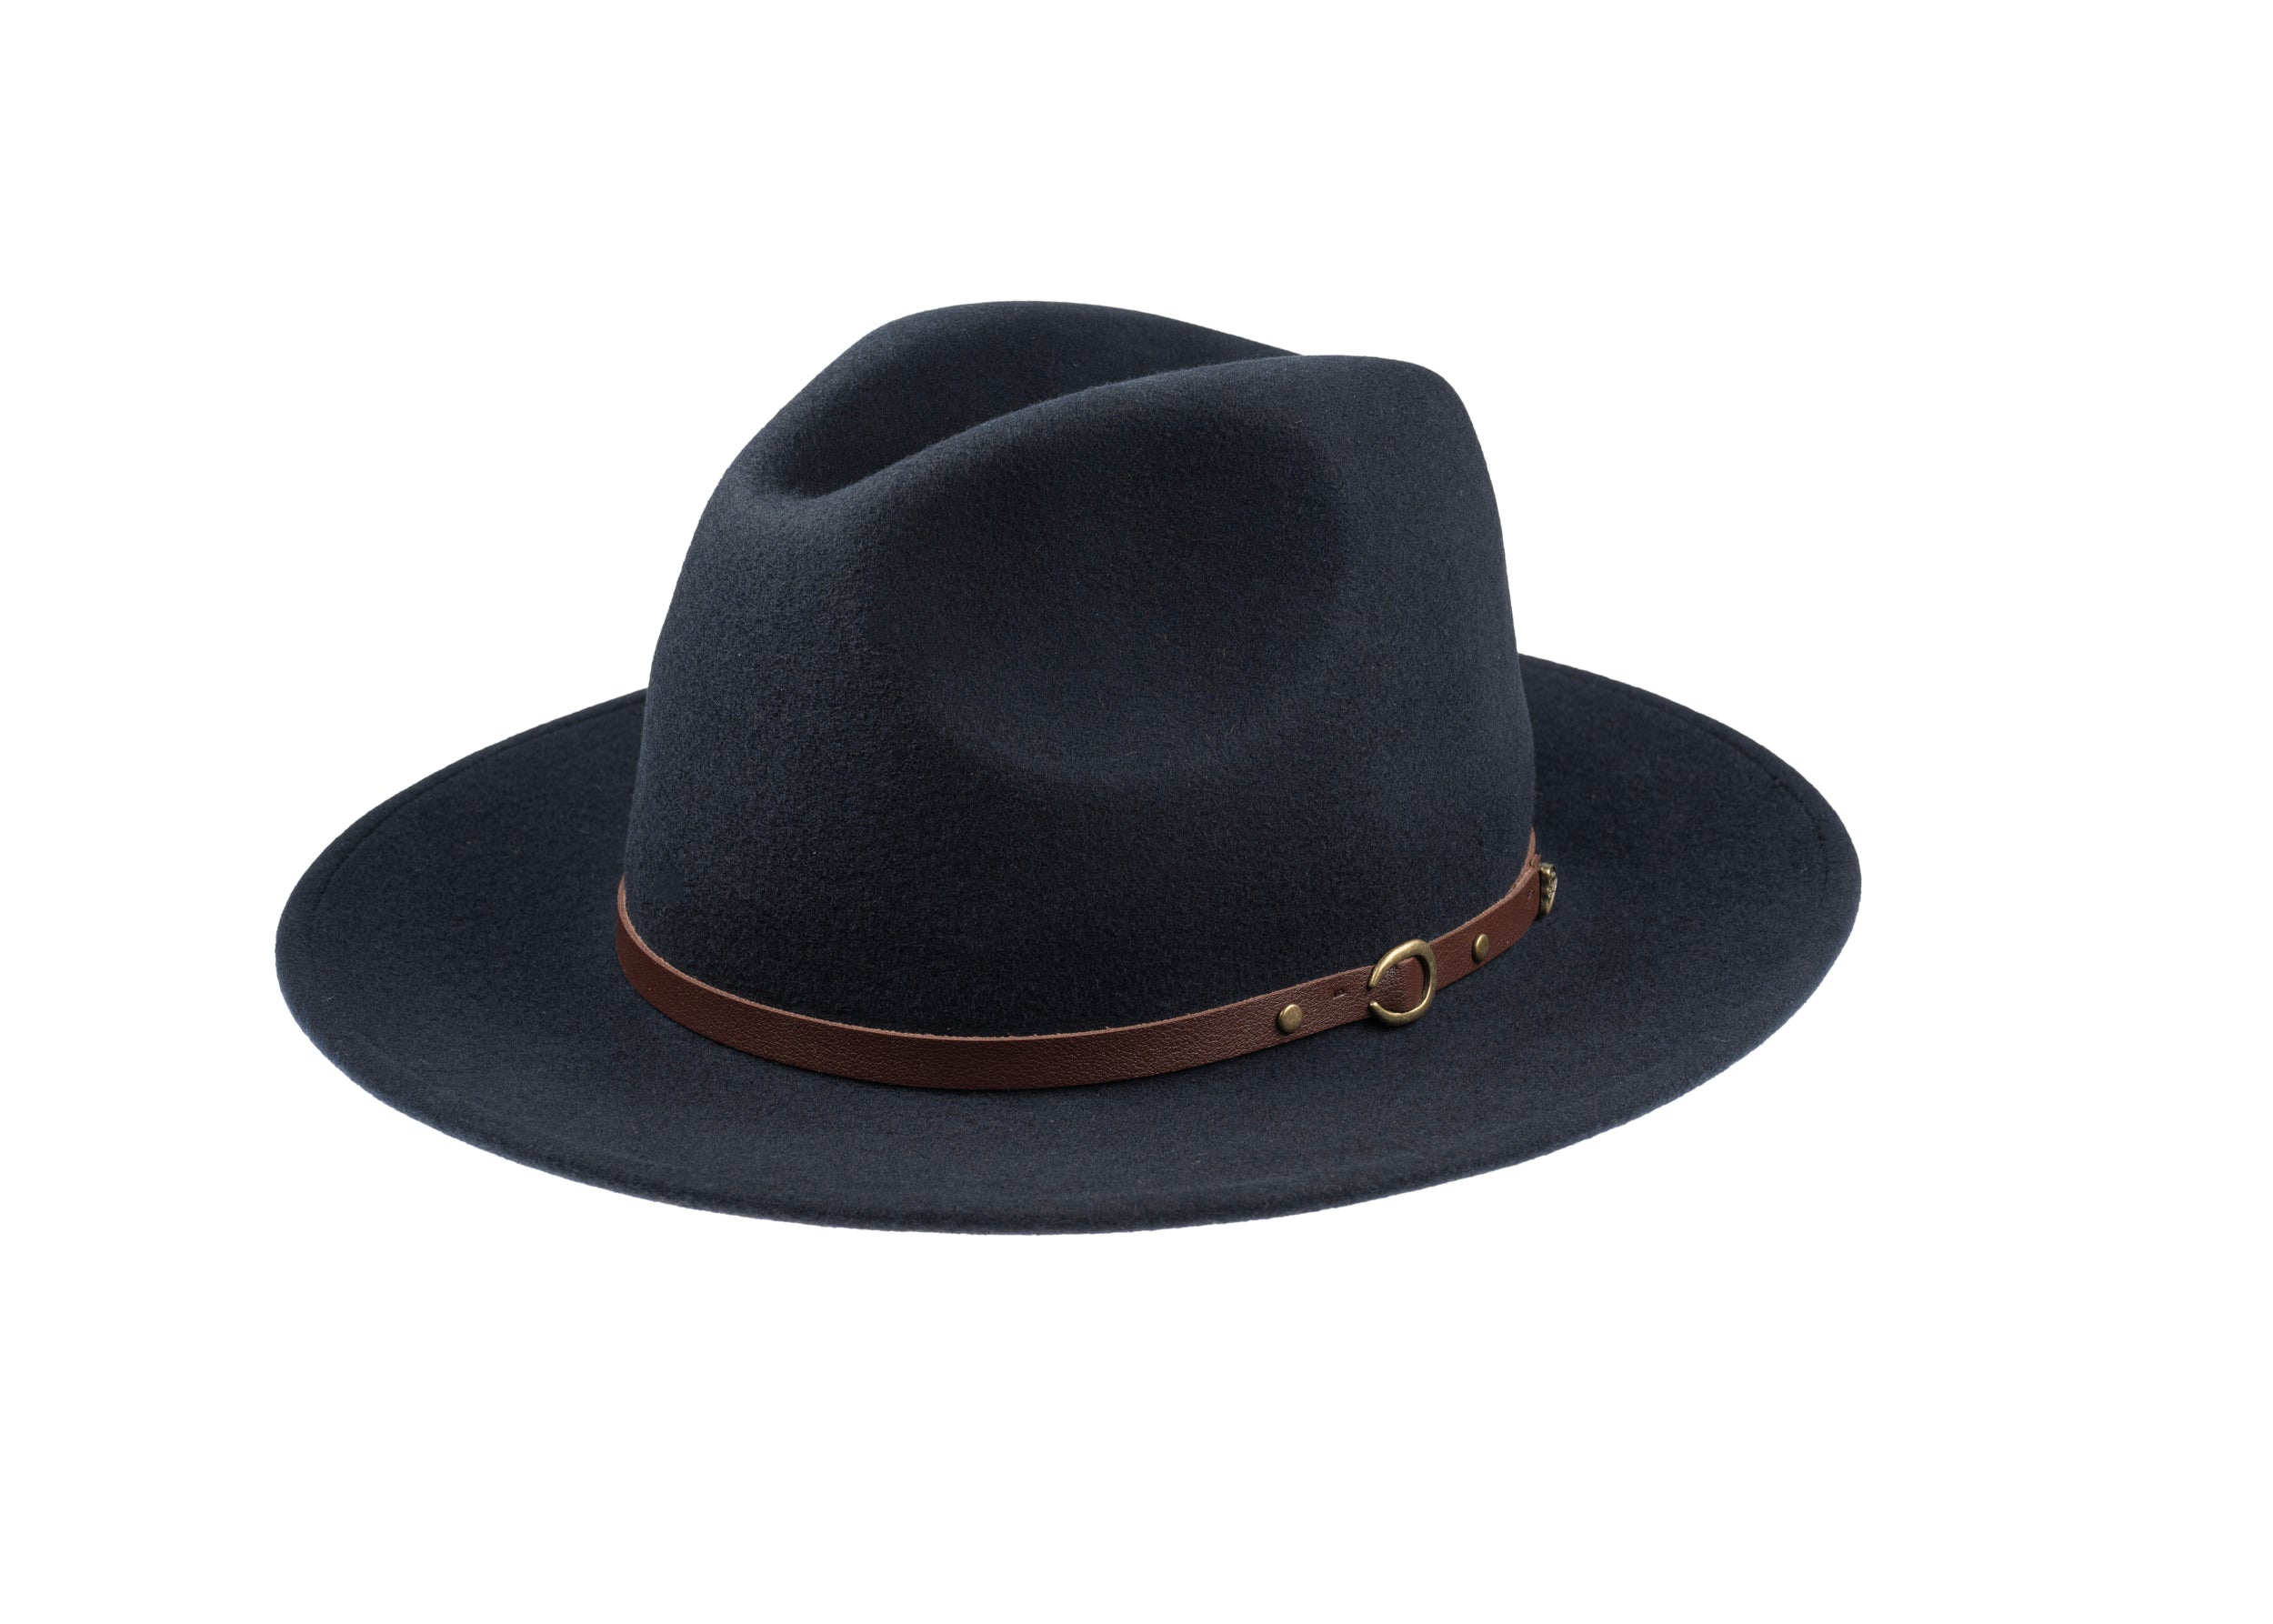
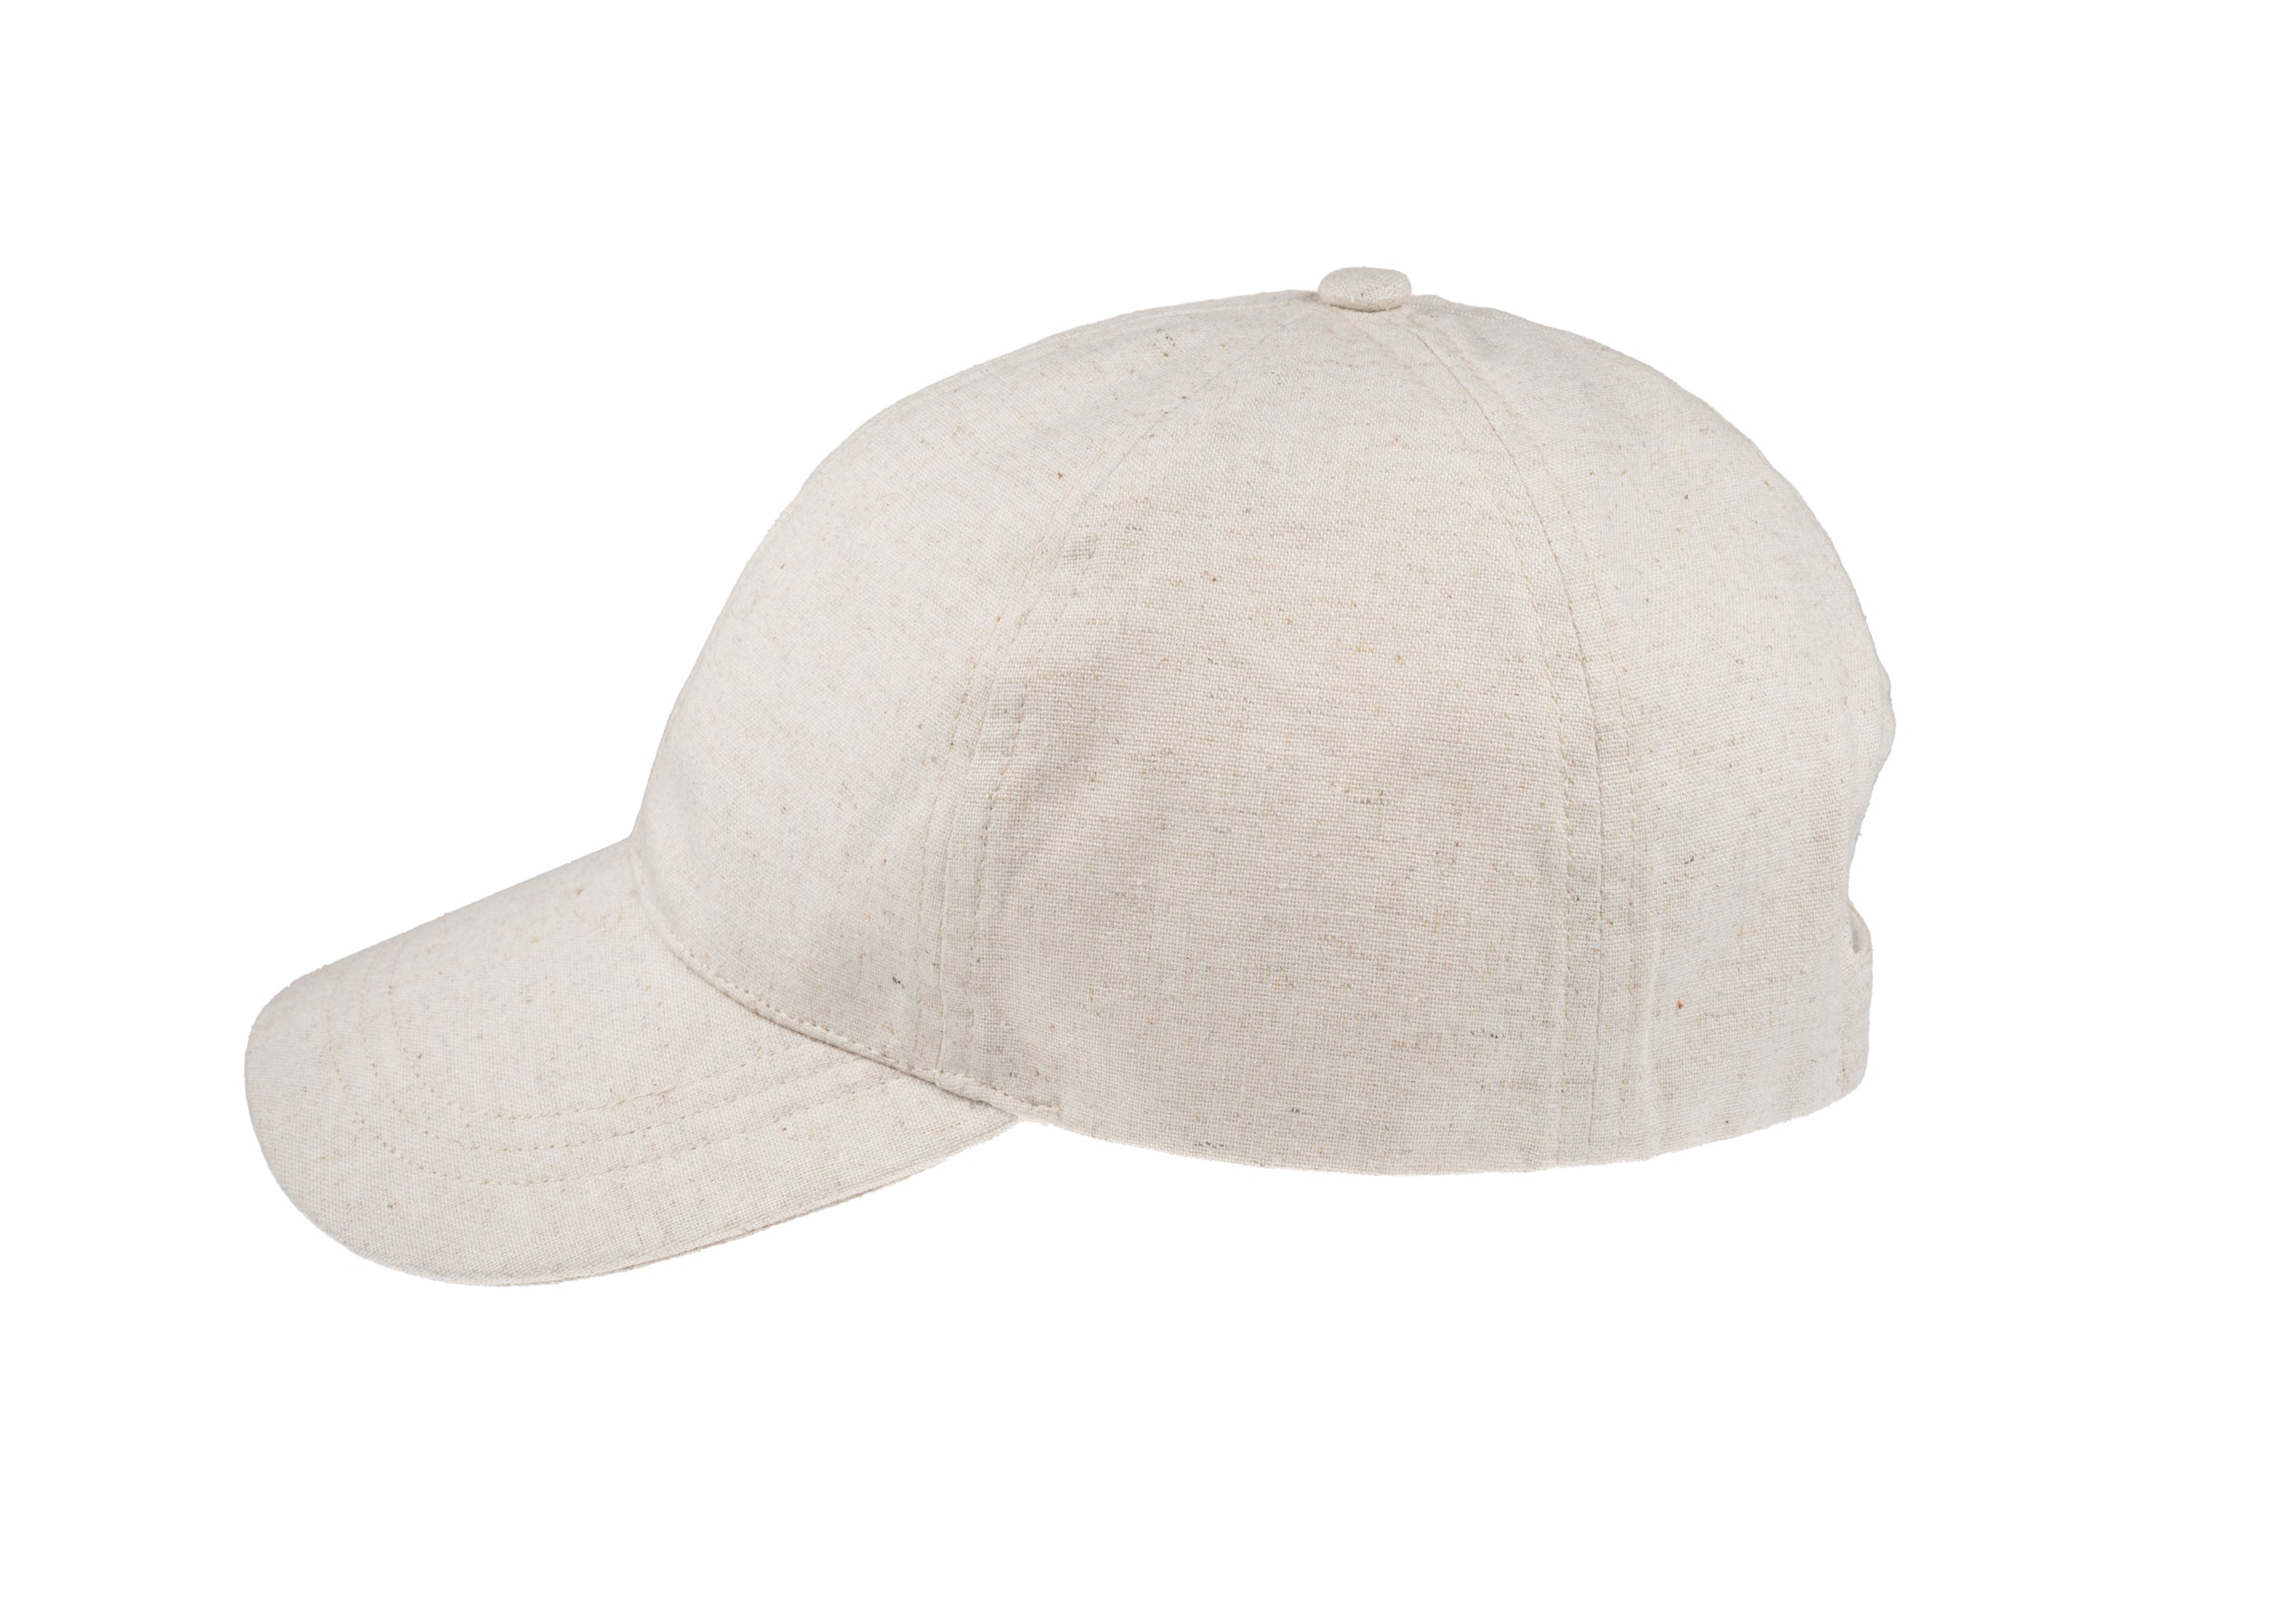
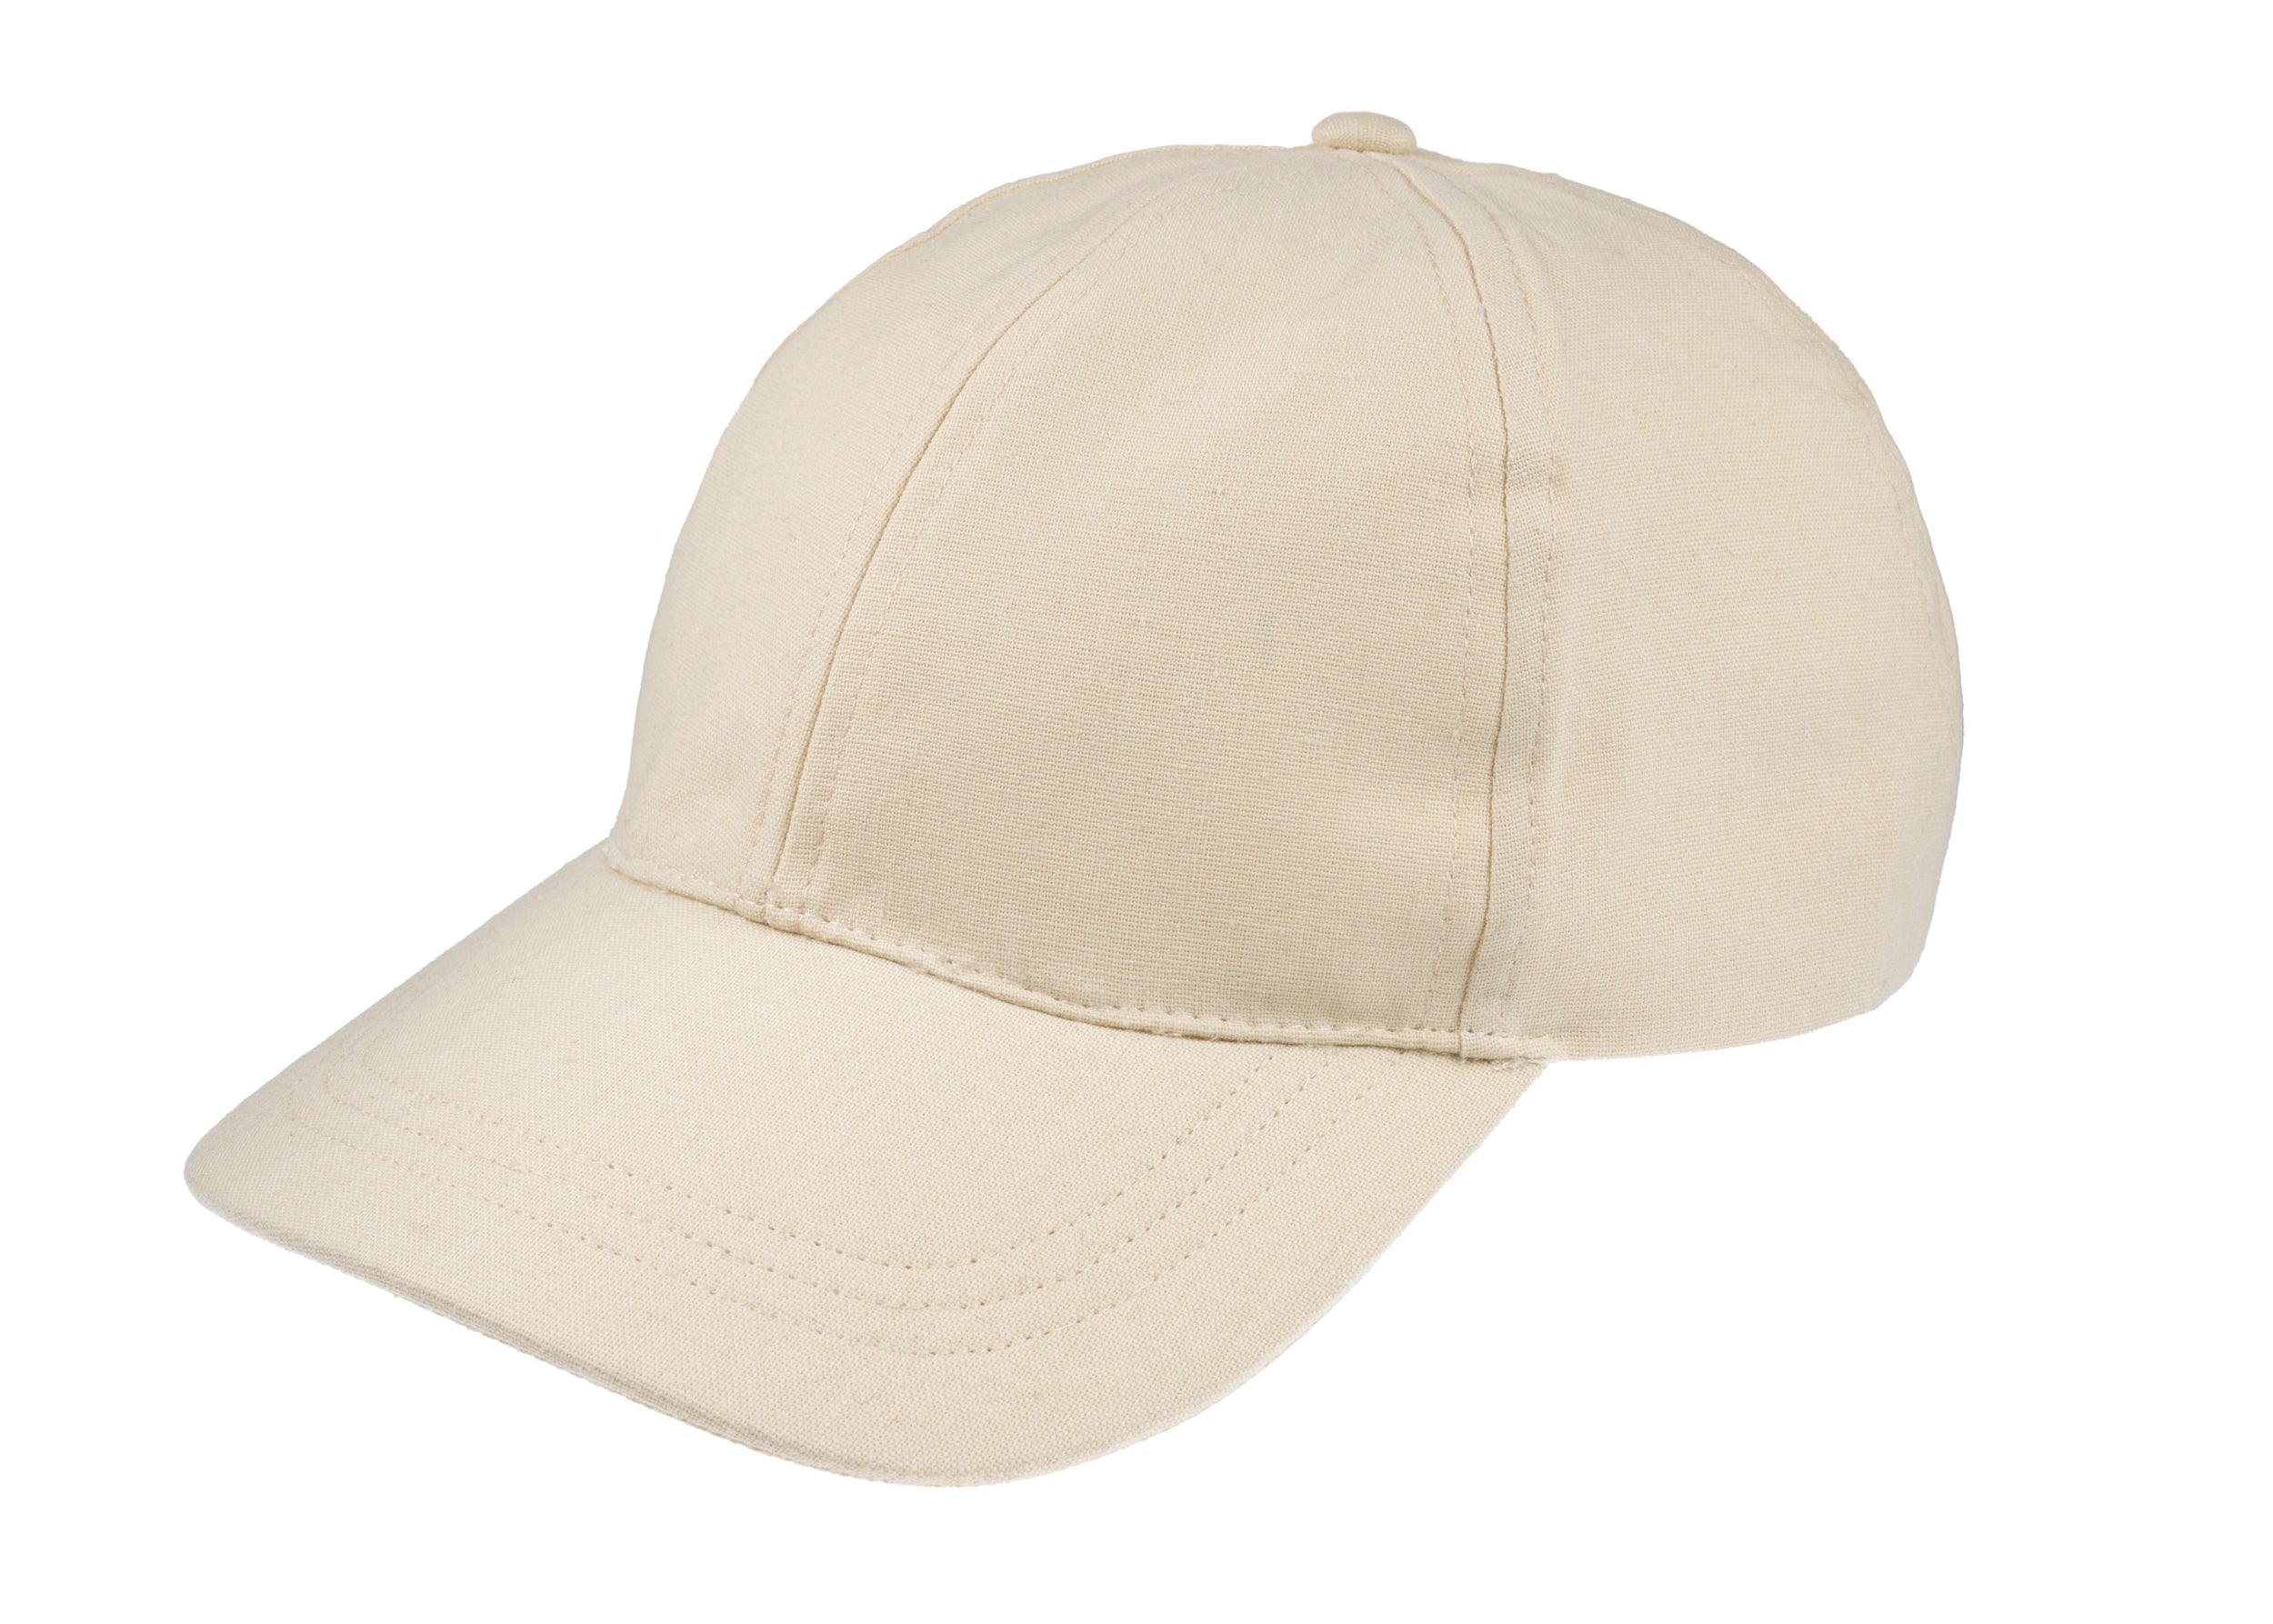
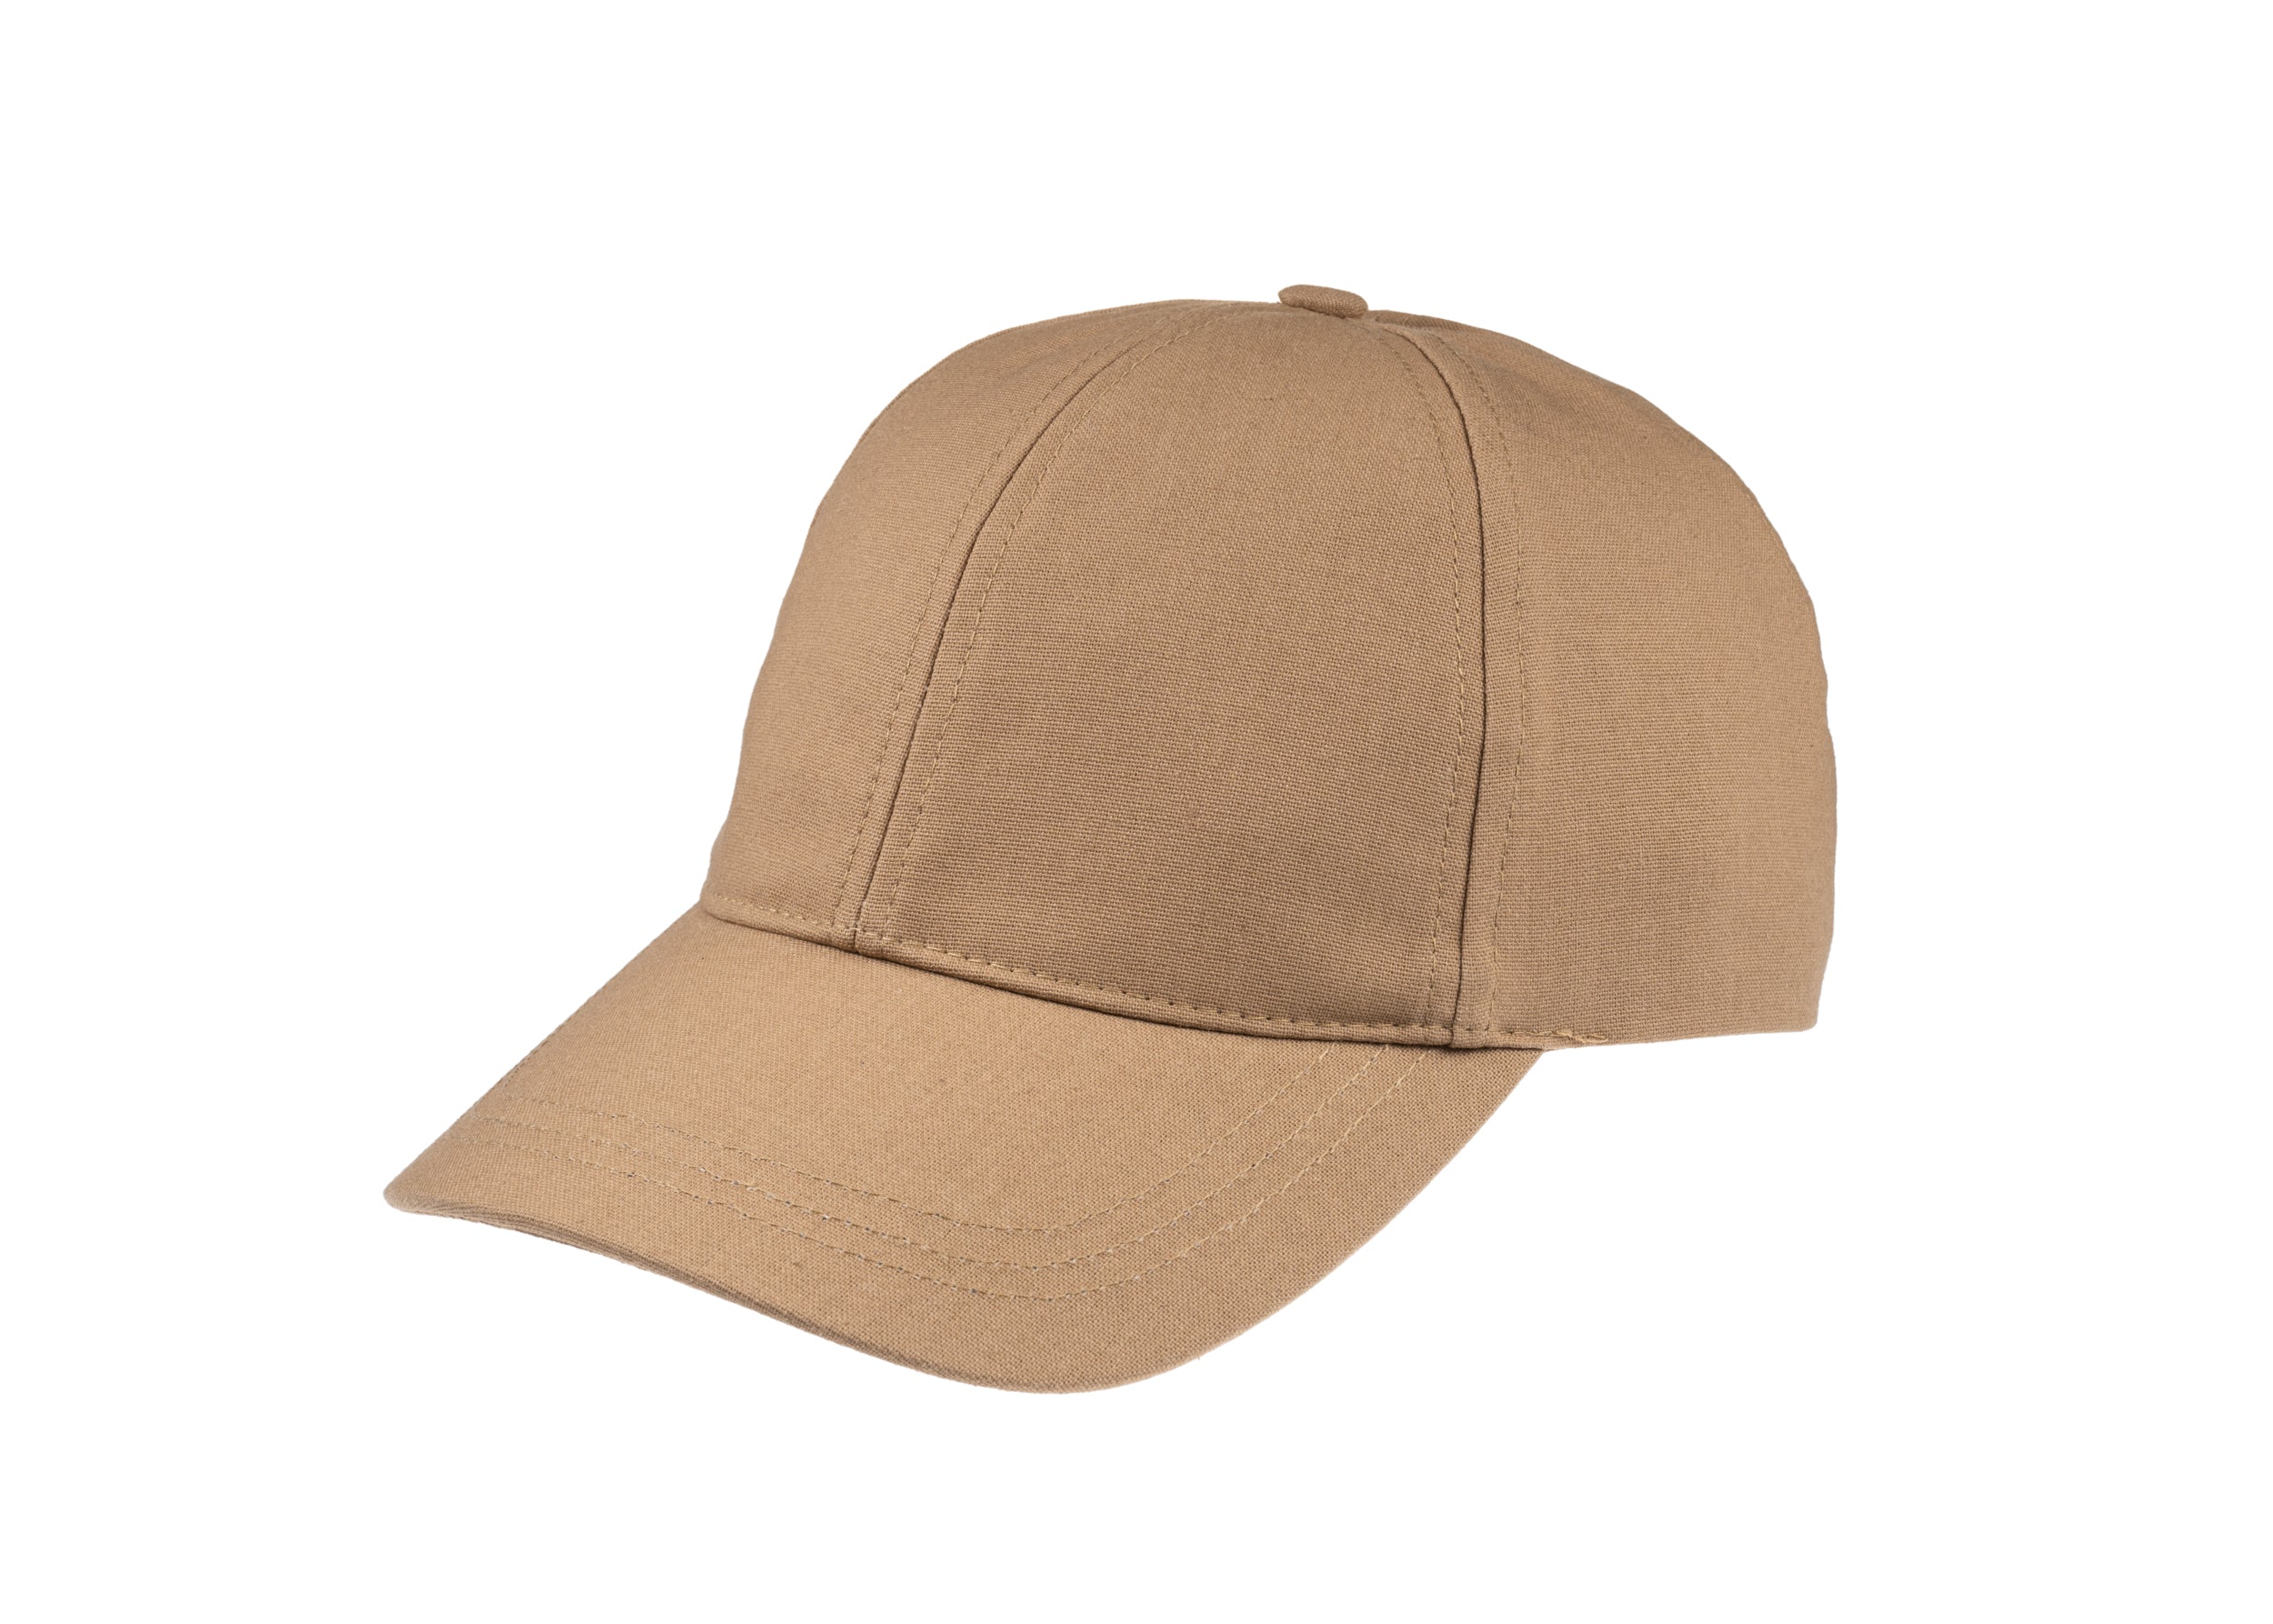
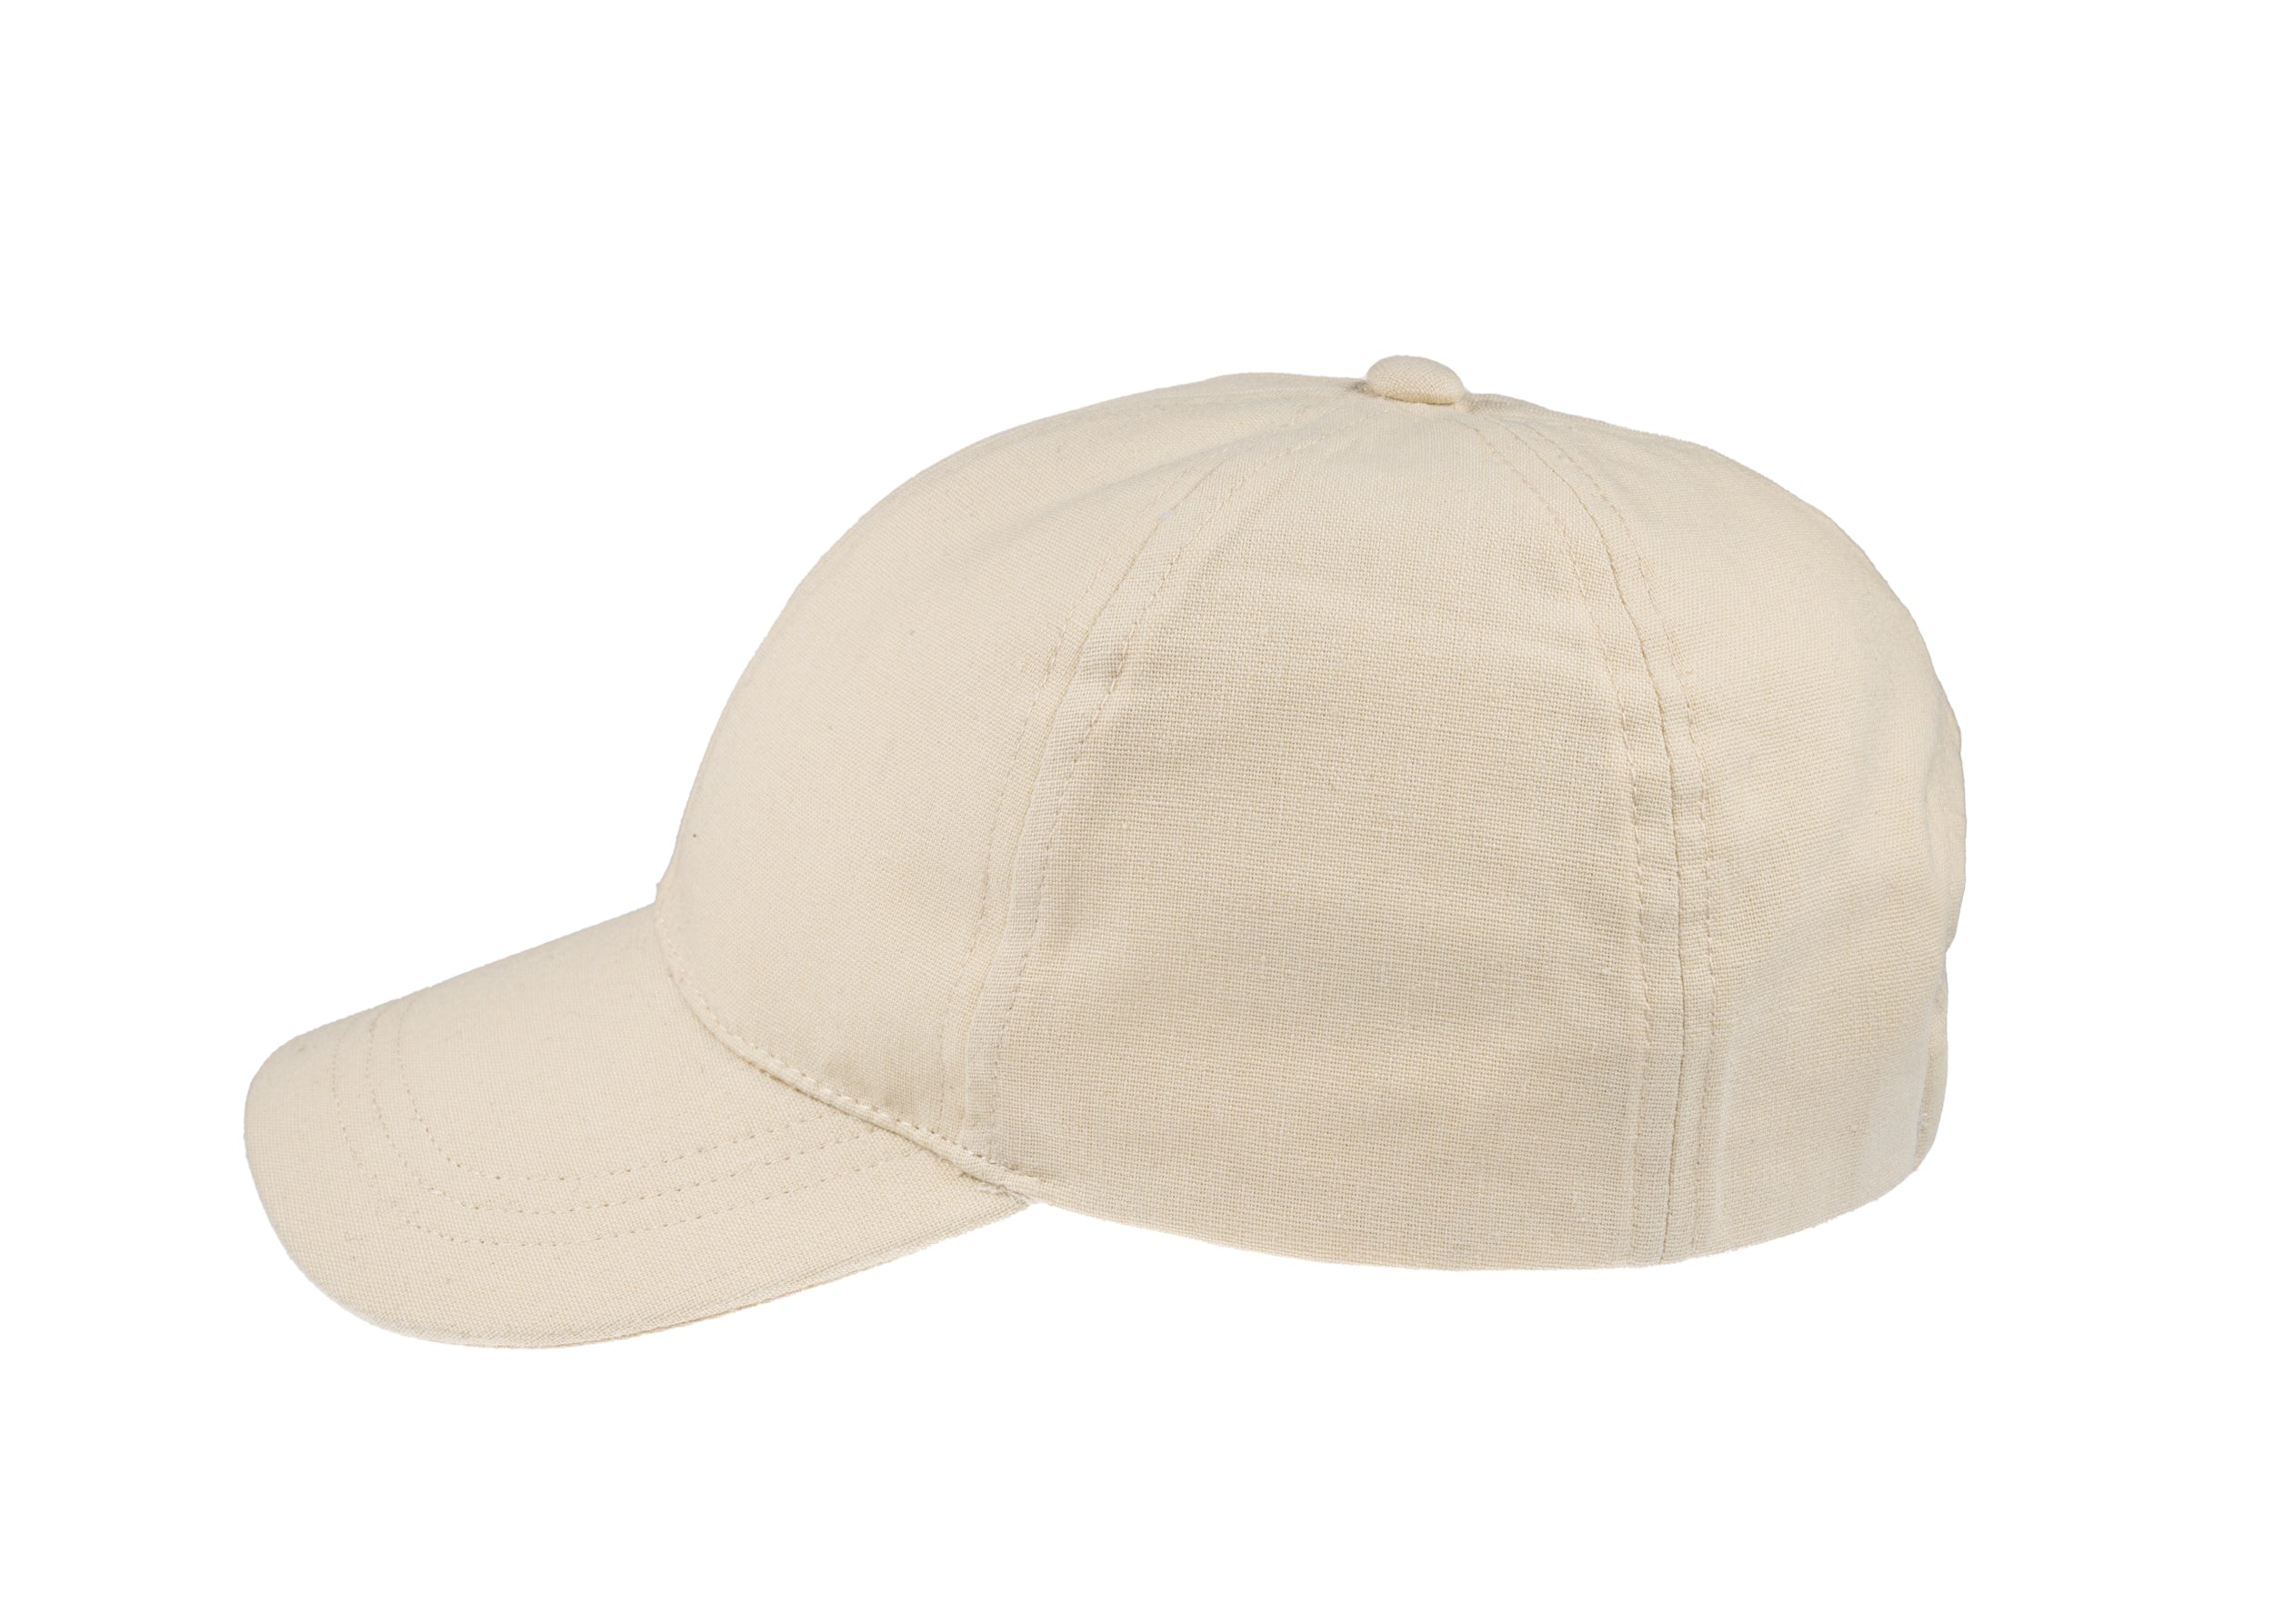
Prefer linen blends to wick sweat and avoid shine

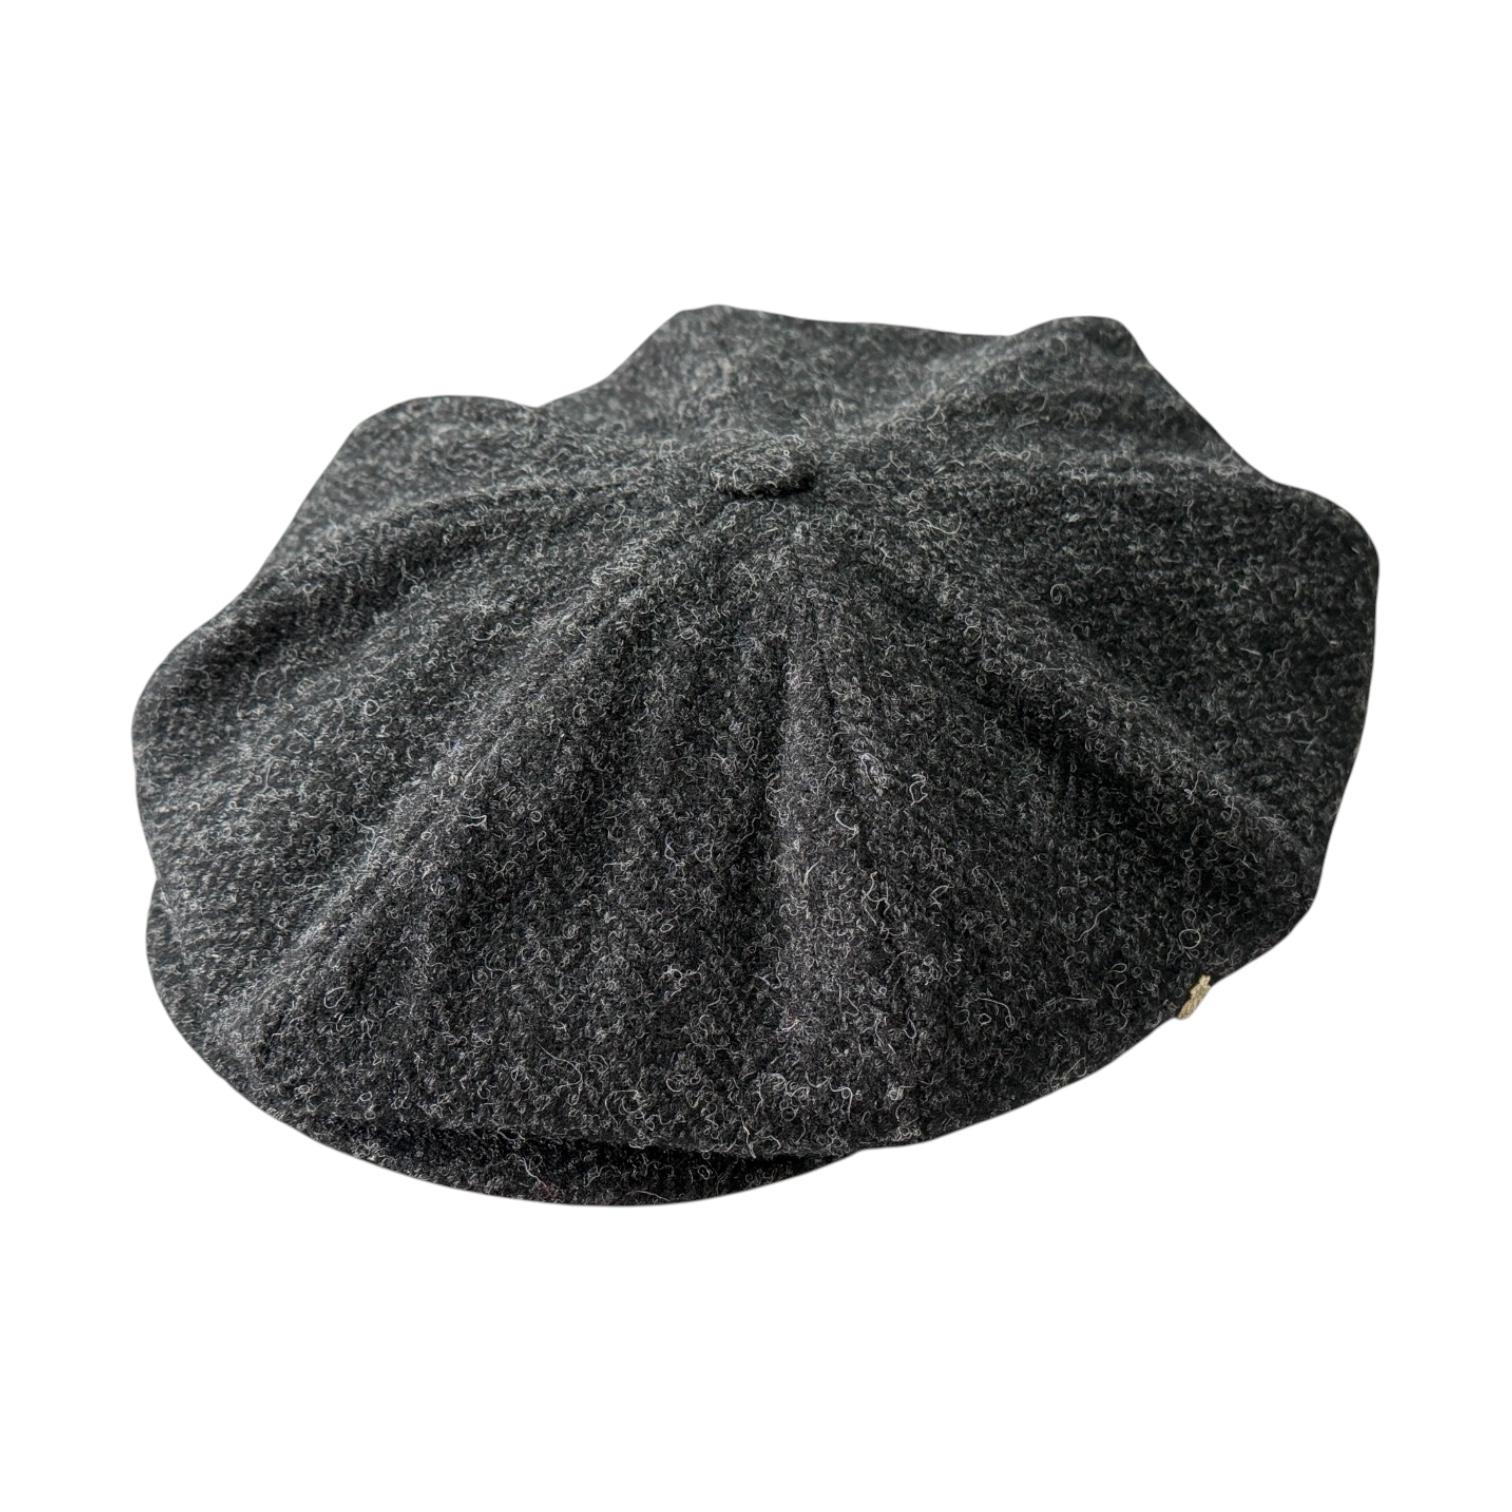
How to assess cap construction and fabric performance in hot weather
Begin by inspecting the cap's construction and internal finishes. Record the fibre content, weave density, lining type, sweatband material, whether an interlining is present, and any ventilation. Natural fibres, such as wool and cotton, wick and disperse moisture and so help maintain a matte appearance, while many synthetic fibres trap heat and can produce bright, specular highlights under studio lighting. Photograph each cap under bright, directional light, using a low-angle source to map reflective areas and damp patches, and save those images alongside the materials notes so decisions rest on evidence rather than guesswork.
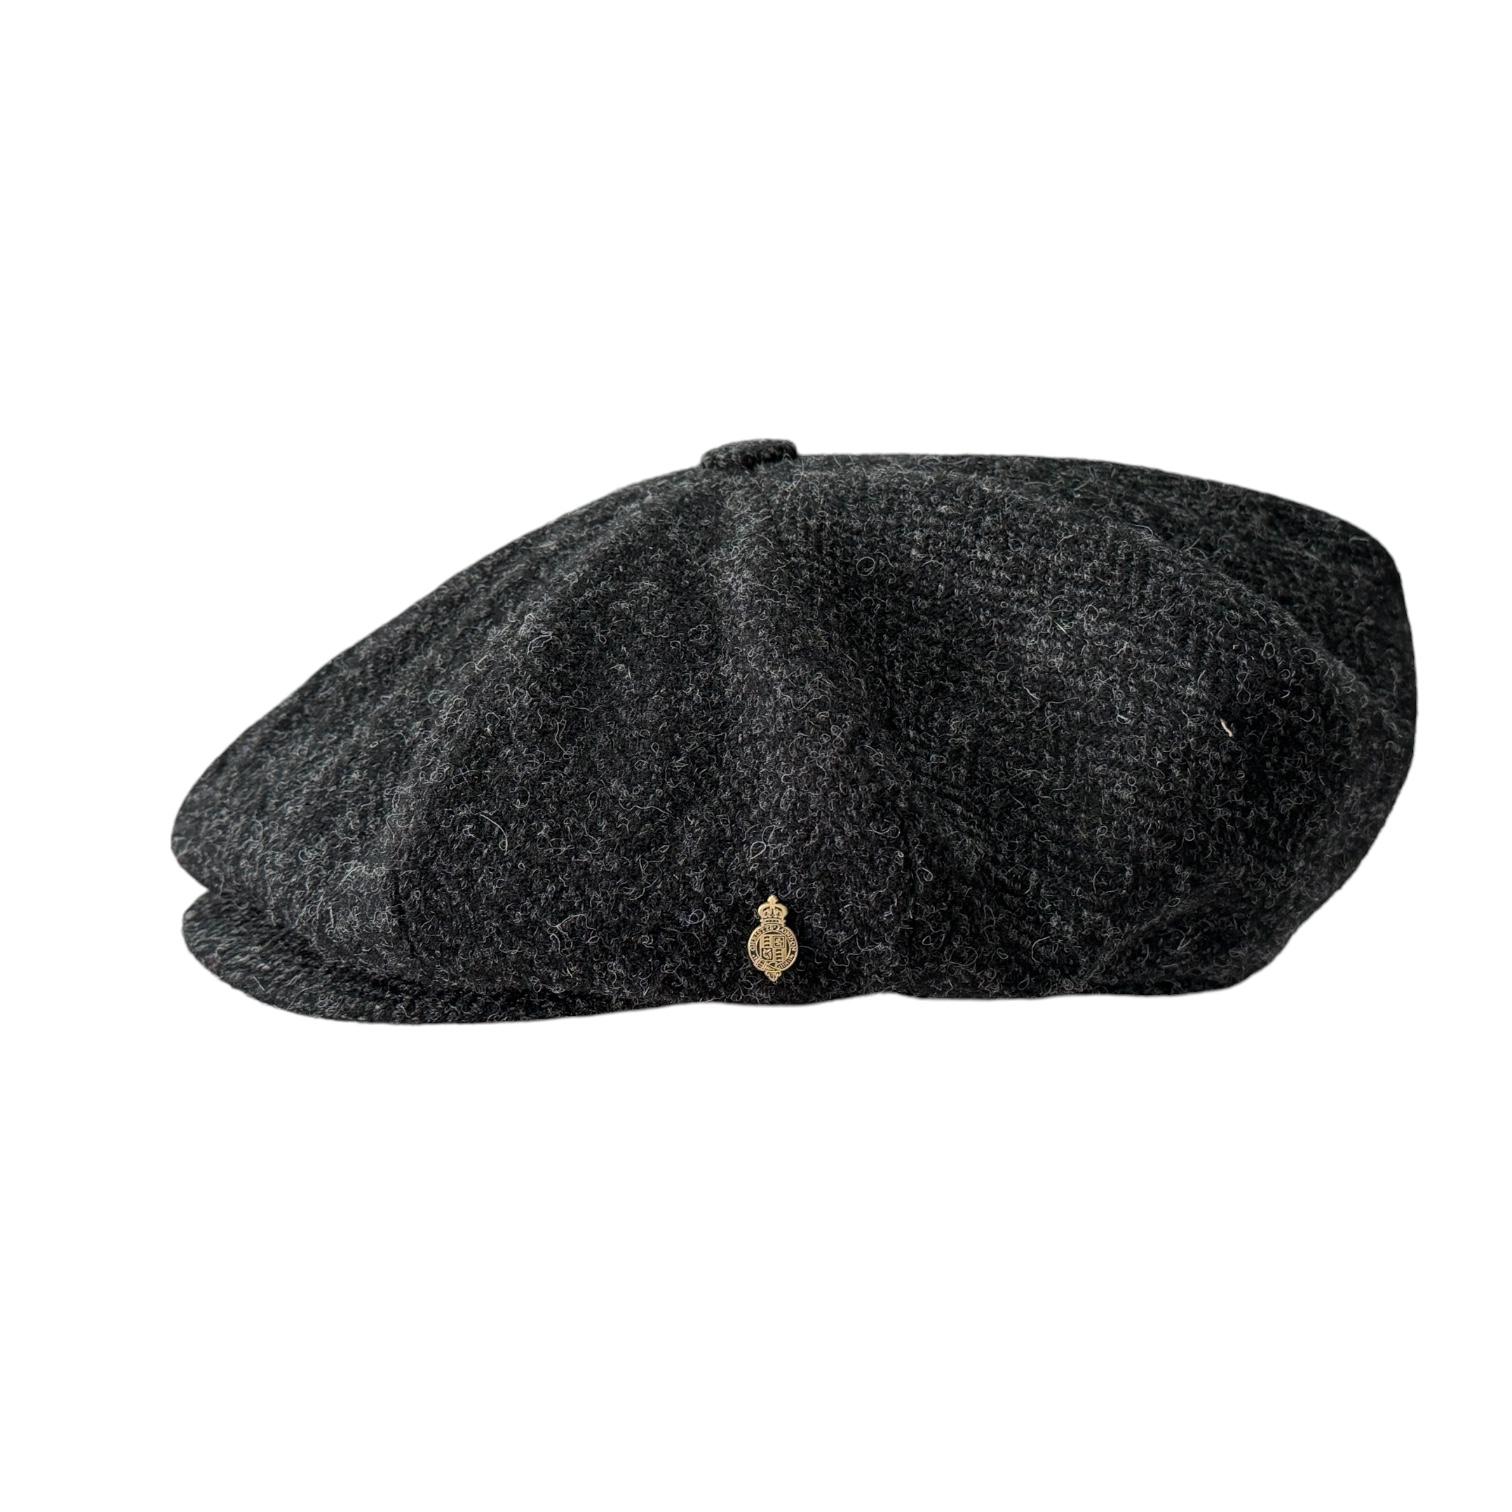
Use discreet, craft-led adjustments that preserve the hat's silhouette. Sew a narrow wool-felt strip to the inner crown, fit a removable cotton-terry sweatband, or stitch a thin, replaceable absorbent tape behind the existing band; each solution manages moisture without altering the external line or the hand-finished detail. Reduce photographic shine by exchanging satin linings for brushed cotton, flannel, or matte cupro, or by inserting a thin wool interlining to mattify the surface. Optimise fit and micro-ventilation to lower local skin temperature and to spread contact area, which lessens visible perspiration. Have adhesive-free absorbent pads, lint-free blotters, and a fine cotton undercap to hand on set, launder or swap sweatbands between takes, and validate every change by warming the hat and rephotographing it under the production lighting.
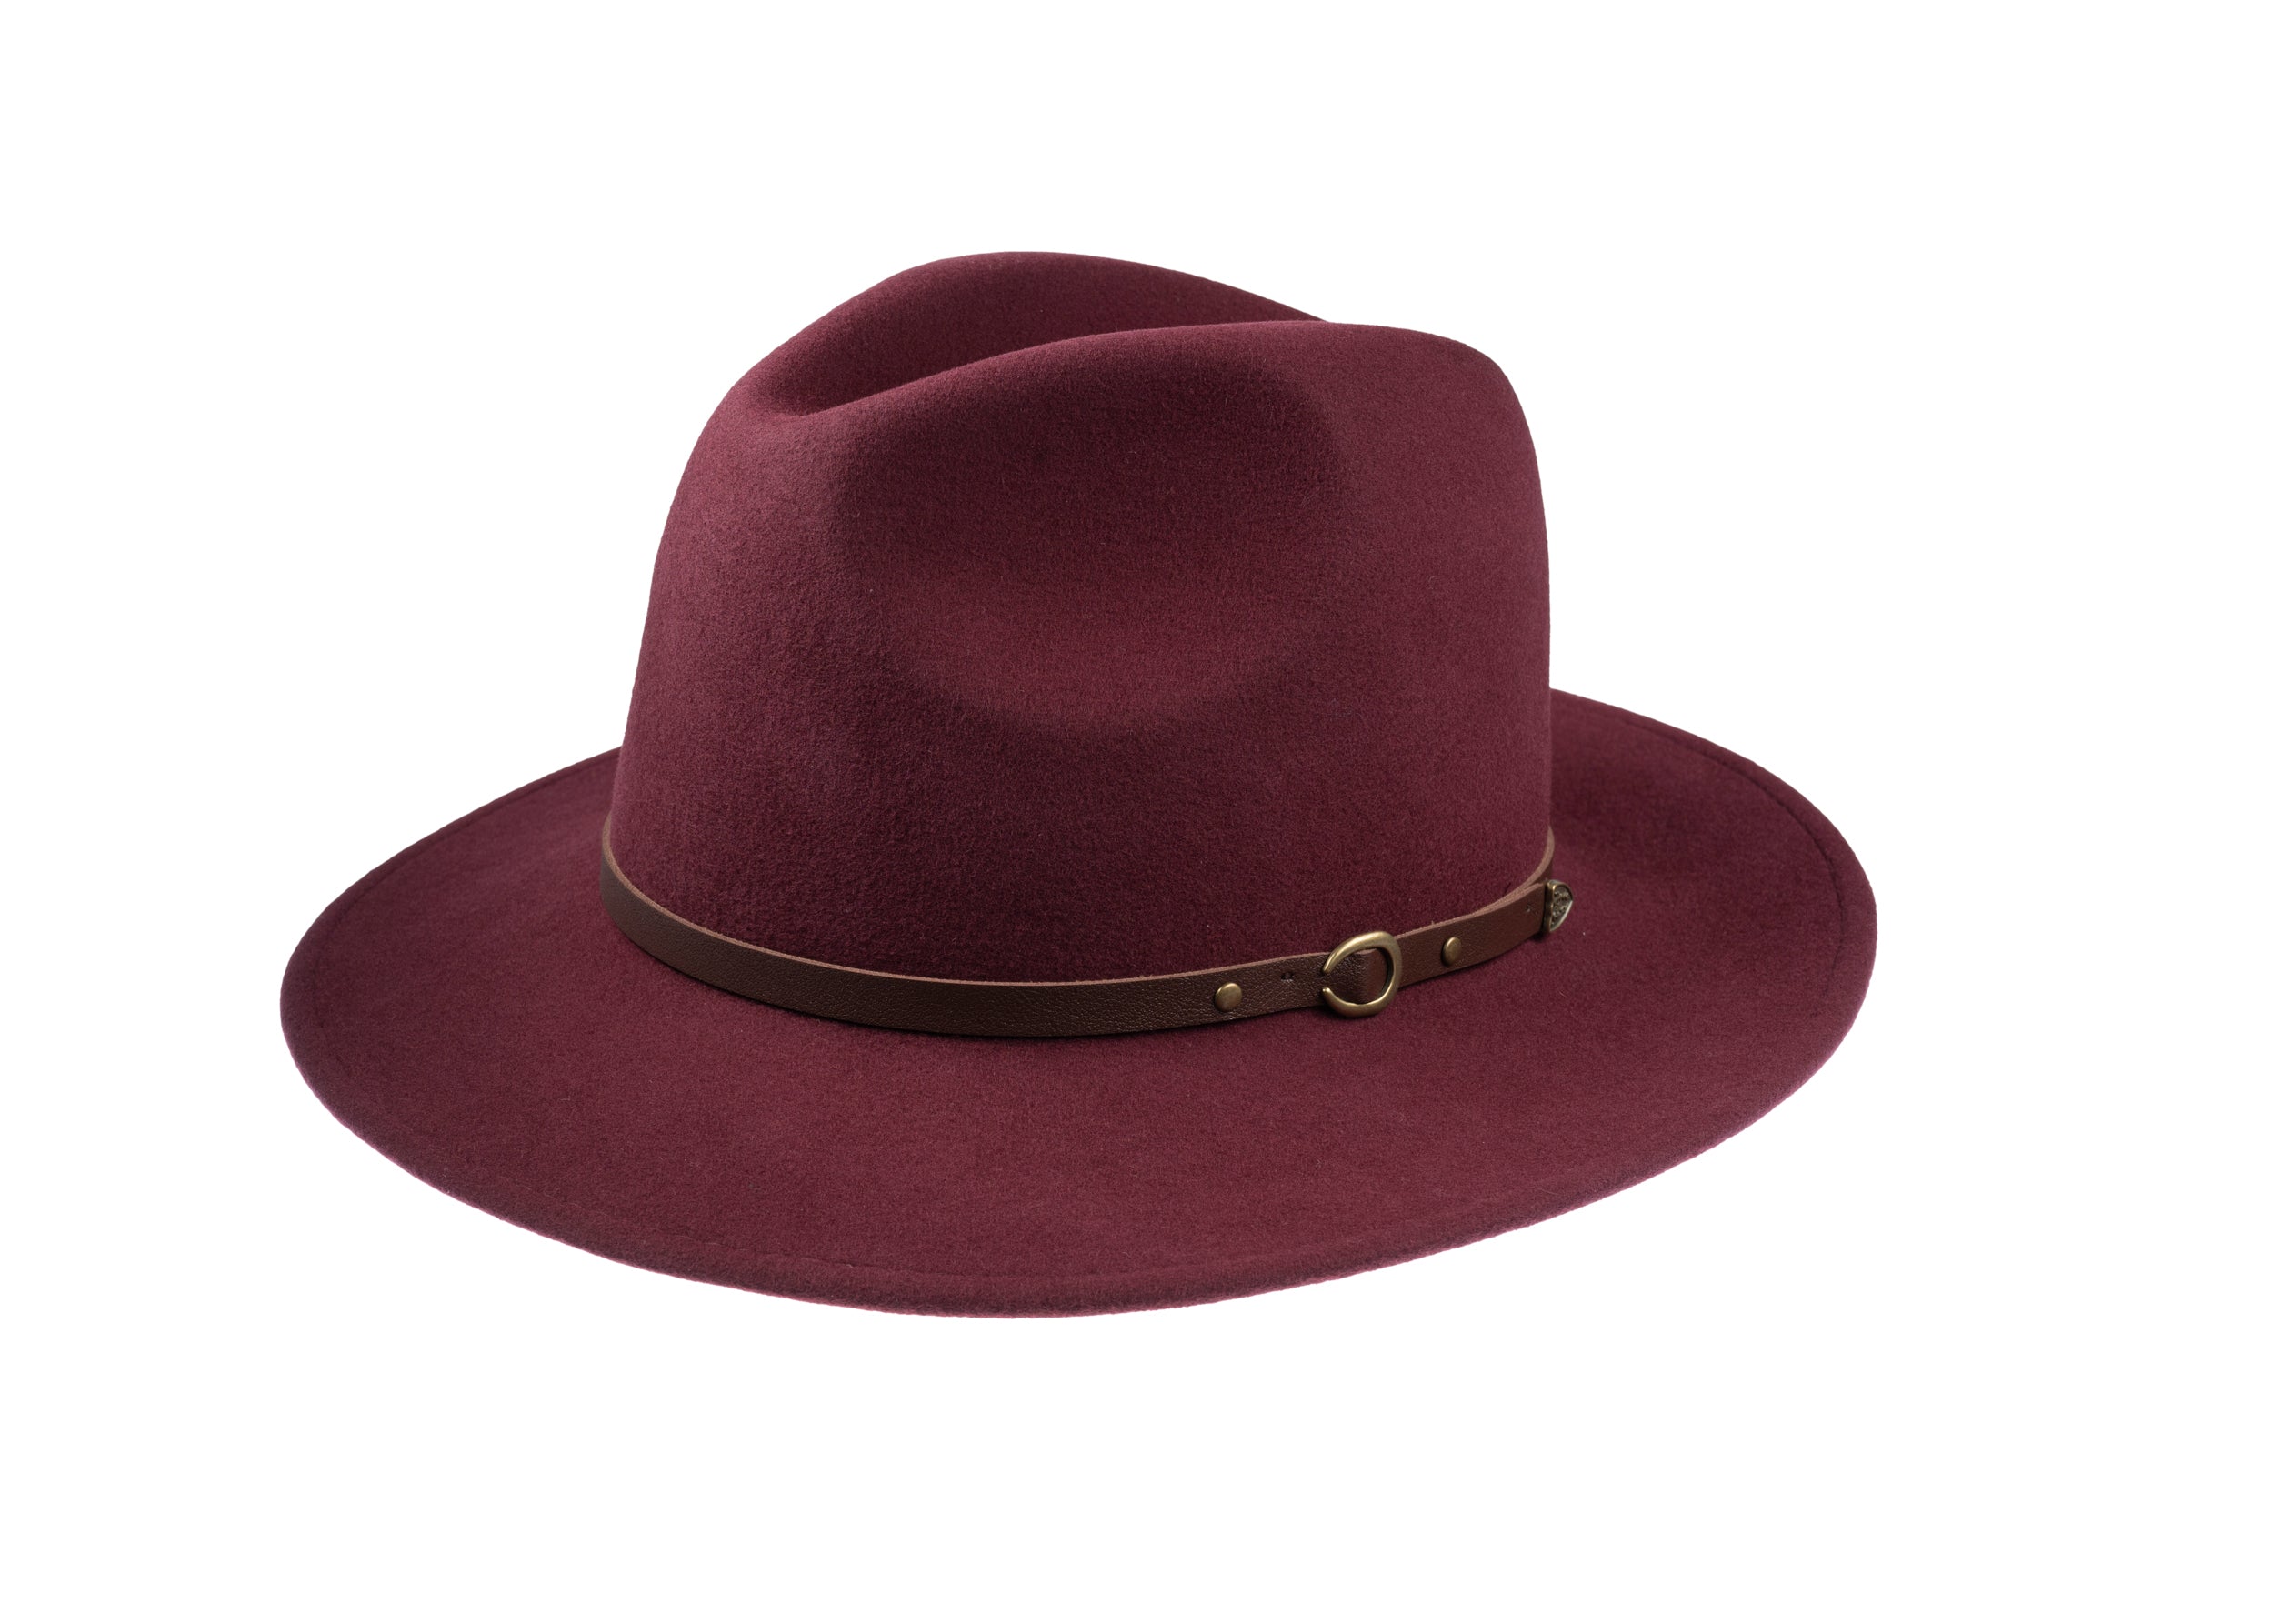
Achieve a snug, invisible fit instantly.

How to protect garments with discreet, craft-led treatments
Begin by testing a discreet area, such as a hidden seam or hem. Apply any mattifying finish, steam, or detergent to a small patch, examine it under strong light, and photograph the result to record colour change, altered hand, or increased sheen. Fit removable underarm shields and a thin, absorbent underlining, and baste or attach discreet fastenings so the shields can be laundered separately. Use natural fibres, such as cotton or merino, to capture oils and sweat before they reach the outer fabric. Where camera shine presents a risk, insert a thin wool or flannel interlining behind high-contact panels to scatter light. For existing gloss, restore the pile with careful steaming and soft brushing rather than applying surface coatings that can build up over time.
Adopt a few simple dressing-room protocols. Test any antiperspirant on a lining before it meets fabric, wear a breathable base layer where appropriate, and blot skin or cloth with absorbent paper just before facing the camera. Keep a discreet emergency kit with blotting papers, a soft clothes brush, a portable steamer, spare, removable shields, and basic sewing supplies so small problems can be resolved on the spot. Schedule gentle cleaning at regular intervals to lift body oils that flatten fibres and create shine, and address localised wear with targeted interlining or nap restoration rather than broad-surface treatments. These craft-led, reversible interventions preserve fabric hand and colour, while making garments resilient to the pressures of extended wear and bright lighting.
Preventive care for camera-ready garments
- Run a discreet fabric trial on a hidden seam or hem: apply any mattifying finish, detergent, or steam to a small area, view it under strong light and photograph from the same angle to check for colour change, altered hand, or new sheen, and record results so treatments remain reversible.
- Construct removable shields, thin underlinings, and light-diffusing interlinings: secure shields with small, removable fastenings so they can be laundered separately, favour natural absorbents such as cotton or merino for underarm liners, and tuck a thin layer of wool or flannel into high-contact panels to diffuse light without altering the garment hand.
- Adopt simple dressing-room routines and an emergency kit: test antiperspirant on a lining, wear a breathable base layer when appropriate, blot skin or fabric with absorbent paper before stepping in front of the camera, and keep blotting papers, a soft clothes brush, a portable steamer, spare removable shields, and basic sewing supplies for on-the-spot repairs; schedule gentle cleaning and targeted nap restoration rather than broad-surface coatings.

How to make neat, hand-finished repairs between takes
On set, wardrobe teams use small, deliberate measures to keep garments camera-ready. They blot fresh perspiration with an absorbent, lint-free cloth, insert removable underarm pads cut from cotton terry and secured with a few slip stitches in the seam allowance, then hang garments on ventilated hangers to dry. These micro interventions prevent set-in staining and keep silhouettes clean on camera. To control glare, test any matte finishing agent on a hidden seam before applying it more widely. Brush pile fabrics with a soft-bristle brush, and press high-sheen areas from the reverse through a press cloth to reduce shine without altering drape or colour. Different fibres call for different rules. Silk marks from water and oil, so a removable lining provides useful protection. Wool resists oil but shows salt deposits; teams rotate doubles and brush wool to redistribute the fibres. Synthetic blends trap sweat, making breathable liners the preferable option.
At a construction level, wardrobe teams prolong a garment's camera-ready appearance by sewing thin, absorbent facings into collar and cuff interiors, inserting small internal vents or faced slash seams, and using small, matching stitches for rapid, invisible repairs that preserve the silhouette while reducing maintenance time. Removable underarm pads and liners allow garments to be refreshed between takes without altering the tailoring. Keep a compact maintenance kit with absorbent cloths, spare liners, needle and thread, clips, a soft brush, and a handheld steamer, and tag and rotate duplicates while recording wear counts and underarm treatments so decisions remain evidence-led. Coordinate with hair and makeup so anti-shine measures for skin and costume work together, and apply traditional tailoring craft practices to achieve discreet, durable results.
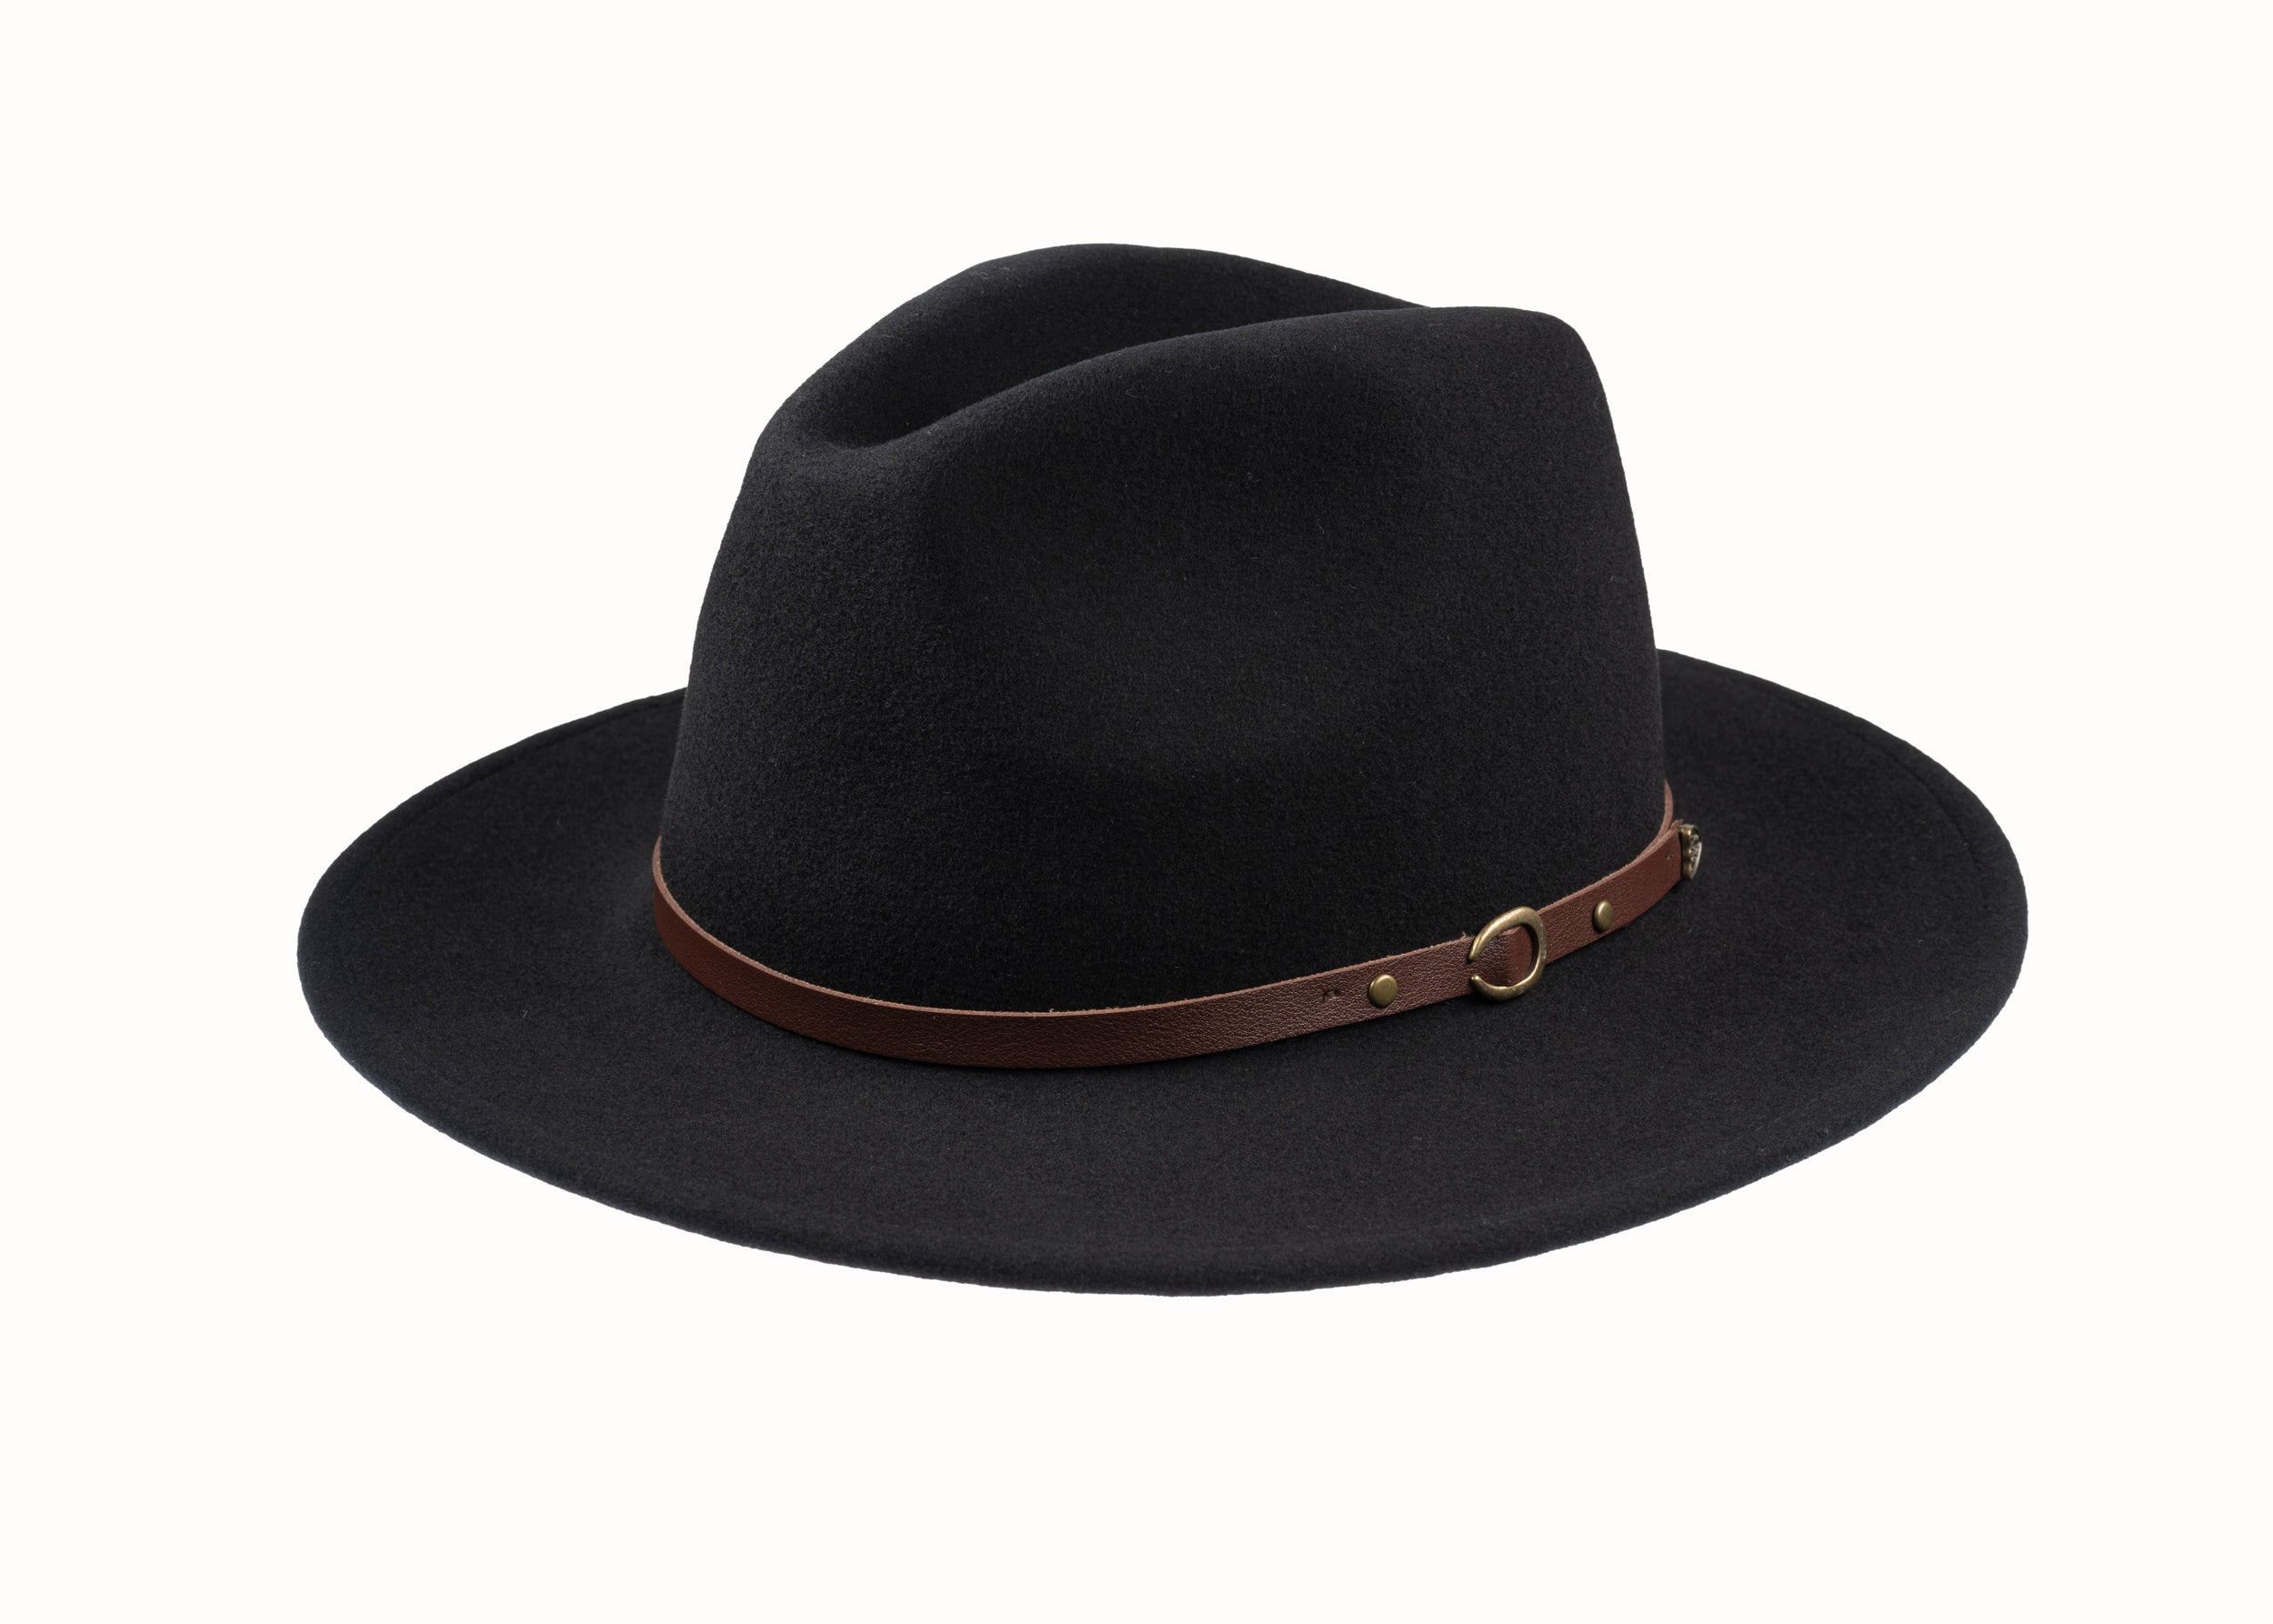
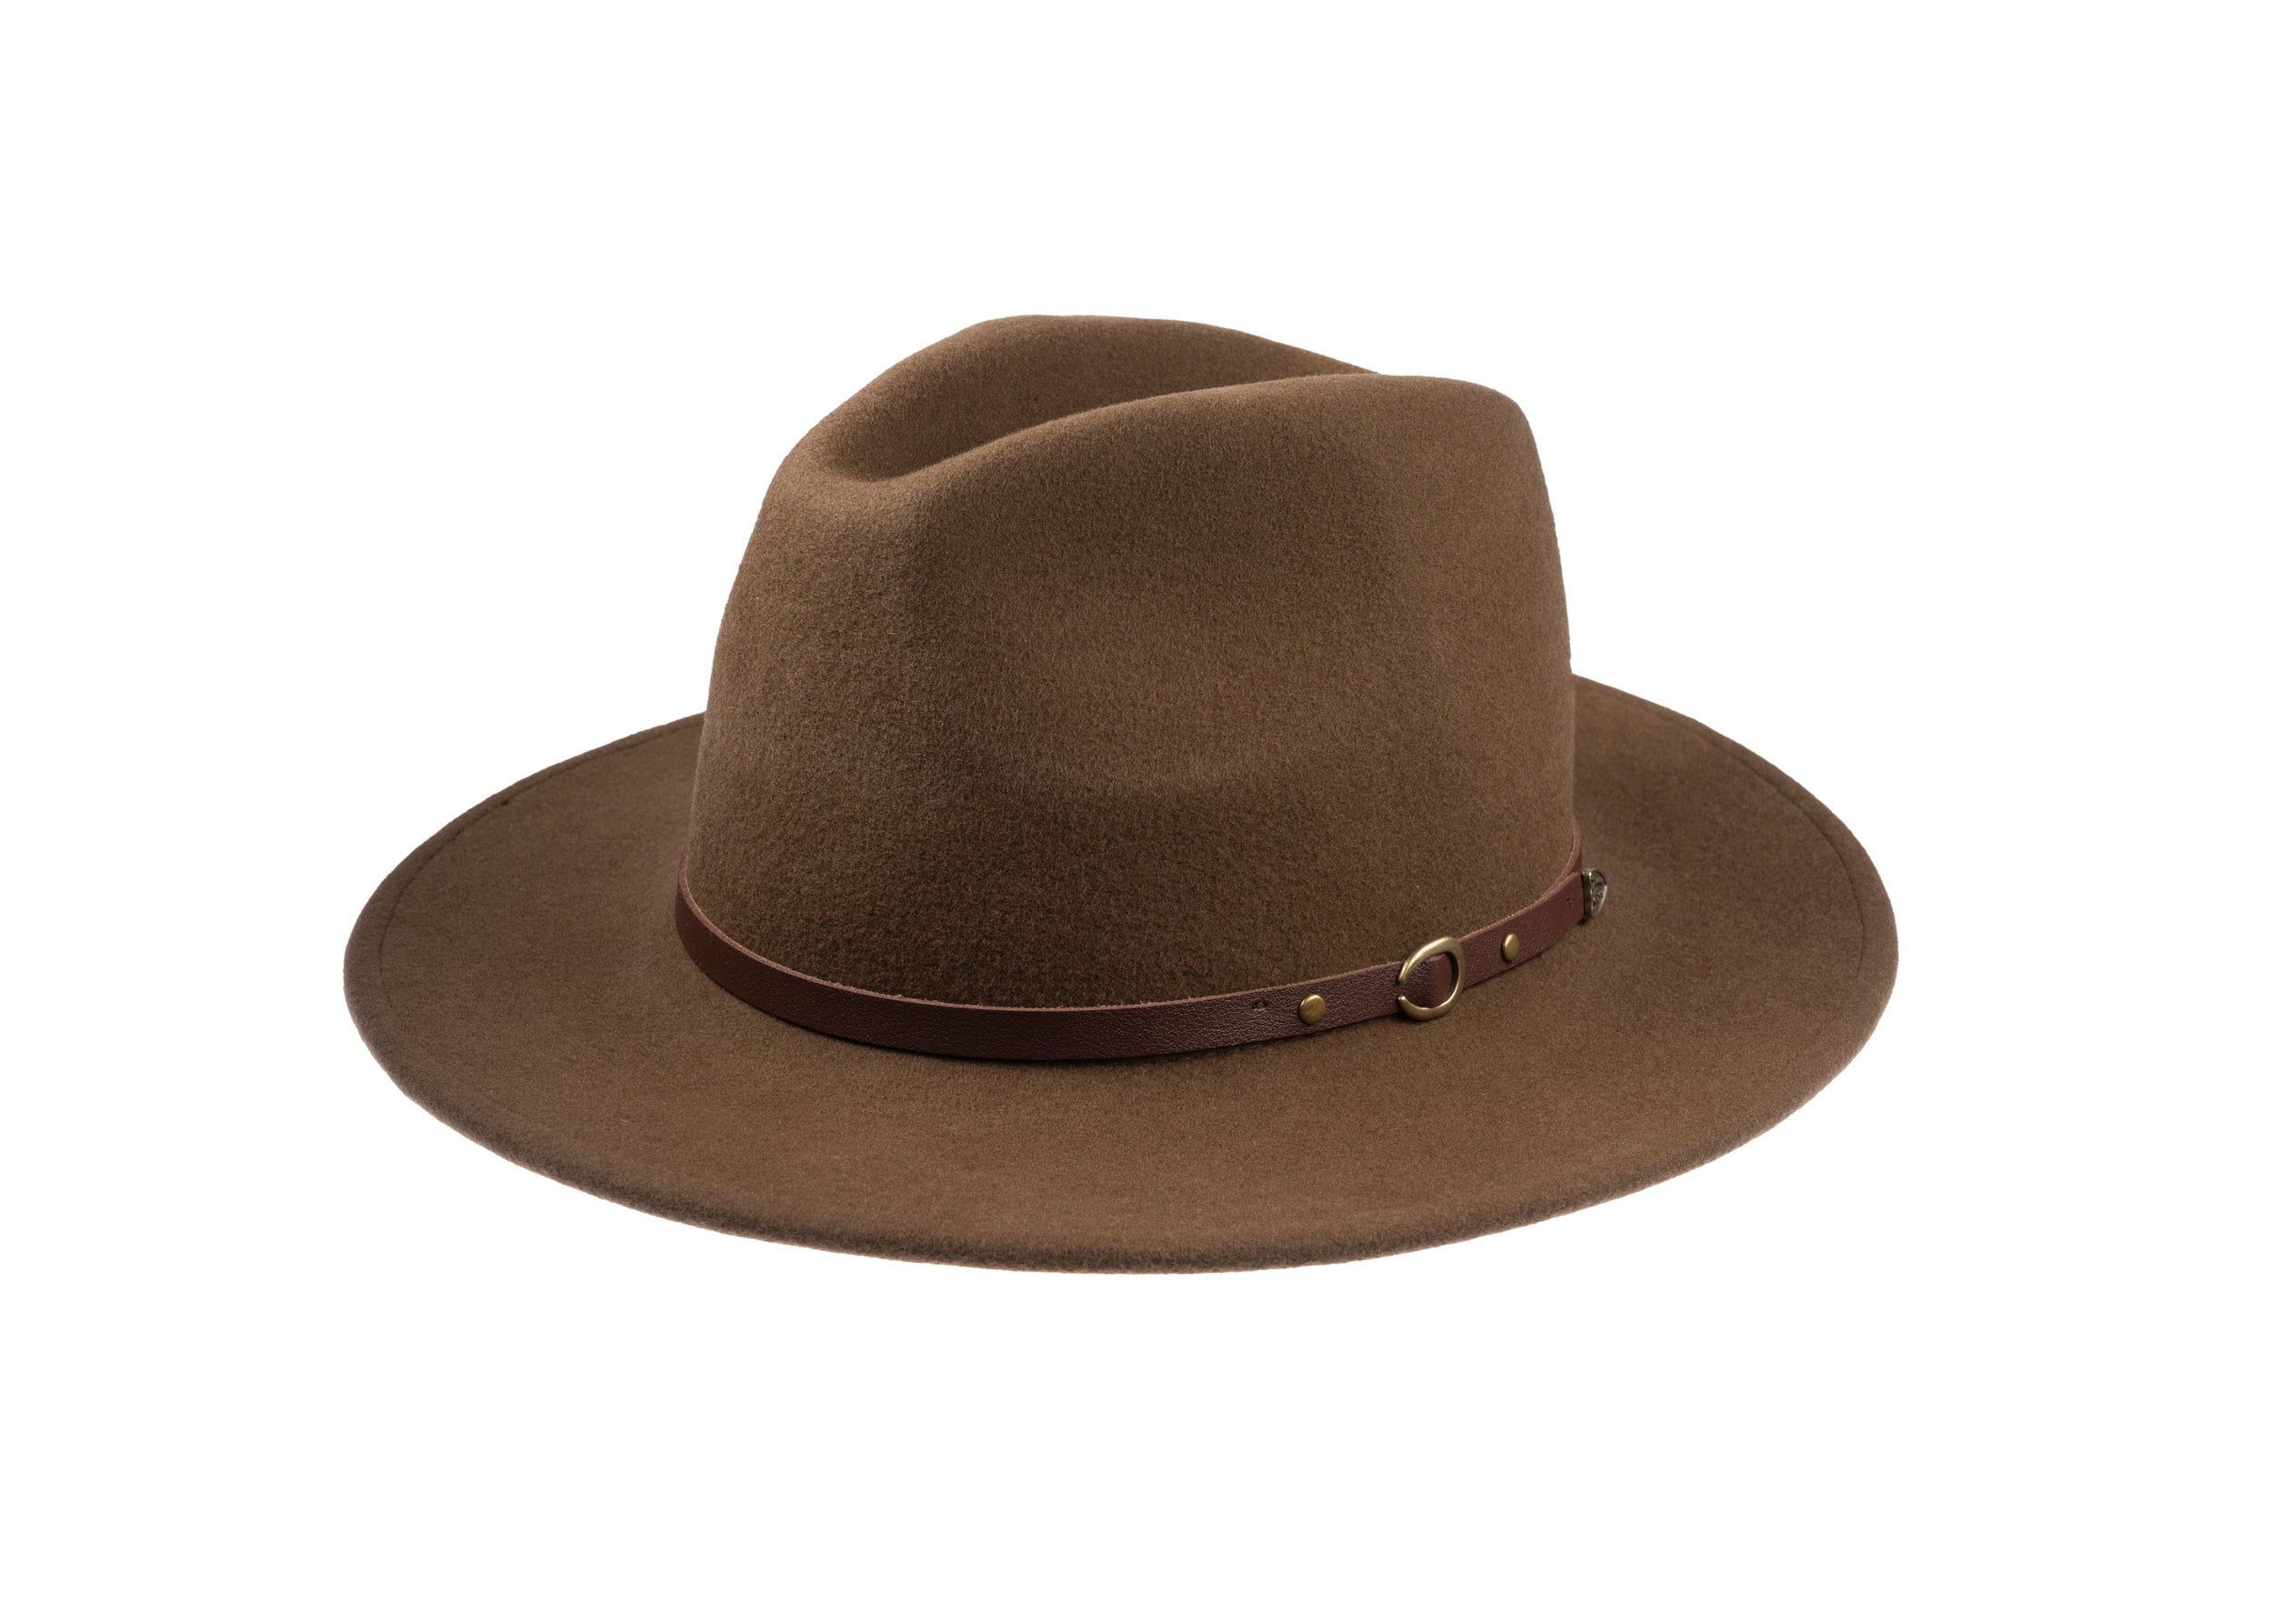
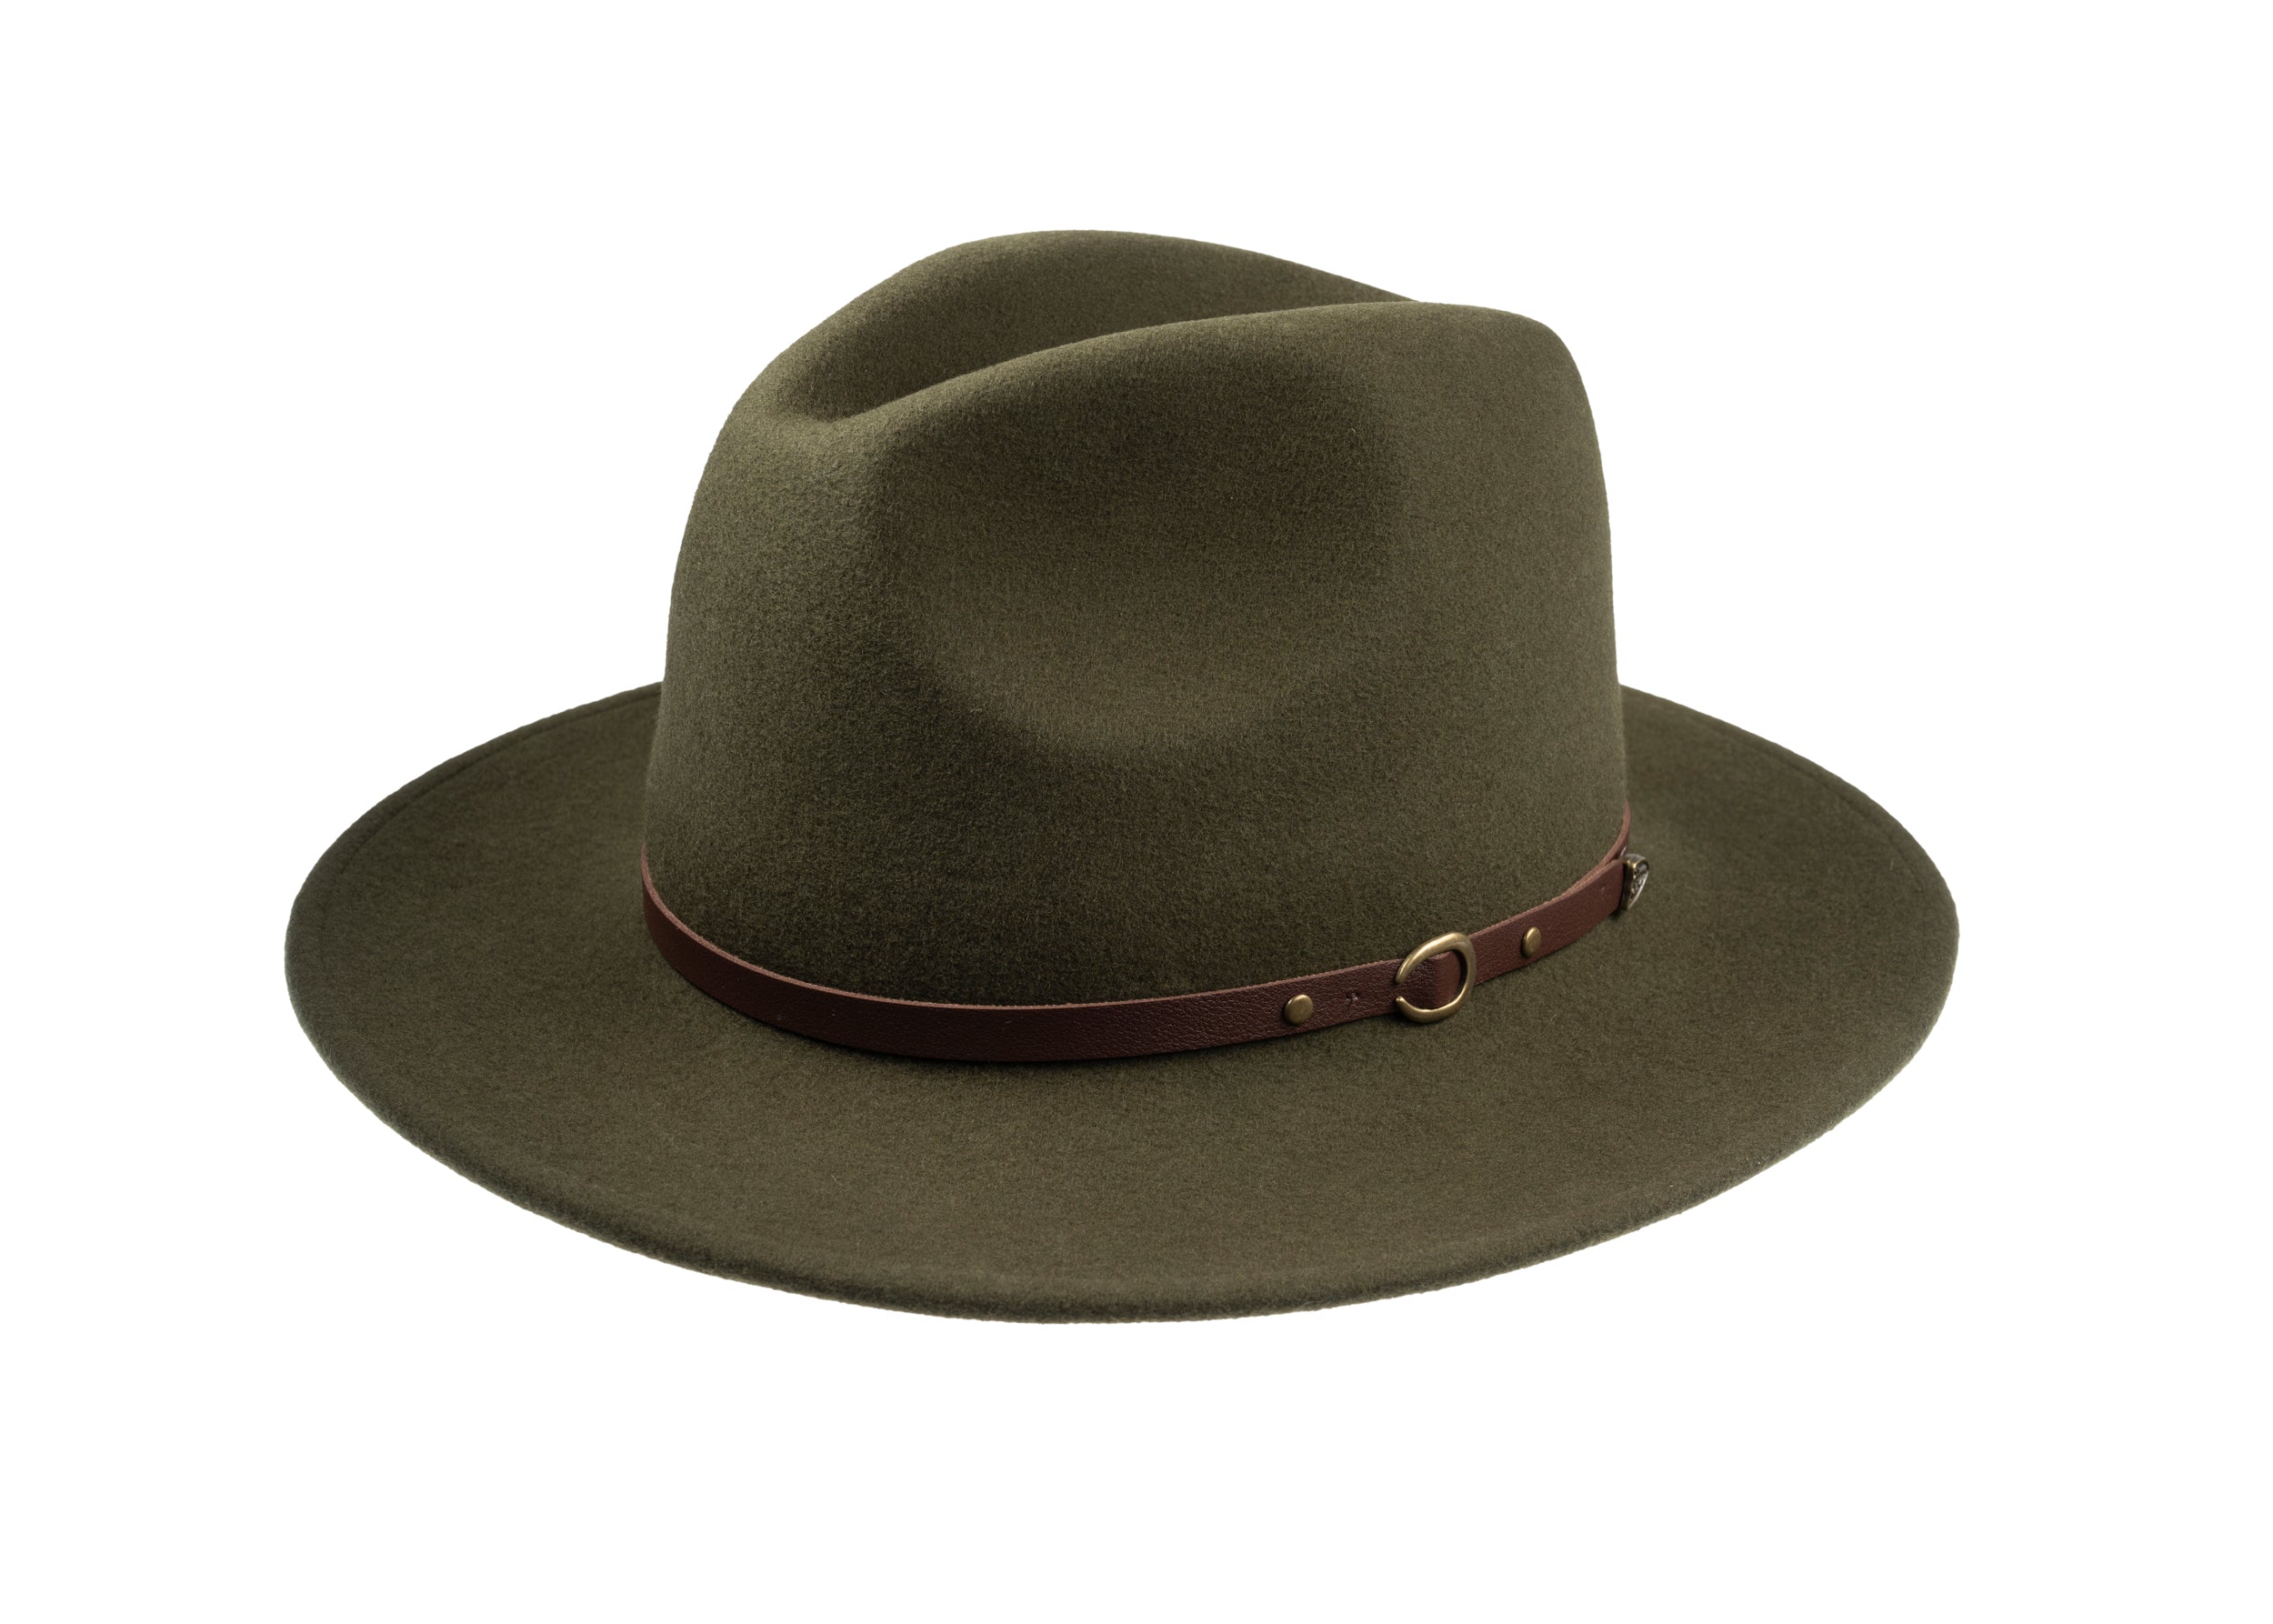
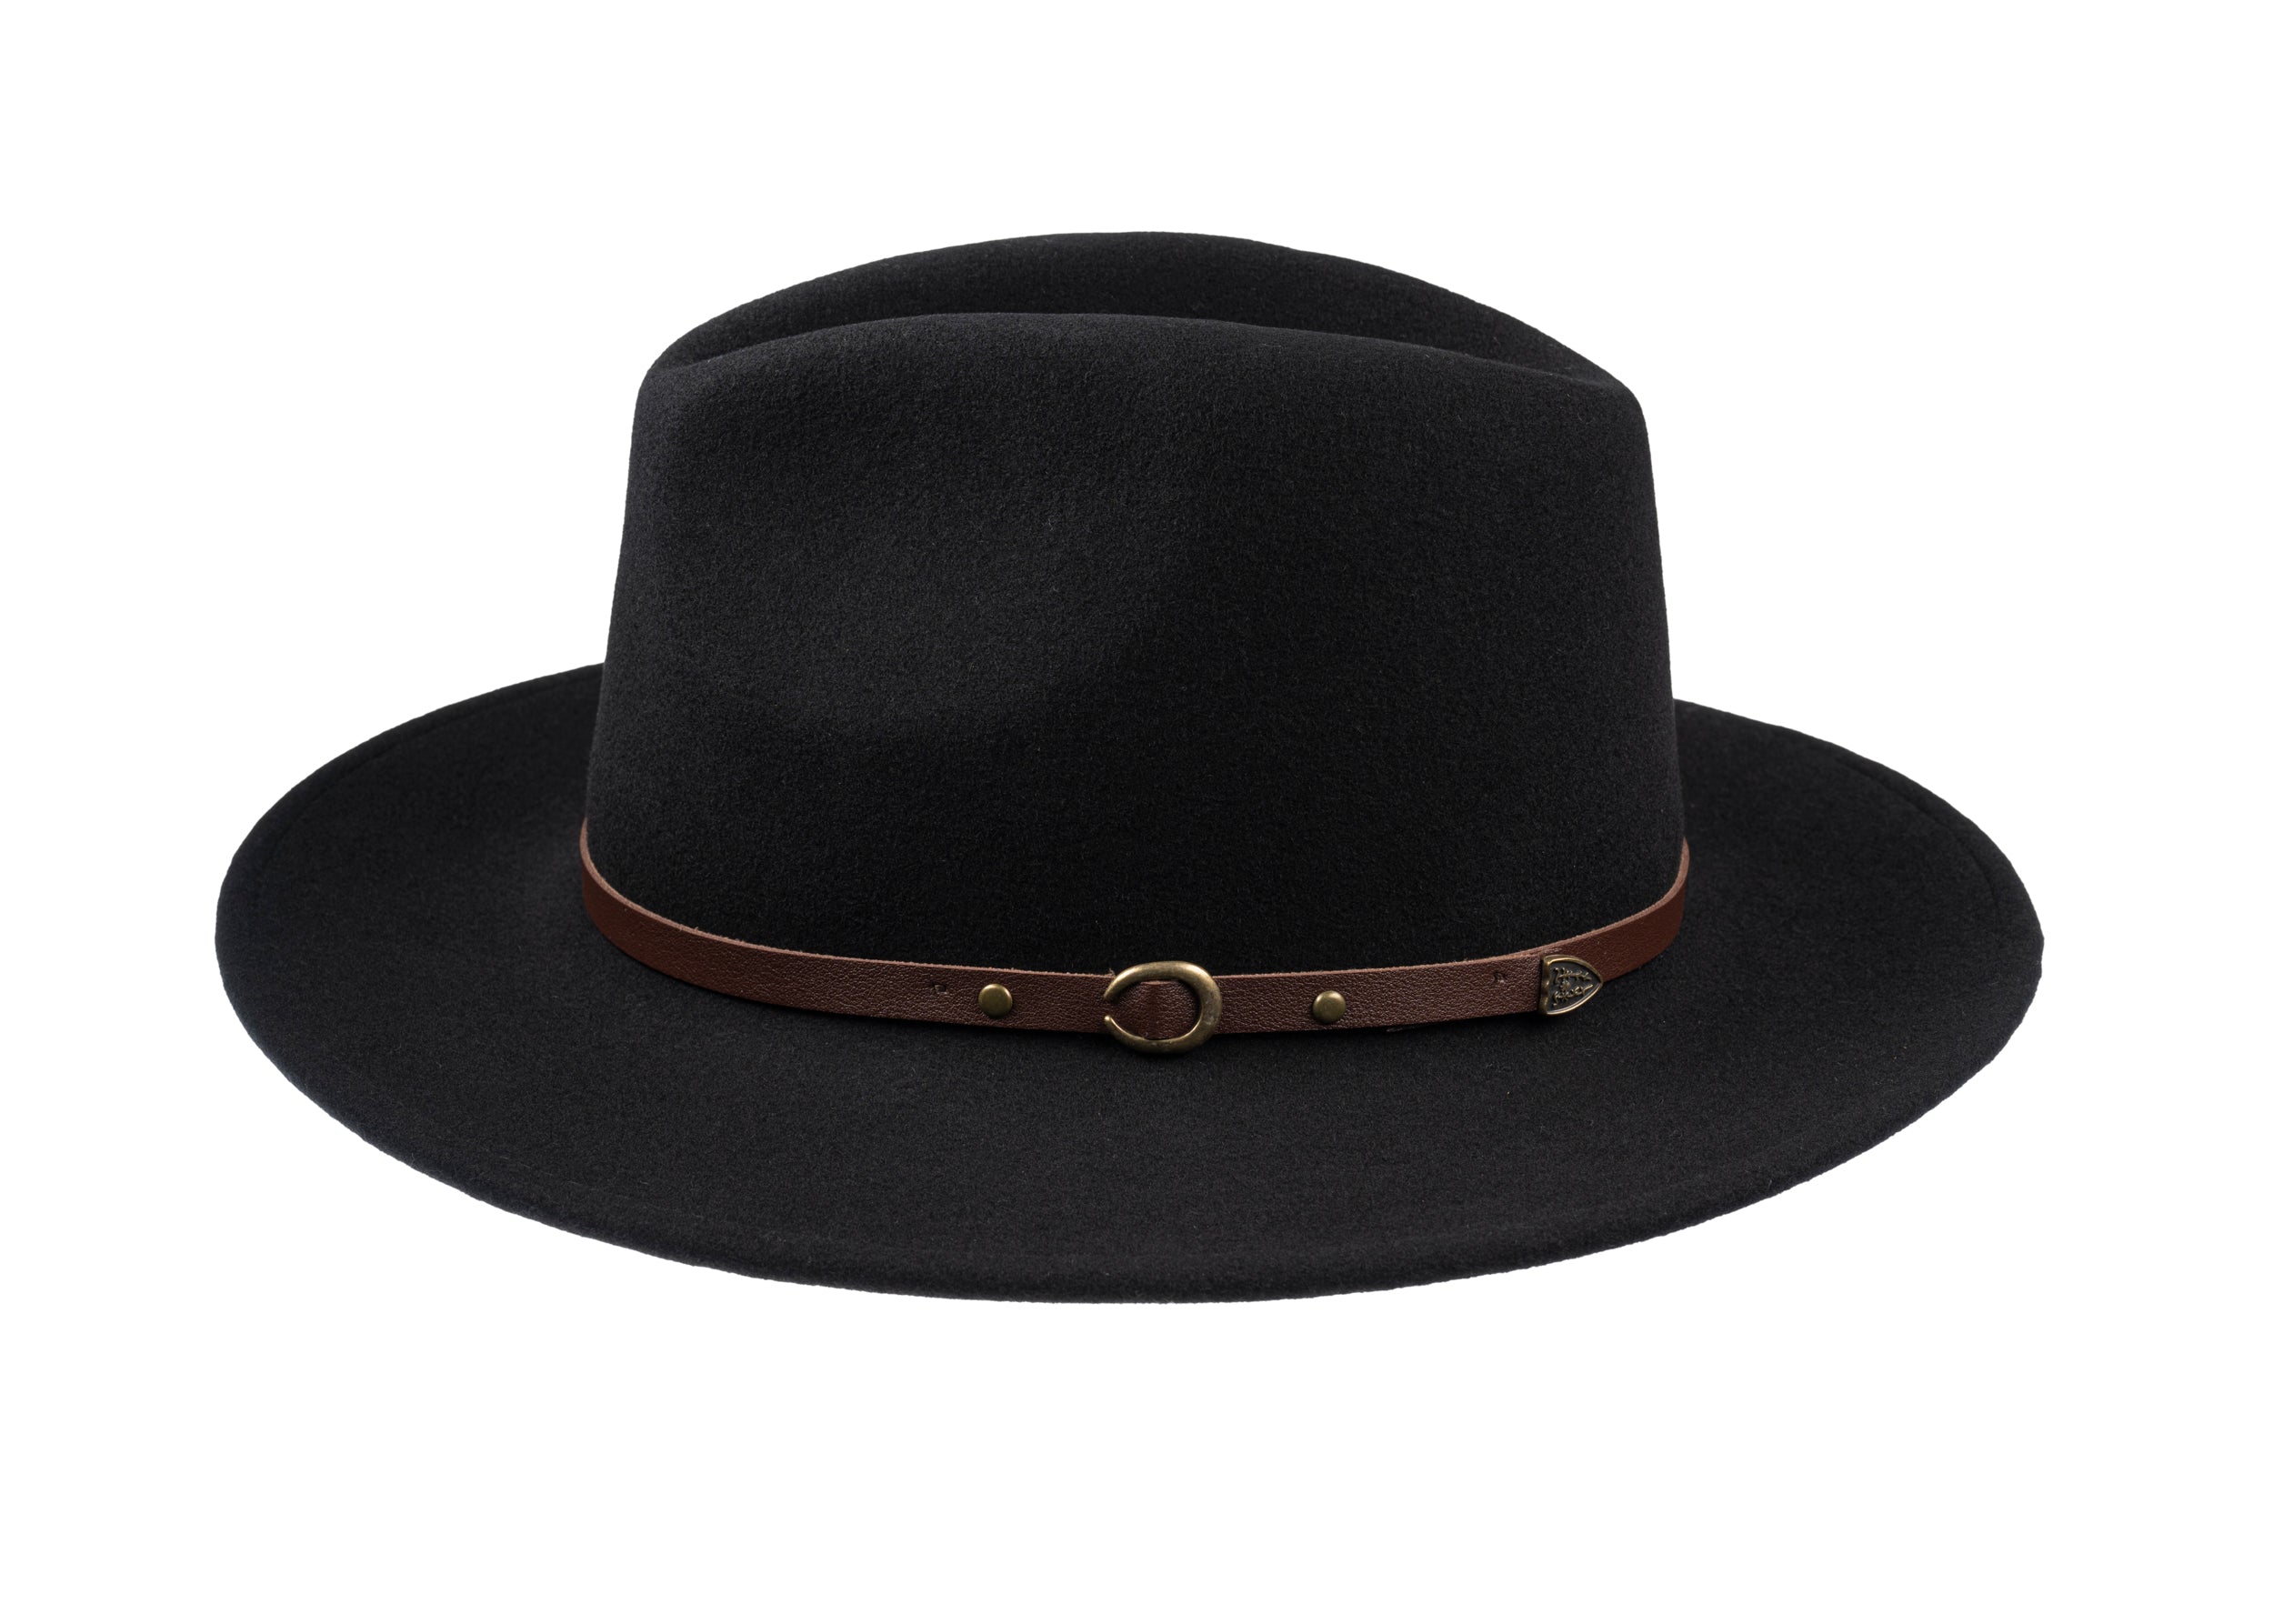
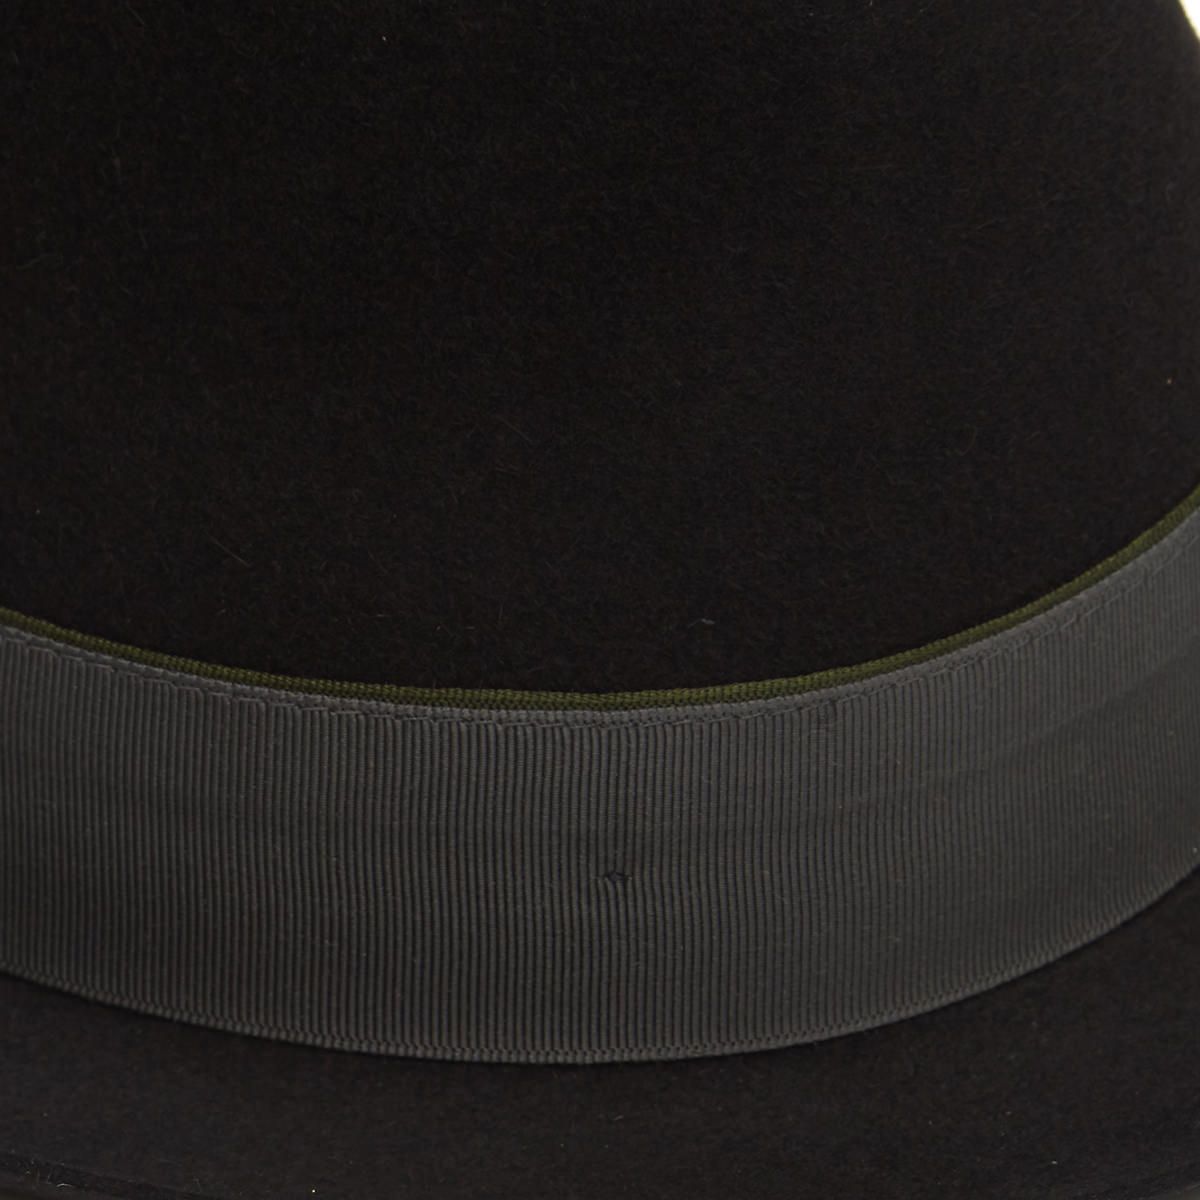
Choose a matte felt hat to reduce camera glare.

How to dry, restore, and preserve your hat's shape after a day's shooting
Although this section focuses on hats, many of the same post-shoot routines apply to other structured pieces. After a shoot, wardrobe teams move promptly. They blot excess moisture with an absorbent cloth, turn garments inside out, and air them on shaped hangers in a well-ventilated space, away from direct sunlight to prevent salts and body oils oxidising and weakening fibres. They use steam to relax compressed fibres, lift the nap with a soft brush to reduce camera-facing shine, then press through a clean pressing cloth to restore crisp lines without creating glossy patches. Removable components, such as absorbent pads and liners, are taken out and laundered separately to avoid transferring salts and oils between takes.
Structured garments should dry on shaped forms or padded hangers, with shoulders, sleeves, and body cavities gently stuffed with acid-free tissue to distribute tension and avoid warped seams or permanent distortion. Spot-test any treatment on an inconspicuous area, and choose cleaners by stain type: enzyme-based products for protein stains, neutral or solvent cleaners for oil-based marks, because the wrong chemistry can set a mark. Store garments in breathable covers with moisture control, and rotate them periodically to prevent mould, creasing, and shine from prolonged pressure. These craft-led routines between wears preserve the silhouette and reduce the need for heavy restoration later.
To limit visible sweat and camera shine, wardrobe teams combine small, reversible construction adjustments, considered material choices, and methodical, evidence-led testing. Test patches, on-set photography, and removable liners demonstrate how these interventions preserve a garment's hand, reduce retakes, and keep performers comfortable under strong lighting.
A practical workflow of detect, assess, prime, maintain, and restore, supported by checklists, a garment dossier, and a rapid-change kit, helps teams make decisions with confidence. Adopting this workflow reduces on-set troubleshooting, preserves tailoring, and makes continuity more predictable and manageable; for example, keeping measurements and recent alterations in the garment dossier enables a quick, accurate return to the intended fit.