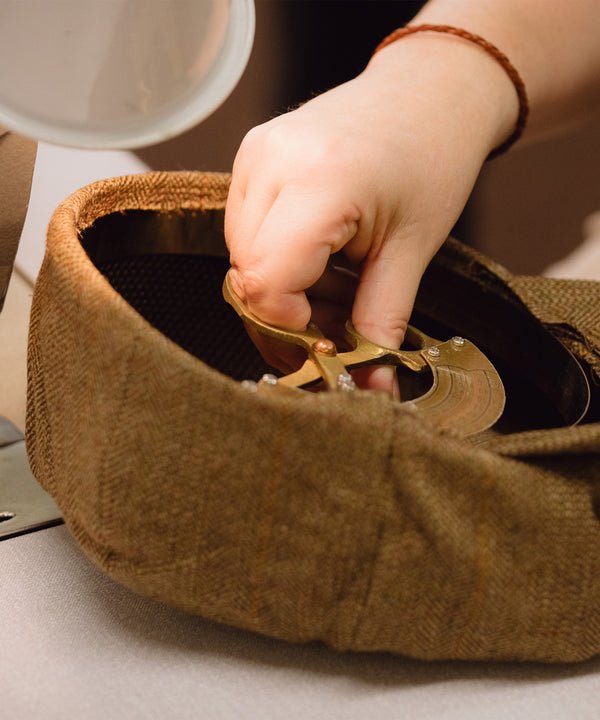
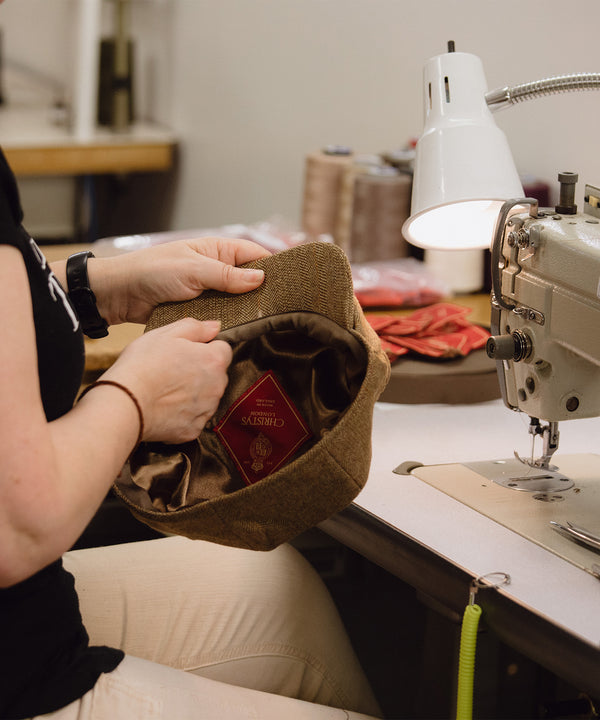
A well-made hat may look immaculate on the day it is purchased, but will its finish, colour, and surface endure seasons of wear? This guide sets out five practical checks that reveal the difference between first impressions and long-term performance.
Tactile inspection, abrasion and pilling trials, crease-recovery tests, and colourfastness assessments each show how a fabric will age in real life. Below are straightforward checks and repeatable trials to help you judge a hat’s longevity and preserve its appearance and handle.

1. Inspect the finish and colour by eye and by hand
Begin by examining the cloth under directional light. Hold it at several angles to reveal sheen, streaks, and colour zoning, then photograph the piece under neutral light to create a record for later comparison. Compare the face with the underside to determine whether colour penetrates the fibre or merely sits on the surface, since surface-applied colour will behave differently with wear. Pass your hand across the nap and press the pile to assess recovery, friction, and any change in hue under pressure. Note any tackiness, oily residue, or a glazed feel, which indicate a surface coating or incomplete finishing.
A crocking check verifies colour transfer and the integrity of a hat's surface before regular wear. Begin by rubbing a clean, white cloth firmly across a discreet area or a spare sample, then examine both the cloth and the test area for any colour transfer. Repeat the rub with a slightly damp cloth to simulate perspiration. Use a fingernail or a gentle scratch along an inconspicuous edge, and flex the fabric to reveal any flaking, cracking, or delamination of the finish, paying particular attention to seams, brim edges, and folded areas where wear first appears. Inspect the surface with a loupe or magnifier to note uneven finish distribution, broken fibres, and the earliest signs of pilling. As a diagnostic step, smell the cloth; chemical or musty odours can indicate residual processing agents or insufficient drying, both of which will affect longevity.
Choose dense fur felt for a polished, colour-stable finish.

2. Simulating wear through controlled abrasion and pilling trials
Test finished hat components rather than flat swatches. Samples should include the brim edge, crown exterior, sweatband, seams, and trims, and the nap orientation should be recorded to ensure repeatability. Combine multi-directional and rotary abrasion methods, and log the number of cycles to first visible fibre breakage, to a noticeable loss of sheen, and to structural failure. Photograph progressive surface change under standard D65 lighting. Taken together, these measures provide a reproducible comparison of how finish, colour, and surface texture evolve under real construction stresses.
For a reproducible assessment, conduct controlled pilling tests by subjecting samples to random tumble action after normal conditioning, and again following simulated perspiration or oil soiling. Quantify pilling as pills per square centimetre and assign a recognised pilling grade, retaining high-magnification images to distinguish loose fibres from compacted pills. Introduce compounded stresses by alternating abrasion cycles with moisture exposure and UV irradiation to reveal any synergistic ageing effects, and run single-stress controls for comparison to determine whether colour fade, finish flattening, or increased pilling accelerate under realistic use. Measure outcomes objectively: use a spectrophotometer to report colour difference as delta E, a gloss meter or calibrated photography to quantify finish loss, and surface imaging or profilometry to map texture change. Record all raw data and before-and-after images, and define wearer-visible thresholds so pass-fail criteria rest on evidence rather than opinion.
Holds its shape through repeated wear—opt for structured felt.

3. Compress and assess crease recovery
Begin with representative swatches that include the nap, lining, and any stiffeners. Label each sample, record fibre content and pile direction, and photograph the surface under both standard and raking light to establish a visual baseline. Measure the initial thickness with callipers. Then place the sample between perfectly flat plates, apply a reproducible load until the thickness stabilises, release the load, and allow the cloth to recover at ambient conditions before remeasuring. Calculate percentage recovery from the initial and recovered thicknesses to quantify resilience. Photograph the same area under identical lighting and inspect the images and fabric for increased sheen, crushed fibres, nap reversal, or any apparent colour shift. Where instruments are available, record colour coordinates or spectral data to quantify change. Repeat the compression and recovery sequence several times to derive mean recovery and variability, watching for progressive permanent set or surface breakdown. Compare like-for-like samples using the same protocol to ensure results are reproducible and directly comparable.
Relate measured recovery and visible surface changes to likely use scenarios, such as packing, travel, or on-head wear, so decisions rest on evidence rather than intuition. Trial remedial interventions, such as steaming, gentle re-blocking, or alternative finishes, to establish which restore thickness and nap and which indicate a permanent set. Keep a written record of treatments and outcomes; that record lets you judge whether a material will endure, can be maintained with routine care, or should be specified differently for a particular hat application.
Choose a hand-finished wool trilby for reliable reshaping.

4. Test colourfastness to light, wet rub, and perspiration
Begin by recording a precise colour baseline with a spectrophotometer and note the L*a*b* coordinates. After each exposure or challenge, express change as Delta E (ΔE); values below 1 are effectively imperceptible to the eye, and values below 2 are usually acceptable for wearable items. Simulate sunlight using a solar simulator or xenon arc lamp and include a blue wool control strip as a reference. Photograph samples under standard D65 illumination so images remain comparable before and after testing. Together, the photographs and spectral data reveal objective signs of light damage — bleaching, haloing, loss of sheen, or fine surface cracking — providing the detail that rewards closer inspection of how a finish or dye will stand up to real-world light exposure.
When assessing colour fastness and finish durability, follow a consistent protocol. Begin with dry and wet crock tests: rub a white cotton cloth over representative areas under controlled pressure to measure colour transfer, and rate the transfer against a standard staining grey scale. Repeat wet crocking with distilled water to reveal any mobile dyestuffs. Next, expose samples to artificial perspiration at acidic and alkaline pH, around pH 4.5 and pH 8, to provoke dye and metal salt reactions and any migratory staining. Note staining on linings and sweatbands, any colour shift, and changes in handle or finish durability. After each challenge, inspect the surface under low-angle light and with a 10x loupe to detect fibrillation, piling, flattening, or loss of nap, and perform a tactile handle check. Keep labelled before and after swatches and photographs, and maintain a test log recording sample location, dyebath and finish notes, and numerical results for batch comparison. These records reveal subtle variations upon careful review.
Wear a linen blend cap to check colourfastness

5. Inspect the surface texture and finish for integrity after testing
Begin by photographing the hat under controlled lighting, using a neutral grey card for colour calibration. Capture clear before and after images, then compare them to detect subtle shifts in colour depth, sheen, and shadow across the crown and brim. Mark any areas where nap reversal or changes in gloss concentrate. At several points, test the nap by running a finger with consistent, gentle pressure both with and against the pile, noting differences in hand, stiffness, and fuzz. Score or map affected zones so visual defects can be correlated with tactile changes at seams, edges, and other high-contact areas.
To assess the durability of a finish, begin with dry and damp crocking tests using a clean white cotton cloth under repeatable pressure and strokes, and record any colour transfer, staining, or dye bleed. Treat transfer as evidence the finish may not be locked into the fibres, rather than as a pure dye issue. Examine the surface at 10x to 30x magnification for fibrillation, broken yarns, and pill formation; estimate the percentage of area affected and capture microphotographs to distinguish surface-level pills from structural fibre breakage that will progress with wear. Simulate surface wear with a controlled abrasion protocol, measure objective changes in gloss or reflectance, and check for loss of finish, change in surface roughness, or thinning by measuring thickness or weight of the test area. Report the measured differences so finishes and constructions can be compared on a clearly measurable basis.
Longevity of a hat’s finish, colour, and surface rests not on first impressions but on a programme of repeatable, measured inspections that identify wear before it becomes visible. Tactile inspection, abrasion and pilling trials, crease-recovery tests, colourfastness assessments, and post-test surface verification together provide the objective data needed to predict how the cloth will age.
Following the five inspections described above and recording spectral and gloss measurements alongside wear metrics such as Delta E and pill counts will let you compare materials and care methods on measurable grounds. Apply these trials to representative hat components and keep before-and-after records, and you will have practical evidence to choose, care for, or rework a hat so it remains serviceable and handsome over the long term.