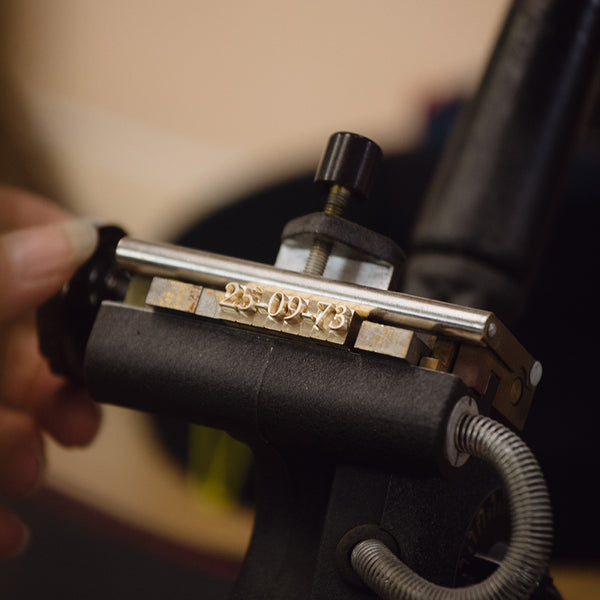
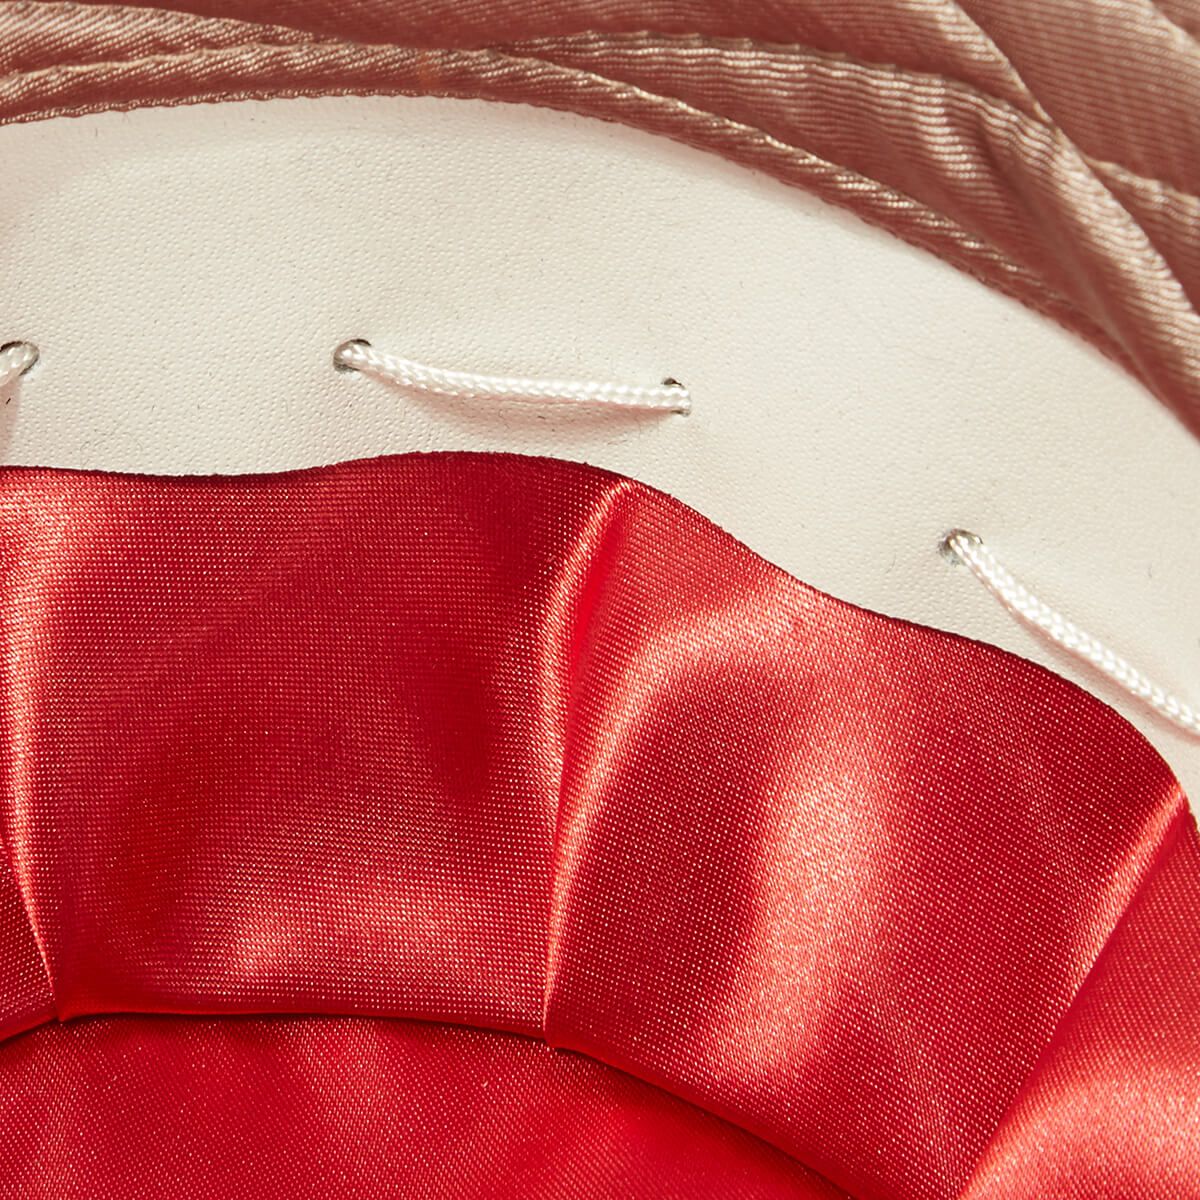
A single hat can set a character's tone, yet its contribution often goes unnoticed. This post examines the hatmaker's craft behind a cap in a television series, showing how construction, material, and finish transform a flat shape into a considered silhouette and a presence that reads as character.
We begin by tracing the cap's historical and visual origins, then show how hand blocking fixes structure and silhouette. We examine material choices and finishes that lend genuine weight and presence on screen. Along the way, we outline how those decisions support costume continuity and the practical demands of cinematography, and why the cap became culturally recognisable beyond the frame.

Tracing the cap's historical and visual origins
Begin by surveying estate portraits, uniform photographs, museum specimens, and period fashion plates, and note recurring crown profiles, brim outlines, and occasions of wear, from country pursuits to formal parade. Translate those observations into measured proportions, for example crown height to head circumference, brim width to crown diameter, and crown taper and pitch. Use these ratios to assemble an evidence-based family tree that allows direct comparison across collections. Link each silhouette to maker decisions: felt type and density, the extent of fulling, the presence of internal canvases or horsehair interlinings, and the manner in which a maker blocks the cap on a wooden form all determine how heavy and how rigid a shape reads. Such links turn visual patterning into material insight, and make it possible to compare not only style but method across periods and workshops.
Photograph a cap in profile on a neutral headform, then record crown height, brim width, crown taper, and pitch as ratios rather than absolute figures; ratios allow reproducible patterning and like-for-like comparison. Inspect finishing details that reveal handwork and influence appearance: hand-rolled brims, pounced or hammered nap, leather sweatbands, and small tool marks or irregular stitch lengths, all of which contrast with the uniform lightness of machine-made pieces. In wear or storage, denser constructions will sit lower, move less, and present a shallower profile, so keep them on a lasted form, reblock with steam when shape softens, and brush the nap to preserve visual depth and perceived weight.
Compare proportions with a long-profile British tweed cap.

Shaped by hand to set the structure and silhouette
A hat is shaped rather than assembled. A maker hand-blocks the cap by steaming and stretching the felt over a wooden block, pinning the brim and crown, and leaving the fibres to set. Steaming opens the felt so the tension from the block locks the roll, crown height, and brim profile. Close-up photographs show how the steam separates the fibres and how pins or tacks hold the profile while the material cools. Small pressure adjustments as the felt cools serve as the final calibration, a subtle motion that determines perceived weight and balance. A side-by-side comparison or a short film of the same cap before and after blocking makes the change in silhouette, drape, and tactile heft immediately readable.
Much of a cap's weight and visible form comes from its internal structure: underfelts, sewn canvases or canvas stiffening, reinforced brims, and a firm inner sweatband. You can confirm these components by touch. Press the crown to feel for layered support, run a finger along the sweatband to assess even tension, probe the brim edge to locate a sewn stiffener, and view the brim in profile to ensure a continuous roll. Compress the crown lightly; a well-blocked cap will spring back rather than remain flattened. To preserve the blocked silhouette, store the cap on a hat block or gently stuff it with soft tissue, keep it dry, and avoid prolonged crushing. When the form softens, refresh the shape with controlled steam while supporting the brim, allow the cap to dry fully, or seek professional reblocking when structure has begun to relax.
Opt for a blocked wool felt hat to maintain silhouette.

Selecting materials and finishes to shape weight and presence
Begin by handling and compressing samples of dense fur felt, heavy wool felts, leather, and straw to compare tactile weight and springback. Denser felts, and leather sweatbands in particular, resist compression and therefore retain their shape and a heavier feel when fibres and laminations are pressed. Assemble mock-ups with internal canvases, interlinings, and a laminated buckram underlay to observe how added structure shifts the centre of gravity and helps prevent crown collapse. Repeat compression tests and record where resistance falls; those locations indicate the points that will slacken first with wear.
Prefer matt finishes, brushed textures, and heavier weaves; matt surfaces absorb light and therefore read visually weightier than glossy ones. Test samples in natural light and judge presence at a metre’s distance. A lower, softly rounded crown paired with a wide, structured brim appears more substantial than a tall, slender profile. Make calico or papier-mâché prototypes and observe how the silhouette sits with the wearer’s shoulders and in movement. Specify sewn assemblies and stable natural linings, and fit a full leather sweatband or a removable sizing strip. These choices concentrate mass low on the head and help resist stretch. Include re-blocking in the garment care instructions, and run wear simulations during development to identify where slumping will reduce presence so construction can be refined before final production.
Materials, silhouette and construction tests for presence
- Establish a tactile testing protocol: prepare same-size samples of dense fur-felt, heavy wool felts, leather, straw, canvases, interlinings, and laminated buckram, weigh each sample, measure thickness with callipers, compress to a fixed deformation under a known weight, record immediate and timed recovery over repeated cycles, and flag where resistance drops or laminations delaminate to identify components that retain mass and springback.
- Assess visual weight at human scale: make low, softly rounded crown and tall, slender crown prototypes in calico or papier-mâché, test matt versus gloss surfaces and brushed textures in natural light at a metre from a standing wearer, observe how brim width, crown profile, weave density, and colour depth change perceived mass, and use these observations to choose finishes that absorb light and read heavier from a distance.
- Design internal architecture and maintenance into the product: layer internal canvases, interlinings, and a laminated buckram underlay to shift the centre of gravity downward, specify sewn assemblies and a full leather sweatband or removable sizing strip to concentrate mass low and limit stretch, run wear simulations combining repeated compression and moisture cycles to locate slumping points, then reinforce those areas and include re-blocking guidance and scheduled checks in care instructions.

How to match a cap to costume continuity and camera needs
Photograph the cap in controlled lighting from the principal camera angles. Specify a matte surface finish, restrained trims, and any visible padding or internal stiffening so the hat reads consistently on screen. Prepare a costume continuity packet containing a fabric swatch, two reference photographs (three-quarter and profile views), and a brief note describing any deliberate ageing or marks. Label the interior with the actor's initials and the relevant scene identifiers to allow dressers to swap items without visual drift. Verify internal fit and securement by shaping a leather or cloth sweatband and fitting concealed tabs or elastic, then rehearse with camera pans and practical wind to reveal any bounce, tilt, or pressure points that would photograph poorly.
Record the construction details that determine a hat's silhouette and perceived mass: crown block material, brim layering, interlining type, and stitch placement. Where possible, include cross-section sketches or close-up photographs rather than vague notes; these show how components sit and how weight and structure are achieved. Map any deliberate wear, stains, or stitch repairs, noting their exact positions so continuity and stunt changes remain invisible to the lens. Store the documentation with the cap in a continuity packet, and keep an identical, labelled spare plus a compact repair kit with matching thread and trims for rapid on-set swaps.
Pick blocked wool felt to hold shape on camera.

How the cap became culturally recognisable
The cap's unmistakable silhouette arises from traditional millinery work: blocking on a wooden block, dense felting or wool pressing, internal stiffeners, and a built-in sweatband all add mass so the crown sits low and rounded, while the brim remains firm. Observe a handcrafted cap and note slight asymmetry in stitch lines, the natural felt nap, and impressions inside the sweatband; these details reveal hand shaping and individual tensioning. Material choices and small adjustments alter that profile: denser felt tightens the fall and sharpens edge definition, lighter cloth softens the outline, and a reinforced inner brim clarifies the silhouette. When briefing a maker or restorer, specify crown height, brim firmness, and felt density, and state desired crown depth, stitch tension, and lining so visual weight and physical feel align.
Repeated screen appearances, consistent camera angles, and costume pairings turned a crafted cap into a recognisable visual shorthand. To recreate that effect in photography or theatre, use lighting that emphasises brim shadows, a fixed head position, and garments whose textures echo the cap's nap. The low, weighted silhouette has long signalled particular occupations and authority; publicity images and public adoption have cemented those associations. You can suggest the same cues without pastiche by pairing the cap with textured outerwear, muted palettes, and balanced proportions. To protect silhouette and heft, store the cap on a shaped support, brush it lightly, and use professional steaming to reform felt while avoiding compression. When commissioning a faithful reproduction, provide a concise checklist: crown depth, brim stiffness, material provenance, intended wear conditions, and tolerance for ageing.
To bring the discussion back to craft, the cap's recognisable silhouette begins with the maker's choices. The felt is blocked on a wooden block, subjected to dense felting, and reinforced with layered internal stiffeners to produce a low, rounded crown and a firm brim, conveying tangible weight even on screen. Photographs, proportional measurements, and tactile tests demonstrate how proportion, material density, and hand-finishing transform a flat piece of felt into a distinct character cue.
Refer to the chapters on visual origins, hand-blocking, material choice, and on-set continuity when briefing makers or conserving a piece. The same technical notes (crown depth, brim lamination, and sweatband tension) recur in every successful example. Record these particulars, keep a matched spare on a shaped support, and test under camera light so the cap retains both its silhouette and the narrative presence that made it culturally recognisable.
FAQ
What gives the cap its unmistakable silhouette and perceived weight?
Makerly choices create the effect: blocking the felt on a wooden block, dense felting or heavy wool, and layered internal stiffeners and a full sweatband concentrate mass low on the head so the crown sits low and the brim reads firm.
How does hand‑blocking lock the structure and shape?
Steaming, stretching the felt over a wooden block, pinning the brim and crown, and letting the fibres cool under tension sets the roll and profile, while internal canvases and sewn stiffeners maintain that shape under wear.
What materials and finishes make a cap read heavier on camera?
Dense fur‑felt or heavy wool, leather sweatbands, laminated buckram underlays, matt or brushed surfaces, and a low, softly rounded crown with a wide, structured brim all absorb light and resist compression, which reads as visual and tactile weight.
How should a cap be prepared and documented for use on set?
Photograph three‑quarter and profile views, include a fabric swatch and labelled interior with actor initials, record construction details and cross sections, keep an identical spare on a shaped support, and supply a small repair kit plus reblocking guidance.
Why did this particular cap silhouette become culturally recognisable?
Consistent maker techniques produced a repeatable low crown and firm brim that, when paired with steady camera angles, costume pairings, and publicity images, became a semiotic shorthand for certain occupations and authority.