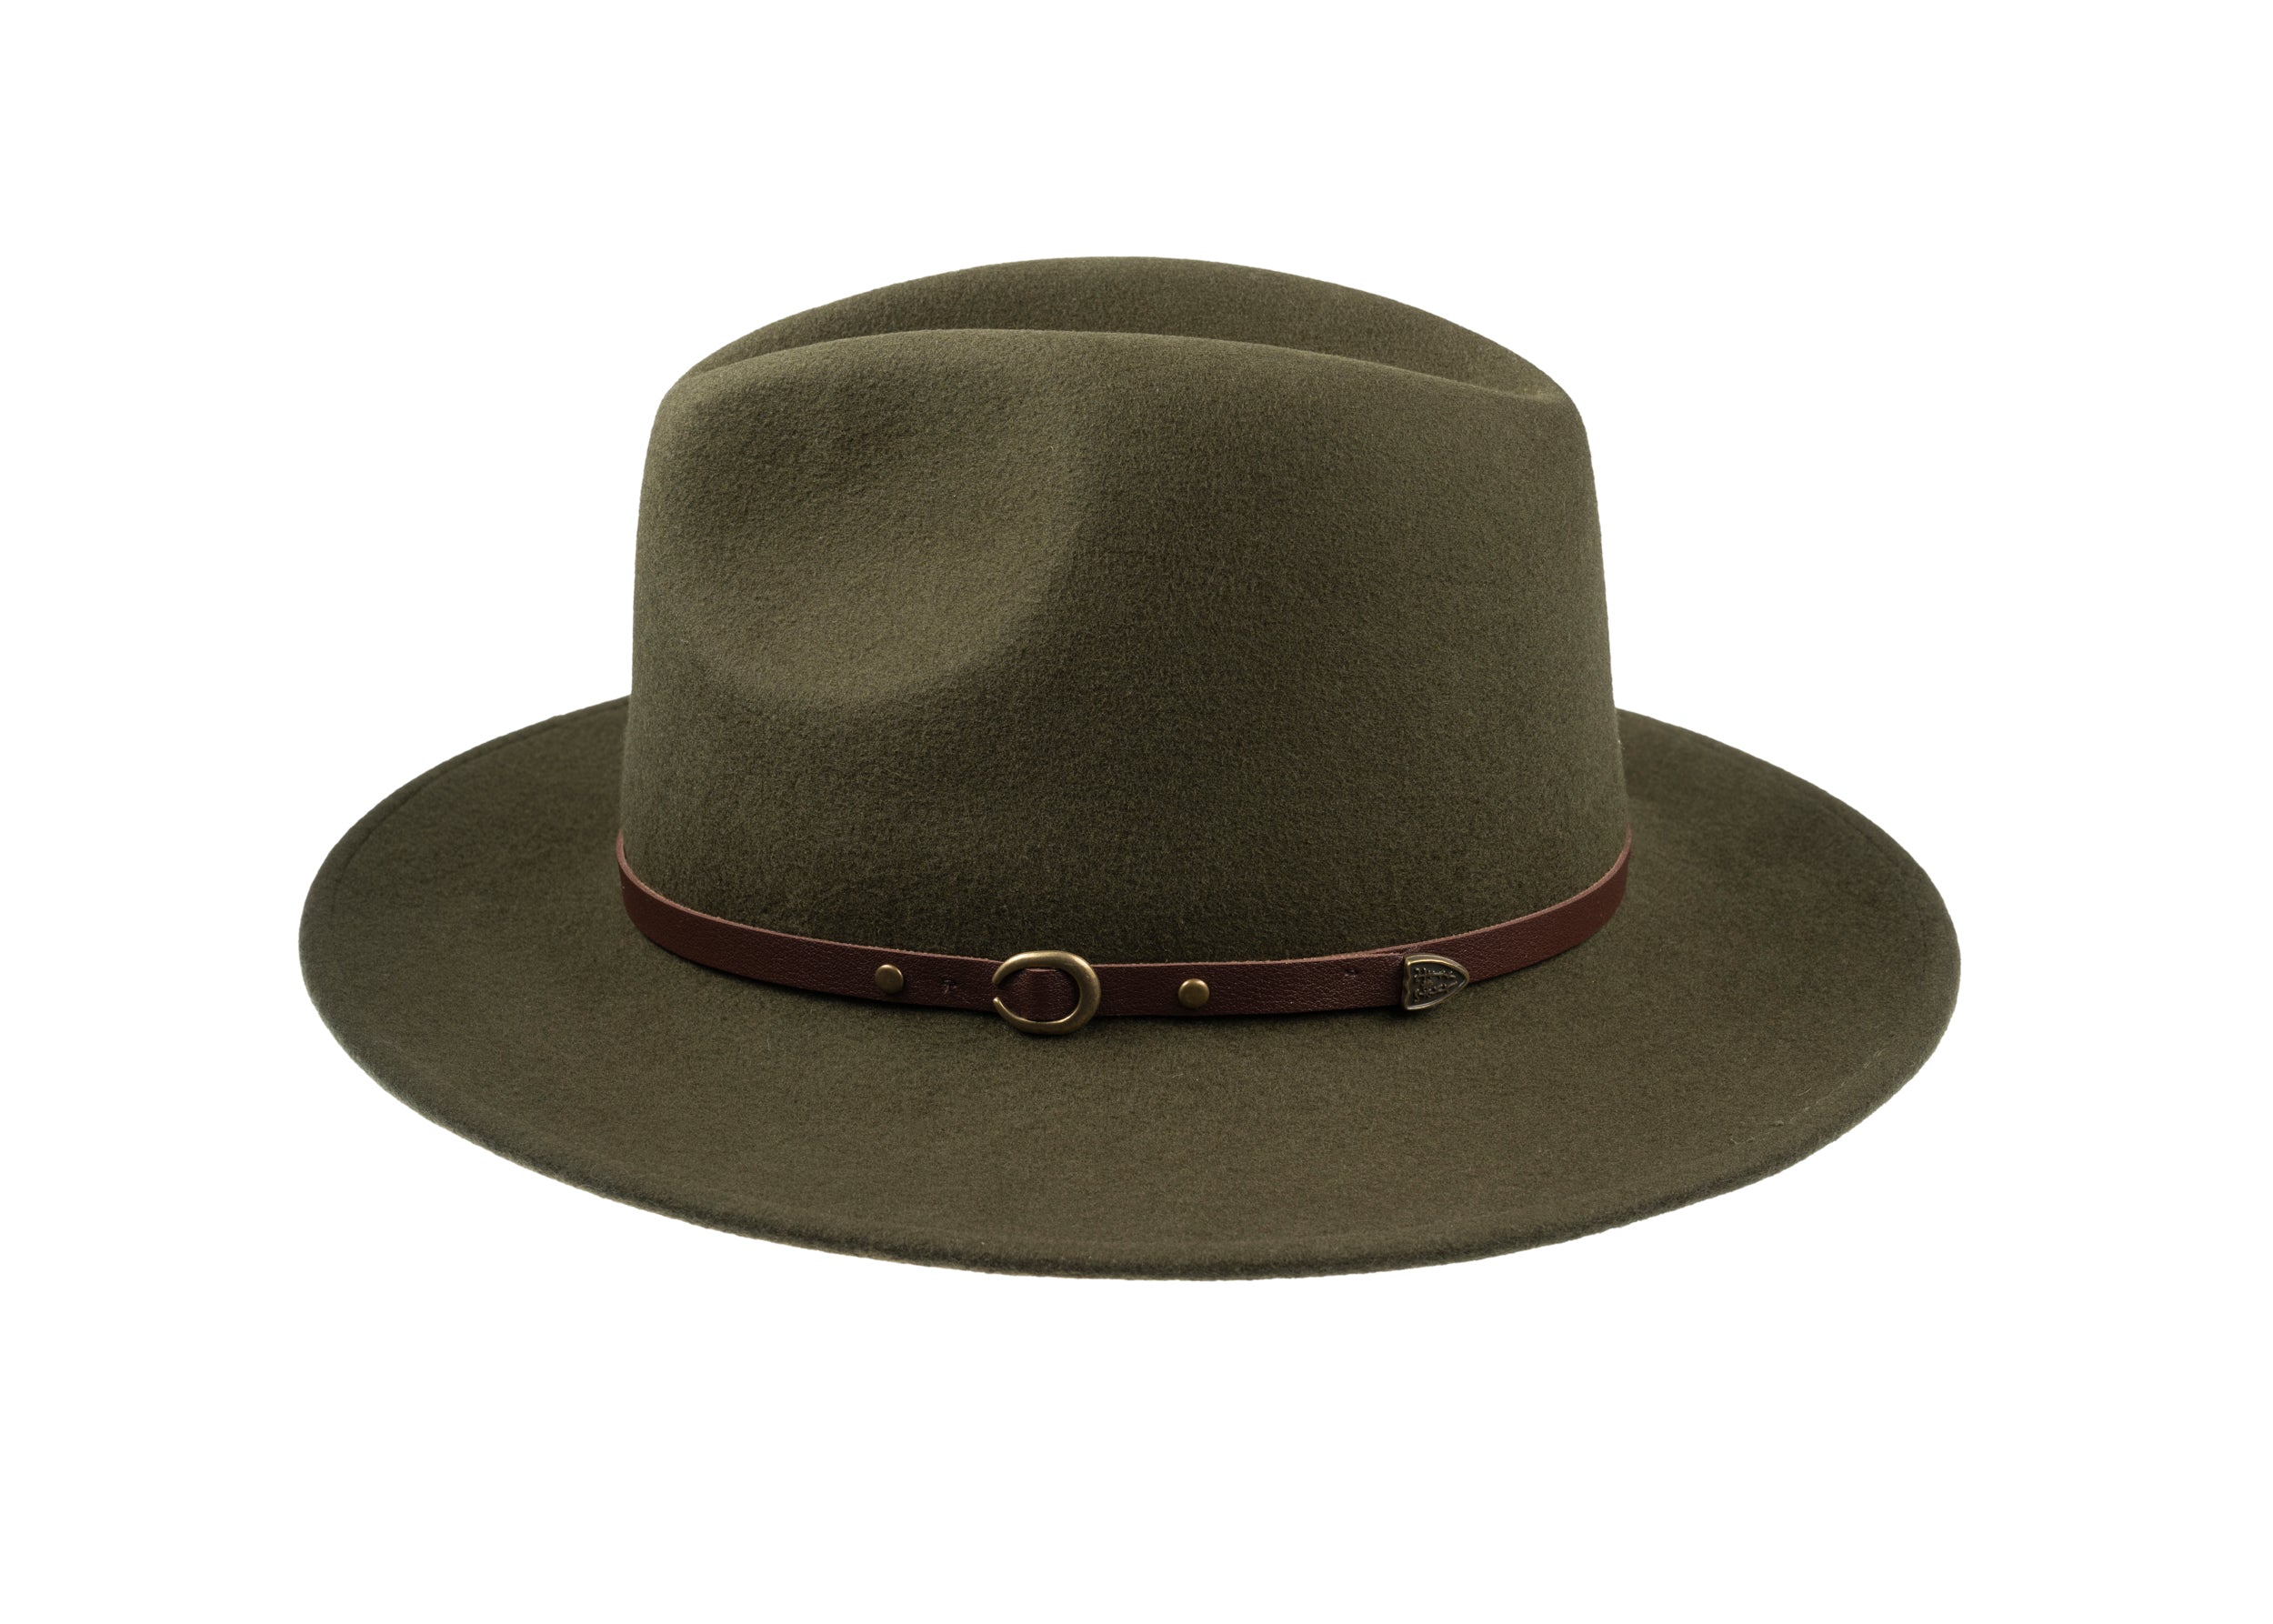
Even subtle shifts in a flat cap's shape, sheen, or fit between takes can break continuity and pull the viewer from a scene. How can you ensure the same cap reads identically across different lenses, lighting conditions, and continuity challenges?
This post outlines three practical continuity practices to ensure a flat cap reads the same on screen: select and prepare caps to suit the period, the camera, and the role; shape, clean, and repair them between takes; and record every detail so the cap can be matched across setups. Apply these measures and the flat cap will read consistently in every frame, allowing director, costume, and camera teams to concentrate on performance and composition.

1. Select and prepare caps to suit the historical period
Begin period research by assembling a visual and material archive: photographs, museum notes, and sample swatches. Record fibre content, weave, and construction details, since camera sensors and lighting alter how wool, tweed, and linen appear on screen and will affect perceived texture and sheen. Select several spare items that share stitch pattern and colour, then measure and note circumference, crown height, and brim width. Tag interiors with non-permanent identifiers and take labelled, multi-angle reference photographs for continuity. Log each piece so the continuity team can match physical items to the visual references without delay.
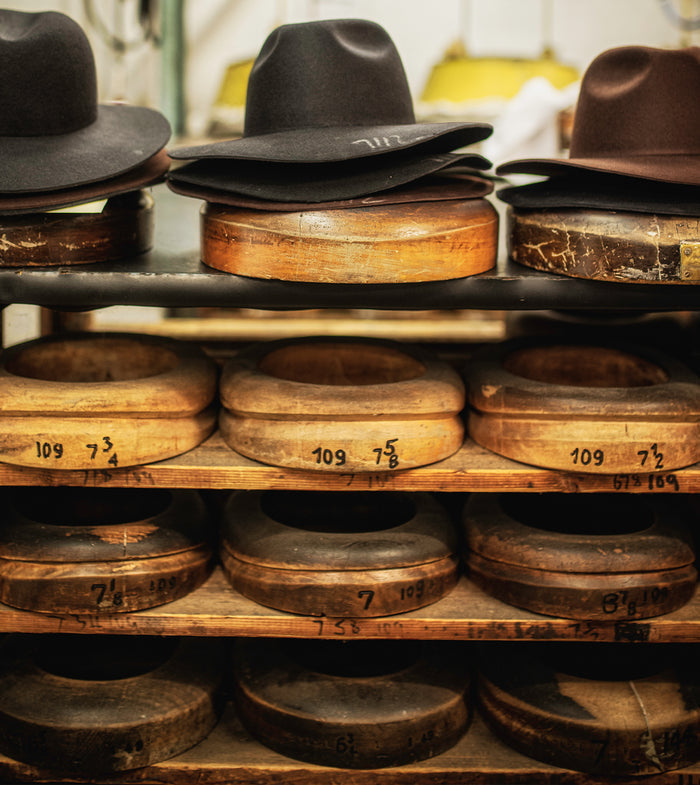
For photographic work, block and shape caps to a single profile using a hat block or mould, and use damp or steam shaping in measured sessions, allowing each piece to dry fully between treatments so crowns and brims remain consistent. Retain the blocking form and a short how-to note with each hat so the silhouette can be re-created across shoot days. Run test shots under the production lighting and on representative cameras and lenses, then apply the same cleaning or ageing treatments to any spares until their on-camera appearance matches the reference images. On set, appoint one wardrobe or prop handler to oversee the hats, require gloves, and store pieces in labelled boxes with tissue supports; document any mid-shoot repairs, and circulate reference photographs and swatches to camera and continuity departments so every team works to the same target. These small measures protect the detail that rewards closer inspection.

2. Shape, clean, and repair hats between wears
Begin by stabilising the cap on a hat block or foam form, then introduce gentle steam to relax the fibres and allow the crown and brim to be blocked and shaped by hand. Wool and felt respond well to steam and blocking, producing predictable, repeatable contours. Leather and treated fabrics, by contrast, should be shaped without steam, using a shaped last and light conditioning to avoid over-softening. Before any close-up, restore the surface: brush the nap with consistent strokes to lift fine fibres, remove loose particles with a lint roller, and gently tease stubborn fuzz with a soft toothbrush. Cameras amplify fluff and frizz, so small differences in nap and sheen read as continuity errors on screen.
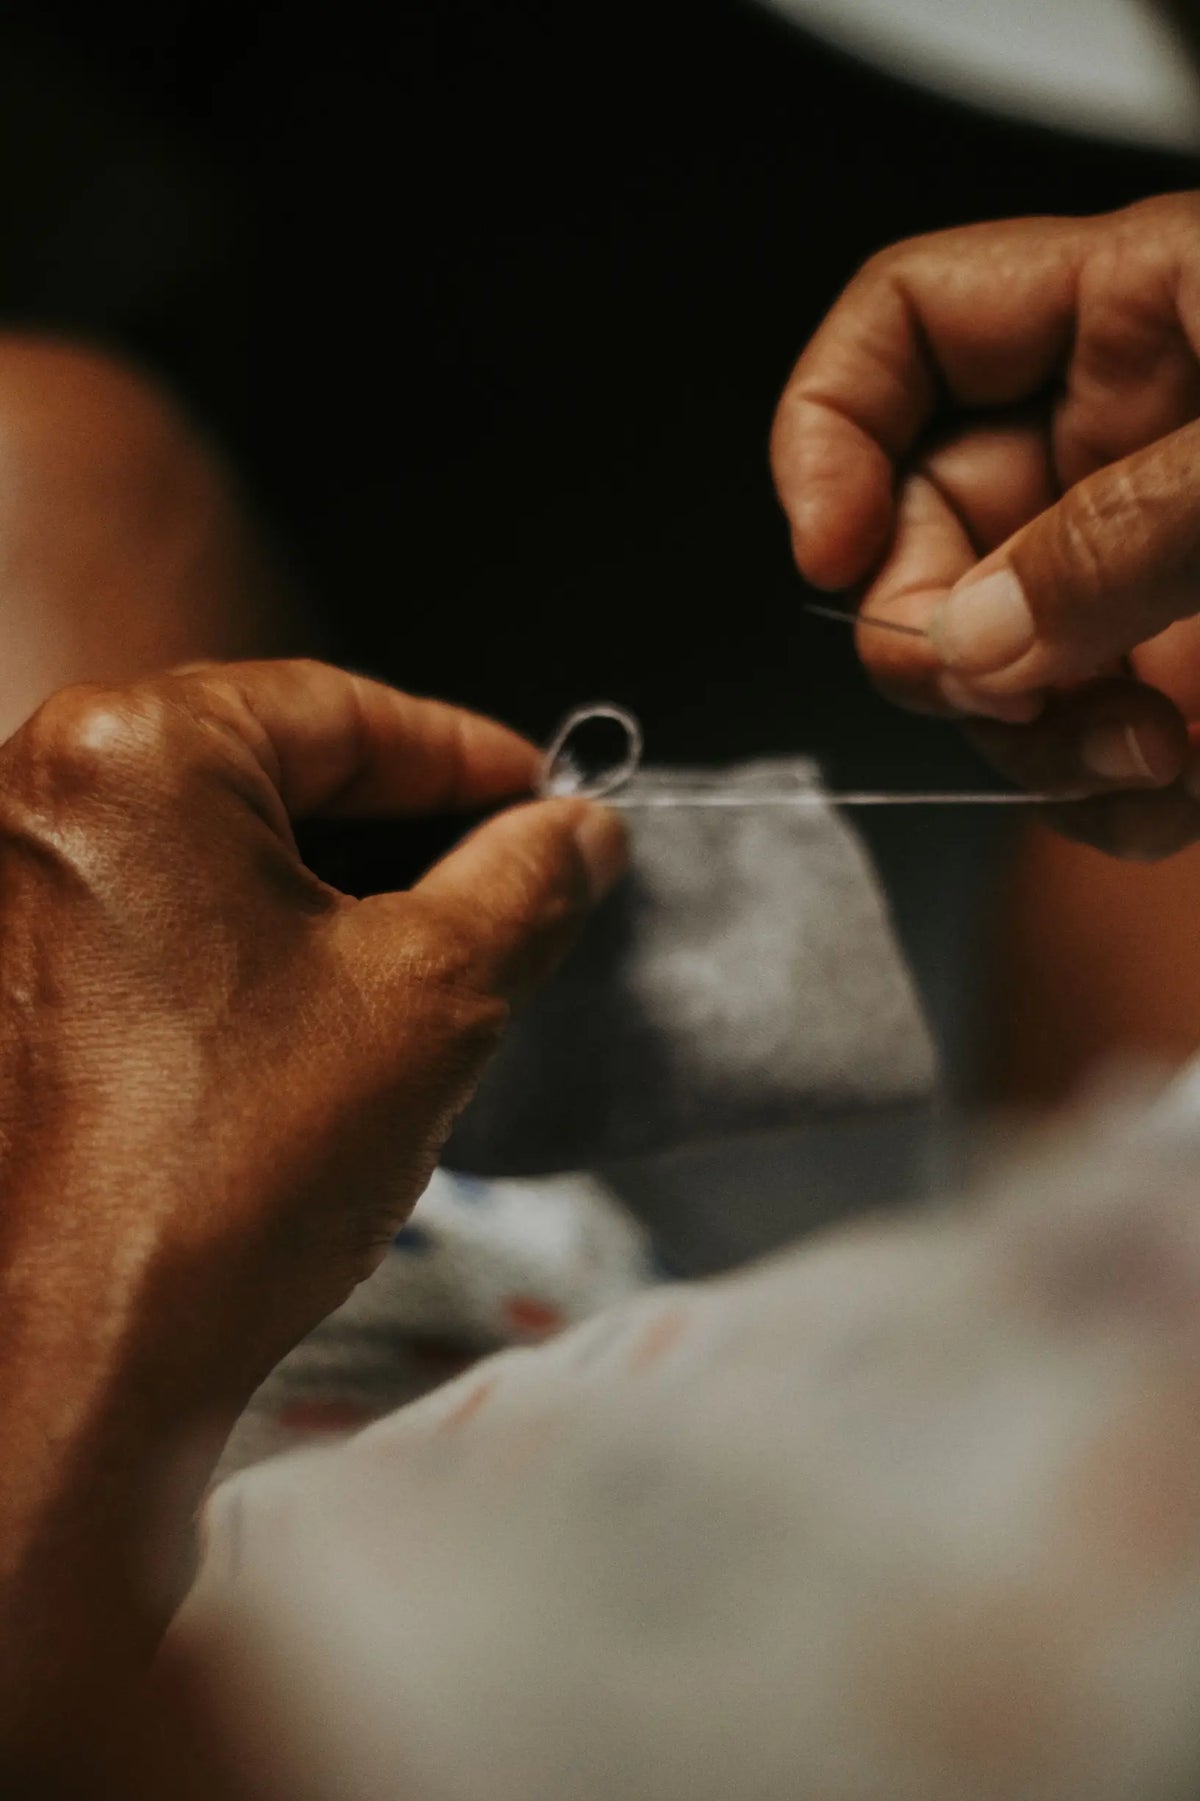
On set, manage perspiration and oils promptly. Blot the sweatband with absorbent paper, rotate or replace removable bands, and spot-clean with a diluted detergent and a soft cloth. Oil and salt will alter colour and sheen, so attend to them before they set. Carry out small, invisible repairs as required. Re-sew loose stitches using tiny, even stitches, tack trims back into place, and stabilise intentional wear marks. Test any adhesive or abrasive treatment on an inconspicuous patch before applying it to visible areas. Record every intervention with multi-angle photographs and close-up shots, and keep brief notes on crown height, brim curve, pin positions, and internal padding. Maintain a compact continuity kit to hand: a brush, spare needles, suitable thread, absorbent paper, a spare sweatband, and a portable steam source, so you can reproduce the same result quickly between takes.

3. Document cap measurements and key details to ensure consistent appearance across cameras
To create a reliable visual record of a cap, photograph a comprehensive set of views: overhead, side, three-quarter, back, inside, and macro close-ups of the fabric weave, stitching, sweatband, labels, and any wear marks. Include a neutral grey card and a ruler in at least one frame to aid colour and scale matching. For each image, log the camera and lighting parameters: lens focal length, aperture, shutter speed, ISO, white balance, distance from subject, light type and modifier, and stand positions. Store this information as embedded metadata or in a continuity sheet so depth of field and light falloff can be recreated on another camera. A clear metadata record gives a second operator the evidence they need to reproduce exposure and colour, rather than rely on guesswork.
Record precise styling notes for each take: brim curvature in millimetres, tilt angle in degrees, snap position, whether the button is fastened, and any hair or accessories. Use simple, repeatable tools — a ruler and a small protractor taped to the stand work well — so angles and distances can be reproduced between takes and cameras. Photograph the mounting in situ and describe it in full: specify the exact mannequin head, hat block, clamp, or padding used, and include a small inset that shows the mount in relation to the cap so another operator can see how fit varies with different supports. Centralise all assets with clear filenames and consistent scene, take, and camera tags; identify one authoritative reference image. Maintain version notes and a short checklist of must-match points on set to prevent continuity drift when multiple departments collaborate. Together these elements form a compact, evidence-led continuity package that lets crews reproduce the same flat cap across takes and cameras with minimal interpretation.
Taken together, evidence-led handling ensures a single flat cap reads the same across takes, lenses, and lighting by controlling shape, surface, and context. Meticulous selection and blocking, careful post-take maintenance, and comprehensive photographic and metadata records prevent small differences in nap (the pile direction), sheen, or fit from becoming visible continuity errors.
To put these principles into practice, keep a retained hat block on set, together with a compact continuity kit and labelled reference photographs taken with a grey card. Those anchors make it possible to recreate a cap's silhouette, nap (the direction and texture of the fibres), and colour when shooting with a different camera. When wardrobe, camera, and continuity teams work from the same references, production can proceed knowing the hat's appearance will match across shots, freeing creatives to prioritise acting and camera framing.