In a single close-up, a hat can define a character, signalling period, personality, and social standing. Briefing a hat maker without precise visual references, material specifications, and handling notes often leads to last-minute rework and distracting surface issues under studio lighting.
This post explains how to define an on-screen character through precise visual references, specify materials and construction for camera-ready surface finishes, and establish measurements, tolerances, and on-set handling. These guidelines reduce surprises on set, preserve continuity, and ensure the hat performs reliably under movement and lighting.

How to define an on-screen character with precise visual detail
Provide a concise character dossier and three high-resolution reference photographs that allow the maker to judge how the hat will read on camera. Include: - Actor details: age range, occupation, typical posture, hairline, and preferred profile angles (full face, left three-quarter, right three-quarter). - Measurements: precise head and hair measurements; head circumference in centimetres; forehead to crown distance; ear placement; wig cap size or expected hair volume; and any prosthetics. - Photographs: annotate each image with orientation and the relevant measurements so the maker can build or adapt a block without guesswork. Supply images at high resolution and label files clearly. - Camera and lighting context: state the intended framing, for example a close-up under key lights or a backlit three-quarter; specify whether you need matte surfaces to avoid glare, soft textures to retain detail at distance, or a subtle sheen for a period-appropriate appearance. Where applicable, note any costume headwear, internal padding, or hair styling that will affect fit.
Set out the hat's functional and continuity requirements in full: list permitted fastenings, quick-change constraints, the range of movement the hat must withstand, and any stunt or wind tolerances. Supply three annotated continuity frames that show how the hat should sit across the principal shots. Attach tactile references and finish samples, such as fabric swatches and high-resolution photographs of trims, and record stitch visibility, edge finishing, and the desired degree of wear or patination, enabling texture, colour, and ageing to be matched to the character's history. Where continuity or stunts are critical, indicate fastening methods and include rehearsal notes, allowing proposals for construction details that balance appearance with durability. Clear, annotated visuals and precise measurements enable production of a block and finish that read consistently on camera, across lighting conditions, and during action.
Specify a blocked crown to preserve on-camera silhouette.

Specifying materials and construction for camera-ready hat finishes
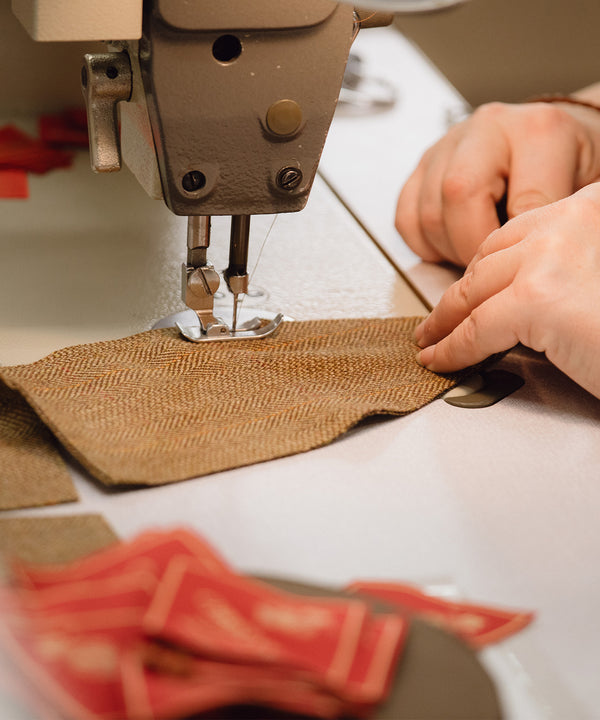
Begin by naming the outer material, its fibre content, and weave, and state the intended finish, matt, low-sheen, or subtle satin. Include a labelled swatch that indicates nap direction and pile height, and supply photographs made under both diffused and directional light to show how fine specular highlights register on camera and alter perceived colour and depth. Prescribe the internal construction and reinforcement: specify the blocking method and the recommended stiffener, for example buckram, horsehair braid, or layered board, and give the relative stiffness in g/m2 alongside the crown profile, the intended crown height, and acceptable dimensional tolerances. Request a blocked sample to confirm how the shape holds under dressing and movement. Define edge, seam, and stitch treatments with visual intent, choosing whether seams should be hidden or decorative, defining stitch density in stitches per centimetre, naming thread finish as matt or glossy, and selecting edge finishes such as bound, turned, or raw-cut with overcasting. Note that bright threads and metal trims create camera catch-lights and will change the visual read on film, so indicate any photographic considerations alongside the construction notes.
Use polished fur-felt for precise, camera-ready blocking

Finalising measurements, tolerances, and handling protocols for on-set use
Label and record each measurement point: head circumference at the hairline, crown height from scalp to apex, front-to-back and ear-to-ear spans, and brim widths at several radii. For every measurement note the method used, the units, and a single agreed tolerance so maker and stylist share the same baseline. Take measurements over the client’s usual hairstyle or under-structure, and keep a clear record of approach and units to avoid assumptions on set. Specify material behaviour and an allowance for each substrate. Felt and wool may relax, or further matt, when steamed; woven plant fibres can expand slightly with humidity; stiffened fabrics tend to carry memory. Request a small proof sample or a blocked swatch from the maker, and set a percentage allowance, for example one to three per cent, so patterns and linings accommodate real-world change.
Set clear construction tolerances and finish expectations. For example: head circumference within plus or minus 3 millimetres, crown height within plus or minus 2 millimetres, and brim width within plus or minus 2 millimetres. Specify the edge finish, the type of sweatband, and whether structural elements should be removable or adjustable for on-set tweaks. Require a signed-off prototype before any final finishing. After each fitting, ask the maker to supply annotated photographs and a short revision list so that every amendment is recorded and traceable. Agree on handling and storage protocols for the set. Insist on gloved handling, dedicated hat stands or blocks, and labelled single-hat boxes lined with tissue and humidity control packs. Fragile pieces should never be stacked. Photograph each hat from multiple angles with a ruler or scale in the frame, and note how it sits on the model. Commission a calico or paper toile for shape approval. Mark pin and chalk adjustments during the fitting, and update a master measurement sheet with every amendment. Finally, appoint one person on set to manage custody, conduct fit checks, and provide final sign-off so all decisions remain traceable.
With those on-set handling and custody protocols in place, a carefully prepared brief begins with a clear visual intent, precise measurements, and samples of material and finish, enabling the maker to produce a hat that reads well on camera. That clarity reduces on-set rework, preserves continuity, and ensures the hat behaves predictably under lighting, movement, and quick changes.
Start with the dossier and its annotated references. Use them to establish the hat's character and profile, to prescribe outer materials, reinforcements, and stitch treatments, and to set tolerances, handling, and storage requirements. Issue an authorised sample with photographic evidence, and appoint a single custodian so the maker's intent endures through fittings, stunts, and multiple takes.