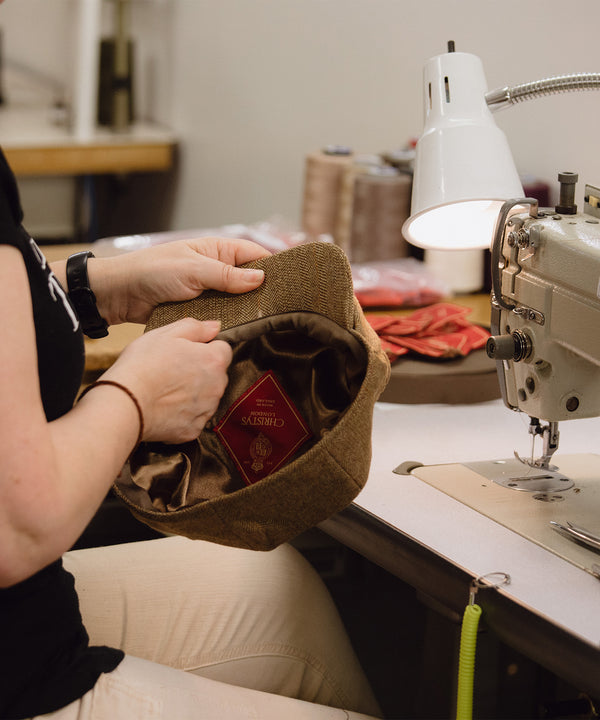
Actors' hairlines and head shapes vary, yet a period cap must read as authentic on camera. How do milliners fit and shape a cap so it looks authentic, remains secure during performance, and honours the historical silhouette?
The method divides into three practical stages: mapping head, hair, and silhouette; steam-blocking and hand-shaping the hat to the actor's head; and refining the fit with discreet padding to preserve continuity on screen. What follows are precise measurements, practical shaping steps, and subtle finishing techniques that conserve period proportions while ensuring consistent results between takes.

1. Map the head shape, hair, and historical silhouette
Take precise, multi-point measurements of the performer’s head and hair: circumference, front-to-back, temple-to-temple, bonnet line, and apex height. Note the natural hairline, ear position, and typical posture. Construct a soft toile, or trial cap, in muslin or a stretch knit directly on the performer; pin or baste reference points at the centre front, side seams, and crown, and photograph the profile and three-quarter views for comparison with period plates and museum images. Small millimetre differences alter crown height and brim placement, so record explicit allowances for wigs, padding, and styled coiffures, and annotate each toile photograph for reproducibility. Use these records to pinpoint where the modern head diverges from the historical silhouette, allowing targeted adjustments rather than guesswork during fitting.
Recreate the internal shaping that preserves period lines by constructing removable, adjustable pads, rolls, and false hair pieces, so the external cap remains authentic while permitting rapid changes and managing perspiration. Alter paper or toile patterns in small, recorded increments to refine crown depth, taper, and brim roll, retesting on the actor and keeping photographic templates and scaling notes to prevent creeping modernisation of the profile. Finish with movement and costume integration tests, add a soft lining and discreet anchors to protect hair and skin, and check for slippage, pin pressure, and microphone concealment so the cap will survive takes without compromising the silhouette.

2. Steam-block, then hand-shape the hat to the wearer's head for fit and form
Mark a measured template on the hat block and at the crown, temples, and brow of the actor's head, then steam the felt or straw until the material relaxes. Use those alignment points to lower the crown or nudge the brim edge in small increments so the period curve remains intact while the fit improves. Protect the performer and their hair with a thin, breathable cap or cotton buffer, and always test steam on a scrap of the same material before working on the costume piece. Work in short bursts, moulding by hand with a wooden burnisher and a blocking paddle, and favour gradual, hand-finished shaping so nap, straw texture, and tooling marks survive where machine pressing would erase them. This patient approach preserves the detail that rewards closer inspection.
Adjust fit from the inside out. Insert thin, removable pads of cotton or felt at the sweatband, the temples, and the nape, fixing them with small, discreet tacks rather than permanent adhesive so the hat can be returned to its original state. Anchor the cap for performance with minimal, concealed stitches, soft pins through the sweatband, or a removable chin strap. Test the finished fit with the performer in costume and in motion to reveal any pressure points. Wherever possible, choose removable reinforcements and reversible interventions, preserving the lines and historical silhouette between shows while still permitting quick adjustments during performance.

3. Refine the fit and padding for seamless on-screen continuity
Begin by blocking the cap to the intended headform. A life-cast is preferable because it fixes the external silhouette, though blocking directly on the actor will also work. Mark three reproducible alignment points at the forehead, temple, and nape so the cap reads the same each time; with the outer line secured, you can iterate internal padding and then reproduce those adjustments reliably on set. Control crown height, brim sit, and edge roll with removable, tapered micro-pads of soft foam, felt, or layered buckram, sewn into a thin linen liner. Feather the pad edges so they do not register as hard lines under camera. Swap liners between takes to compensate for perspiration or costume changes without altering the visible shape. Finish with a moisture-wicking sweat-liner that has been tested in movement and heat to ensure it does not bunch or compress the intended period profile.
Use low-profile anchoring: small slip-stitches, concealed fastenings, or discrete costume-to-cap stitch points, each marked with a tiny thread tack so reapplication is exact. Anchor only at locations that do not alter the external line, and rehearse with the actor to reveal any habitual lifts or shifts. Photograph and film the actor from several lenses, focal lengths, and angles while they perform typical movements and expressions, then inspect the frames for changes in shadow, brim curve, and edge catch. Adjust in small increments — thin or add padding, trim seam allowances, or feather edges — until the brim and overall silhouette read consistently across movement and cameras.
Successful period caps reconcile historical silhouette with practical fit. The hatmaker maps the actor's head, steam-blocks the material to the actor's shape, and refines the internal form with removable padding. This measured process keeps the era's silhouette intact on camera, secures the cap during movement, and delivers consistent results across takes.
Begin with precise mapping. Follow with patient steam-blocking and shaping by hand, and finish with tapered micro-pads and a swappable liner so the external profile remains consistent. Photograph each trial from multiple angles, and record exact pad placements and anchor points; these measured records make the process repeatable, allowing historical methods to deliver dependable on-set performance.