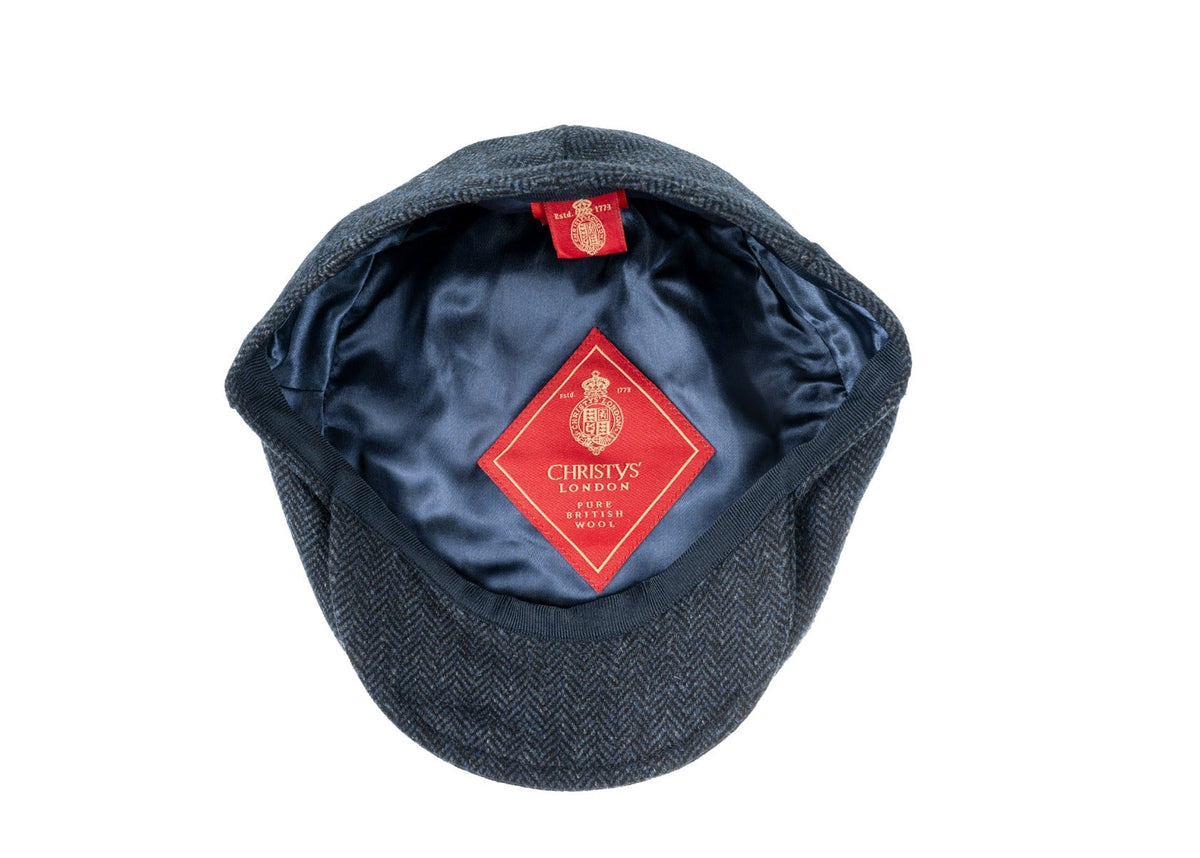
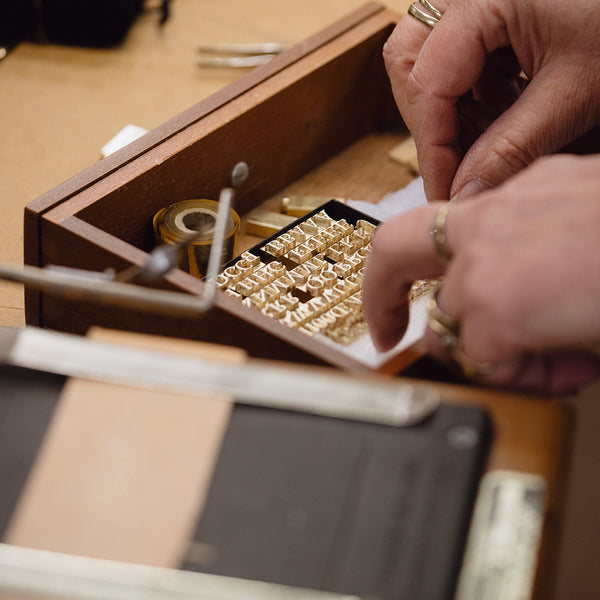
Studio lights, sustained heat, and long shooting days have a way of unmaking a well-shaped period cap: the crown loses structure, trimmings relax, and once-precise edges read soft on camera. This guide sets out workshop-tested techniques to preserve a cap's shape, maintain its finish, and keep it ready for filming.
Stabilise the fabric and internal foundations, then hand-block and steam the crown to reset its curve. Finish with discreet reinforcement and attentive on-set handling so the cap photographs with correct proportions. These steps prolong a cap's useful life, reduce mid-shoot interventions, and preserve period silhouettes in close-up shots.

1. Prepare materials and foundations for a lasting shape
Begin by pre-treating and stabilising representative swatches. Pre-wash or steam-wash them, then block to the intended pattern and press to set the grain; cotton and linen relax when wet, silk can distort with heat, and synthetic blends recover differently. Cut internal foundations from buckram, horsehair braid, or firm cotton lawn, and shape them on a wooden or foam block to match the cap profile. Insert fine millinery wire into a narrow casing at the brim to retain the outline without visible stitching, and keep prepared foundations as spares for quick swaps on set.
Where fabric must resist heat and handling, introduce denser interfacings at crowns and brims, and lock seam allowances with stay-stitching. Secure linings to the foundation with discreet whip or slip stitches so the outer fabric resists sagging under studio lights. Shape with controlled steam and careful blocking: warm gently, mould from the inside out, pin, and allow each piece to cool on the form. Test samples beneath the lamps and adjust stiffness until edges neither sag nor become brittle. For transport and recovery, pad caps on shaped forms and stow them in breathable boxes with acid-free tissue, and carry pre-shaped spare foundations and trims for swift swaps between takes. Monitor humidity, and re-block or re-steam as required to restore profile during a shoot.

2. Form the crown into its final shape on a hat block using heat
Begin with a block chosen to match the intended crown profile. Pad the block with calico or muslin to refine the curve, then baste the cap in place so each repeat conforms to identical geometry. From a short distance, apply gentle, controlled steam while rotating the block; the steam relaxes and reconfigures the fibres by interrupting hydrogen bonds, so a careful set produces a form that endures. Consistent blocking and measured steaming yield predictable silhouettes beneath hot studio lights.
Pin the crown at the four cardinal points, then work outwards with interim pins or small clamps so tension distributes evenly rather than pulling at a single spot; this prevents puckering. Reinforce the shape internally by hand-stitching a thin interlining of buckram or canvas, or by sewing channels for a lightweight support wire, which gives resilience without visible weight. Place the piece under a warm lamp or in mild humidity to relax the fibres, re-steaming only where the material loosens, and allow the cap to cool and set fully. Finish with a breathable lining and a snug sweatband to manage moisture, helping the cap recover its shape during prolonged exposure to heat.

3. Apply subtle support and event care for lasting shape
Begin by inspecting the crown seams, brim joins, and lining edges. Reinforce stress points with discreet hand stitches, tiny bar tacks, or a light underlining where fibres show wear, testing any repair in a hidden area first to avoid visible puckering. If internal stiffeners are required, cut them from lightweight buckram or canvas, bind the edges with cotton tape, and secure them with tacking stitches so they remain removable for cleaning, reshaping, or transport. When reshaping, steam gently over a hat block or mould to relax creases, reshape with gloved hands, pin to cool, and allow the piece to rest so the fabric recovers. During shoots or prolonged wear, rotate caps between takes to prevent heat and sweat build-up while materials settle.
Avoid heavy starches and glossy sprays, which create hotspots under studio lights. Test a matte sizing on a small sample first, so you can judge texture, sheen, and how light reads across the fabric. Label each cap with fabric, reinforcement method, and repair notes, photograph it from key angles, and keep a concise log so wardrobe and continuity teams can match shape, wear, and on-set fixes precisely. Minor, reversible measures such as underlining and removable stiffeners preserve the original construction while giving the crew quick ways to correct drift during a shoot, minimising last-minute reshaping and protecting fragile fibres without altering the period silhouette.
Preserving a period cap's silhouette during extended studio shoots depends on three practical priorities: stabilising the fabric and internal foundations, shaping and setting the curve by hand on a matched block, and adding discreet, removable reinforcement so the piece resists heat and handling. Controlled steam temporarily relaxes natural fibres by interrupting hydrogen bonds, and consistent blocking yields repeatable geometry that reads correctly under hot lights.
Prepare swatches and shaped foundations ahead of the shoot. Manually shape each crown on its correct block, then set the form using controlled heat and moisture, fit removable stiffeners, and secure linings to provide structural resilience and allow quick swaps. Label and photograph every cap, carry spare foundations, and rotate pieces between takes so continuity teams can match shape and wardrobe crews can restore form promptly. These steps reduce last-minute fixes and help protect fragile materials from repeated handling.