Before cutting into fine cloth, test whether it springs back, sags, or holds its shape under tension. Measured elastic recovery and correct grain alignment largely determine whether seams lie flat, peaks sit neatly, or the crown retains its form.
This post explains how to prepare representative samples on true-grain materials, measure elastic recovery, assess drape and hang, and translate those observations into pattern adjustments and targeted reinforcement. Record the results of these practical tests to predict finished behaviour, minimise remakes, and cut a cap with quiet confidence.

What is fabric recovery, and how does it shape fabric behaviour?
Recovery is the proportion of a stretched swatch that returns to its original length. To measure it, mark a 10 centimetre line on a fabric sample, stretch the sample a set distance along the intended grain, release it, then measure the recovered length and calculate the percentage returned. Record whether most change is immediate or whether the sample continues to relax with handling, since progressive relaxation will alter fit over time. To establish directional behaviour, cut three small swatches and repeat the stretch along the warp, the weft, and the true bias, and, where relevant, with and against the nap. Finally, treat a swatch by washing or steaming and repeat the tests to reveal relaxation shrinkage and heat-set memory. Use the post-treatment figures to inform pattern layout and seam allowances.
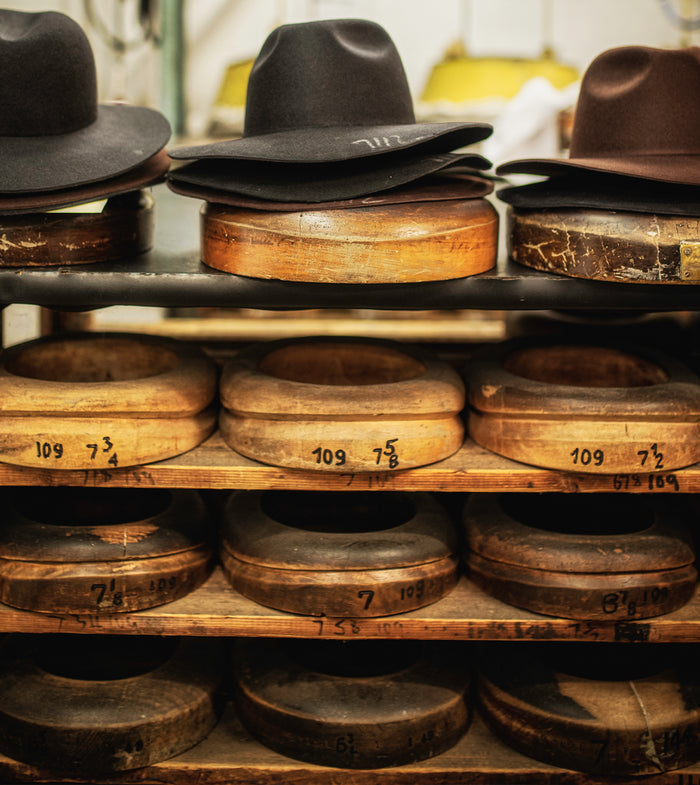
After you have measured recovery and noted any progressive relaxation, begin with a scaled mock-up: pin or hand-baste a small cap panel into its final seamlines, then shape it over a hat block. Work the crown and press the seams to reveal any distortion, bagging, or puckering, and note where these faults appear and how they behave. Let the findings guide construction choices. Where fabric recovery is low (that is, the material does not readily return to its original shape), allow larger seam allowances, add stay tape, or introduce fuller ease in the crown. Where recovery is high but inconsistent, add stabilising elements at the peak and at the sweatband join to regularise the behaviour. Record the measured recovery values alongside the chosen treatments so you can reproduce successful combinations of fabric and technique.
Choose a ventilated woven brim for stable summer shaping.

How to prepare representative samples on true-grain leather
Cut three representative samples on the true grain: one with the warp aligned to the crown seam, one with the weft aligned, and one on the bias. Size each sample to include seam allowances, the headband area, and any curved shaping so the piece replicates how the cap will be cut and sewn. This ensures test results reflect in-use behaviour rather than flat cloth alone. Along the direction to be tested, mark two gauge points and record the original distance between them. Apply a measured extension, release, then measure the residual elongation. Calculate percentage recovery as (original length minus residual elongation) divided by original length, multiplied by 100. Photograph the grainline while the sample is under tension, document fibre content and weave openness, and log the raw numbers so different cloths can be compared objectively.
In practical trials, work the cap's finishing details into your test samples: stitch the crown seam, fit the headband, and include any typical lining and stabilising interfacings. Measure recovery both before and after these operations, because stitching, pressing, and applied interlinings commonly alter elasticity and can create a permanent set. Subject the samples to realistic handling cycles: gentle wetting and drying, repeated stretch and release, and blocking on a curved form or a wooden hat block. Track how recovery changes with each cycle to reveal relaxation, permanent set, or a progressive loss of resilience. Record whether recovery is transverse, longitudinal, or bias-dominant. Use those observations to determine grain orientation, the need for stabilising interfacings, and allowances for shrinkage or stretch in the final pattern. Maintain a concise test log, with photographs and raw measurements, so cutting decisions rest on objective, repeatable data.
Choose a heritage tweed cap for proven, durable construction.

How to measure elastic recovery and record the results
To measure elastic recovery on a marked strip, begin by marking a 100 mm baseline. Stretch the strip to a chosen extension, release it, then measure the length after it has returned. Calculate residual elongation as the returned length minus the baseline. Calculate recovery as the proportion of the applied extension that was regained, expressed as a percentage. For example, stretching the strip to 110 mm and observing a return to 101 mm gives a residual elongation of 1 mm (1% of the baseline). The applied extension was 10 mm, of which 9 mm was regained, so recovery is 90% (9 mm regained ÷ 10 mm applied × 100). Record the raw measurements, not only pass or fail, so different fabrics can be compared quantitatively. Use a simple, repeatable rig such as a straight edge, two clamps, and a ruler or spring scale to apply steady tension, and note clamp points, how force was applied, and the time allowed for recovery to ensure reproducibility.
Repeat stretch-and-release cycles until measurements stabilise, and plot recovery across cycles to reveal the material's relaxation behaviour. A pronounced drop between early cycles indicates the cloth is likely to lose its shape in wear. Test samples along the grain, across the grain, and on the bias, and include specimens with raw cut edges and sewn seams, since knits and woven constructions often behave differently when constrained by seams or when cut on the bias. That difference directly influences how panels will form a cap crown. Construct a mock panel and subject it to wear analogues, and keep a simple data sheet recording fibre composition, knit gauge or weave, sample location, recovery percentages, and laundering notes. Use these records to decide whether to pre-stretch, alter panel geometry, or select an alternative fabric.
Practical checklist for measuring elastic recovery in cap panels
- Prepare representative samples and record provenance: cut strips from along-grain, cross-grain, and bias, include cut edges and sewn seams, and make at least one mock panel that mimics pattern shape; note fibre content, knit gauge or weave, sample location, and any prewash or laundering history so results predict in‑use performance.
- Set up a repeatable rig and protocol: mark a 100 mm baseline on each strip, fix clamp points, apply a steady, repeatable tension (spring scale, weights, or displacement control), hold for a consistent interval, release, then measure the returned length after a fixed relaxation time; document clamp positions and how force was applied for reproducibility.
- Record raw numbers and compute recovery: log baseline, stretched length, returned length, cycle number, and applied force; calculate residual elongation in millimetres and per cent of baseline, and recovery per cent using recovered extension divided by applied extension, for example stretching to 110 mm that returns to 101 mm yields 1 mm residual (1 per cent of baseline) and 90 per cent recovery because 9 mm of the 10 mm extension was regained.
- Cycle, plot, and act on trends: repeat stretches until readings stabilise, plot recovery versus cycle number to reveal relaxation behaviour, and treat a marked drop in early cycles as a predictor of bagging; use the quantitative data to decide whether to pre-stretch, alter panel geometry or seam placement, or select a different fabric, and keep a simple datasheet with columns for all raw measurements, calculated recovery, cycle, and notes on laundering and mock‑panel fit.

How to assess drape, hang, and a hat's shaping response
Begin by draping a full, cap-shaped scrap over a wooden block or a shallow bowl. Smooth the material into position, allow it to relax, then measure any permanent sag from crown to brim in millimetres. Photograph front and side views to record the hang before and after shaping; the images provide a simple reference for subtle changes in silhouette. To assess elongation and recovery, cut narrow strips from the warp, the weft, and the bias. Mark a baseline, stretch each strip to the working strain you expect in the finished cap, release, then measure the residual elongation. Calculate the recovery percentage from those figures. Use the measured sag and the recovery percentages to predict how seams and panels will behave under wear, and to inform appropriate seam allowances or the need for reinforcement.
Shape a sample over a small block, then introduce steam or gentle humidity and let it cool under tension. Release the piece and note how much form remains and how much springs back; this indicates whether long-term blocking or additional mechanical reinforcement will be required. Cut bias strips and twist or bias-stretch them to observe edge roll, brim waviness, and the way seams change distortion; use those findings to decide panel orientation and seam placement. Finally, make a short toile, hand-tack the seams, and either wear it briefly or mount it on a block. Handle it as you would the finished hat and inspect for puckering, persistent needle holes, fraying, or any change in nap or sheen. These practical tests reveal the finishing and interfacing the final piece will need.
Choose a fuller eight-panel build for natural crown drape.

Interpreting test results to inform pattern adjustments and reinforcement
To turn test figures into pattern adjustments, carry out a simple recovery test: cut a square swatch, mark a central gauge line, stretch by a known amount, release, then measure the permanent elongation and calculate recovery = (original length - permanent elongation) / original length. Express recovery either as a fraction between 0 and 1, or as a percentage (recovery% = recovery × 100). Use that figure to judge how much shape the fabric will retain after tension rather than relying on feel alone, and convert recovery into a cutting allowance when planning pattern changes. Use the formula extra cut = expected stretch × (1 - recovery_fraction) (or extra cut = expected stretch × (1 - recovery%/100) if using percentage). For example, a panel that sees 10 mm of stretch with 80% recovery (recovery_fraction = 0.80) needs about 2 mm extra cut: 10 mm × (1 - 0.80) = 2 mm. Apply this calculation across crown seams, panel widths, and the headband to keep finished measurements predictable.
Decide on reinforcement after testing. Mark seams that lose shape with narrow underlining or stay tape, and when recovery is poor add a stable inner band or stitch an elastic channel. At high-stress junctions favour dimension-locking seams, such as flat-felled or bound seams, and avoid wide, rigid interfacings that will inhibit recovery and alter drape. Simulate end use and ageing by laundering or steaming a swatch, then repeat a stretch-and-release cycle and re-measure recovery to reveal creep or permanent set. If recovery degrades, alter panel geometry, increase stability at critical seams, or specify a discrete elastic insert to preserve long-term fit. Document every experiment. Make a calico toile labelled with grainline, nap direction, testing method, and recovery percentage; fit it on a block or head, note wrinkles, puckering, or gaping, and iterate until the cap sits smoothly. Retain this toile as a maker's reference for future cloth.
Assessing elastic recovery and grain behaviour before cutting allows a maker to predict how seams, peaks, and the crown will finish, rather than rely on guesswork. Simple, repeatable tests, such as measured stretches, mock panels, and wash trials, translate subjective hunches into concrete figures (for example, recovery percentages and directional distortion measurements), which then inform pattern alterations and the placement of reinforcements.
To put these recommendations into practice, prepare fabric samples on the true grain. For each sample, measure and record recovery across the warp, weft, and bias, and assess the drape. Stitch key mock cap details, for example the crown seam, brim attachment, and sweatband channel, so you can observe how the material behaves once finished. Log all results and convert recovery percentages into additional allowance or stabilisation where required, then adjust the pattern. Repeat this process until the toile sits smoothly, allowing the final cap to be cut with confidence and fewer remakes.