A well-shaped cap refines an outfit, yet many fabrics collapse, catch the light awkwardly, or relax with wear, compromising the intended profile. Which fibres preserve structure, photograph consistently, and improve with time?
This post explains how natural fibres determine a cap's structure and hand, why blends and modern fibres provide stability and weather resistance, and how construction, blocking, and finish fix both shape and a cap's presence in photographs. It offers practical checks for assessing fibre behaviour, guidance on choosing blends for consistent performance, and concise care steps for storage and maintenance so caps retain their shape on the head and in images.

How fibre shapes a hat and its appearance in photographs
Begin with a few simple handling and gravity tests. Pinch the crown and fold the brim, then hold an edge vertically to see whether the fibre springs back and keeps a crisp line or stays indented and drapes. If the hat recovers after several folds and resists slumping under its own weight, it will block into defined shapes and show little visible creasing on camera. If it remains soft or indented, anticipate slumping and permanent creases when worn. These hands-on checks indicate how a silhouette will translate on-camera, and whether internal structure will be required to preserve form.
When assessing a hat's surface, view it under diffused window light and a directional lamp, and take a close-up photograph. Lustrous fibres will throw bright highlights that can flatten detail, while matte, brushed surfaces scatter light and reveal texture and dye saturation. Rub and lint-test a concealed patch, then photograph it to expose piling, fuzz, or static that will read as untidy under studio lights even if the hand feels fine. Light steaming or gentle humidification of a hidden area shows whether the fibre resets cleanly after blocking or relaxes and warps, signalling the need for built-in support or a different fibre choice. Together, these simple trials provide the evidence needed to choose fibres that hold their intended shape and photograph with consistent, predictable character.
Pick a blocked, structured hat for camera-ready shape.

Examine natural fibres for structure, hand, and ageing
Examine fibres under a loupe or bright light to match microscopic traits with likely performance. Hair fibres such as wool and alpaca show crimp and overlapping scales, which give natural springback and a tendency to felt. Plant fibres, including cotton and linen, lie flat and tend to crease. Silk filaments scatter light and display a distinctive sheen. On a small swatch, perform three simple tactile tests and record the results on a note card so you can compare samples. Pinch and release to judge springback. Crush the swatch, then steam or damp-reshape it to assess memory. Rub the surface to reveal pilling and to check colourfastness. Simulate ageing by exposing a swatch to a bright window, rubbing it lightly with skin oil, and flexing it repeatedly. Watch for colour shift, loss of sheen, or weakening. Expect hair-based fibres to oxidise and to bloom with abrasion, linen and cotton to soften and develop permanent creases, and silk to show watermarks.
Consider how texture reads on camera. Matte, even-finished surfaces produce a clean silhouette and consistent exposure, while coarse weaves or high sheen throw specular highlights that can obscure shape. Photograph small samples under the lighting you intend to use, and rotate the nap until brim and crown edges remain clearly defined. Plan construction alongside fibre choice: prototype facings and interlinings, add discreet edge stiffening and targeted stitching, then block the sample to the intended form. Photograph the prototype as you would handle it on set; the images will show whether the fibre and stabilisation preserve the cap’s shape under repeated handling and provide objective evidence to refine material and construction choices.
Choose linen blend headwear to keep summer shapes crisp.

Blends and synthetic fibres: stability, consistency, and weather resistance
Polymer-based fibres and blends do not deform in the same way as pure natural fibres. A cap with a higher synthetic content in the crown or brim will tend to spring back after compression and keep a crisp, structured silhouette. To assess resilience, compress a sample between thumb and forefinger, release it, and time how quickly it regains shape; fabrics that recover in seconds will better hold edges and pleats both in wear and in photographs. To judge weather resistance, spray a small, inconspicuous area and note whether water beads or soaks in, and observe how the fibre responds to humidity. Hydrophobic synthetics bead water, slow swelling, and reduce the sagging that can pull at stitching. If you need performance in rain, salt, or persistent damp, favour fabrics that show clear beading and rapid surface drying.
Smooth, glossy synthetics produce specular highlights under flash, while matt or gently textured weaves scatter light and yield more even tones. Photograph samples both in daylight and with flash to compare how surfaces respond, and rub a thumbnail across the fabric to reveal its sheen. Assess construction by feel: check the brim and crown for surface fuzziness and stretch seams gently to observe recovery. When you need a crisp edge in photographs, favour tightly woven or bonded constructions, which hold a cleaner profile under scrutiny. When shaping and caring for caps with a high synthetic content, steam at a low temperature, mould the piece on a head form, then allow it to cool fully to set the shape. Wash in cool water and avoid tumble drying, since heat and agitation can relax polymers and alter the form.
Practical checklist for testing, photographing, and caring for synthetic-rich caps
- Resilience and weather tests: compress the brim and crown, release, then measure how long the material takes to return to shape; fabrics that bounce back swiftly retain edges and pleats. Apply a few drops to a discreet patch, observe if water beads or is absorbed, and record surface drying; beading and rapid drying indicate hydrophobic performance in rain and damp conditions.
- Photographic and visual checks: photograph samples in daylight and with flash to reveal specular highlights and shadow behaviour. Rub a thumbnail gently across the surface to reveal sheen; smooth, glossy fibres throw highlights, while matt or lightly textured weaves scatter light for even tones.
- Construction and fit inspection: hold the fabric up to light to judge weave tightness, and run fingers along seams and bonded edges to check for fuzz, puckering, or loose yarns. Stretch seams and observe recovery and stitch integrity; tightly woven or bonded constructions and quick seam recovery predict sharper edges and cleaner pleats in wear and on camera.
- Shaping and care protocol: steam gently at low temperature, mould the piece on a head form, then allow it to cool undisturbed to lock the shape. Launder in cool water, avoid tumble drying and high heat that relax polymers, and store on a form or filled with tissue to preserve crown and brim definition.

How construction, blocking, and finish determine a hat's shape
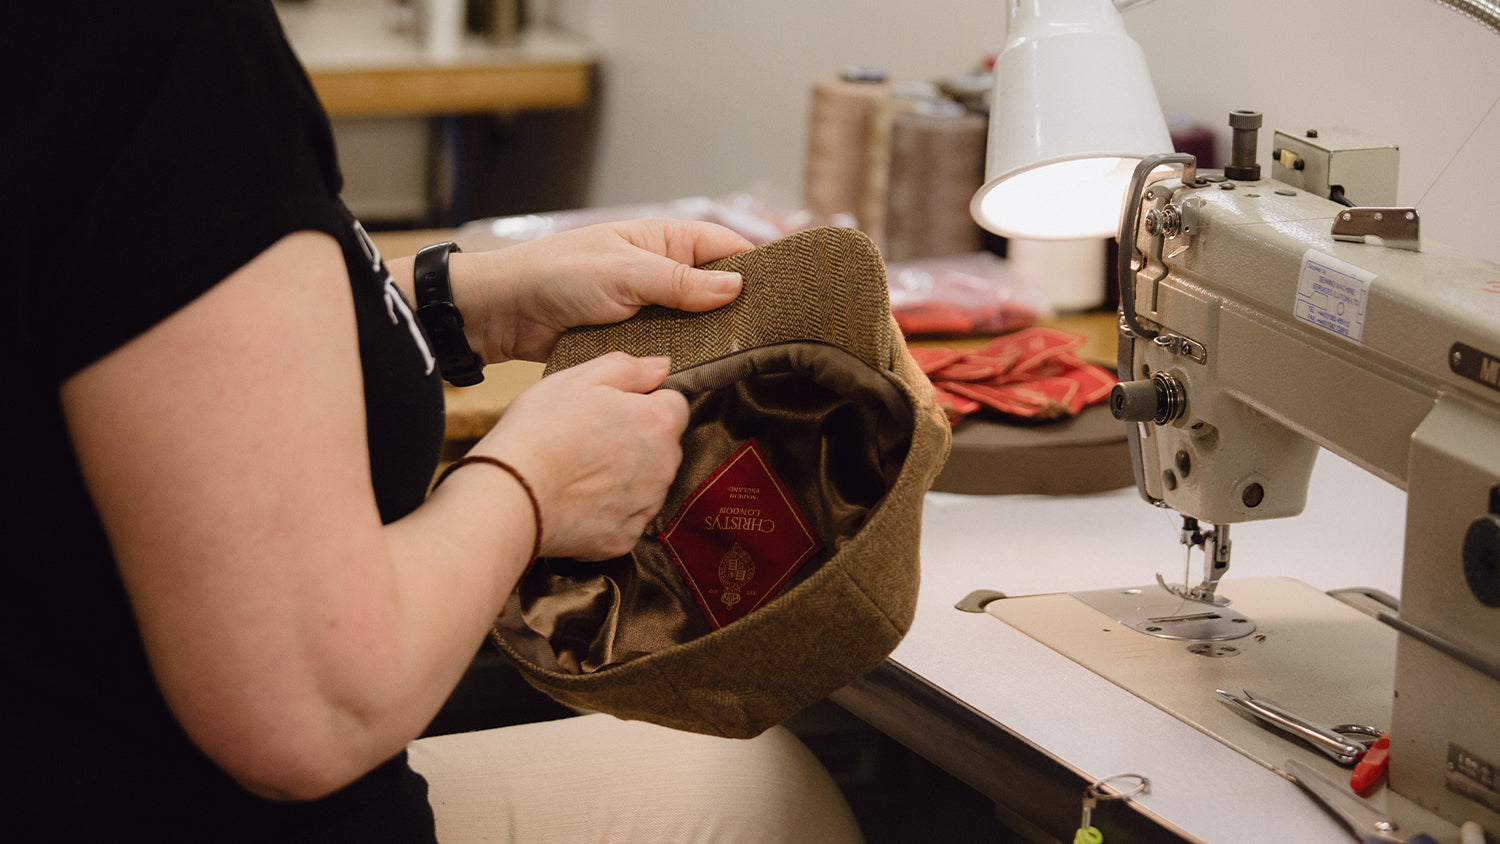
Begin by choosing fibres with inherent memory and the appropriate surface character. Wool and rabbit felts form interlocking scales that resist deformation; straw and blended fibres compress but can be stabilised with internal structure; synthetic felts tend to return reliably to a set shape. Verify a material’s behaviour by wetting a small swatch, reshaping it, and letting it dry to observe how well it recovers. Design the construction to lock the silhouette: use multiple crown panels, sewn canvas or buckram reinforcements, and a firm sweatband or inner harness to distribute tension and prevent collapse. Block on a correctly sized mould, apply steam sparingly, and pin through the form to hold angles while the piece dries. Reblock after any major cleaning to restore curves and brim lines. Taken together, these choices preserve shape through handling, storage, and the heat of photography or an afternoon in the sun, so a cap keeps its presence at a garden party or race meeting.
Select a matte finish or a brushed nap to diffuse highlights. Use close or blind hemming on the brim to avoid distracting shadow lines, and apply light stiffening to the brim edge to keep a crisp outline under studio lights. Photograph the cap early and often under the lighting you will use; note any unwanted sheen or shadow, and adjust nap direction, brushing, or matting agents until the piece reads as a single, well-defined shape. These tests reveal how the cap behaves from different camera angles and guide modest revisions to blocking and hand-finishing.
Choose a structured felt for crisp, lasting silhouette

Protect a hat's shape with considered care, storage, and maintenance
To reshape a cap, use controlled steam and careful blocking. Test first on a hidden area, as natural fibres and synthetics respond differently to heat and moisture. Apply gentle steam to relax the fibres, then mould the crown and brim over a hat block or a rolled towel to the desired profile. Allow the piece to cool and dry so the fibres set before handling. For storage, place caps on low-profile stands, or stuff crowns with acid-free tissue and lay brims flat with a rigid insert. Keep caps in cotton bags or breathable boxes to avoid trapped moisture. Control humidity with buffers, and shelter pieces from direct sunlight to reduce fibre collapse, mildew, fading, and the brittleness that will show in photographs.
Before a shoot, perform simple daily maintenance: remove dust with a soft-bristled brush, lift fibres with a lint roller, and align the nap using short, gentle strokes. Support the crown and the brim when handling to avoid pinches and creases under strong lighting. Rotate caps in regular use to prevent permanent deformation, and replace or repair collapsed sweatbands promptly. For re-blocking or stubborn reshaping, consult a milliner rather than resorting to high heat or aggressive treatments. Regular, light interventions, together with occasional professional attention, help caps retain their shape and appear consistently well in photographs.
A cap that keeps its shape and photographs consistently results from matching the behaviour of the fibre to the construction, then locking the form by blocking and hand-finishing. Simple, repeatable trials, such as pinch-and-release, controlled-humidity exposure, and close-up studio photography with raking light, provide clear evidence of whether a fabric will spring back, scatter light, or pill.
Work through a straightforward checklist: assess how each fibre performs under handling and weather, examine natural fibres for loft, resilience, and felting, weigh blends and synthetics for durability and shape retention, shape the piece through considered construction and blocking, and protect it with appropriate storage and periodic maintenance. These measures translate material testing into a reliable silhouette and consistent appearance in photographs, leaving you free to concentrate on styling rather than last-minute adjustments.
FAQ
What simple tests can I do to tell if a fabric will keep a cap's shape and photograph well?
Pinch the crown and fold the brim, hold an edge vertically to see if it springs back, and time how quickly it recovers after compression; materials that bounce back in seconds will block into crisp shapes. Photograph samples in both diffused and directional light, rub a hidden patch to check for pilling and sheen, and steam a concealed area to see whether the fibre re-sets or relaxes.
How do natural fibres such as wool, linen, and silk behave for structure and on-camera appearance?
Wool and other hair fibres show natural springback and can felt, giving good memory but potential bloom with abrasion; linen and cotton lie flat and tend to crease, which can collapse silhouettes. Silk throws light and produces sheen and watermarks, so expect specular highlights rather than a uniformly matte shape.
Why should I consider blends or synthetics for the brim and crown?
Blends and polymer-rich fabrics resist permanent deformation, regain shape quickly after compression, and often bead water to reduce sagging in damp conditions. Check for unwanted gloss under flash and favour matt or lightly textured weaves when you need even tones and sharp edges in photographs.
How can construction and blocking lock a cap's silhouette?
Use multiple crown panels, sewn canvas or buckram reinforcements, and a firm sweatband or inner harness to distribute tension and prevent collapse, then block the cap on a correctly sized mould using sparing steam and pins to hold angles while drying. Reblock after major cleaning to restore curves and keep the profile consistent through handling and shoots.
What care and storage practices protect a cap's shape and photographic presence?
Store on low-profile stands or stuff crowns with acid-free tissue, keep brims flat with rigid inserts, and use breathable bags or boxes while controlling humidity and avoiding direct sunlight. Before a shoot, remove dust with a soft brush or lint roller, align the nap with short strokes, rotate regularly in use, and consult a milliner for reblocking rather than applying high heat.