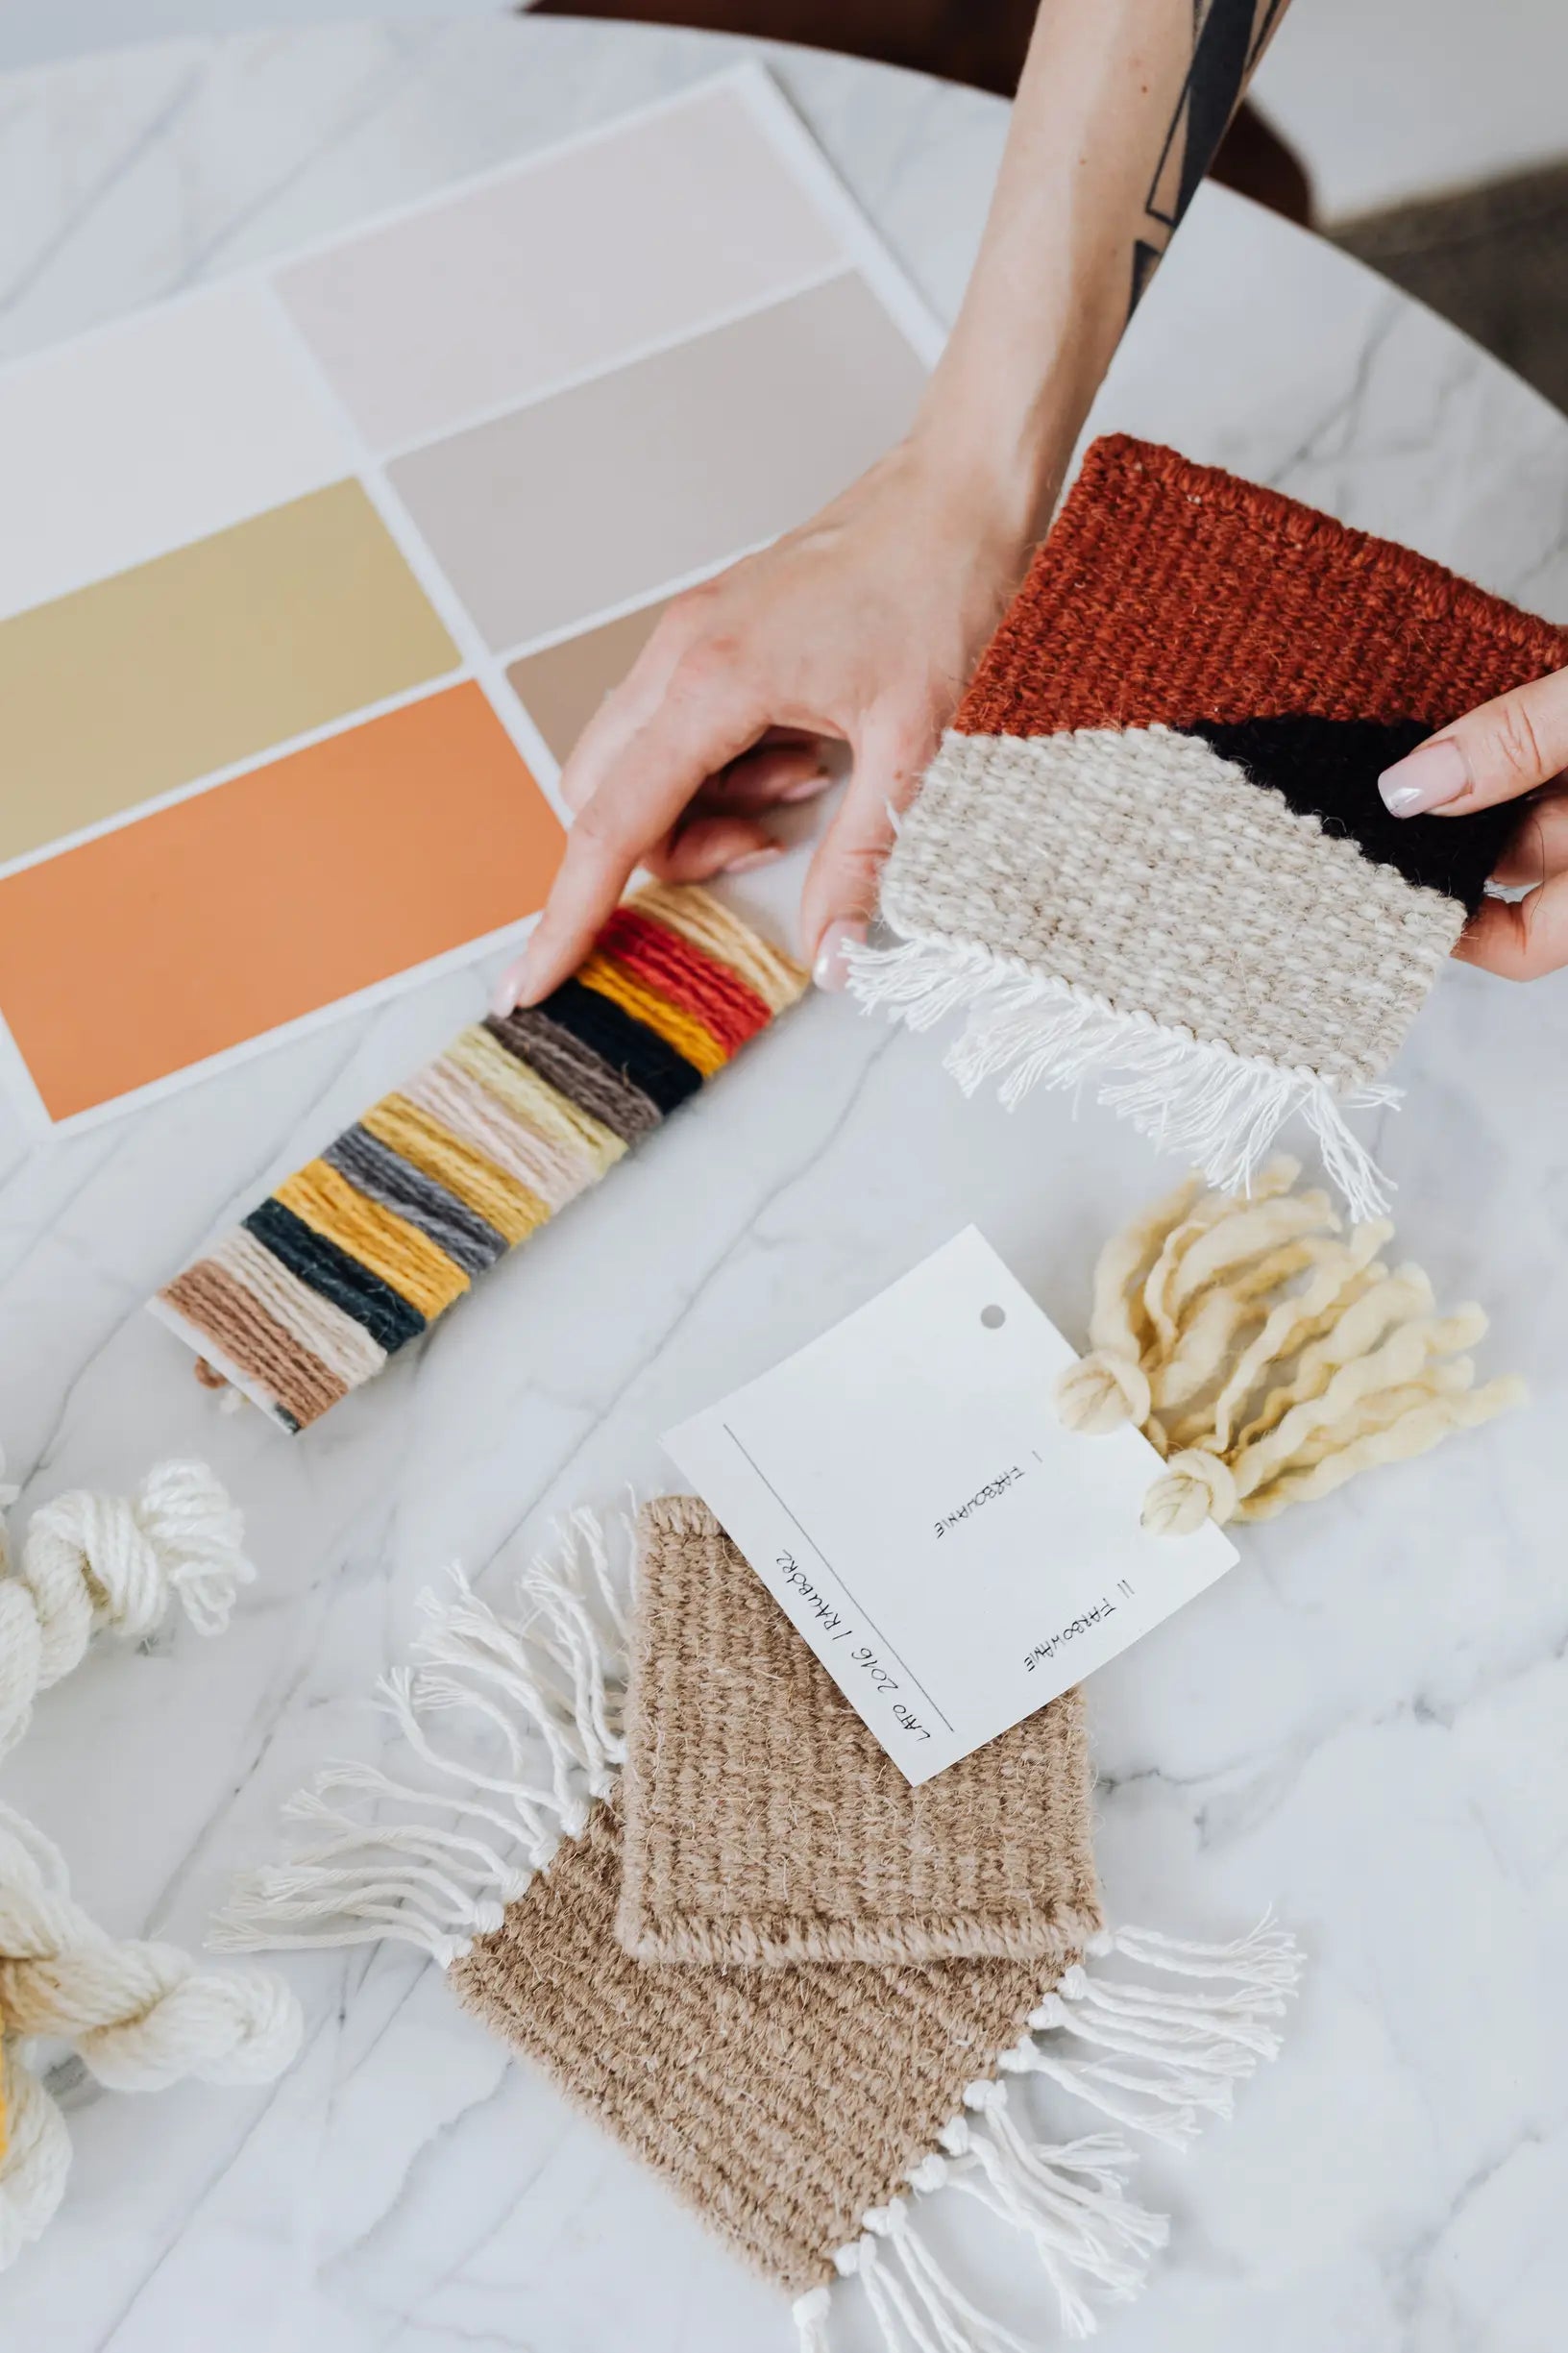
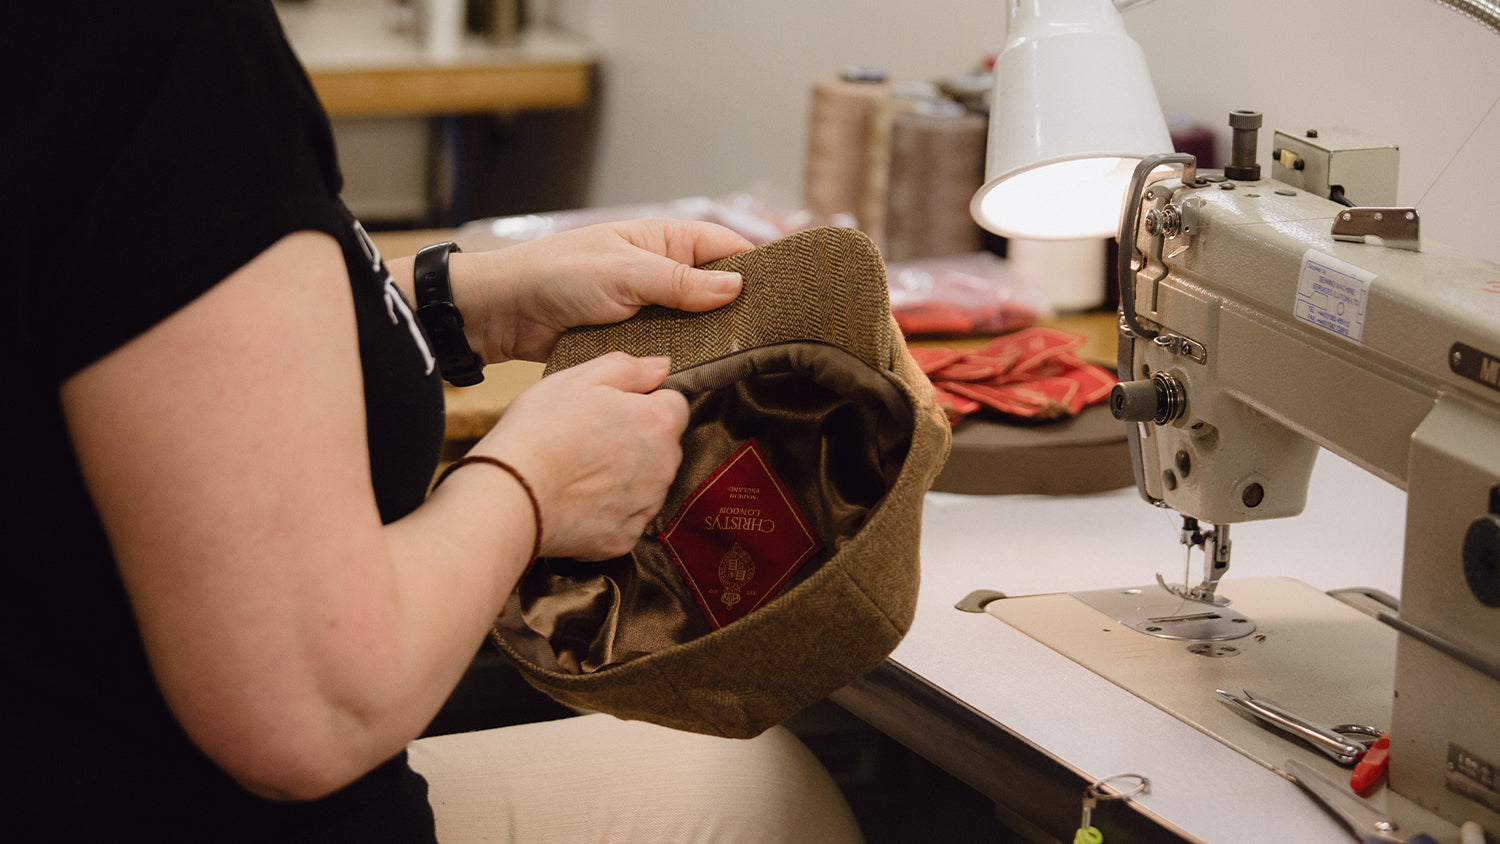
Why does one cap sit with a crisp outline while another slouches and moulds to the head? It is not down to label or colour, but to the choice of fibre and yarn, the weave and geometry, and the blocking and hand-finishing that shape the construction. These decisions determine whether a cap keeps its line or yields to the head.
Fine worsted wool and compact twill resist sag, maintaining a crisp profile, while open linen or loosely spun cotton drape and soften with wear. Steam setting, starches, and blocking further lock or relax those tendencies. Below, we explain which adjustments to make at the yarn, weave, and finish stages, and how blocking, construction, and aftercare shape a cap's texture, drape, and fit for different occasions and climates.

Selecting fibres and yarn structure for feel and resilience
Choose fibres and yarn structures to suit a cap's intended hand (the tactile feel) and resilience. Long-staple wool, silk, or filament synthetics give a smooth, low-hair hand with good drape, while shorter-staple wool or brushed yarns produce a warmer, fuller hand with more body. Pick worsted-spun yarns for a sleek, compact surface, crisper drape, and clearer weave definition. Woollen-spun yarns trap air, soften the hand, and add spring and loft. Adjust twist and ply to balance recovery and softness: a higher twist increases tensile strength and shape memory but firms the hand, while a lower twist adds bulk and suppleness at the expense of pill resistance. The considered combination of these elements determines how a cap wears, holds shape, and endures over time.
Treat surface and chemical finishes as practical tools rather than afterthoughts. Mercerisation tightens cotton, raising sheen and improving abrasion resistance. Singeing or calendaring removes stray fibres for a crisper print surface. Enzyme or steam softening preserves a pleasing hand while limiting loss of strength. Validate each choice with quick, measurable checks. Stretch a 7.5 cm (3 in) swatch by 20 per cent and note recovery, rub the surface with a white cloth to assess pilling, and launder or steam a sample to observe shrinkage and any change in drape. Record the results and translate them into comparable outcomes, for example cycles to visible abrasion or percentage recovery after elongation. Use those findings to balance inevitable trade-offs for the intended use: accept a firmer drape where a brimmed cap must hold shape, or prioritise loft and warmth for countryside wear. These simple tests turn subjective impressions into evidence, helping you choose finishes that deliver the performance a well-made hat requires.
Use a linen blend for cool, structured summer caps.

Controlling fabric drape through weave and cloth geometry
Begin with yarn fundamentals: fibre, twist, and ply set the baseline for a cloth's hand and drape. For a softer, more compliant crown, opt for lower-twist, loosely plied yarns or fibres with surface bloom. When you need crispness and definition, choose higher-twist, finer yarns. Weave structure then refines that baseline. Satin and crepe constructions tend to produce a fluid, body-hugging behaviour. Twill offers controlled give along the bias, while tight plain weaves hold a sharper shape. Tests show why these differences matter: lower twist lets fibres move and reorient under load, increasing extensibility; high twist locks the yarn and resists collapse; and twill’s diagonal ribs rotate yarns under bias, helping the cloth conform where required.
Cloth geometry and cutting amplify these effects. A bias cut increases extensibility; curved seams and extra gores introduce three-dimensional ease without adding bulk; aligning the fabric's directional ribs with the crown influences how the hat sits. Surface finishes and treatments alter friction and loft: light napping or brushing lifts the nap, traps air, and softens the fall, while calendering compresses the cloth and reduces yarn mobility, so reserve heavier chemical finishes for particular functional needs. Finally, seams, topstitching, interfacings, and linings change local stiffness. Test prototypes on a block by wetting, shaping, and flexing them to see where the cap should hold its shape and where it should yield.
Block fine wool felt for precise, lasting crown shape.

Hand-finishing techniques to control texture, sheen, and shape retention
Controlled heat setting and steam pinning lock a shape into synthetic and blended yarns, and they can gently shape natural fibres. Work on small swatches, increase temperature and time in small increments, and then measure recovery after repeated flexing to quantify shape retention without over-stiffening the crown or brim. Low add-on resin finishes improve wet and dry wrinkle recovery and give a perky crown. Higher add-on levels, and greater crosslink density, produce a boardier hand and increased sheen. Balance resin chemistry and curing conditions with a post-softening step to retain drape. Aminosilicones and non-silicone softeners reduce surface friction, increase drape, and alter perceived softness and sheen. Dose them carefully, apply any softener only after a resin cure, and inspect finished swatches for breathability and pick-up to avoid a greasy appearance. Keep a simple test log of temperatures, dwell times, add-on percentages, and the results observed. Small, measured changes make it possible to achieve the shape, hand, and performance you seek without unintended stiffness or loss of drape.
Mechanical and enzymatic treatments alter a textile's surface microstructure in predictable ways. Calendering increases sheen, while napping lifts fibres to produce warmth. Bio-polishing removes loose fibres and reduces pilling. A useful sequence is to bio-polish first, then calender for a smooth, lustrous face, or bio-polish followed by napping for a matte, cosy finish. Rather than relying on touch alone, run abrasion and pilling tests, and quantify stiffness and sheen after each stage. When applying functional topcoats, such as water-repellent or stain-resistant finishes, perform simple checks on swatches: spray water, flex the brim, then wash samples to assess breathability and durability, because these coatings will subtly alter hand, drape, and long-term behaviour.
Practical finishing guidance for hat crowns and brims
- Provide recipe-style starting points and how to iterate: heat-set at low-to-moderate temperature with steam pinning, run incremental trials increasing heat and steam, and measure geometry lock and recovery after repeated flexing; aim for resin add-on of about 0.5–1.5% to improve wet and dry wrinkle recovery and produce a gentle, resilient lift, or 3–6% for a boardier hand and increased sheen, and favour lower crosslink density where drape is required; cure fully before any softener, then apply aminosilicone or non-silicone softeners at roughly 0.3–1.5% add-on to reduce surface friction and restore drape as needed.
- Use a compact swatch testing and QC checklist after each stage: wet and dry wrinkle recovery, repeated flex/shape-recovery cycles, abrasion and pilling tests, breathability and water repellency spot checks (spray water, flex the brim, then launder), and objective sheen and stiffness readings with a gloss meter and bending or cantilever stiffness measure; record results systematically so you can compare variants and justify scale-up.
- Sequence mechanical and enzyme treatments to control surface microstructure: run bio-polishing first to remove loose fibres, then calender for a smooth, lustrous face or napping for a matte, cosy finish; adjust calender pressure and roll finish to tune sheen and hand, and always quantify abrasion, pilling, stiffness, and sheen after each stage; do not assess these properties by touch alone.
- Anticipate common problems and plan mitigations and scale-up controls: for over-stiffening reduce resin add-on or crosslink density and reintroduce post-softening; for greasy hand lower softener add-on, change softener chemistry, or ensure application after cure and efficient rinsing; for uneven sheen or hand check wet pick-up uniformity, padding pressures, and calender settings; to avoid enzyme damage run conservative enzyme trials and neutralise promptly; on scale-up control bath ratio, wet pick-up, and drying profile, and replicate the swatch test matrix in pilot runs to log any shift in metrics.

How blocking and construction shape profile and fit
Fibre type, staple length, and twist determine a yarn's surface, stretch, and memory, and those qualities in turn predict how a cap will behave: whether it will sit crisp, spring back after handling, or soften with use. That behaviour becomes apparent on a small swatch. Make a 10 cm square swatch, introduce moisture or a short burst of steam, then note two things: how quickly the fibres recover their original shape, and how the fabric drapes when allowed to hang. Rapid recovery suggests resilience and resistance to felting, while lingering softness and a generous drape indicate a fabric that will relax on the head over time. Equally important are the cloth structure and gauge. Weave pattern and thread count, or knitting gauge, control stiffness and breathability. Tighter structures and finer gauges give a crisp brim and a defined crown, while looser weaves or coarser gauges produce a more relaxed drape and greater edge roll. The choice is a matter of intended character rather than better or worse. Finally, consider finishes for their mechanical effects. Fulling tightens and thickens the fabric, reducing drape, napping raises a warm pile and softens the hand, mercerising adds sheen, strength, and improved dye response in plant fibres, and heat setting fixes the memory of synthetic yarns so shapes hold. Observing these behaviours on a small swatch lets you predict how a cap will settle, age, and respond to wear, so you can choose the structure and finish that match the effect you want.
Profile and fit are established at the block. Begin by choosing a hat block that corresponds to the intended head shape, pinning seams and the crown with even tension before introducing steam or moisture so the fibres relax. Work the brim to its intended curve and allow the piece to set fully; repeated blocking progressively relaxes fibres, so finalise fit on prototypes rather than on the finished construction. Secure the fit with internal supports and considered panel work. A lightweight interlining or canvas in the brim creates a crisper edge, additional panels reduce puckering on curved crowns, and a sweatband or discreet adjuster governs ease. In practice, the internal structure—more than the outer material—often determines the hat's final fit, which is why careful blocking and measured internal construction matter.
Choose densely blocked felt for an arena-ready crisp shape.

Care and wear: preserving or altering a hat's texture and fit
Begin with controlled cleaning. Wash natural fibres in cold water with a mild detergent, blot excess moisture, and air-dry the cap on a hat form rather than using a tumble dryer. Wool and cotton fibres have scales that interlock; heat and agitation will cause felting and shrinkage. For synthetic blends, test an inconspicuous patch first, since heat and prolonged agitation can relax finishes and alter the fit. When reshaping, apply short bursts of steam to open the fibre structure, block the crown on a form or on your head, and allow it to cool and dry to set the drape. Repeating brief sessions will reform the shape without weakening the weave.
Store caps on a low-profile form or gently stuff them with acid-free tissue. Avoid hanging them on hooks, which can stretch the rim and distort the shape. Rotate wear so natural oils and trapped moisture can evaporate between uses; this helps slow fibre weakening and prevents nap compression. Gently brush to remove dust and restore the nap, the raised surface of the fabric, and wipe the sweatband regularly. Do not use harsh chemicals that strip finishes, because friction and stripped surfaces encourage pilling and flattening. For deliberate adjustments, a controlled wet fulling will tighten and stiffen wool, and targeted steaming with gentle stretching can ease a snug fit. Complex reshapes, reblocking, or headband replacement are best left to a milliner, since blocking on a wooden form alters the weave geometry in ways that home techniques cannot safely replicate.
A cap's texture, drape, and fit are the result of deliberate choices at every stage. Fibre and yarn structure determine the starting point; weave and geometry refine how the fabric behaves; finishes, blocking, and construction then lock or release the shape. Measured trials, such as swatch stretching, steam pinning, and abrasion and pilling checks, translate those choices from theory into predictable outcomes.
Work through the following checklist as you develop a cap: choose yarns for the hand required, select weave and cut to achieve the desired drape, apply finishes to tune sheen and structural memory, and finalise the fit with careful blocking and discreet internal supports. Prototype deliberately and record straightforward test results; such evidence allows a cap to be tailored to occasion and climate rather than left to guesswork.
FAQ
What fibre and yarn choices make a cap sit crisply rather than slouch?
Choose long-staple wool, silk, or filament synthetics and worsted-spun, finer yarns with higher twist and appropriate ply to give a smooth surface, crisp drape, and good shape memory; by contrast, shorter-staple wool, woollen-spun or brushed yarns and lower twist produce loft, warmth, and a softer, more slouching fall.
How do weave and cutting influence a cap’s drape and fit?
Weave structure sets baseline behaviour — satin or crepe yields fluid, body-hugging drape, twill gives controlled bias give, and tight plain weaves hold sharper shapes — while geometry such as bias cuts, curved seams, and panel count increase extensibility and three-dimensional ease.
What finishing treatments control sheen and shape retention?
Use controlled heat setting and steam pinning to lock geometry, choose resin add-on and crosslink density to tune perky versus boardier hands (roughly 0.5–1.5 percent for moderate recovery, 3–6 percent for stiffer hand), then apply softeners such as aminosilicones after cure at low add-on to restore drape; sequence bio-polishing, calendering, or napping to target smoothness or warmth, and always recheck abrasion, pilling, and stiffness.
How should I test and iterate to be confident a cap will behave as intended?
Run compact swatch trials and record measurable checks — stretch a small swatch by about 20 percent and note recovery, perform wet and dry wrinkle recovery, repeated flex cycles, abrasion and pilling tests, and objective sheen and stiffness readings — then compare variants and repeat pilot runs before scale-up.
How can I reshape or preserve a cap at home without damaging it?
Use short bursts of steam and block the cap on a matching form, leave it to cool and air dry, avoid tumble drying or harsh chemicals that will felt or strip finishes, and for substantial reblocking or structural changes consult a milliner to avoid permanently altering weave geometry.