How do you choose cloth that will hold a cap's shape, follow the contours of the head, and age gracefully? Learning to assess weight, drape, and hand by touch, and to observe how a fabric recovers after compression, reveals whether it will withstand wear, resist distortion, and retain a clean line.
This post outlines practical tactile tests, including folding, recovery, and stretch, and demonstrates how close inspection of weave, nap, and grain predicts a cap's stability and fit. It also includes a concise preparation checklist covering conditioning, aligning the grain, and marking, so the finished cap fulfils the promise first felt in the hand.

How to assess fabric weight and drape when choosing a cap
Start with a pinch-and-release test on a small square of cloth. If the pleat snaps back, the fabric will support structured panels and a crisp peak; if it relaxes slowly, expect a softer, crown-conforming drape. A distinct rustle, or a clear sense of resistance, further indicates stiffness and body. Next, drape a 25 to 30 centimetre square over a rounded form and observe where the cloth clings, tents, or forms smooth folds. Cling predicts a close-fitting crown; tenting, or a smooth fall, suggests a weight that will preserve the overall silhouette and help the brim hold shape. Finally, pull the edge taut across a brim template or a ruler. An edge that feathers or ripples will need reinforcement. An edge that sits flat implies the fabric can deliver a crisp brim without heavy interfacing.
Assess bias stretch and recovery by pulling the cloth on the bias and testing any knit panels for lateral give. Significant elongation, or poor recovery, predicts panel distortion in wear; a biased panel that stretches will allow the crown to sag or the peak to twist. Where you find instability, specify stay-tape, bias-binding, or a more stable lining to control shape. Make a mock-up by cutting and machine-basting a single cap panel with the chosen lining and interfacing, and pin it to a head form. Apply the usual press and steam used in finishing to simulate wearing. Observe the final drape, the fabric’s memory, and any seam roll, then vary interfacing weight or pattern shaping until the mock-up reproduces the intended crown shape and peak behaviour.
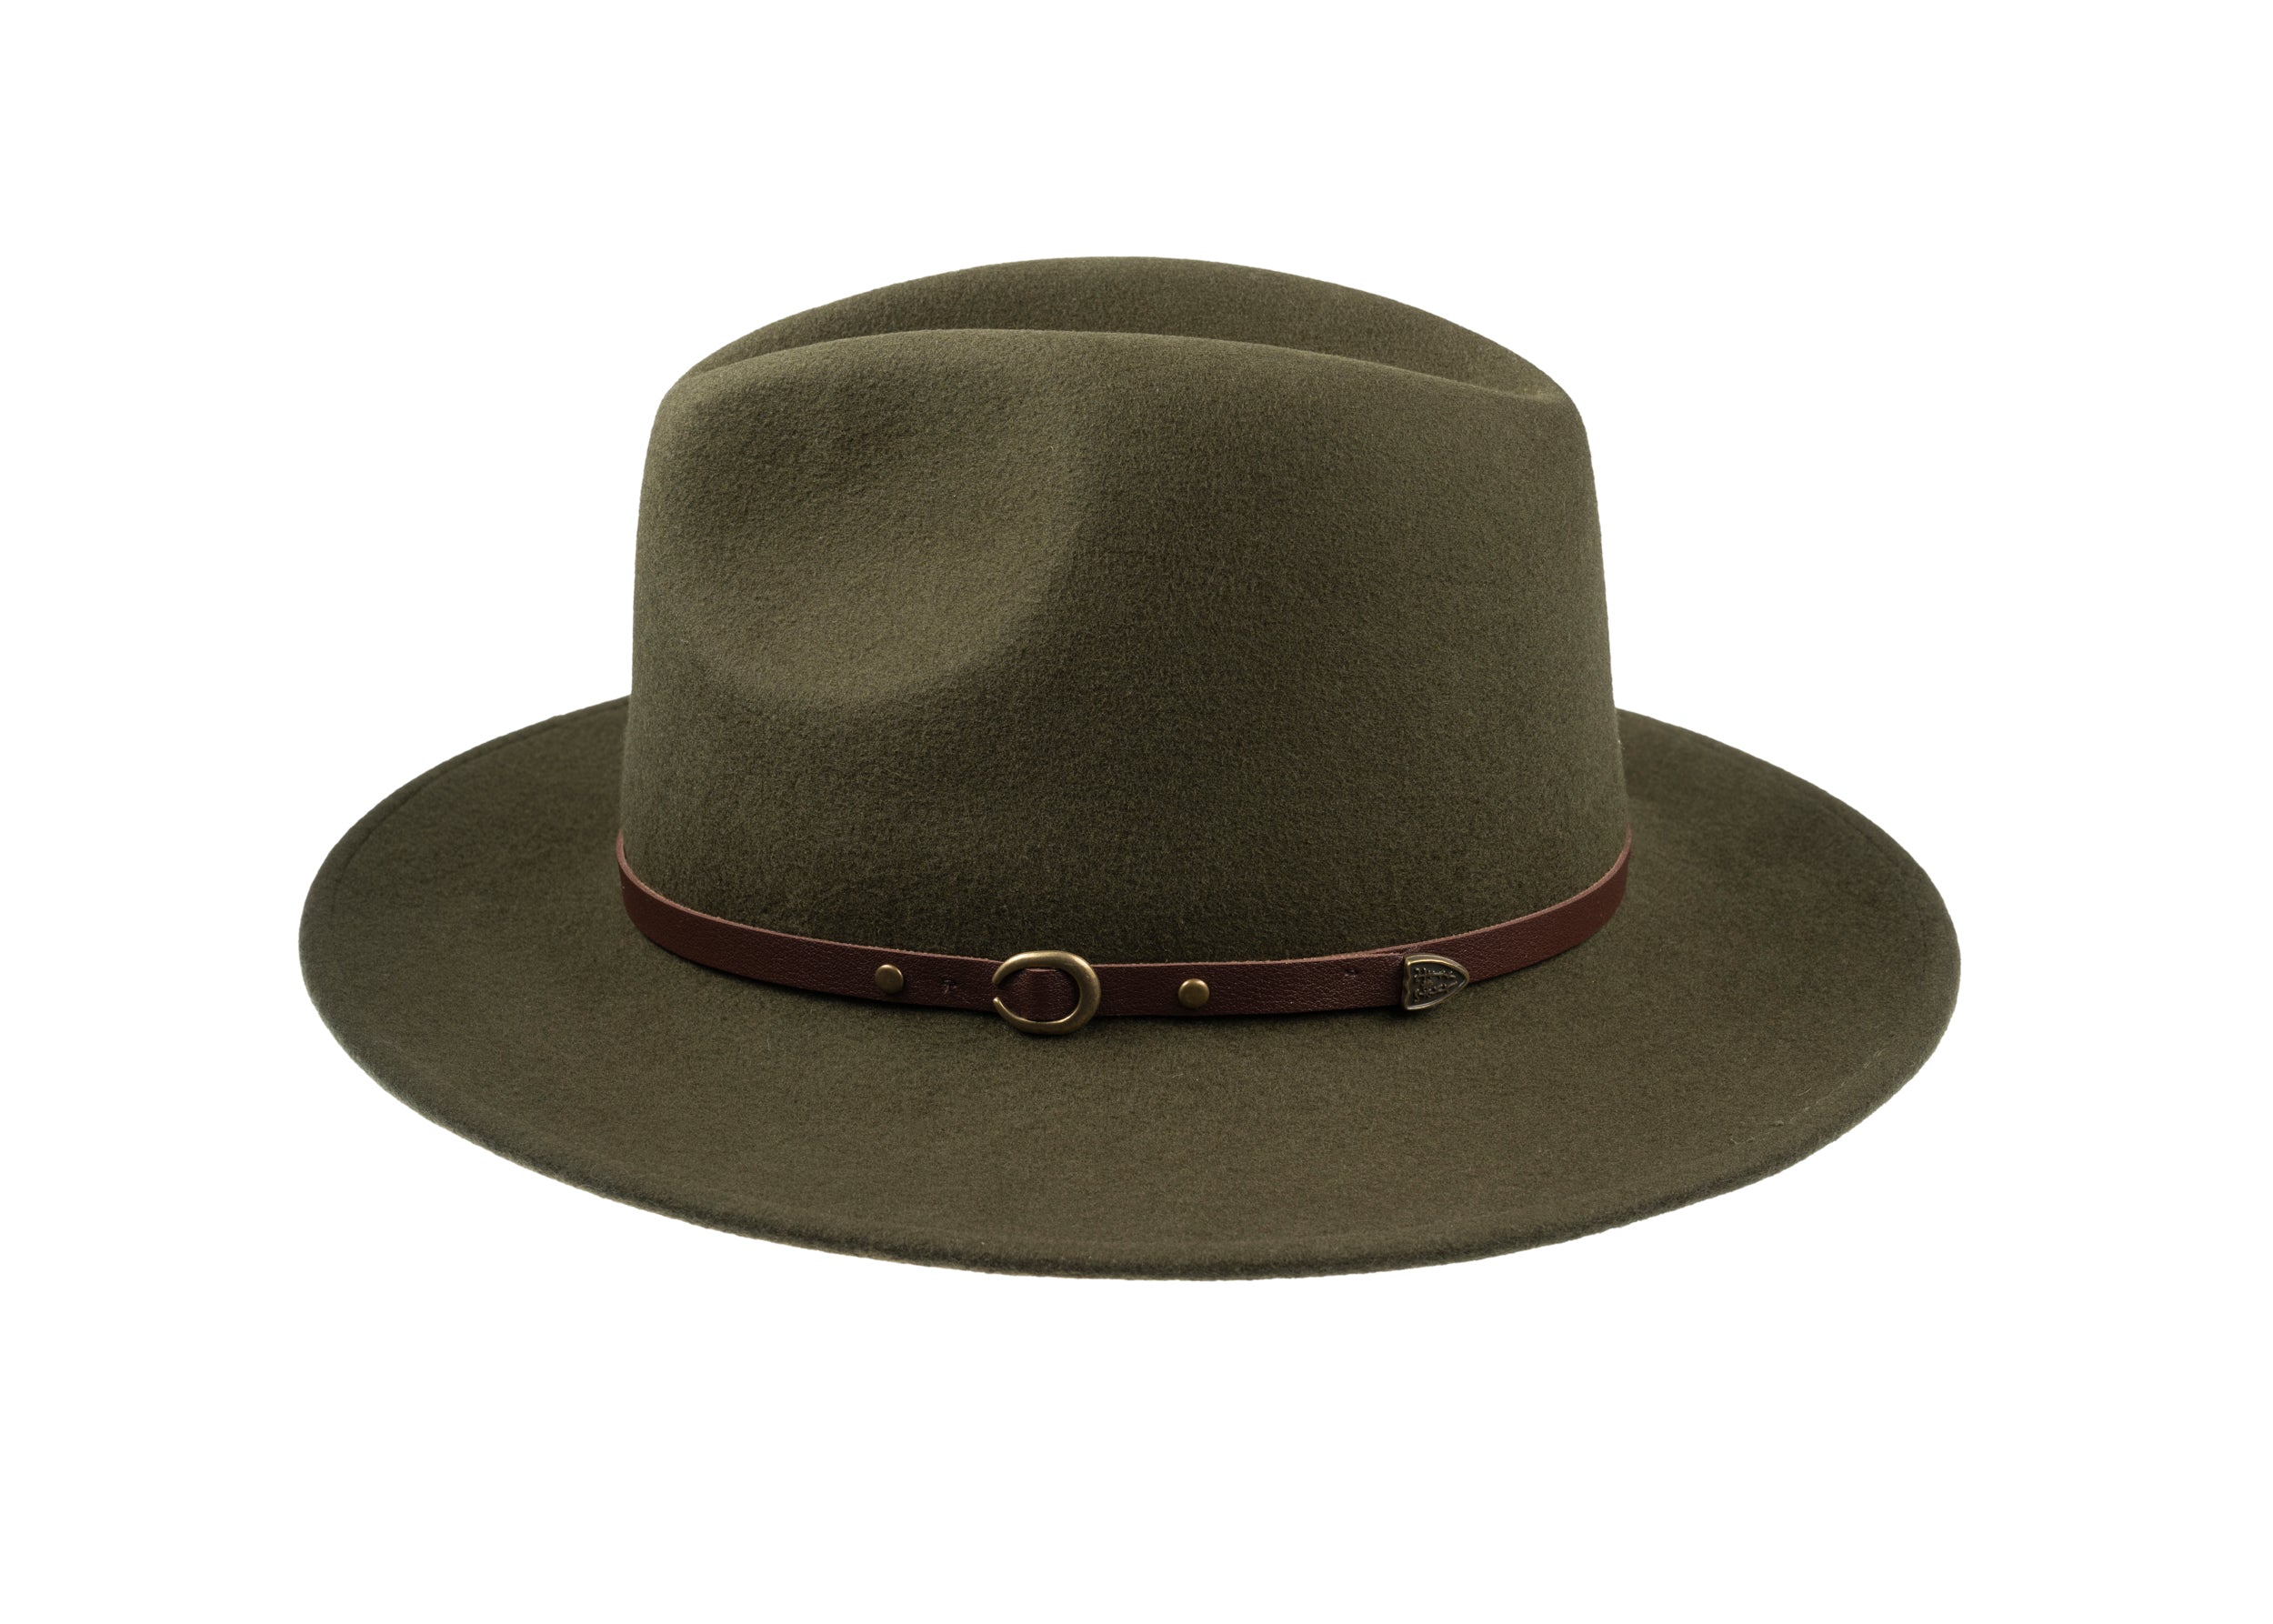
Choose a blocked, structured felt for crisp, lasting headwear.

How to test fabric hand, fold, and recovery
Begin by cupping the cloth over your knuckles to mimic a hat crown. Note whether it smooths into a soft dome or holds an arc; the former predicts a relaxed, slouchy cap, the latter a more structured piece. Make a single, sharp fold along the intended brim line, smooth the fabric, and observe whether a persistent crease remains or the material recovers cleanly. This shows whether the brim will hold fold lines or lie neat. Finally, stretch a small patch and release, then hold the fabric by one corner to study its bounce, recovery, and drape, comparing these reactions with familiar garments to calibrate expectations.
Run a fingernail lightly along the fabric face and the cut edge to reveal slub, twist, and fraying. Fibre behaviour at the edge often predicts how the body will respond to shaping. Tightly spun, high-twist yarns and dense weaves resist creasing and hold a defined form, while open weaves and slubby yarns relax into a softer drape and show texture when shaped into a cap. After handling, watch how the surface recovers: fabrics that bounce back quickly will retain crown shape, whereas those that recover slowly will soften and may sag with wear. Taken together, these simple tactile checks let you forecast brim definition, crown retention, and overall movement without specialist tools.
Opt for a breathable, structured linen cap this summer.

How to Inspect the Weave, Nap, and Directional Grain of Your Hat
Begin by feeling the weave and the yarn twist. Press the cloth between thumb and forefinger to assess compressibility, yarn thickness, and surface texture. Hold a swatch up to the light and tilt it to judge thread spacing and translucency. Where light passes through, the fabric will be lighter and more prone to drape; where it is opaque, it is denser and more likely to give a structured cap. Finally, pinch the cloth and let it fall to observe how folds form and whether creases spring back. Fabrics that recover slowly will produce a slouchier cap; crisper cloths yield a more defined silhouette.
Read the nap and directional grain by stroking the cloth both ways, and note any shifts in colour or sheen. Use those shifts to orient panels so the light falls consistently across the crown and peak, avoiding visible mismatches. Inspect the selvedge, pull a sample gently on the bias, and bend a cut panel along the grain to simulate blocking and shaping, observing how much give there is and how seams behave when curved. Fabrics that accept curving seams without puckering will sew into smooth crowns and stay true to the intended shape. Those observations predict how a cloth will sew, sit, and wear, so you can choose panel layouts and internal supports that match the cap silhouette you want.
Read the cloth: quick tactile tests and layout rules for hat panels
- Pinch and palpate the weave and yarn twist: press a swatch between thumb and forefinger to gauge compressibility, yarn thickness, and surface texture. If folds spring back quickly, expect a crisper crown; slow recovery predicts a slouchier silhouette. Record these results to choose appropriate interfacing and seam allowances.
- Hold the fabric to the light and test bias stretch: tilt the swatch to check thread spacing and translucency, then pull gently across the bias and bend a cut panel along the grain. Visible gaps and high translucency indicate lightweight, drapey cloth that needs softer supports; low translucency and minimal bias give point to a structured cap that will hold curved seams.
- Read nap and directional grain by stroking the surface both ways and noting colour or sheen shifts. Lay out crown and peak panels so nap and sheen run consistently, use selvedge or pattern repeat as alignment guides, and cut mirror-image pieces when directional change would be apparent on adjoining panels.
- Translate tactile findings into construction choices: match interfacing weight and type to the fabric's recover and drape, choose seam finishes and topstitching to prevent puckering, and decide whether to add stiffeners or soften seams to hold or relax the intended silhouette. Test a basted panel to confirm how the cloth will sew and sit before cutting final pieces.

How to assess stretch, shrinkage, and stability in hat materials
Begin with a stretch-and-recovery test. Mark a 10 cm square on the cloth, then pull the sample along the warp, the weft, and the bias. Release and measure the residual extension; uneven recovery predicts future warping or gaping in wear. Carry out a shrinkage trial by cutting two small swatches and washing and drying them exactly as you will treat the finished cap. Compare dimensions and hand; any dimensional change or surface puckering forecasts adjustments to fit and seam allowances after construction. Mock up a sewn seam, then flex and steam the area. Inspect for puckering, seam slippage, or needle-track distortion. Visible yarn migration or loosening indicates unstable behaviour under handling and flags the need to reconsider stitch technique, stabilisers, or seam finishing before committing to the final piece.
Test drape and moulding on a rounded form. Hang a strip of cloth, or a mock crown, over a hat block, cup, or jar to observe how the material settles, where folds form, and how it springs back. Note differences between bias cling and straight grain resistance; fabrics that lie smoothly on the bias but resist on the straight grain will produce different crown shapes, and those observations should inform your cutting strategy. Investigate finishes by rubbing, brushing, and lightly steaming a swatch to reveal nap direction, bloom, and any loss of finish. Heat-set coatings and mercerised treatments can alter hand and shrinkage, so record each change as evidence of whether the cloth will hold a cap shape over time, and to determine realistic seam allowances and construction methods.
Opt for a structured tweed cap that holds shape.

Condition the fabric, align the grain, and mark for cutting and shaping
Begin by conditioning the full length of the cloth, either by pre-shrinking or by steaming. Press it flat and compare its feel and dimensions with an unconditioned sample. If the hand softens or the size changes, expect a different drape in the finished cap; allow for underlining, interfacing, or a trial piece to confirm the result. Square the fabric to the selvage so the warp runs true. Pin or clip matching points on your pattern pieces to the straight grain, and avoid placing curved crown seams on the bias unless you specifically need stretch. Misaligned seams reveal themselves as twisting or puckering when you baste. Use simple tactile tests to judge behaviour: pinch a fingertip of cloth, roll the edge around your finger, and drape a sample over a hat block or a bowl. If the cloth holds a gentle curve, it will take shaping; if it pools or collapses, consider a firmer interfacing, a different underlining, or an alternative application.
Mark centre lines, nap direction, and grain arrows using reversible, low-impact methods. Test any pen or chalk on a scrap first to assess permanence, and note where seams will take tension. Construct a minimal mock-up from scraps and baste it to a block or wearable form so you can observe behaviour in use rather than rely on feel alone. Watch for seam puckering, edge roll, crown sag, or excessive stiffness, and use those observations to determine underlining weight, interfacing placement, or adjustments to pattern ease. Consistent markings and matched nap across pieces prevent visible tonal and pile mismatches on peaks and crowns.
A few simple tactile tests transform vague fabric descriptions into reliable predictions of how a cap will sit, whether the crown will conform to the head, and how the brim will hold its line. A pinch-and-release, draping the material over a rounded form, and a bias-stretch test reveal stiffness, cling, and recovery, allowing you to foresee likely distortion, where reinforcement will be required, and which finishing choices will best preserve the shape.
Work through the practical checks in sequence. Inspect the hand, the weave, and the nap; carry out stretch and shrinkage trials; and fit a mock panel to observe how the fabric behaves. Record seam roll, edge feathering, and any directional colour shifts as objective evidence. Condition the fabric, square and mark the grain, and make a minimal mock-up, then use those recorded results to select interfacing, lining, and cutting strategy, ensuring the finished cap reflects the qualities you identified by touch.