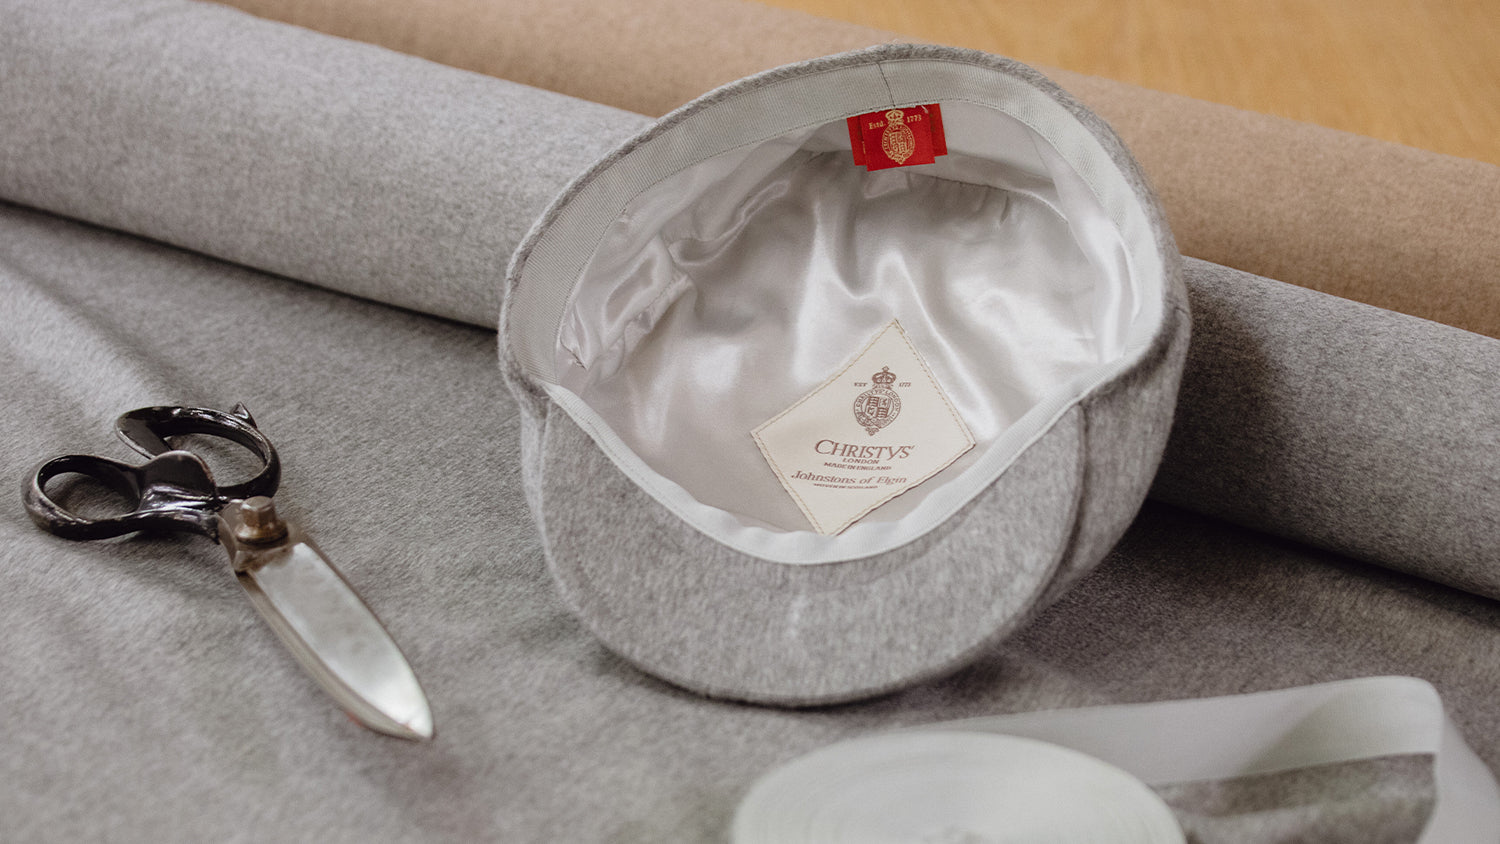
A cap that warps, sags, or refuses to hold its profile can undo months of careful patterning and tailoring. Even a few millimetres of shrinkage, or a softened crown, will alter silhouette and fit. Hatmakers require straightforward, evidence-based tests to predict how cloth will behave during blocking, wear, and changes in climate, yet testing methods and the terminology around them often remain opaque.
This guide outlines ten practical tests for shape retention, from fibre mix and cloth construction to dimensional stability, repeated flexing, drape, recovery, moisture response, abrasion, colourfastness, and accelerated ageing. It explains which characteristics govern a cap's profile and service life, and sets out measurements and simple workshop checks to choose, tune, and validate cap cloth, reducing the number of fittings, alterations, and returns.

1. Define the purpose and success criteria for shape retention testing
Start by naming the decision the test must inform, and link it to the hat's intended use so results map directly to choices. For example, accept a cloth for a Royal Ascot topper that must retain a high crown, or favour a fast‑recovering weave for a travel hat that will be packed. Specify a small set of measurable metrics and a simple method for each so comparisons remain objective and repeatable. Useful metrics include: permanent set, expressed as a percentage of original crown height and measured with calipers before and after compression; elastic recovery after repeated bending, reported as percentage recovery after a defined number of cycles; change in brim curvature in millimetres, assessed by profile scans or silhouette photography; and stiffness or flexural modulus, recorded in standard units using a basic bending rig or manual flex test. Pair each metric with a low‑tech verification where possible — calipers for crown height, profile scans for silhouette comparison, and angle gauges for brim deflection — so workshops can compare materials without specialised equipment. Frame success around the trade‑offs the workshop will tolerate, for example stiffness versus comfort, and agree reporting conventions that translate results into product choices, such as pass/fail thresholds, ranked bands, or numerical cut‑offs with stated sample size and test conditions. Keep reports concise and consistent so the data informs design decisions rather than obscures them.
Choose tests that reveal the failure modes you care about, and be explicit about both the outcomes you expect and the stresses that expose them. Begin by naming common failure modes, for example crown collapse, brim warping, seam puckering, and loss of edge crispness. Match each failure mode to a focused stimulus, for example repeated creasing to probe crown memory, or sustained compression to reveal brim set. Define sampling and repeatability before you begin. Test multiple specimens from different production lots, and precondition samples to a defined humidity and temperature so results are comparable. For each metric report the mean, the standard deviation, and a clear acceptance threshold. Those three figures turn variability into actionable design data rather than anecdote. Let measured variability drive the decision you take. If results remain within tolerance, it may be appropriate to accept a run as delivered. If variability approaches limits, consider targeted corrective actions such as reworking specific components, tightening tolerances, adding a light interlining or finish, or rejecting batches that show a permanent set beyond the defined limit. Specify which corrective path applies to which line or use case, for example accepting a slightly softer crown for less formal pieces while requiring stricter limits for occasion wear. Record everything on a specification sheet so decisions remain consistent across the workshop and supply chain. At minimum include the exact test methods, equipment and settings, preconditioning procedure, sample sizes and lot identifiers, raw data, calculated statistics, and the acceptance criteria used. A single, disciplined document ensures that test outcomes lead to consistent, defensible action.
Prefer fur felt when crown retention matters most

2. Analyse the fibre blend and the fabric's construction
Wool's crimp, the tiny waves along each fibre, gives cloth spring and resilience. Polyester offers high elastic recovery and low moisture uptake, while cotton and linen allow breathability but tend to soften and lose memory over time. For a shaped crown, favour higher-crimp fibres or a greater synthetic proportion; blends dominated by natural fibres produce softer, more breathable caps. Yarn twist, ply, and yarn count, together with the weave, determine stiffness and drape: tightly twisted, multi-ply, high-count yarns in firm weaves such as twill or canvas yield structure, whereas single-ply, low-count yarns and open weaves give relaxed, pliable cloth. Mechanical and chemical finishes, including heat-setting, resin or polymer coatings, and calendering, markedly improve dimensional stability. Treat swatches to repeated steaming and laundering to assess how well a fabric keeps its shape rather than judging permanence by fibre content alone.
Simple maker tests reveal how a construction will perform in use. Try a few straightforward checks: run repeated bend and recovery cycles to judge springback, observe how wrinkles flatten after folding, and handle the edge repeatedly to see if it develops edge roll. Condition samples at raised humidity and measure moisture regain (the amount of water a fibre absorbs) to reflect real wear, then note how finishes respond to repeated steaming and laundering; some finishes relax or wash out. Record recovery measurements and visual changes, and watch for tendencies to pill or abrade. Bear in mind that blended fibres may resist immediate deformation yet age differently, and that fabric weight, lining, and interfacings interact with fibre mix to alter long-term shape retention. Finally, choose fibre proportions and construction appropriate to the cap's style and intended context, whether a country outing, a garden party, or everyday travel.
Prefer a linen-blend cap for structured, breathable summer wear.

3. Assess dimensional stability and expected shrinkage
To assess fabric behaviour reliably, cut multiple, reproducible swatches from each cloth: along the warp (lengthwise), the weft (crosswise), and the bias (diagonal). Include typical seam and brim allowances, mark fixed reference lines with a permanent, non-soluble pen, and condition every piece to the same ambient humidity so initial dimensions are comparable. Record a sample ID, the fabric construction, and any pre-treatment for each specimen. Run separate trials that reflect the treatments a cap will actually encounter: wet relaxation from soaking or laundering, heat setting from steaming or pressing, and mechanical stress from stitching and stretching. Measure dimensions and any other relevant properties immediately after each treatment, then again once the specimen has returned to ambient conditions to capture relaxation effects. Following this routine allows objective comparison between suppliers, between lots, and after process changes.
Measure linear dimensions at fixed points using calipers or a rigid rule. Calculate the percentage change in per cent by subtracting the final measurement from the initial, dividing by the initial, and multiplying by 100. Report length, width, and area separately, and record anisotropy as distinct warp and weft figures rather than a single averaged value; directional differences can materially affect fit and pattern. Translate those figures into pattern and process adjustments: reduce crown or headband circumference by the measured crosswise shrinkage before cutting, or introduce a pre-shrink or stabilising step if shrinkage appears after stitching. Validate every change by assembling a prototype and repeating the same treatment cycle. Record variables that influence dimensional stability, including yarn twist, weave or knit density, finishes, lining, interfacing, and test humidity, and note how finishes such as waterproofing or starch alter both shrinkage and hand. Keep a simple lab book so you can track trends over time and make evidence-based choices about materials and methods. The disciplined record-keeping reveals the detail that rewards closer inspection and guides considered adjustments.
Prototype with a breathable woven visor to verify fit.

4. Shape the fabric with gentle, repeated flexing
Begin by standardising a bend protocol that reflects how a cap will be handled in service. Choose a bend radius and angle appropriate to the style under test, condition specimens to a consistent humidity and temperature, and test a minimum of five samples to provide a meaningful average and variance. Measure the permanent set after predetermined cycle counts, record the mean and the variance, and plot the shape recovery curve. A sharp rise in permanent set after only a few cycles indicates plastic deformation rather than elastic behaviour and merits closer investigation. Use a simple, reproducible flex tester. Clamp one end of the specimen and pass the free edge over a fixed mandrel, or under a reciprocating arm. Mark reference points on the specimen, and keep stroke geometry and speed constant so results remain comparable between runs. For small batches, a manual weighted flap test supplies useful qualitative comparison, while a reciprocating rig produces repeatable, quantitative data that you can reproduce across batches.
Inspect samples at multiple scales. Photograph each specimen before testing, at regular intervals, and at failure, and use a loupe or low-power microscope to identify broken fibres, crazing, delamination, and surface pilling, which often precede a visible permanent set. Quantify elastic recovery and hysteresis by bending each sample to a defined curvature, recording immediate and delayed recovery to calculate percentage recovery. Plot recovery against cycle number to reveal inflection points that provide objective pass-fail criteria. Let the dominant failure mode inform maker decisions: reinforce edges if creasing forms, select a tighter weave or different fibre blend if fibres break, or adjust finishing to improve surface cohesion. Define acceptance thresholds in terms of cycles to a specified permanent set, percentage recovery, or the appearance of microscopic damage.
Opt for a structured tweed cap to preserve shape

5. Assess the drape, hand, and silhouette of the hat
To quantify drape, begin with a simple photographic test. Cut consistent samples, either circular or square, and drape each over a defined aperture or a straight rod. Photograph the draped sample from directly above and from the side. From the photographs calculate a projected-area ratio — the area the draped sample projects in the image divided by its flat area — and use that ratio as an objective measure of a fabric’s fluidity. Repeat the test across the fabric’s principal grain directions and average the results so you rank fabrics by number rather than memory. Complement these figures with a short, standardised tactile score for temperature, smoothness, and spring. Finally, carry out a bending-length check: support a narrow strip on a knife edge and note the overhang; the measured overhang provides a repeatable value for hand and stiffness. Combine the photographic ratios, bending-length measurement, and tactile scores to form a rounded, comparable assessment of drape and hand.
Pin a toile, or mounted sample, to a mannequin and mark consistent reference points. Apply controlled weights and introduce dynamic movement, such as nods and rotations, then photograph front and side profiles before and after. Measure displacement, note creasing zones, and record how much the silhouette recovers to identify where the shape will soften, cling, or flare. To explore grain and bias, cut identical samples on the straight grain, cross grain, and true bias. Hang and stretch each sample to record permanent set, percentage elongation, and any skewing. Condition the samples to the planned finishes, then subject them to folding, gentle abrasion, and wash or press cycles. Re-run drape and hand tests and record changes in drape coefficient, bending length, and silhouette recovery.

6. Confirm the hat's shape recovery after shaping and steaming
Begin by establishing a baseline. Mark four reference points on the crown and brim with removable chalk, photograph front, side, and top views against a ruled background, and record crown height, internal circumference, and brim width so you can quantify any change after shaping and steaming. Use a controlled steam and block routine, but first test the sequence on a sacrificial sample. Apply steam until the cloth becomes pliable but not saturated, then shape on a consistent head block with even pressure. Allow the piece to cool and set fully before handling, and record any observations. Note fibre-specific behaviour: wool and felt commonly show greater spring-back than plain-woven cotton, so expect different rest states. This procedure quantifies material response under standardised conditions rather than relying on subjective judgement.
Measure recovery with instruments rather than by eye. Record crown height, brim curvature, and internal fit using a flexible ruler, calipers, or a profile gauge, then express recovery as the proportion of original dimensions restored. That objective measure gives a clearer account of a hat's shape memory than observation alone. Run repeat-cycle resilience tests, measuring after each steam and dry cycle until the dimensions stabilise. Log progressive changes such as loss of spring, seam puckering, nap flattening, or a permanent set to build a picture of long-term performance. Include practical wear and storage simulations: flex the brim, put the hat on and remove it from a head form, compress and release the crown, and subject the piece to humid storage and packing compression. Note which faults appear immediately after shaping and which develop through use, paying particular attention to lining, seams, trims, and colour migration. These records inform construction choices and practical care recommendations, and reveal subtle weaknesses and strengths when examined closely.
Choose hand-shaped Merino felt for consistent steam shaping.

7. Simulate wear to assess abrasion and pilling resistance
Select counterfaces and motions that mirror the intended use, and record each configuration. Use coarse weave or denim to simulate lap friction, smooth leather for seat contact, and include seam edges. Vary motion type, load, and direction, and run both dry and damp cycles, because small differences in counterface or humidity can render a fabric resilient or prone to rapid pilling. Condition and pre-treat specimens before testing. Run trials on as-manufactured material and after typical pre-use processes, such as repeated laundering, heat-setting, or scouring, and document conditioning humidity, temperature, and any finishes or enzyme washes.
Begin by defining clear, measurable end points and the range of metrics you will record: cycles to failure (the number of test cycles until visible breakdown), percentage mass loss, change in thickness, and a visual pilling grade on a 1 to 5 scale. Support these measures with standardised photographs and straightforward image analysis, and determine pass or fail criteria that reflect the intended product category and use. Use mixed-acceleration strategies to stress different failure modes: combine rotary or tumbling abrasion to induce surface fatigue with targeted rubbing to encourage pilling. Include multi-directional motion, programmed pauses, and variable loading, and record which mode leads to yarn breakage as opposed to surface fuzzing. Adopt a statistically sound sampling plan: test multiple specimens from different rolls and orientations, and include seams and trims. Report the mean, standard deviation, and worst-case results rather than a single figure. Finally, validate laboratory findings with short consumer wear trials using panels mounted on garments or mannequins, so you can identify which laboratory metrics actually predict perceived longevity in real wear.

8. Assess how the hat responds to moisture and humidity
To assess how hat materials respond to humidity and moisture, follow a consistent, recorded protocol. Conditioning and equilibrium moisture regain - Condition samples at specified relative humidities and temperature until they reach equilibrium. Record the dry weight before conditioning, then weigh again after equilibrium is achieved to calculate moisture regain as a per cent of the dry weight. - Measure dimensions before and after conditioning. Record changes in crown diameter and brim width in millimetres. Note any change in hand, meaning the tactile quality, or in stiffness; these observations help link higher moisture regain with greater dimensional change. Wet pickup and drying behaviour - Apply a measured volume of water to each swatch, or immerse briefly, then blot to a repeatable state using the same blotting method for every sample. Express water uptake as a per cent of the original dry weight. - Monitor drying rate and the final dry shape. Compare crown height and brim curvature before wetting and after final drying to quantify any permanent set. - Log surface effects observed after wetting and drying, such as fibre bloom or loss of finish, and record them alongside the quantitative data. Keep all environmental conditions, sample orientation, and measurement tools consistent. Present the results as paired values of moisture change and dimensional change to make clear any correlation between moisture uptake and permanent deformation.
Cycle samples between high and low humidity and, after each loop, record cumulative permanent deformation, any loss of resilience, and shifts in stiffness. Test seams, sweatbands, interlinings, and surface finishes as separate elements: cut matched samples, measure differential dimensional change, and inspect for delamination or staining to locate the weak points that produce distortion. Validate these laboratory findings with simple studio and wear scenarios. Use a hygrometer and define clear pass/fail limits for humid storage, packed travel, and perspiration. The result is a practical ranking of cloths by retained, usable shape, providing clear, test-based guidance for selection.
Choose a wool-felt hat that retains its shape.

9. Verify colourfastness and the retention of the surface finish
Measure L*a*b* colour coordinates with a spectrophotometer at several points on the brim, crown, and seam, both before and after exposure. Calculate the resulting delta E to quantify colour change; a delta E of less than 3 is generally taken to indicate an imperceptible difference. To assess dye transfer, perform wet and dry crocking tests: rub a clean white cotton cloth across the hat under controlled pressure and assess any staining visually or with spectral readings. Repeat the crocking using acidic and alkaline artificial sweat to reveal dyes that only bleed when the wearer perspires.
To assess how a hat will age, samples are exposed to accelerated light and humidity cycles that approximate sun, travel, and storage. Fading is tracked with spectral readings and photographed under controlled lighting, while a gloss meter measures loss of sheen to reveal finish breakdown or cracking. Surface retention is tested under friction with targeted abrasion and pilling trials applied to high contact zones such as the brim edge and the sweatband seam. Fibres are inspected under magnification for signs of fibrillation, and technicians record changes in texture, thickness, and appearance to forecast long-term wear. Laundering and cleaning trials use representative soiling agents, spot cleaners, and steam pressing to judge stain removal and any dye transfer to linings or hardware. Findings are then translated into practical care instructions intended to preserve colour and surface finish.
Choose denser, highly polishable felt for lasting finish.

10. Pair accelerated-ageing tests with real-world wear trials
A robust testing protocol begins by matching accelerated ageing stressors to the failure modes observed in service. Once those stressors are identified, conduct matched wear trials that reflect representative activities, head sizes, and handling patterns so laboratory damage can be compared directly with real-world failures. Measure the characteristics that matter in use. Quantify brim stiffness, crown curvature, fabric tensile strength, seam slippage, and colour change using tensile testers, 3D scanning, and spectrophotometry. Present findings as percentage change, absolute deltas, and confidence intervals to make both scale and uncertainty clear. Test across multiple fabric constructions, linings, and production batches. Recruit wearers with varied head profiles and perspiration rates, and pair each field specimen with an identically prepared, lab-aged control to isolate causal factors. This method produces comparable, statistically robust data that shows which stressors reproduce which failures, and indicates where design or production interventions are most likely to reduce future problems.
Apply regression or survival analysis to link accelerated-test parameters with observed field outcomes. Define acceptance criteria by function; for example, set fixed thresholds for brim deformation or for loss of fit, rather than relying solely on aesthetic limits. Close the feedback loop by combining wearer reports, structured photo logs, and repeat objective testing after field exposure to pinpoint recurring failure modes. Use those findings to inform material selection, construction details, and care instructions so subsequent production reduces the failures observed.
Shape retention comes down to a few measurable behaviours that determine a cap's silhouette and service life: whether it takes a permanent set, how well it springs back after bending, and the dimensional change moisture produces. Standardised, repeatable tests quantify these responses, enabling makers to compare fibre blends, fabric constructions, and finishes. The result is material selection guided by measured trade-offs, not guesswork.
Practical checks include dimensional stability, flex cycling, drape assessment, steaming recovery, abrasion, pilling, moisture response, colourfastness, and paired lab and field trials. Record measurements, prototype notes, and wearer feedback, and use them to define acceptance criteria for each style and production batch. Those records turn isolated tests into consistent decisions, reducing fittings, returns, and unexpected failures, and helping a cap retain its intended profile across occasions, in storage, and during travel, a subtle quality revealed on careful examination.