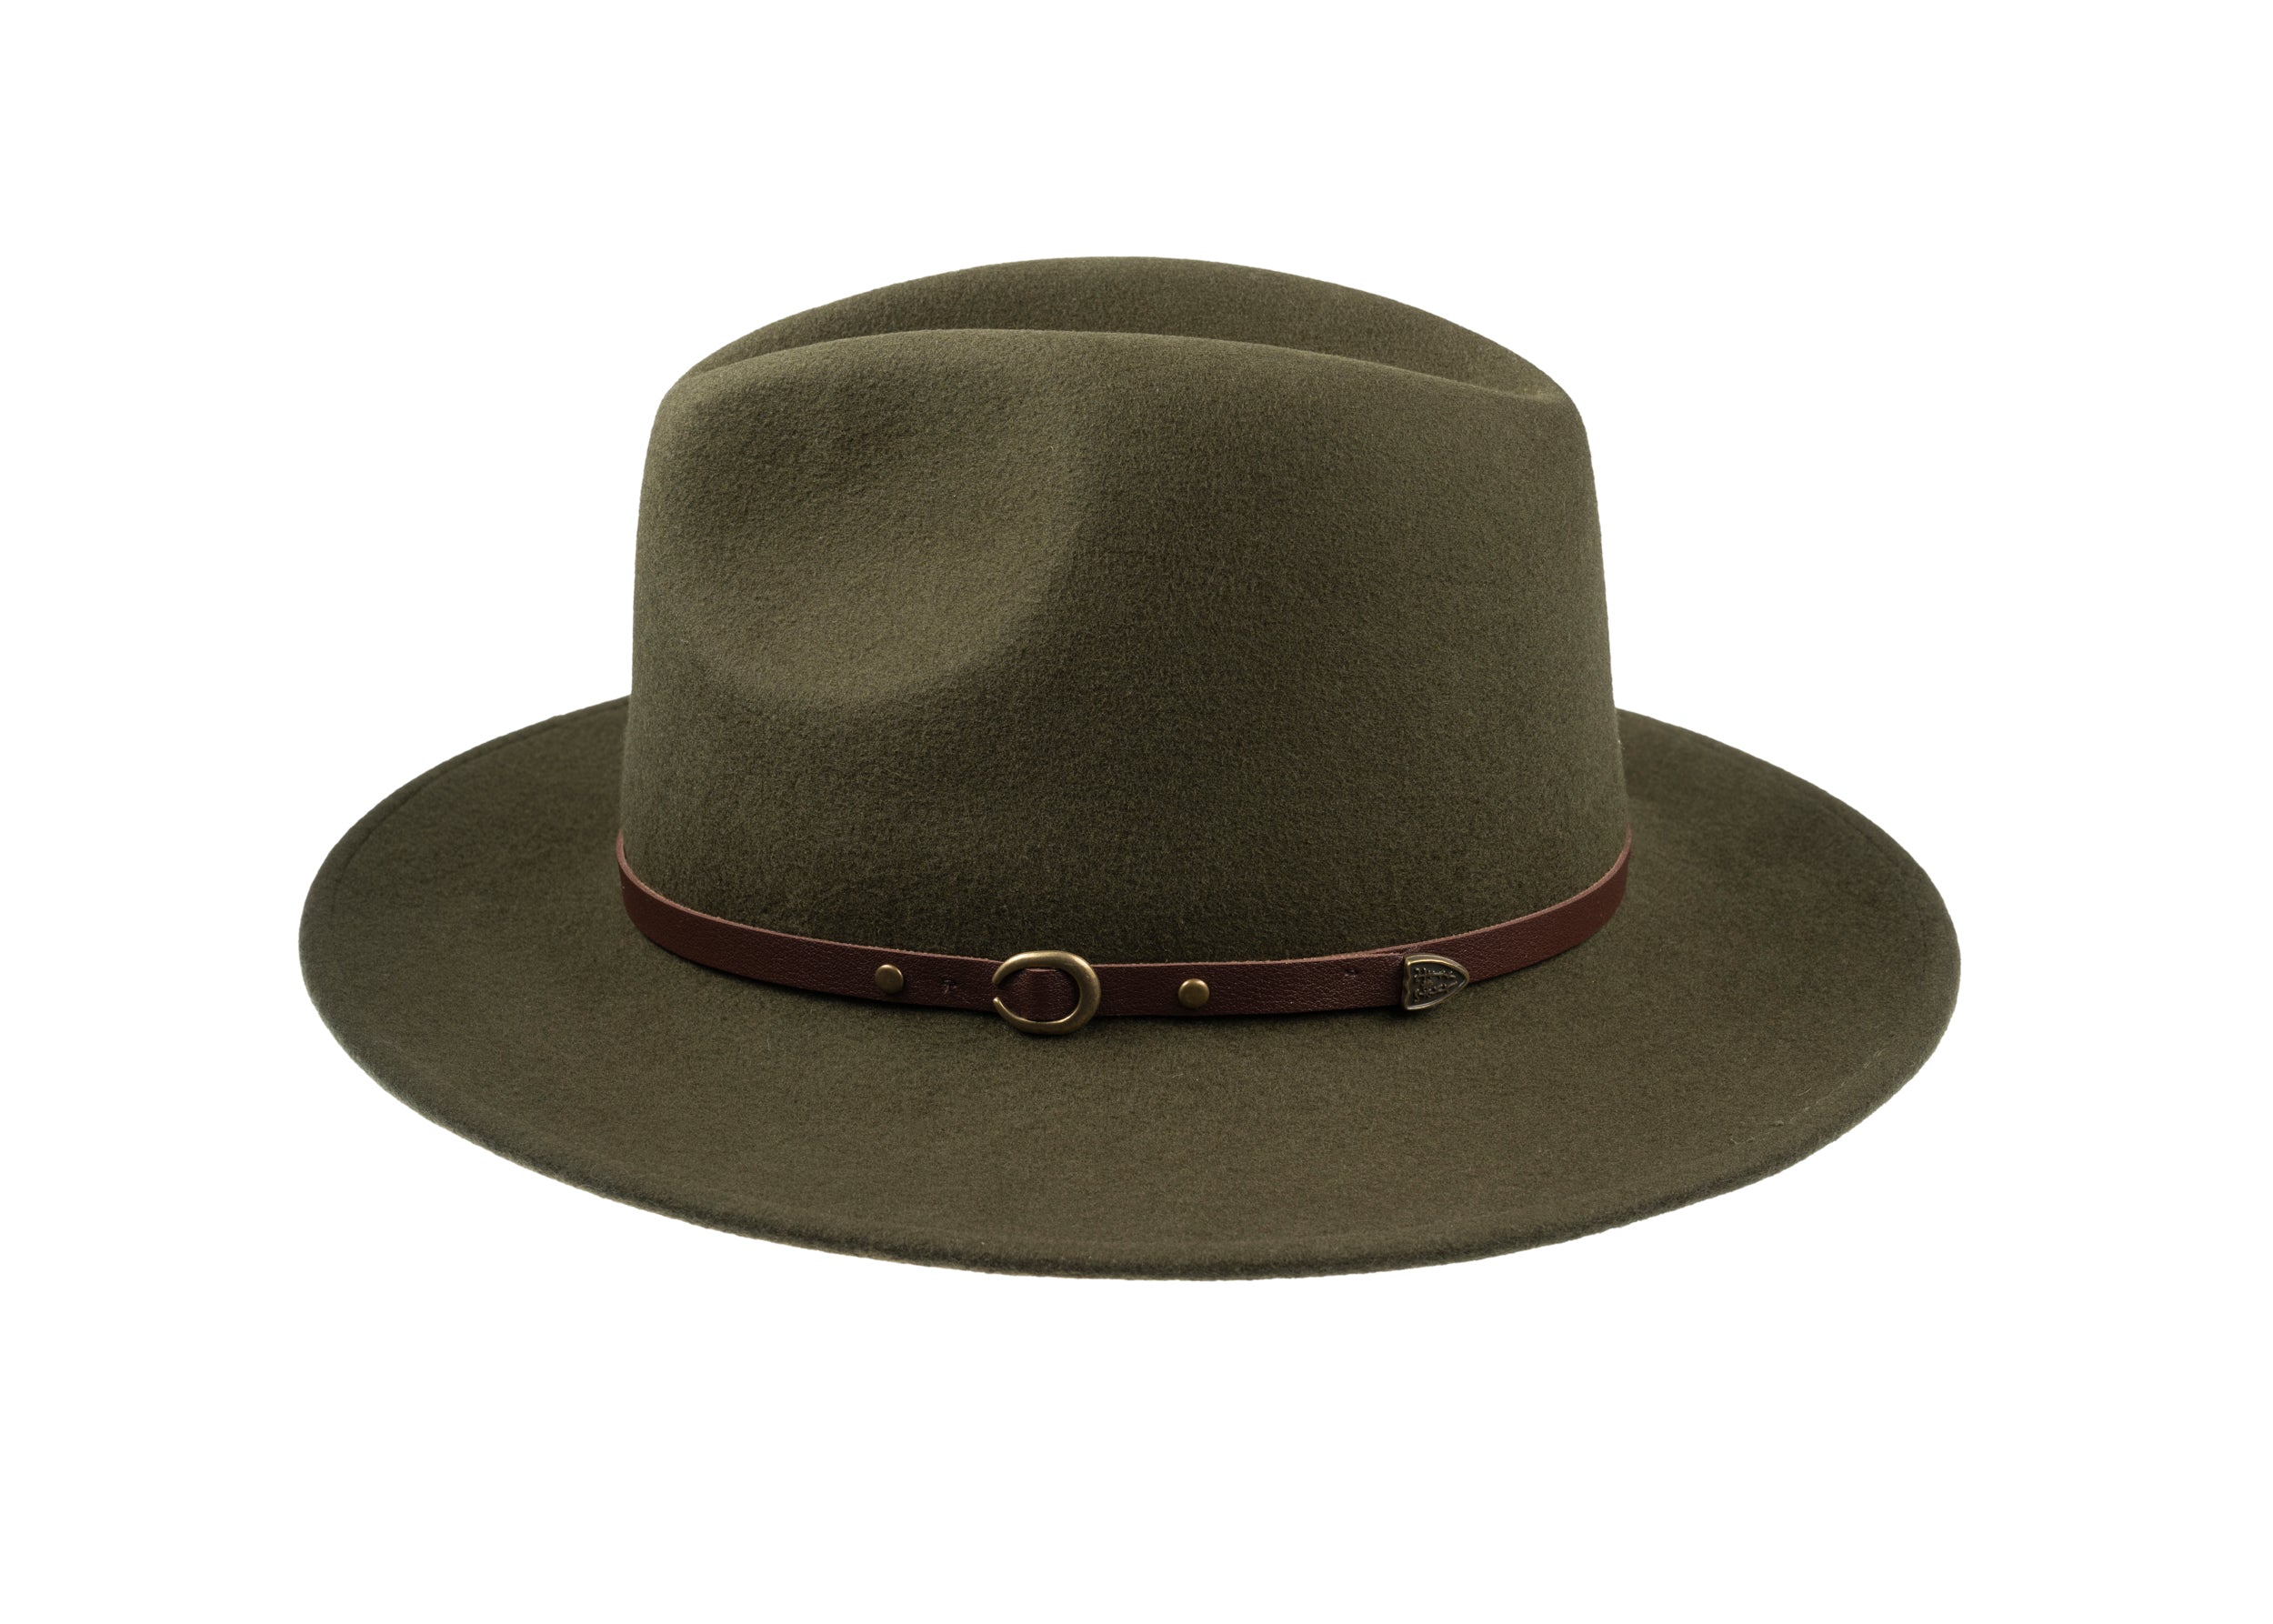
Caps may appear effortless, yet their shape rests on considered construction, the choice of materials, and careful hand-finishing. What separates a cap that keeps its form from one that sags with wear?
This post explains how to assess a cap's structural integrity and material provenance, recognise shaping and hand-finished details, and preserve fit and resilience through proper care. Attention to stitch patterns, internal supports, brim construction, and the fabric's handle will help you choose and maintain caps that hold their intended shape.

How to assess a hat's structure and material quality
Begin with the seams and lining. Run your fingers along seam lines and lift the lining to inspect stitch density, stitch length, and knotting. Note loose threads, puckering, or separation at stress points as concrete evidence of weak construction, and whether stitches sit flush or pull the fabric out of shape. Then assess the material. Compress the nap to judge felt or fabric density and watch the rebound. Hold the weave to the light to reveal open threads, and judge hand feel: a crisp, resilient surface suggests a structured cap, while a soft, springy hand points to gentler shaping and a greater likelihood of quicker wear. Finally test shape retention. Apply measured pressure to the crown and brim, relax, and observe recovery. Give a short burst of steam and, where practical, reblock the cap to its intended form; any permanent creases, delamination between layers, or soft spots that do not recover are clear signs the structure is compromised.
Turn the cap over to inspect the interior. The sweatband should sit firmly, be made of an absorbent material, and show reinforcement at stitch points. Also check for an internal canvas or interlining band; this distributes tension and helps the crown hold its shape rather than relying on the outer fabric alone. Minor faults can often be addressed without specialist intervention: targeted re-stitching, supportive taping along brim edges, and storing caps on a shaped hat tree will all help preserve form. When reshaping is required, seek professional blocking rather than home methods. Widespread compression, separation of layers, or a decayed sweatband indicate that replacement, rather than piecemeal repair, may be the more durable option. These inspections and modest interventions frequently extend a cap's wearable life, but visible delamination or sagging interlinings provide objective evidence that the cap is unlikely to be restored to its original factory condition.
Use discreet inserts to restore a snug, distortion-free fit.

How to recognise subtle shaping and hand-finished details that reward closer inspection
Inspect the crown interior for a thin buckram or canvas stiffener and press it gently to see how it recovers. A glued and stitched stiffener will resist collapse, while a softer, unreinforced lining will crease and remain flattened, showing how the hat will hold its profile in use. Run a finger along the brim edge and lift the binding to check for a concealed wire or multiple rows of dense stitching. A sewn-in wire or tightly stitched binding gives immediate memory and keeps the brim true, whereas a single row of stitching, raw edges, or loose binding allows gradual flare. Look for signs of hand-blocking, such as slight asymmetry between panels, faint tacking holes near the sweatband, or variations in nap direction. Those subtle traces indicate the piece was shaped on a wooden block and will carry individual crown lines rather than machine symmetry. These cues repay a careful look.
Begin by counting stitches per centimetre at visible seams and inspect stress points for back-stitching or hand-bridling. Lift the lining to view seam allowances. A higher stitch density, discrete hand stitches, and reinforced junctions provide clear evidence of labour-intensive finishing and usually predict more durable joins. Turn the cap over to examine surface nap, edge crispness, and the way the sweatband is attached: a dense, matt nap and a sharply defined edge point to well-felted fibres, while a leather or tightly tacked sweatband signals attention to comfort and moisture control and helps the hat retain its shape in use. Taken together, these tactile and visual clues are the detail that rewards closer inspection and let you assess how a cap will perform over time without relying on labels or claims.
Choose hand-blocked, dense-felt construction for lasting shape.

How to preserve a hat's shape, fit, and resilience
Place caps on a low-profile hat stand, inside a shallow box lined with acid-free tissue, or with a soft cloth rolled into the crown to preserve the head shape and the brim's profile. Unsupported fibres and stitched seams will deform under repeated pressure. When packing, fill the crown and lay the cap flat to avoid crushing. Keep caps away from direct heat and prolonged dampness; blot excess moisture, reshape while damp, and dry on a form away from radiators and direct sunlight. If creases persist, relax them with gentle steam from a distance, then set the shape on a block or a rolled towel.
Perspiration deposits salt and oils that stiffen leather sweatbands, shrink fabric linings, and, over time, distort a cap's crown. Clean leather bands with a barely damp cloth and a light leather conditioner. Launder fabric bands sparingly in a diluted mild detergent and let them dry naturally away from direct heat. Replace or rotate sweatbands to maintain fit and absorbency. Inspect linings and interlinings to establish whether a cap uses buckram, sewn canvas, or a soft unlined shell. Buckram is a stiff, glue‑sized cloth that keeps geometry; sewn canvas gives structured support without the same rigidity; a soft shell lacks firm interlining and therefore needs gentler handling. Structured interlinings tolerate light repairs and help the hat keep its shape, whereas soft shells are more vulnerable to flattening and distortion. Attend to loose seams or lifting brim edges at the first sign of movement. Small stitches or tacks will prevent further separation. Use moderate steam and a block to reset shape rather than forcing dry manipulation. When damage exceeds what reasonable home care can correct, consult a hatmaker for reblocking or reinforcement rather than attempting aggressive repairs that risk permanent distortion.
A cap’s ability to hold its shape depends as much on its internal structure and finishing as on the outer fabric. Stitch density, interlinings, and the way the sweatband is secured provide tangible evidence of construction. Simple checks, such as a gentle press to assess rebound, counting the stitches at the seams, and lifting the lining to inspect seam allowances, quickly reveal whether a piece will recover, fatigue, or delaminate over time.
Under the headings 'Assess structural integrity and material quality', 'Spot subtle shaping and hand-finishing cues', and 'Preserve fit and resilience with proper care', these observations form a practical checklist. Attend to stitch counts, brim memory, and sweatband condition when deciding whether to restitch, reblock, rotate, or consult a craftsperson; early, targeted intervention preserves a hat's geometry and prevents irreversible distortion.