Few things date a cap more than a misshapen crown or a floppy brim. Knowing which felts, fibre blends, internal stiffeners, and sweatbands retain their shape helps you choose, maintain, or repair a cap rather than replace it.
This post explains how resilient felts and fibre blends, internal stiffeners and quality sweatbands, reinforced brims, blocking, steaming, and finishing techniques each contribute to lasting shape. It then outlines practical signs of good construction and simple measures to reinforce and preserve a cap so your favourite piece retains its intended silhouette.

How to choose felts and fibre blends made to last
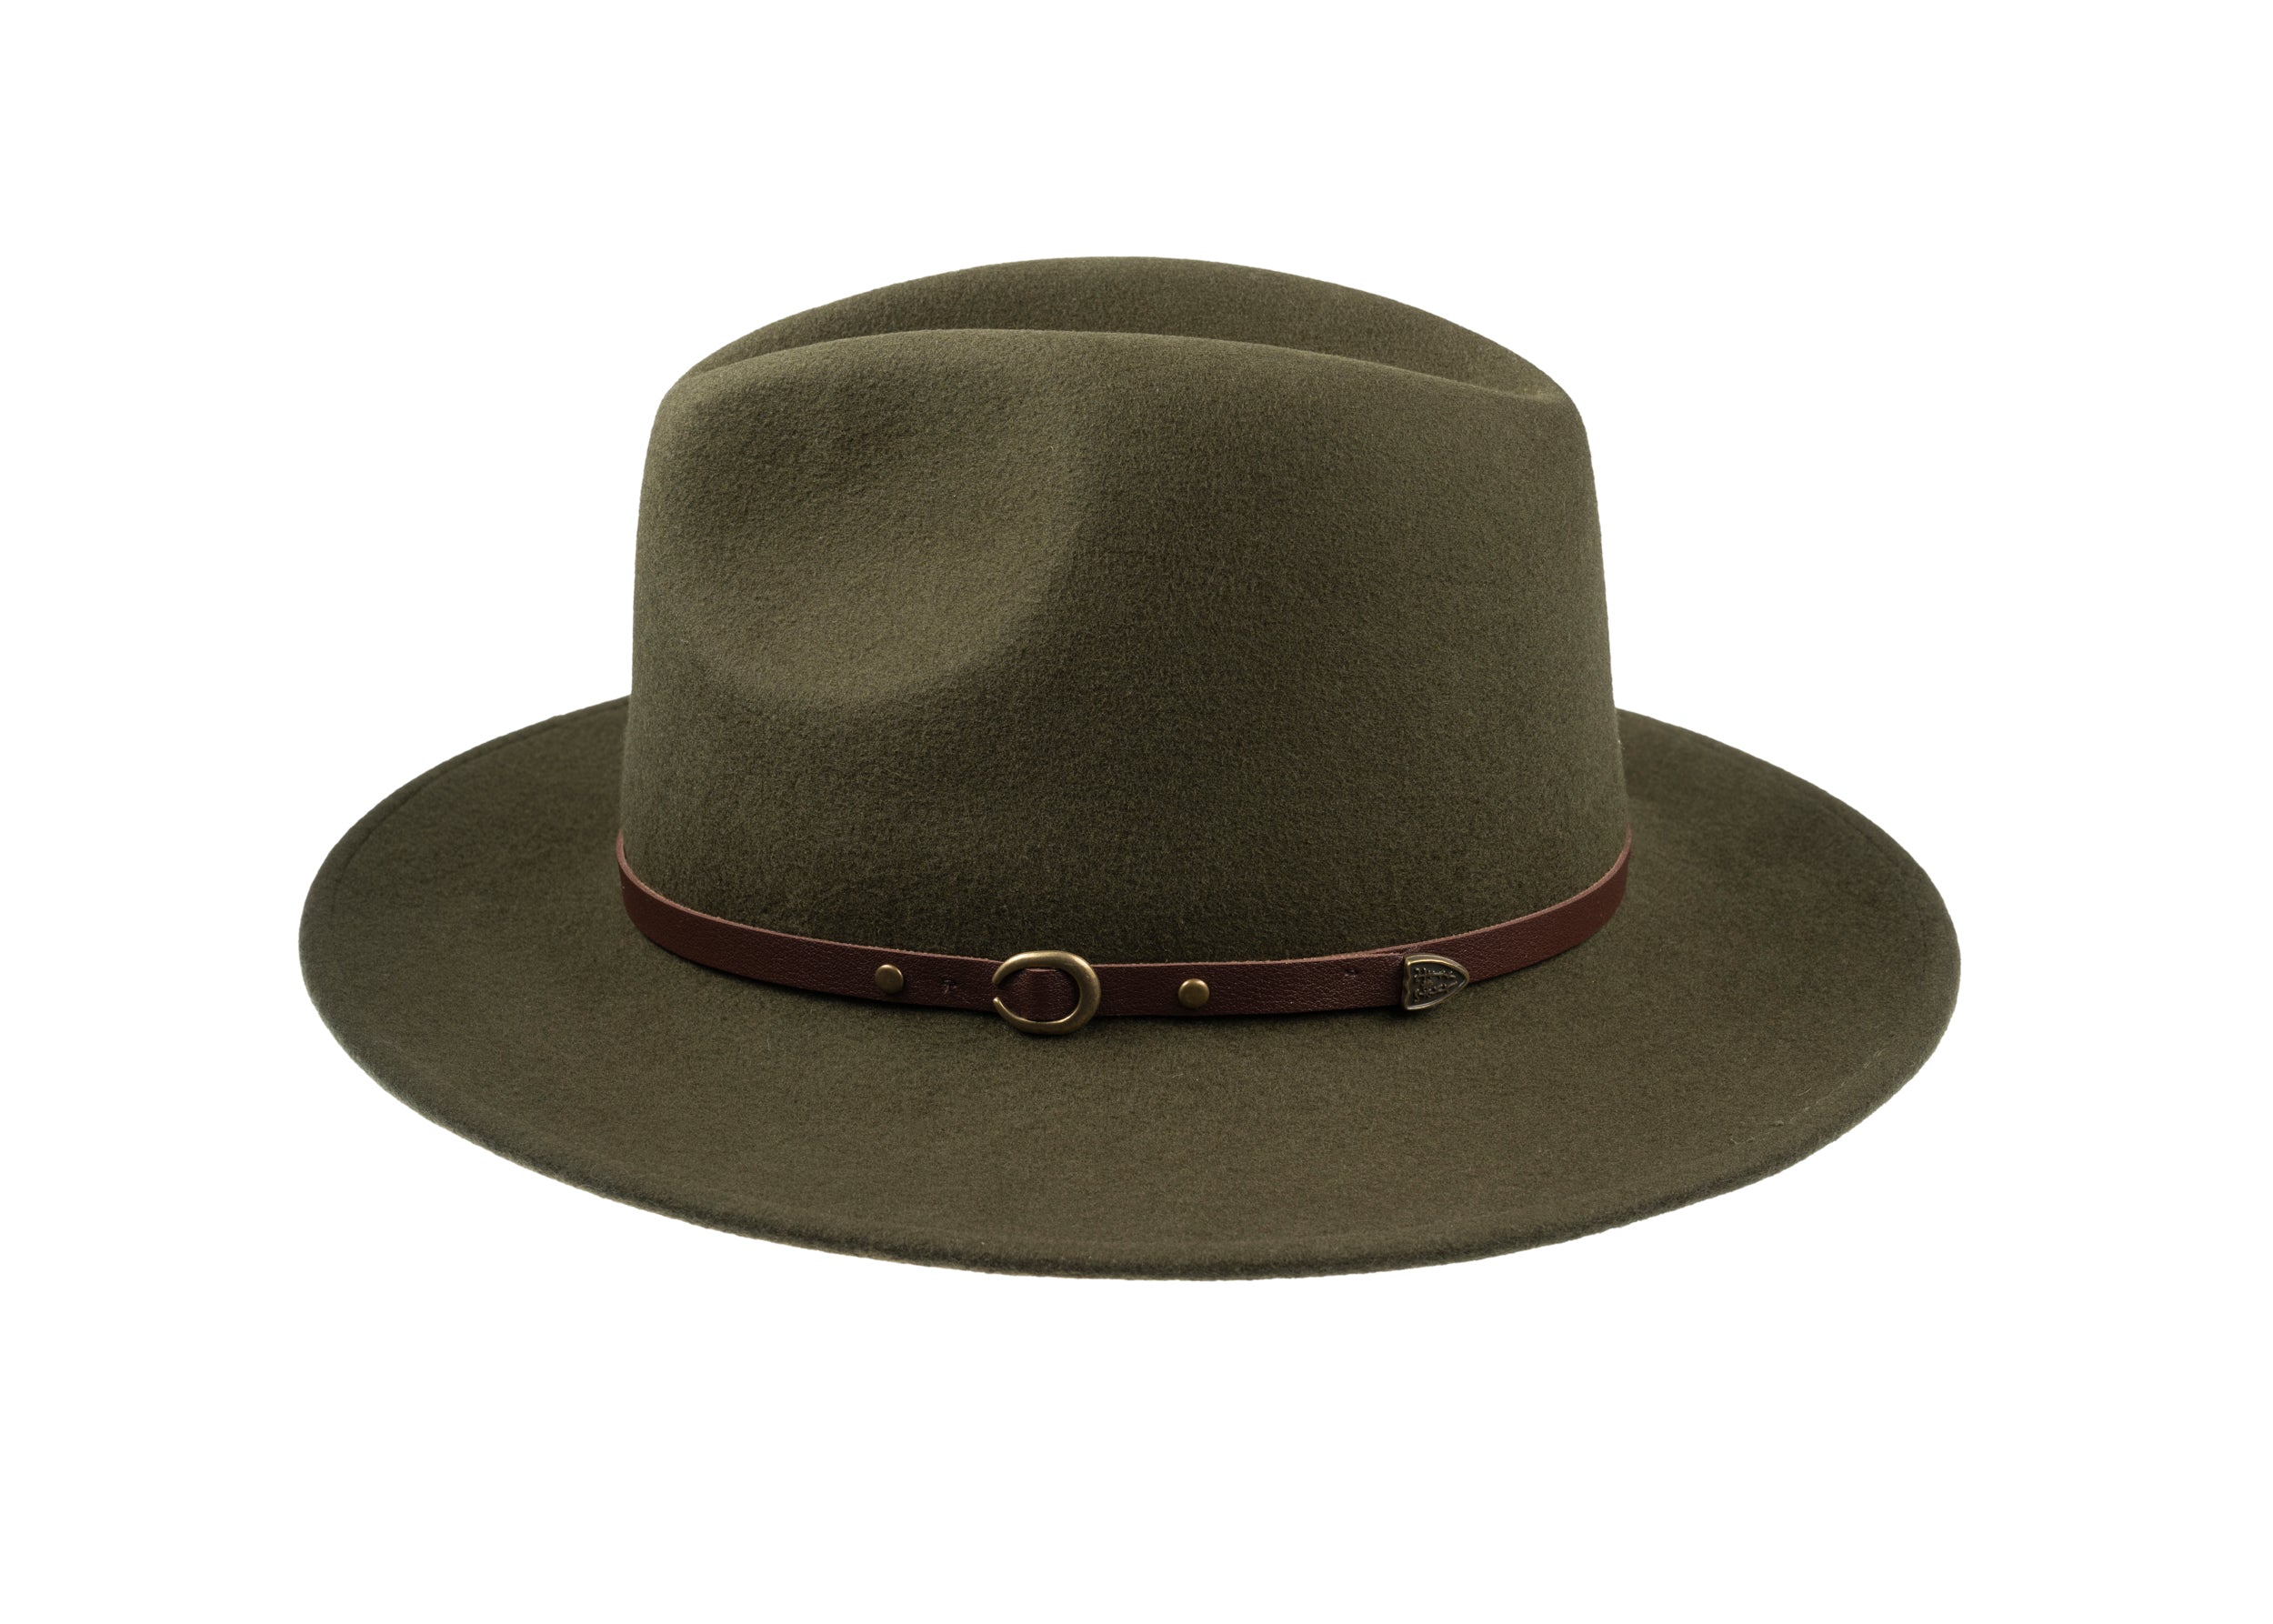
Fur felts, most often from beaver and rabbit, contain a dense underfur whose fibres interlock tightly. That structure gives them greater tensile strength and a superior memory for shape compared with wool felts, which tend to compress unless felted very densely. Blends that combine wool with technical synthetic fibres, or with a proportion of fur, improve moisture tolerance and recovery. Plant-based felts are generally less springy, so check fibre percentages and choose a mix suited to your climate and intended use. Higher felt density and finer fibre diameters create a compact structure that springs back after pressure. To assess resilience for yourself, press the crown firmly for a few seconds and note how quickly it regains its original form.
Construction amplifies what fine felt can do. Sewn-in interlinings, stiffened sweatbands, and bound brim edges distribute stress and help the silhouette resist distortion, so favour hats with integrated internal supports rather than a single outer layer. Proper blocking and heat-setting, or a hydrophobic finish, set the form at source and improve resistance to damp. Routine care, such as gentle steaming, reshaping on a block, and storing on a hat stand, preserves the felt's memory. Together, material choice, fibre density, construction, and maintenance determine how well a cap keeps its shape, and these are the details that reward closer inspection.
Choose a polished fur-felt option for superior shape retention.

Fit internal stiffeners and sweatbands for shape and comfort
A cap's shape is determined largely by its internal stiffeners: buckram, horsehair braid, woven interfacing, or flexible plastic boning. Buckram produces a permanently crisp crown and resists humidity; horsehair braid supplies spring and resilience; woven interfacing balances rigidity with breathability; and removable plastic inserts allow the structure to be altered or replaced later. Equally important is the sweatband. Leather and suede mould to the head and withstand abrasion, while cotton terry and modern microfibre absorb moisture. A replaceable sweatband construction makes servicing straightforward. Note the attachment points: sewn-in stiffeners preserve long-term crispness, whereas removable elements make repairs or shape changes easier.
Beyond attachment points, stitching and seam construction do much of the work in keeping a hat true to form. Multi-row topstitching, felled seams, and bar tacks at high-stress points prevent distortion, so look for even, closely spaced stitches and neatly secured thread ends. Where stitches have slackened, consider reinforcing or having the area restitched rather than letting the weakness spread; small, timely repairs prevent further damage. Linings and interlinings also govern how a hat wears. A full cotton twill interlining will preserve long-term shape, a partial lining reduces bulk where a lighter feel matters, and a mesh lining improves ventilation for warm-weather use. Each choice balances structure and comfort, and the right one depends on how and where the hat will be worn. Routine care keeps those structural elements working. Steam gently and reblock on a hat form to restore shape, dry sweatbands thoroughly after use, and avoid direct heat, which can soften glued interfacing. When stiffeners give way or a precise restoration is needed, entrust the work to a skilled hatter; they can reinsert stiffeners or replace sweatbands without risking damage to the shell.
Add discreet foam inserts for a closer, secure fit.

Bind and wire brims to preserve their shape
Bindings such as grosgrain, cotton twill, and bias tape, when stitched tightly to the brim edge, restrict fraying, concentrate tension at the perimeter, and produce a crisper outline. Topstitch in close, even rows a few millimetres apart, and where possible sew through both binding and facing to lock the layers and reduce movement. Combining adhesive with stitching, or running stitches through multiple layers, further resists delamination. Casing the binding conceals raw edges and secures any wired or stiffened insert; leaving the binding exposed simplifies future repairs. Choose the finish with both serviceability and appearance in mind, and carry out bending and release tests during production to confirm the edge will retain its shape.
Complementing the binding's role, brim wires are typically polymer-coated, stainless steel, or spring steel. Gauge and coating determine stiffness, shape memory, and resistance to corrosion. Form the wire to the required curve and anchor its ends inside a cased channel to prevent migration or puncture. Interlinings behave differently under humidity and repeated flexing. Buckram and horsehair canvas provide structure and, when paired with a wired edge, yield a stable, long-lasting brim. Plastic boning and nylon inserts are lighter and suit softer silhouettes. These choices determine whether a brim will remain stable for decades or favour a less structured shape. For care and repair, rethread or replace the wire through its casing rather than forcing it. Where possible, rebind a worn edge without removing the interlining. Avoid wet cleaning that can shrink or warp stiffeners. Use a bend-and-release test to decide between a surface repair and a full re-lining; the test shows whether the stiffener has lost its memory or only the covering has deformed.
Choosing, constructing and caring for wired brims
- Select materials to suit the intended outline and service: use grosgrain or cotton twill bindings for a crisp, repairable edge, bias tape for softer roll; choose polymer-coated wire for corrosion resistance and smooth handling, stainless for long-term corrosion resistance with moderate memory, and spring steel for high memory and shaping; pair buckram or horsehair canvas with wired edges for stable, long-lasting brims, and lighter nylon or plastic inserts for softer silhouettes, bearing in mind each material’s behaviour under humidity and repeated flexing, and favour glue-plus-stitch where adhesive support is needed.
- Form and anchor wires before and during assembly: pre-curve the wire to the required shape, seat both ends inside a cased channel and secure them to prevent migration or puncture, topstitch close, even rows a few millimetres apart and sew through binding and facing where possible to lock layers; case the binding to conceal raw edges and retain wired inserts for durability, or leave the binding exposed to simplify later repairs, and run bend-and-release and edge-retention checks during production.
- Maintain and repair with minimal intervention: use a bend-and-release diagnostic to determine scope, re-thread or replace wire through the casing rather than forcing it, rebind a worn edge without stripping the interlining when the stiffener still performs, avoid wet cleaning that shrinks or warps stiffeners, and reserve full re-lining for delaminated interlinings or loss of memory rather than for surface blemishes.

How blocking and steaming shape a hat's crown
Steam relaxes natural fibres. Wool and animal fur soften when warmed and lightly moistened, allowing the fibres to be reoriented on a hat block. As the hat dries, new hydrogen bonds form and lock the crown shape. Synthetic fibres and glued constructions do not respond in the same way, so the material determines how effectively steaming will set a crown. Choose a blocking form that closely matches the intended profile, such as a wooden or metal crown block with a soft cotton cover to protect the felt, and use pins or clamps alongside a hand steamer or kettle to apply controlled moisture.
When reshaping a hat, first protect linings and trims from moisture. Introduce gentle steam until the fibres feel pliable, then ease the hat onto the block, stretching or compressing to the desired profile. Secure with pins or ties and allow the piece to cool and dry fully on the form, relying on tactile cues such as increased suppleness and a smooth contour rather than fixed timings. Internal stiffeners such as buckram, horsehair canvas, and sewn-in sweatbands contribute materially to shape retention, but they can impede steam; remove or replace them when necessary to achieve a sharper, longer lasting profile. Bear in mind that some materials will distort, shrink, or delaminate under steam, and straw crowns may crack if overworked. Always test steaming on an inconspicuous seam or spare sample, work in a well ventilated space, and shield trims and linings from direct moisture.
Secure a closer fit with discreet foam inserts.

Finish, reinforce, and store your hat to preserve its shape
Structure in a cap begins with the interlining and internal canvas. Buckram, a resin-treated, tightly woven cotton, gives a crisp crown, while horsehair canvas introduces spring and a softer roll. For long-term shape when commissioning or repairing a cap, request full underlining in the crown. The peak will remain flat with laminated board, acetate, or thin plastic inserts; replace a sagging peak with a moisture-resistant insert and finish the edge with a stitched binding to lock it in place. A supportive sweatband in leather, cotton twill, or a moisture-wicking fabric helps the cap sit correctly and prevents the lining from shifting, so fit or replace the band before it becomes saturated. These small, considered features help the cap retain its shape, keep the peak flat, and maintain a secure fit.
Seam finishes such as taped seams, piped edges, and topstitching distribute tension across the panels and prevent gape that would distort a cap’s silhouette. When commissioning or altering a cap, request taped seams or a discreet binding at the panel joins. For storage and finishing, have the cap blocked on a wooden or foam form that matches its shape, keep it in a breathable hat bag, and include cedar sachets to deter pests without trapping moisture. If a cap loses its profile, lightly dampen the fabric and reshape it on the block to reactivate the interlining; repeat as required rather than attempting dry reshaping. Taken together, these construction choices and simple habits help a cap retain its intended form through regular wear.
A cap keeps its silhouette when resilient felts, integrated internal supports, and a properly finished brim work together to resist moisture, repeated flexing, and edge wear. Densely felted fibres provide shape memory, buckram or horsehair canvas supplies spring, and bound or wired edges secure the perimeter, so these elements respond predictably to steaming, blocking, and routine care.
When choosing or repairing a cap, examine the fibre blend and felt density, which govern resilience, water resistance, and how well the crown holds its shape. Prefer sewn-in or easily replaced stiffeners, and look for taped seams and a replaceable sweatband so future repairs are straightforward. With sound construction and simple care, such as gentle steaming, careful blocking, and breathable storage, a cap will keep its intended form and repay attention with years of steady service.