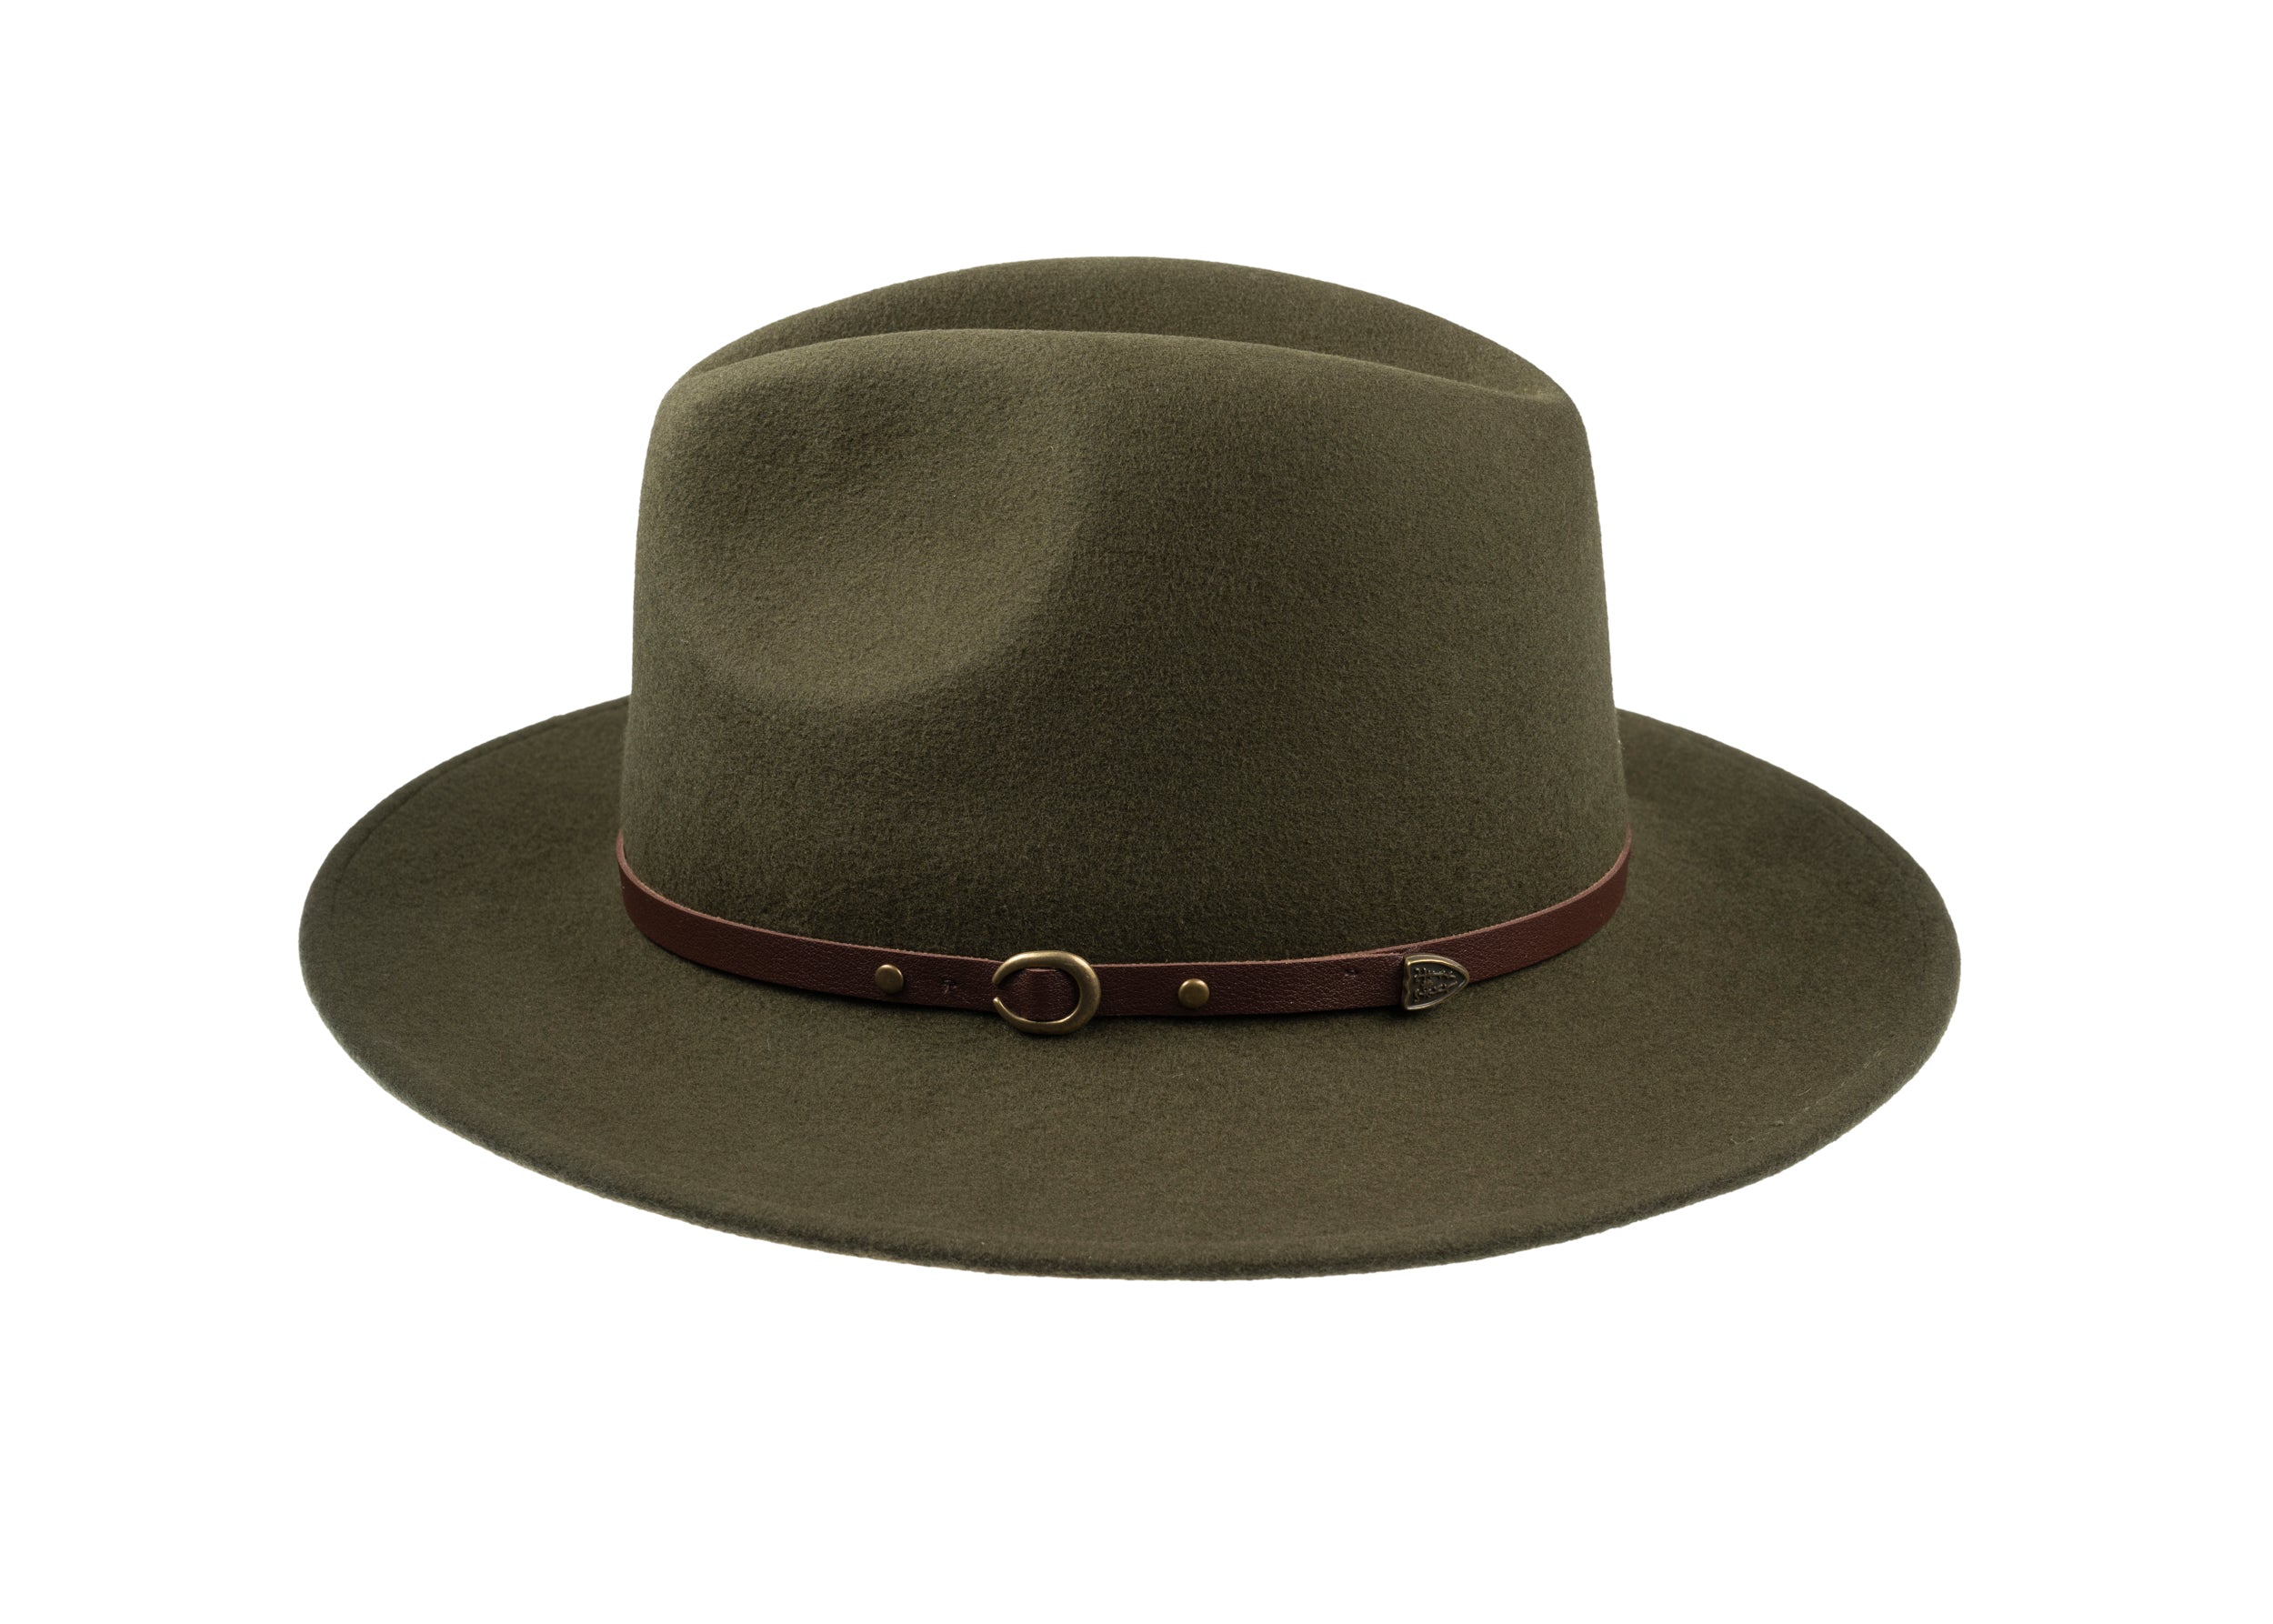
A cap may be judged by its exterior, yet the true test of fit and shape lies beneath the lining. Before you buy or wear one, examine the lining to see whether the cap will hold its profile, sit comfortably, or conceal repairs.
This guide outlines five internal checks to assess a hat's construction: the frame, crown blocking, sweatband, brim core, and stitching and linings. Each reveals a particular issue: a loose frame produces sag; a distorted block flattens the profile; a replaced or altered sweatband changes the fit; a compromised brim core reduces support; and uneven stitching or worn linings point to repair or heavy wear. These visual and tactile clues help judge comfort and likely longevity and reward a closer inspection.

How to assess a hat's internal structure for shape and stability
Gently lift the lining to reveal the sweatband, crown tape, and any internal stiffeners. Press the crown in several places; a spongy give suggests the stiffening has compressed and that the hat may lose its shape. Measure the circumference at a few points with a soft tape and compare those figures with the hat's external profile, noting any compressions or gaps. Inconsistent measurements point to local collapse or a stretched sweatband that will alter the fit. Finally, inspect the seams and stitching for even tension, skipped stitches, or pulled threads. Loose stitching or puckered seam allowances usually produces asymmetry, which skilled restitching or reblocking can correct.
Turn the brim up and draw a finger along the wiring channel, feeling for kinks, uneven resistance, or exposed ends. Such defects will make a brim sit lopsided and betray a warped internal frame. Inspect the lining and adhesive joints for staining, browning, or residue, and smell for mustiness, since moisture commonly coincides with softened stiffeners and delaminated linings. Where materials have softened or separated, expect the cap to deform again unless the internal frame is rebuilt or replaced. Fit checks, measured dimensions, and a careful feel for seams and wiring give clear, evidence-based signals of whether simple repairs will suffice, or if reblocking is required. These are the details that reward closer inspection.
Adds discreet, adjustable padding for a snug, secure fit

How to assess crown shaping and blocking for a hat's true profile
Begin by feeling the crown lining and interlining, tracing the interior with your fingertips to map stiffness, ridges, and stitched blocking lines. A uniform spring indicates the buckram or canvas remains sound, while soft spots, ripples, or local give point to collapsed blocking or previous reshaping. Check the sweatband’s position and attachment; it should sit flat and continuous rather than pinched or gaping. Measure the gap between band and crown at the front, sides, and back to quantify any distortion. Finally, gently lift the lining or use a torch to backlight the crown and reveal block impressions, noting centre-back seam placement, concentric tool marks, and stitch spacing as evidence of asymmetric blocking or alteration.
Measure the crown height and taper with a ruler or calipers at three points, and note the differences in millimetres. Compare those readings with the hat’s intended profile to judge whether the piece will sit as designed or would benefit from reblocking, the traditional process of reshaping a hat on a wooden block. Lift the lining to inspect for repairs, glue, or discolouration, and catalogue any stitched patches or adhesive fillets that may have altered how the crown holds its form. Record the location and extent of each intervention before deciding on reshaping or replacement, since these visible clues indicate how much work the piece will tolerate.
Choose a precisely blocked, high-crown option for competition.

Examine the sweatband and size for comfort and proper fit
Begin by measuring head circumference at the brow line and compare it with the cap's labelled size or adjuster range. When you try the cap on, slide a finger between the sweatband and your forehead; it should encounter gentle resistance without leaving deep red marks. Tilt the cap forward and back to reveal any pressure at the temples, and run a fingertip from the sweatband to the crown's apex to assess crown depth and how the cap will sit. These checks quantify fit and indicate whether a different size or modest reshaping would provide a better result.
Next, examine the sweatband material, noting whether it is leather, cotton, or synthetic, and whether it is hand-stitched or bonded. Pinch and flex the band to assess springiness and recovery, and check for lingering odour or staining that may indicate heavy prior use. Run your fingertip along the interior to detect raised seams, exposed stitching, or excess glue that might abrade the skin, and note how seams align with likely pressure points such as the temples and nape. Operate any adjuster, whether strap, snap, toggle, or elastic, to test for fraying, stretch, or cracking, and to confirm that sizing changes move smoothly and redistribute pressure evenly. Finally, test moisture management by dabbing a small area with a damp cloth to see how quickly the sweatband wicks, and note whether the lining is breathable or removable for washing.
Cap fit and sweatband checks
- Follow a short fit routine: measure head circumference at the brow line and compare with the cap size or adjuster range, slide a finger between sweatband and forehead for gentle resistance without deep red marks, tilt the cap forward and back to reveal temple pressure points, and run a fingertip from the sweatband to the crown peak to judge crown depth and seating.
- Inspect the sweatband material and performance: note leather, cotton, or synthetic construction and whether it is hand-stitched or bonded; pinch and flex the band for springiness and recovery, sniff for lingering odour or staining, and dab a small area with a damp cloth to check how quickly it wicks moisture.
- Check interior finishing and adjusters: run your fingertip along the lining to find raised seams, exposed stitching, or excess glue that will rub; operate the strap, snap, toggle, or elastic through its full range while wearing the cap to confirm smooth sizing changes, even pressure distribution, and lack of fraying or cracking.
- Simple remedies and next steps: cover rubbing seams with moleskin or soft tape, add thin foam pads for localised pressure, replace a heavily worn sweatband or have a milliner re-shape the crown when hotspots persist or the cap sits unevenly, and launder or condition bands according to their material to restore comfort and hygiene.

How to test a brim's core and edge finish for stiffness and shape retention
Gently part the lining at a seam to reveal the brim’s internal cross section and note whether it contains a single moulded core, layered inserts, or visible gaps. Uneven thickness, delamination, or glue bleed are evidence the shape may fail under stress. Perform a simple flex-and-rebound test: press the brim flat at several points, release, and observe how quickly and evenly it returns to its original curve. Sustained flattening, sharp creases, or slow recovery suggest insufficient stiffness or brittle cores that may not hold their shape.
A torsion and edge-roll test will surface weak spots that a casual glance can miss. Twist the brim gently lengthwise, then roll the edge between finger and thumb to reveal pinched fibres, loose stitching, or separation of the core. These faults often lie beneath the surface until disturbed. Next, inspect the edge finishing for consistent stitch spacing, a fully enclosed binding, neat fold lines, and no exposed core material. These are signs a brim will retain its shape; fraying, skipped stitches, or exposed foam suggest faster deterioration. Finish by dabbing a barely damp cloth to check for softening or adhesive seepage, and note whether the binding is removable or the brim can be reblocked. Materials that resist brief moisture and allow repair tend to keep their shape longer.
Prefer a felt hat that reliably holds its shape.

Examine stitching and linings for signs of hand finishing and later repairs
Work with a bright light and a loupe. Examine stitch spacing, stitch direction, and the thread itself: variable stitch length, angled starts, or visible knotting generally indicate hand finishing, while uniformly even stitches point to machine sewing. Run your fingertips along every seam and the lining edge, then flex the crown to watch how the lining moves. If the lining lifts easily, shows laddering, or reveals overlapping panels, that often indicates relining or repair. Conclude by checking the sweatband junction for changes in material or stitch style; a moulded, worn sweatband that follows the cap’s shape typically reflects the original fit, whereas newer materials, different thread, or tack stitches suggest a replacement.
To locate internal reinforcements such as canvas, buckram, or other inserted stiffeners, press the brim and crown to feel for concealed layers. Original construction will typically show neatly bound edges and concealed pockets; raw edges, exposed tacking, or glue residue more often indicate later intervention. Photograph objective details such as stitch count per centimetre, changes in thread colour, the grain of the lining fabric, and the locations of any patches. Comparing these measurements and images helps you identify maker techniques and alterations, and provides a clear evidential record. Keep concise, dated notes and photographs to support any future conservation work or conversation with a maker or restorer. The detail that rewards closer inspection will guide a considered judgement.
The true measure of a cap lies in its construction. Inside, the frame, blocking, sweatband, brim, and stitching determine how it fits, the clarity of its profile, and how well it will endure. The five practical checks in this guide provide tactile evidence you can use to judge whether a piece will sit comfortably, retain its shape, or require reblocking.
Run the frame and crown tests to reveal any collapsed stiffening, check the sweatband and try the hat on to confirm comfort, and examine the brim and stitching to judge repairability. Photograph any anomalies and record measurements, and when uncertain consult a maker or restorer. Taken together, these routine checks give you a clear, evidence-based assessment on which to base a confident decision.