On stage and screen, a cap that reads as genuinely worn anchors a character's history. Achieving that lived-in authenticity requires more than a single faux-weathered wash; it depends on careful research, considered materials, and time-honoured making methods.
This piece maps the workshop process, from consulting the archives for era-accurate reference, to selecting authentic materials and employing traditional construction, through hand-blocking and shaping so caps acquire character. Below are practical techniques for ageing finishes, simulating natural wear, and coordinating with production so caps withstand close-ups, long runs, and continuity checks.

Consult the archives for period-accurate reference material
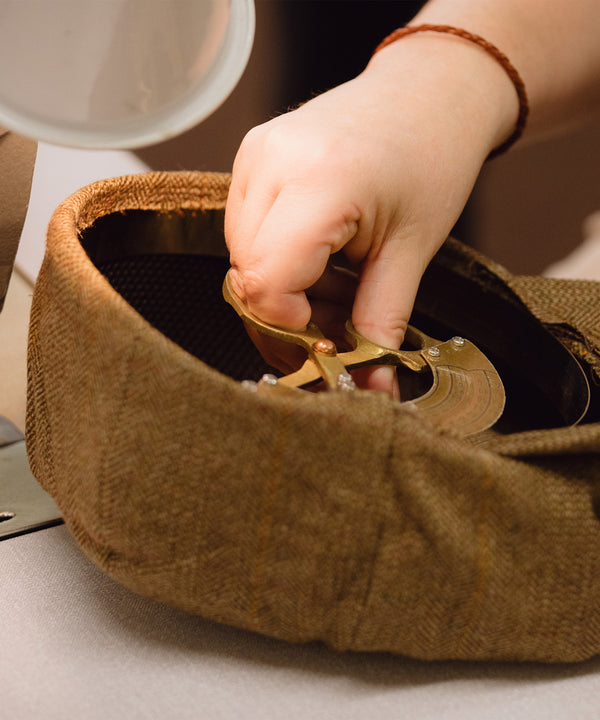
Begin by mining period imagery and commercial ephemera, including studio portraits, shop displays, and trade catalogues. From those photographs create measured drawings, using scale references to record crown height, brim sweep, and common deformation points. Examine surviving caps at stitch level, photographing inner seams and documenting stitch type, stitch count, and thread thickness under magnification. Translate those measurements into pattern adjustments and sewing specifications so seams and stress points behave like the originals. Together, these steps allow the maker to reproduce the original silhouette and the subtle, lived-in changes that develop with use, a detail that rewards closer inspection.
Examine materials and surface finishes non-destructively, using microscopy or visual fibre analysis to establish felt composition, weave structure, lining fibres, and dye characteristics. When matching construction, attend to structural yarns and to tannin and dye behaviour so the result reproduces an authentic hand and natural ageing, not merely the colour. Record maker marks, label typography, repairs, and owner alterations, and map recurring repair locations and patch styles to reveal typical failure modes and common user interventions. Photograph creases, sweat patterns, brim roll, and compression marks; reproduce those stresses on prototypes, then iterate blocking and hand-finishing until the cap displays the same fold lines and subtle sheen as the archive example.
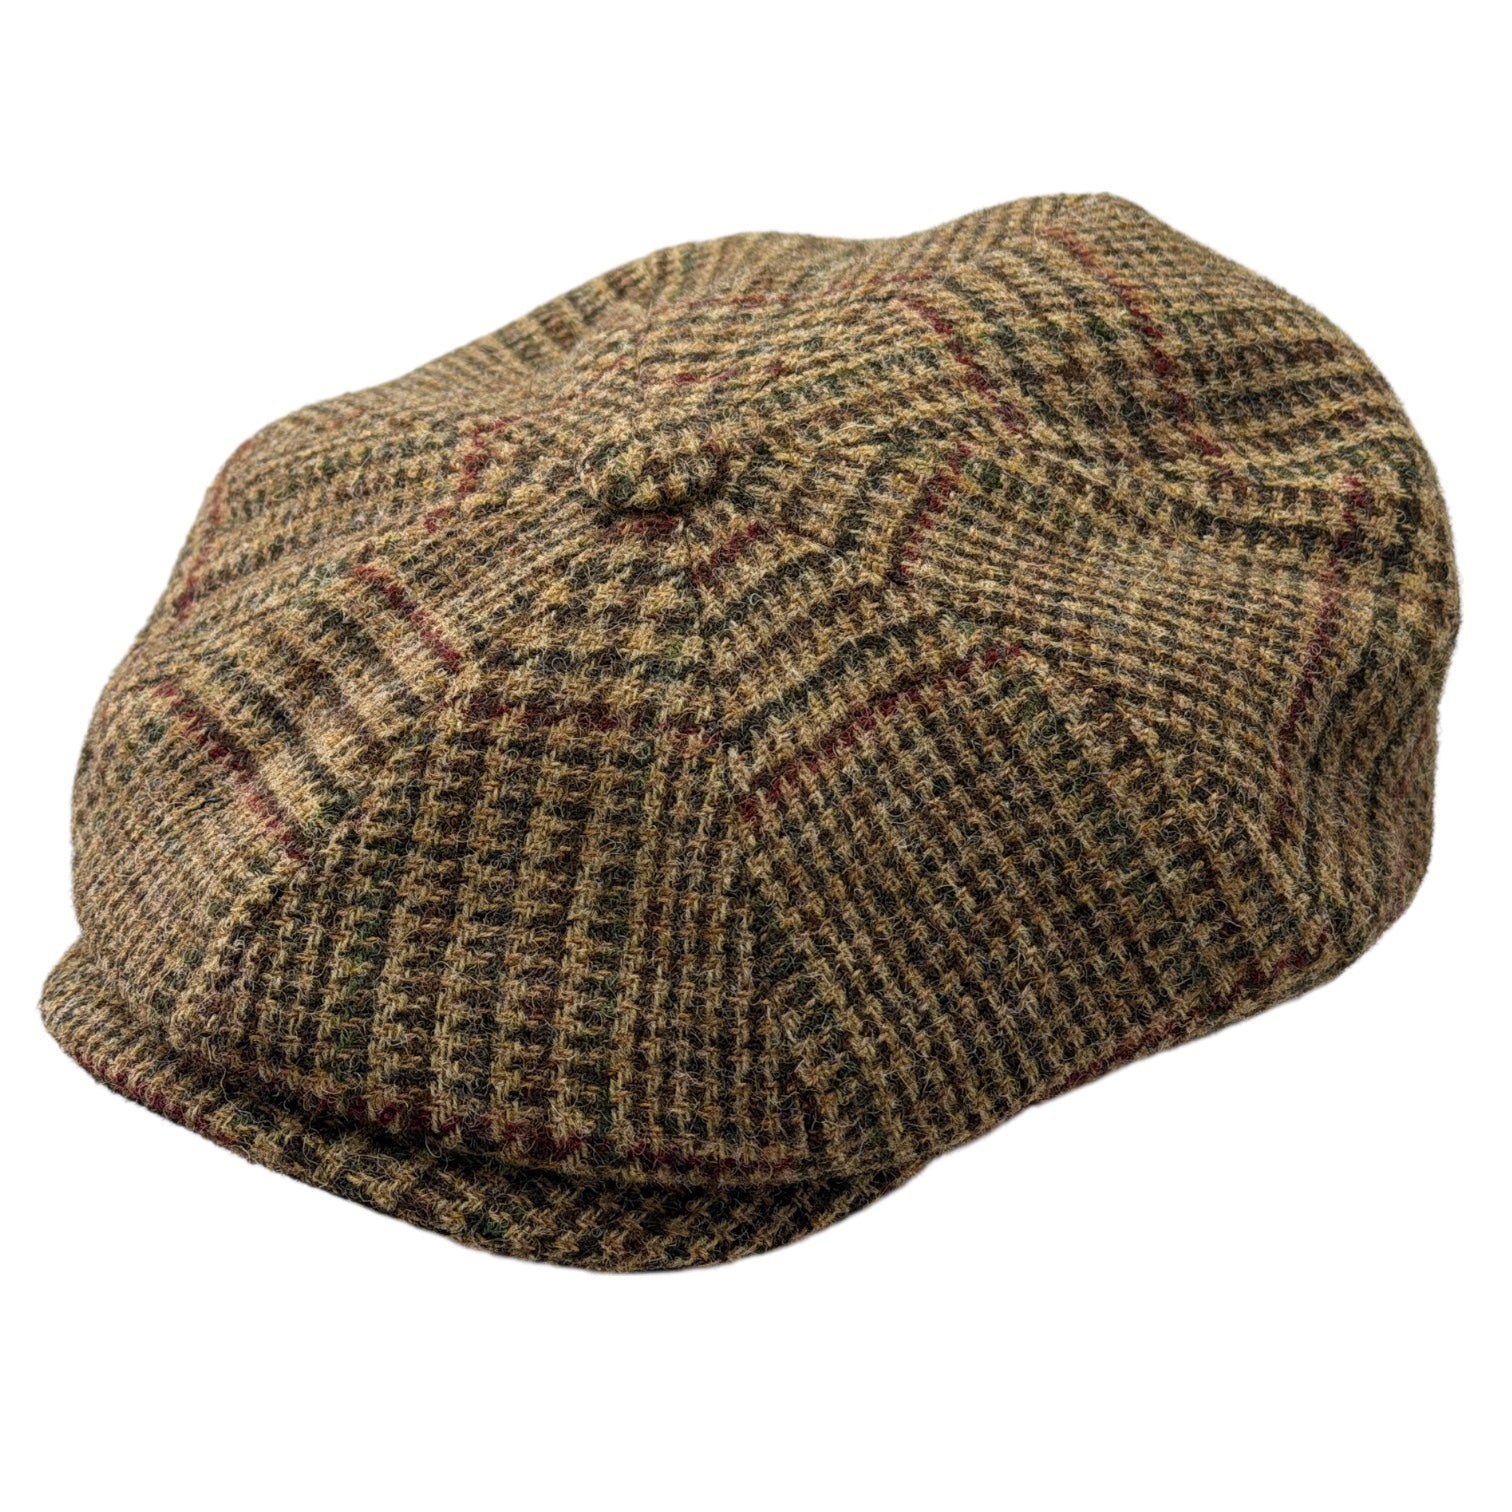
Try a heritage tweed cap for authentic silhouette and finish.

Prefer materials with documented provenance and time-honoured construction
Material choice determines both patina and performance. Boiled wool felt compacts and smooths; worsted knits retain stitch definition even as they soften; silk velvet develops a directional nap; linen creases rather than pills; leather sweatbands darken and mellow with handling. Touch and sight further reveal authenticity: nap direction, slight fibre irregularities, and the way wool compresses under repeated wear are all telling. Construction details reinforce those signals. A close study of hand-stitched crowns, ladder or backstitching at the brim, and hand-blocked shapes will show uneven stitch length, variable tension, and discrete tack points. Those small inconsistencies make handwork readable at a glance, so careful photography or magnification helps distinguish genuine handcraft from machine production.
When conserving a hat, choose natural linings and leather or linen sweatbands for breathability and sympathetic ageing. Preserve original ribbons, braids, and sewn-in stays so any replacements will sit and wear like the period original. Favour maintenance that permits straightforward mending; hand-stitched crowns and replaceable sweatbands make future repairs simple. Use small checks, such as a loose tack, a separated seam, or a brittle lining, to assess restorability without altering how the piece was shaped. Read provenance from pattern proportions, stitch types, and faint maker stamps, and document measurements, internal construction, and identifying marks photographically to guide faithful conservation or replication.
Prefer a fine blocked-wool hat for authentic shape and longevity.

Hand-blocking and shaping caps: the craft that shapes a hat's character
Hand-blocking begins when a hatter stretches felt or cloth over a wooden block and applies controlled steam to relax the fibres. The maker secures seams with tacks or fine stitches, then clamps the piece to dry. Each stage leaves tell-tale marks: a softened nap, faint tension lines, and slight irregularities that read as lived-in. Steam and pressure alter the material so its fibre memory retains selective crushes, eased seams, and the gentle asymmetry introduced by the maker; these qualities deepen with wear. Visible clues, such as subtle grain marks on the crown, even mallet impressions, and a smoothly rolled edge to the brim, indicate correct technique rather than mere age.
Workshop tools shape a cap's silhouette and leave telltale marks. Wooden blocks cut to period profiles, a wooden mallet, pliers for tacking, round irons for the brim, and horsehair brushes and stuffing forms each make a characteristic impression on the finished piece. Surface finishing relies on directional brushing to reveal nap variation, controlled abrasion to build a soft sheen without thinning the material, and light oiling to deepen colour while preserving texture. Together these techniques alter how light plays across the cap and how it feels in the hand. To conserve that hand-blocked character, treat the object gently. Rest caps on shaped blocks between wears to retain crown and brim, avoid repeated heavy steaming which can soften and blur blocked lines, and mend sweatbands or re-stitch trims rather than overworking the crown. Record stitch patterns and maker's marks as part of the cap's provenance. These are the details that reward closer inspection.
Reading hand‑blocked character and how to keep it
- Spot the hallmarks: softened, directional nap from steam shaping, subtle mallet or grain impressions on the crown, slightly eased or asymmetric tension lines at seams, an evenly rolled brim edge, and maker tacks or stitch patterns visible at the sweatband — these are physical clues you can inspect to infer hand work rather than mechanical finishing.
- Match tool to trace: wooden blocks set the overall profile and may leave faint grain or compression lines; a wooden mallet gives even concavities where the maker closed shapes; round irons and brim forms produce a smooth rolled edge and uniform brim curve; pliers and tacks create tiny puncture or stitch rhythms; brushing and controlled abrasion create nap variation and a subtle sheen while preserving the fabric's depth.
- Preserve, do not erase: rest caps on shaped blocks between wears, avoid repeated heavy steaming that removes fibre memory, mend sweatbands and re‑stitch trims rather than overworking the crown, use light directional brushing and sparing oiling to refresh nap and colour, and record stitch patterns or maker marks as provenance so repairs respect the original evidence.

How to age finishes to develop a natural patina
Begin by assembling a small reference set of genuinely worn caps and photograph the areas that habitually show wear. Note the darkest colouration on the sweatband, a flattened peak, and softened crown seams; these should guide where you introduce age. Work selectively with controlled abrasion, treating only small, high-contact areas. Use very fine sandpaper, fine wire wool, or a pumice stone to lift or remove fibres, and check frequently against your references to avoid an even, artificial scuff. Build patina slowly. Apply diluted colourants or tannin washes with a sponge, blot to break the pigment, then lightly buff to reveal the underlying fibres. Repeat in short, considered cycles until the depth and variation mirror the reference samples. Always test the technique on an inconspicuous area or on a spare cap first. Less is more: the goal is a nuanced, believable appearance, not damage to a well-made piece.
To reproduce structural wear while preserving fit, work with restraint and a clear record of each intervention. Begin where wear appears naturally: gently fray and thin the outer fabric at seam junctions rather than across broad surfaces, and apply measured compression to the crown on shaped forms to suggest long-term shaping without altering the blocked profile. Preserve core stitches and the sweatband so the silhouette remains true. Always test techniques on swatches to observe how the material responds, and favour reversible treatments so effects can be conserved or undone in future. Photograph every stage, and note solvent compatibility, ventilation needs, and the precise action taken. That documentation makes results reproducible and helps you calibrate subtle layering and abrasion to achieve a lived-in authenticity, rather than a painted-on finish.
Pick a tweed cap that ages with character.

Coordinating Production to Preserve Continuity and Care in Hatmaking
Begin by compiling a continuity dossier for each cap style. Pair high-resolution photographs taken under consistent lighting with annotated close-ups of typical wear points, and include material swatches, construction diagrams, stitching counts, and tooling settings. Where useful, supply a scale or neutral colour reference so images remain comparable over time. Standardise ageing and maintenance protocols by defining acceptable degrees of patina, abrasion, and staining, and by specifying cleaning agents, conditioning methods, drying practices, and simple test procedures such as controlled abrasion samples and crocking checks. Record photographic examples and numerical tolerances so interpretation remains consistent between teams. Maintain a parts and materials registry that records fibre content, weave counts, thread types, hardware specifications, and supplier lot numbers. Keep a small physical archive of swatches for colour and texture matching to prevent drift across successive production runs.
Train production and repair staff in the language and techniques of lived-in detail, demonstrating how to soften brims, relax seams, reproduce the irregularities of hand stitching, and burnish edges. Capture these practices in short demonstration clips and in annotated bench notes so tacit knowledge survives beyond individual hands. Implement inspection checkpoints, collect annotated user-wear reports and repair logs, and analyse recurring failure modes to refine maintenance guidance and production tolerances. Maintain a single, authoritative dossier that combines registry entries, footage, and bench notes so continuity grows from monitored practice rather than memory. This method helps teams match repair decisions to original intent, preserve material provenance, and reproduce a convincing lived-in appearance across production runs.
An authentic, lived-in cap begins with disciplined research and concludes in patient craft. Measured drawings and stitch-level study allow makers to reproduce silhouette and stress points accurately; careful selection of materials and hand-blocking create the subtle creases and soft sheen that read as evidence of use rather than affectation. Controlled ageing techniques, from selective abrasion to dilute tannin washes, build patina incrementally so wear reads like history rather than decoration.
Work through a considered workshop sequence: archival research, material analysis, traditional construction, hand-blocking, and measured ageing. This structure converts a reference into a reliably repeatable result by fixing material choices, construction details, and finishing methods. Record techniques and inspection checkpoints, such as stitch counts, seam placement, blocking profiles, and ageing parameters, so continuity endures. When the cap appears on stage or screen, let its subtle qualities speak for the work.