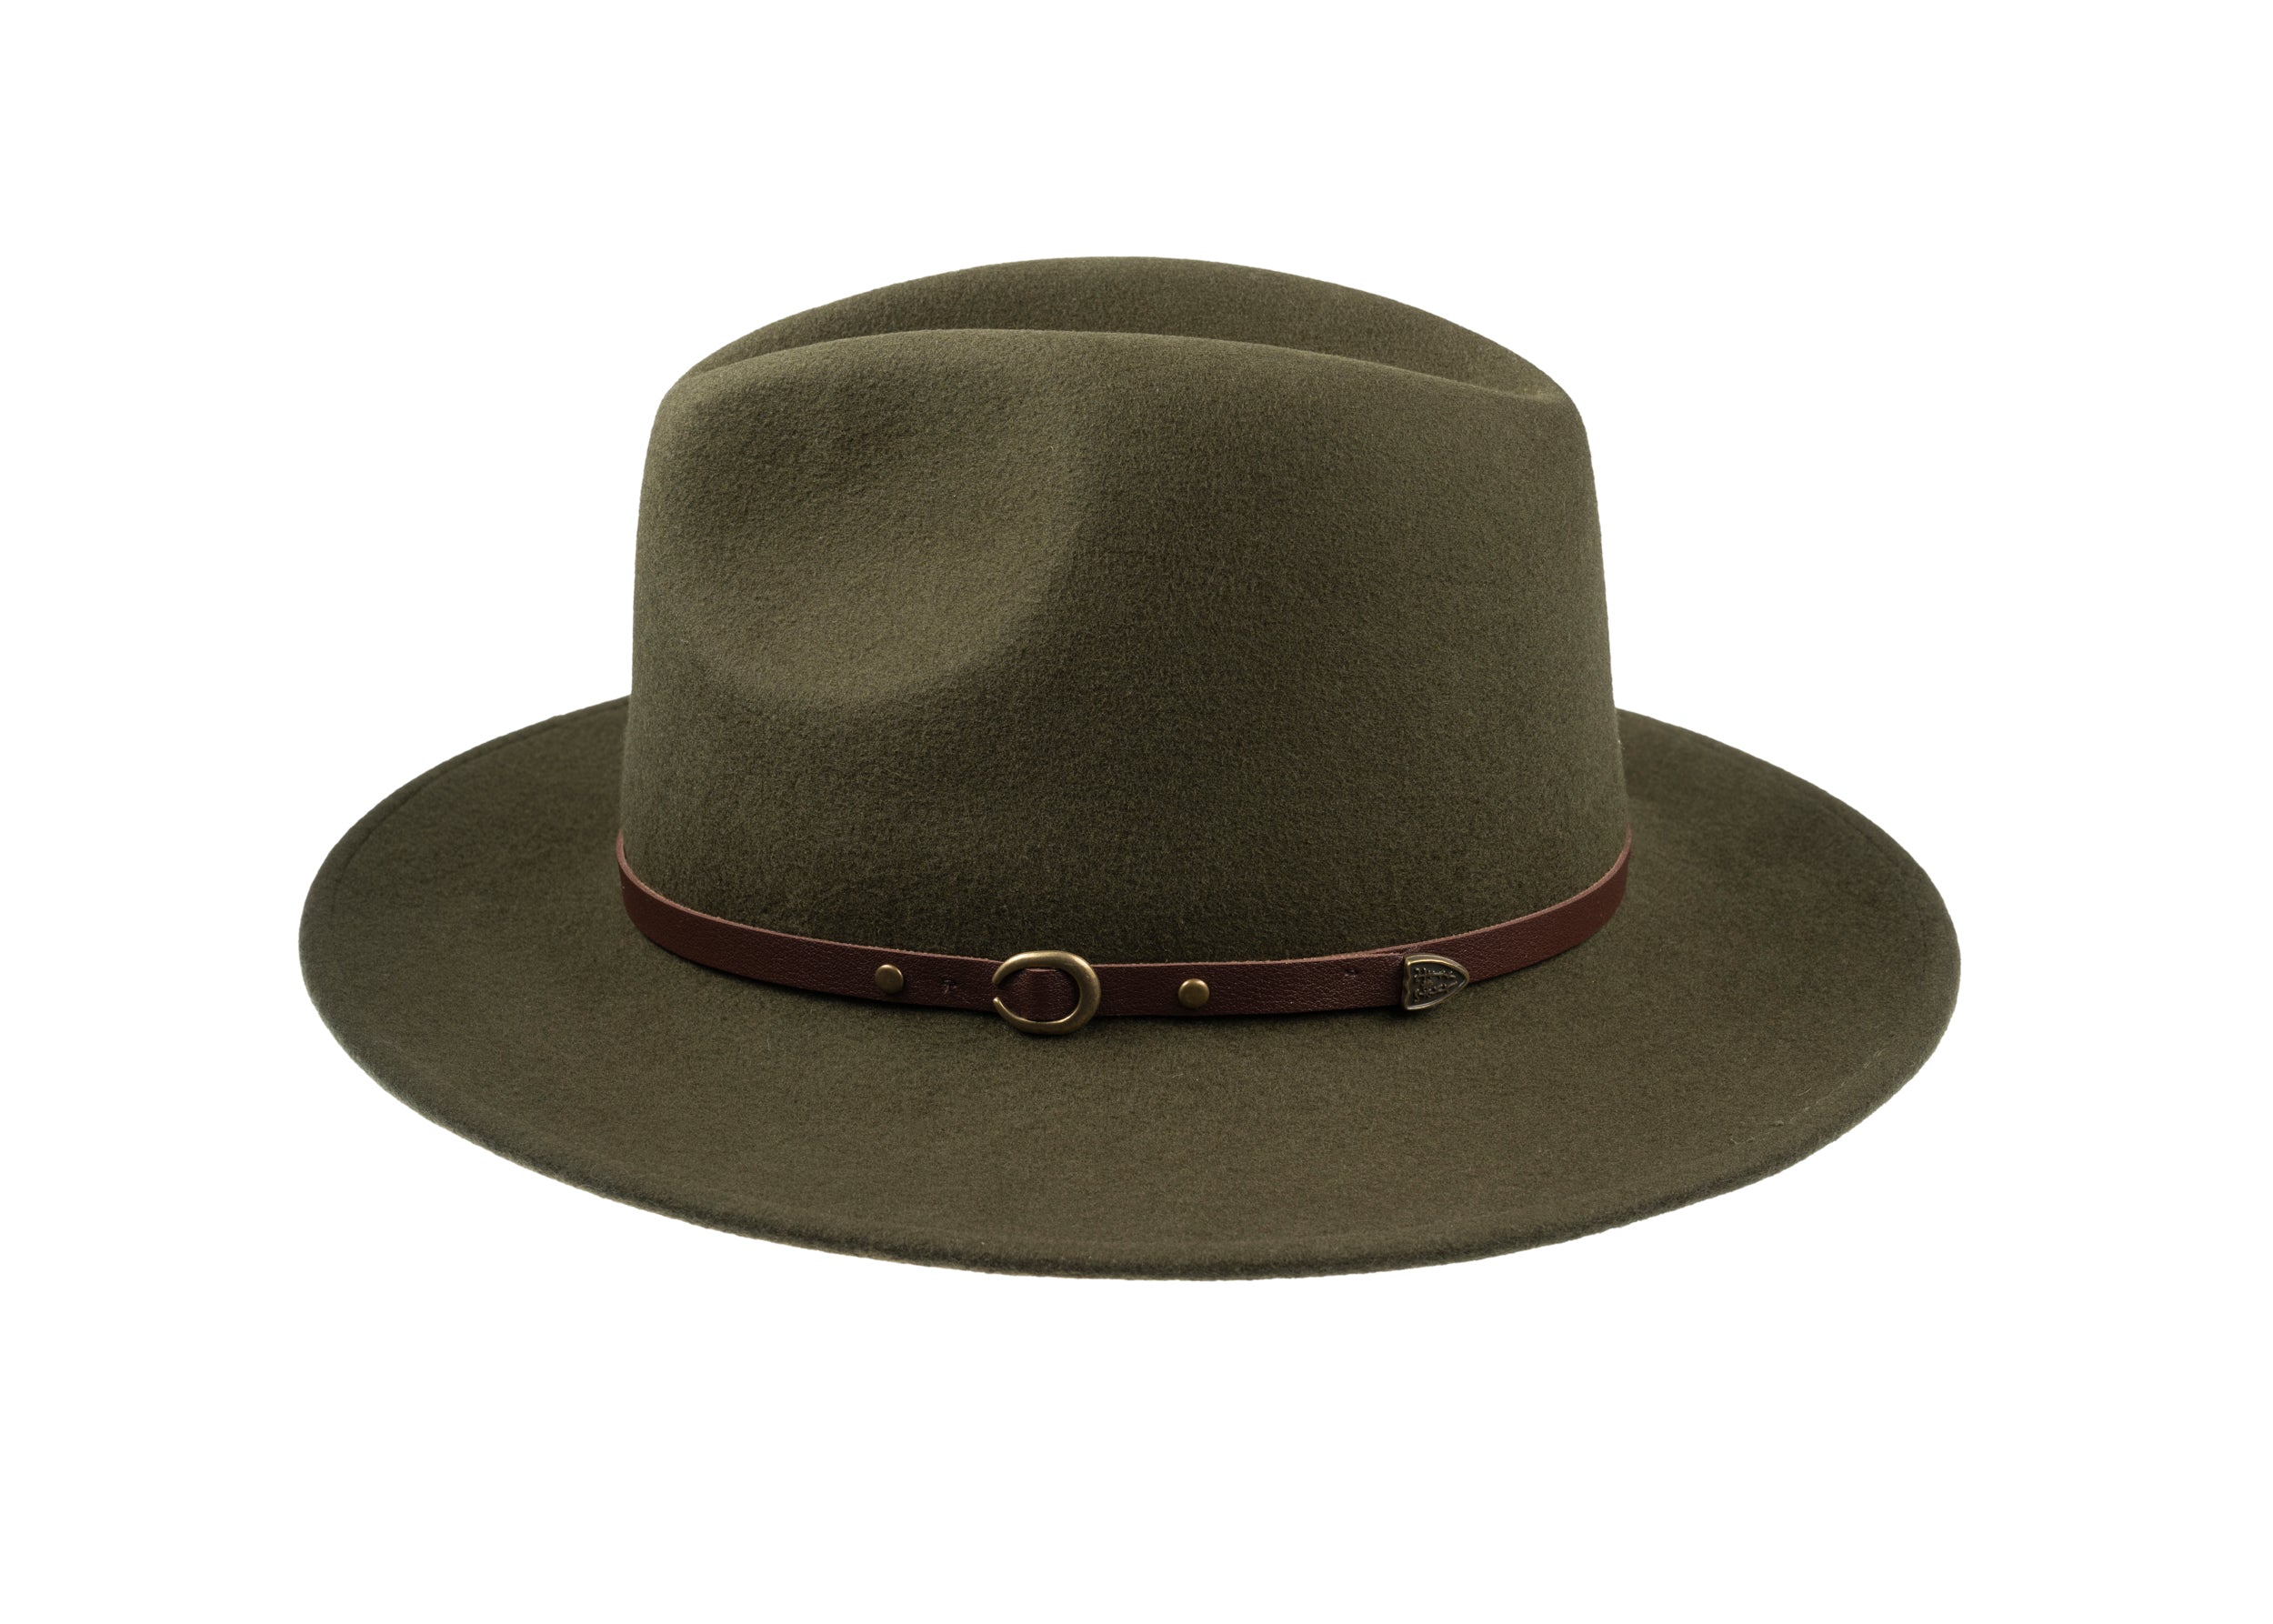
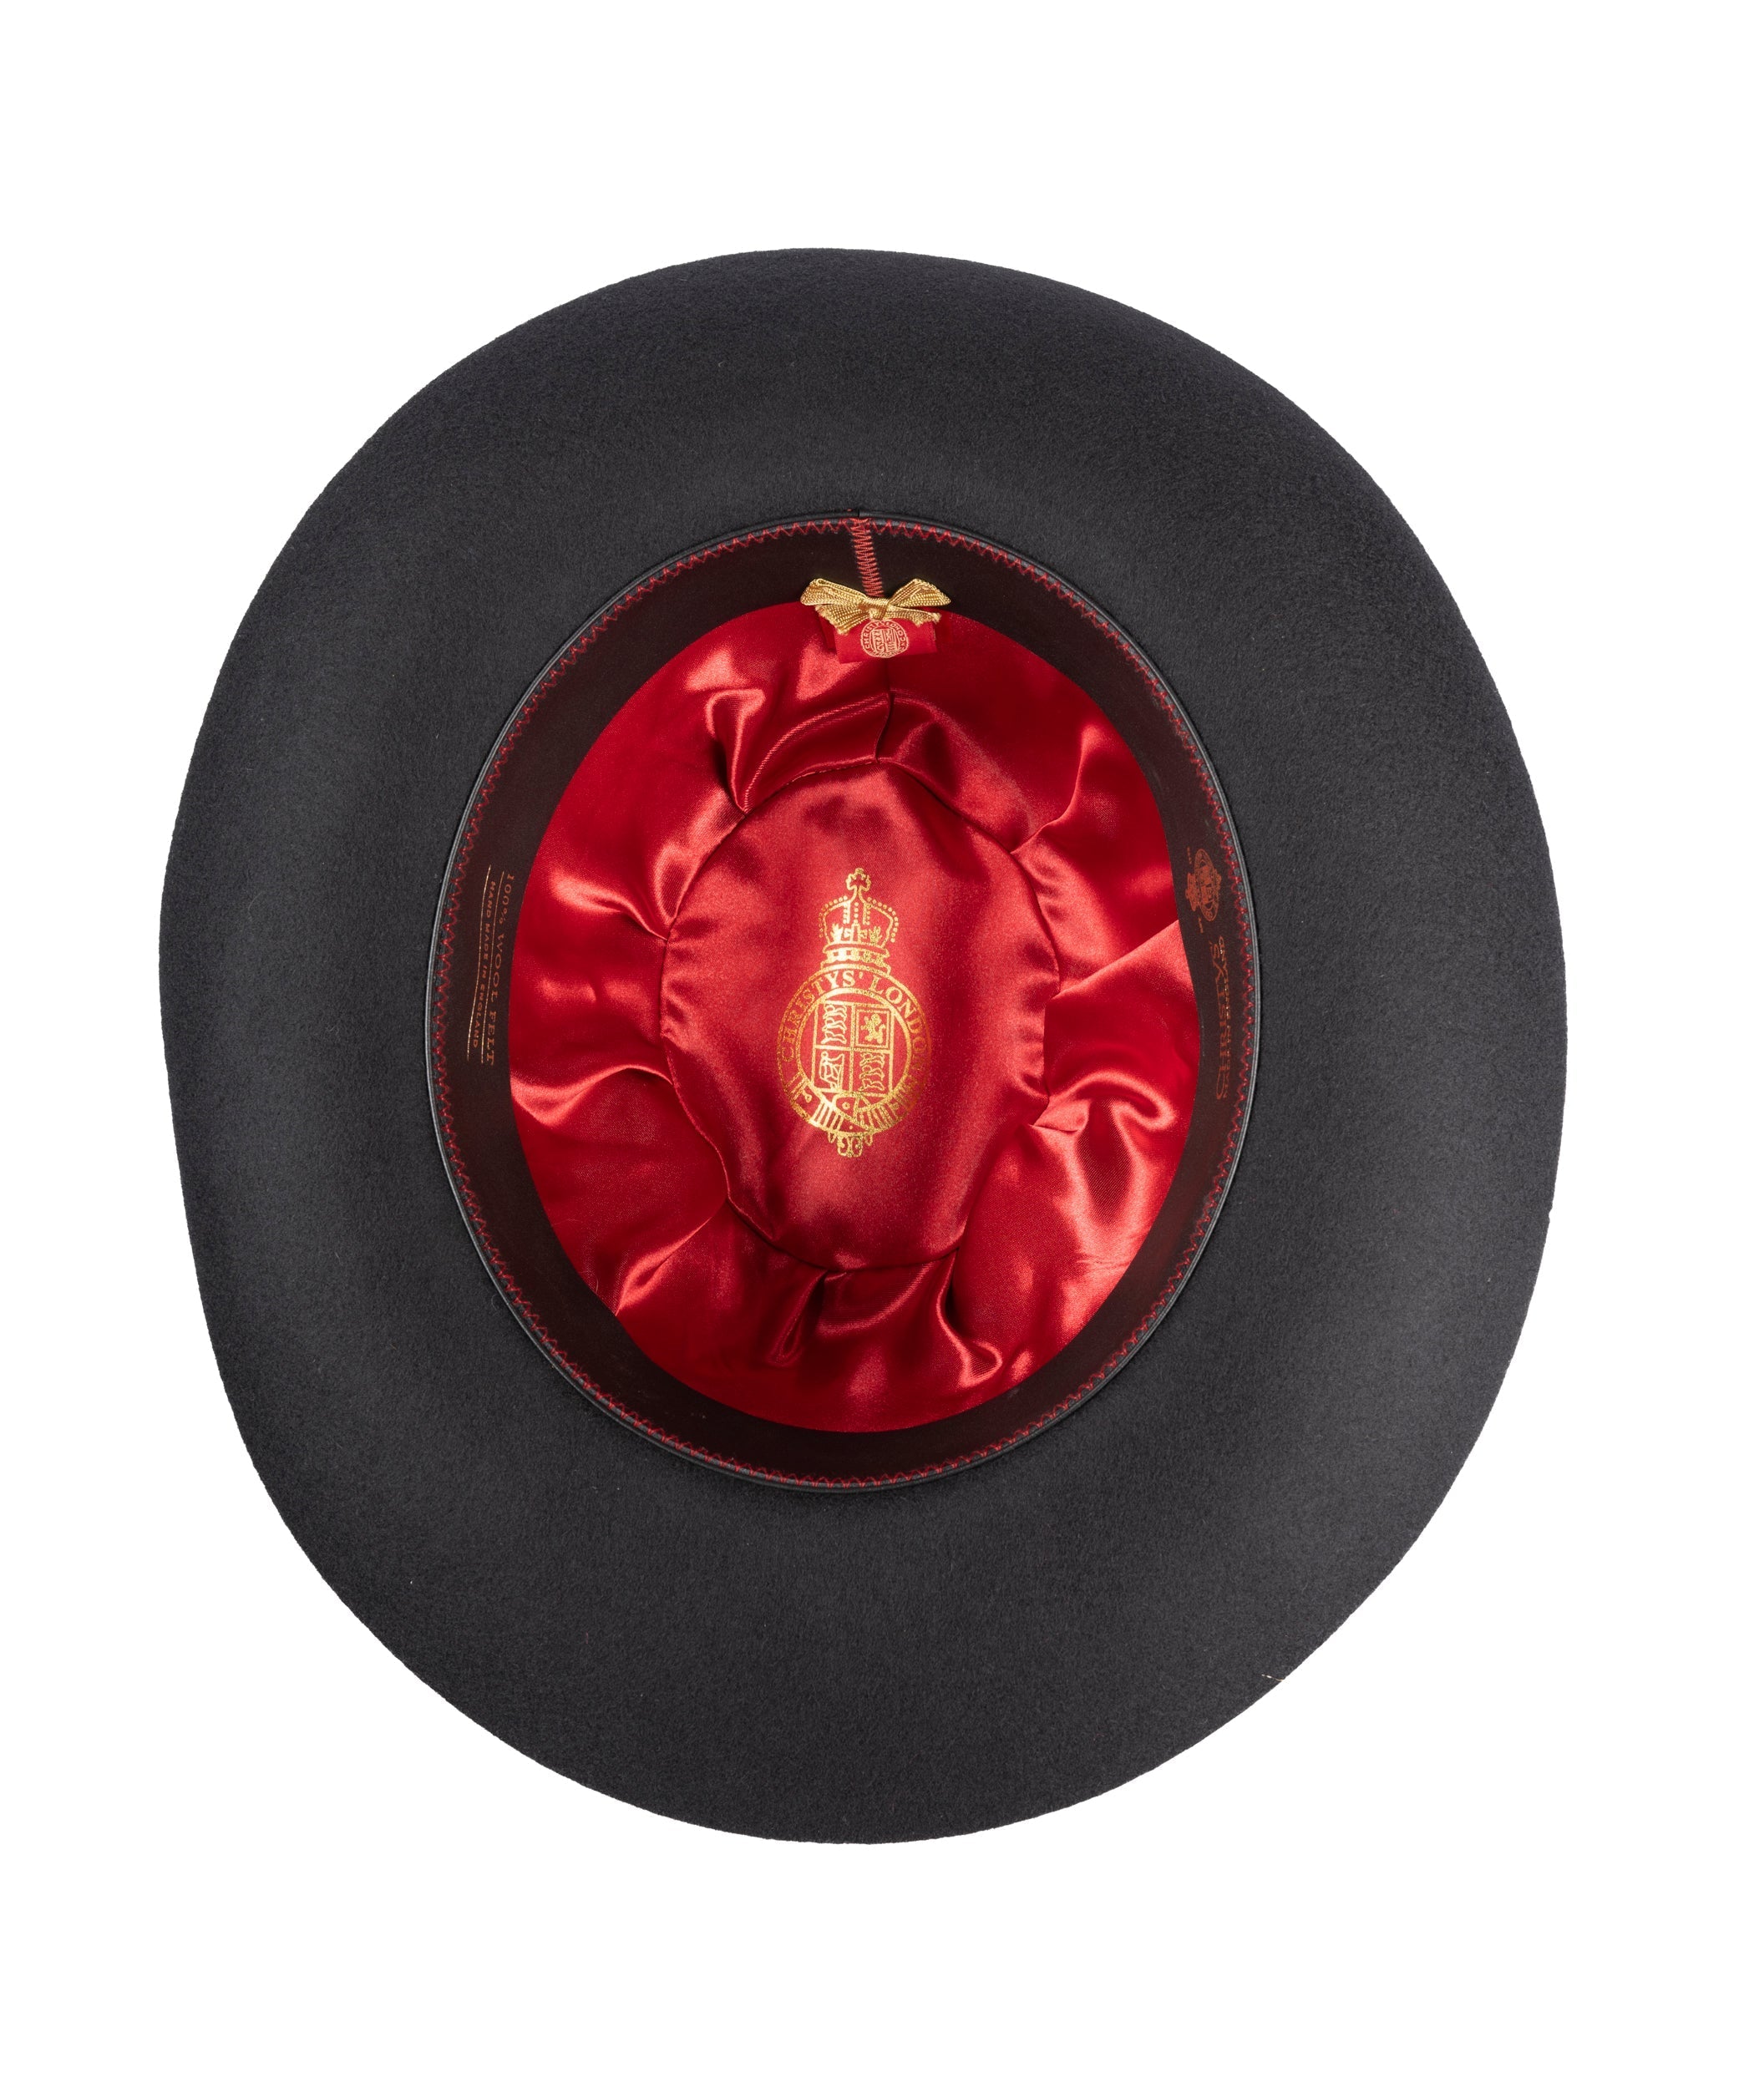
Choosing the cloth for a cap may appear deceptively simple, yet every successful hat rests on a series of technical decisions made at the mill. Which fibres, which weave, and which finish will provide the right drape, weather resistance, and hand for the intended occasion?
This post sets out ten specification rules British mills use, covering fibre content and provenance, staple grade and preparation, weave geometry, finishing processes, testing, and supplier verification. Those rules translate into measurable criteria for specifying cap cloth that performs reliably and improves with time.

1. Define the hat's style and performance requirements
Begin with the silhouette and construction tolerances. State the crown shape, brim stiffness, desired drape, and the acceptable variance in millimetres, and explain how each choice follows from fabric behaviour. For example, worsted-spun yarns and tighter weaves yield a crisper crown suited to formal occasions such as Royal Ascot, while looser, woollen-spun constructions give a softer hand, more appropriate for country wear or travel. Define the performance and environmental brief with measurable endpoints rather than subjective terms. Name the tests and targets you require so a mill can select yarns and finishes with confidence: moisture vapour transmission for breathability, hydrostatic head for water resistance, abrasion cycles for durability, and pilling thresholds for surface wear. Set the wearer profile and fit specification, giving nominal head-size ranges, acceptable fit tolerances in millimetres, and any lining or sweatband interfaces the cloth must accommodate so patterning and seam allowances align with the brief. Invite mills to propose yarn constructions and finish options that reconcile the silhouette requirements with the test outcomes, and request small trials to verify hand and blocking behaviour before proceeding to a full run. These steps place craft and evidence on equal footing, ensuring the finished hat behaves as intended and rewards closer inspection.
Alongside silhouette and construction tolerances, also define clear aesthetic references for colour, sheen, and surface texture, and set tolerances for colourfastness and acceptable shade variation. Invite small sample trials of proposed finishes, such as calendaring, brushing, or water-repellent coatings, so you can compare light reflection and the hand of each option under real conditions. Define durability and maintenance expectations upfront. State an expected service life and the recommended care regime, for example dry clean only or washable, and specify measurable durability metrics, such as seam strength, pilling resistance, and abrasion rating. These figures make the trade-offs between softness and longevity explicit and comparable. Require suppliers to document repairability, anticipated shrinkage, and how finishes are likely to age with repeated cleaning. Ask for test reports, annotated samples, and small-batch trials wherever possible, and use those notes to align wearer expectations with lifecycle performance before committing to volume production.
Specify fur-felt blocking for formal race-day precision.

2. Specify fibre content and provenance for an informed choice
A clear fibre specification states exact fibre percentages, allowable tolerances, and the method of verification. Name the analytical route up front, for example laboratory analysis by FTIR or by wet chemistry, so that suppliers know how composition will be confirmed. Provide a concise declaration on the spec sheet, for example: "Declared fibre composition: 100% wool; tolerance ±1%; laboratory verification required." That makes it plain when composition will alter processing or finish uptake. Define measurable fibre attributes and give units: fineness in microns, staple length in millimetres, and crimp or whorl. For each attribute, state the expected outcome in the finished yarn or fabric. For example, finer fibres generally yield a softer handle and better drape; longer staple length improves yarn strength and reduces neps; and a higher crimp increases elasticity and loft, but can influence pilling. Where possible, attach quantitative targets or ranges and allowable tolerances so mills understand acceptance criteria and can adjust processing accordingly.
For reliable supply and predictable production, specify batch-level provenance and traceability: country of origin, farm or flock identifier where available, bale or lot numbers, and a retained sample for cross-checks and future reference. These records allow verification at every stage and provide a physical benchmark should questions of consistency arise. Set out the functional performance tests and standards to be applied, for example tensile strength, elongation, felting tendency, and dye uptake. Define acceptable ranges or pass/fail criteria so mills can adjust blends and processing to meet the specification rather than discover issues at the point of finishing. Require documentary evidence for recycled content, animal welfare, and chemical stewardship through third-party certificates or chain-of-custody records. Make explicit how mixed or recycled fibres are expected to affect finish behaviour and dimensional stability, and record those expectations alongside the batch paperwork. For any non-virgin batches, require finishing trials, with laboratory confirmation where composition influences finish uptake, so production outcomes align with the stated specification.
Choose a Merino felt hat finished by hand.

3. Control fibre grade, staple length, and preparation for consistent felt quality
Specify the fibre grade numerically: state the required fibre diameter range, the target mean staple length, and the maximum acceptable variability. Require supplier certificates of analysis so the raw material remains auditable and traceable. Translate those parameters into measurable limits for short-fibre percentage and neps, establish incoming bale testing and acceptance procedures, and retain a physical sample from each lot to trace any dye or finishing issues back to a specific batch. Short fibres and neps raise yarn breakage and surface irregularities; longer, more uniform staples measurably reduce breakage and surface neps, which helps preserve drape and a clean finish in woven cap cloth.
Specify the preparation route according to end use. Require a combed top for worsted cloth when a smooth, lustrous face is needed, and choose a carded sliver when bulk and textural character will help the finish sit with more fullness. Control contamination by screening for vegetable matter and by setting tolerances for foreign fibres. Decide in advance whether carbonising or enzymatic cleaning is acceptable, since residual vegetable matter can resist dyes and abrade finishing rollers, while aggressive chemical cleaning alters handle and shrinkage behaviour. Set clear targets for environmental and machine conditions: humidity, lubricant charge, and acceptable ranges of fibre alignment in sliver or top. Require routine instrument checks, for example staple length distribution by image analysis and fibre diameter by established micrometry. Retain samples and supplier certificates so the preparation stage is reproducible; yarns will then take the planned weave and finish consistently, and any deviation can be traced back for corrective action.
Opt for long-staple summer cloth for clean drape.

4. Understanding weave structure, thread count, and cloth weight
For the specification pack, set out the exact weave, whether plain, twill, or serge. Attach a small technical sketch and a 10 centimetre sample so the interlacement and repeat are plainly visible. Record ends and picks per centimetre so the mill can reproduce drape, surface lustre, and abrasion resistance rather than merely appearance. Include a weave repeat diagram, and supply warp and weft counts alongside magnified images to demonstrate density and interlacement. Taken together, these details help ensure a consistent handle and surface across production runs.
Complement the weave details by defining yarn count and ply using recognised units, for example Nm or tex, and record ends and picks per centimetre for both warp and weft. Request supplier yarn certificates and a magnified cross section photograph to show how finer or coarser yarns influence crispness and drape. State the target cloth mass in g/m2, and clarify whether that figure refers to prefinish or postfinish material. Specify conditioning, sample size, and an allowable tolerance band for weighing so results remain comparable from batch to batch. Include numerical tolerances for ends, picks, and g/m2, and define the counting method and the sampling locations across the width. Require batch reports that present clear pass or reject criteria. Finally, provide a finished strike-off and perform simple functional checks to confirm how milling, fulling, or shearing alter density, handle, shape retention, crease recovery, and wind resistance.
See how fulling and shearing improve tweed handle.

5. Final set, felting, and assessing hand-feel
Specify felting shrinkage using a defined, repeatable test that records linear and area change after a controlled wet agitation cycle, reporting results separately for warp and weft. State an acceptable shrinkage range with a tolerance band so mills can reproduce consistent cap crown geometry. Pair visual surface references with measurable targets by providing matched swatches that illustrate degrees of bloom, nap height, and hairiness, and by defining fibre cover percentage under magnification or by photographic comparison as a quantitative benchmark. Record handfeel both through a trained sensory panel scoring softness, smoothness, and firmness, and through objective handle measurements from instruments such as a Kawabata style evaluation or surface friction and compressibility readings.
A considered finishing sequence makes felting and hand development predictable and repeatable. The sequence typically comprises: wet fulling to begin fibre consolidation, controlled milling to develop structure without overworking the fabric, a neutral rinse to remove residual chemistry, mechanical cropping to level the surface and set the nap, and a final steamer finish to settle fibres and stabilise dimensions. Certain control points require close attention. Monitor liquor chemistry, temperature, and time, and record agitation energy during milling. Check evenness and surface uniformity before cropping, and confirm moisture content prior to steaming. Recording these parameters for each batch ensures felting and hand development proceed consistently from one run to the next. Assessing performance in service completes the process. Subject samples to domestic-care simulation and standard pilling tests, and establish acceptance limits for additional shrinkage, retention of handfeel, and maximum pilling grade. Report before and after dimensional measurements and tactile assessments so clients can see how the finish performs in use.
Opt for fur-felt construction to achieve precise, polished crown.

6. Ensure colour consistency and dye fastness
Clear, measurable colour specifications make acceptance decisions reproducible. Begin with spectral reflectance curves referenced to a declared standard illuminant and observer angle, and set allowable Delta E limits for both individual components and the finished run. Retain a certified master swatch for ongoing comparison, and record written dye recipes together with batch and kettle numbers so any shade drift can be traced to a particular process step. Where core shade stability matters, prefer yarn or fibre dyeing, and manage lots from fibre to finish to reduce variability. By linking laboratory colour data to production records, you convert subjective judgement into documented, repeatable accept and reject decisions, and thereby create verifiable evidence for quality control.
Specify fastness testing within the product specification, using recognised methods such as ISO or equivalent tests for light fastness, wet and dry crocking, laundering or dry-cleaning compatibility, and perspiration. Accept only samples that meet the grade thresholds defined for the intended end use. Because finishing steps such as milling, steaming, or desizing can alter dye uptake, require post-finish struck-offs (test swatches taken after final finishing) or pilot pieces, re-run fastness tests, and compare spectral data before approving production. To guard against metamerism and in-transit fading, require viewing under multiple calibrated illuminants, supply spectral signatures and laboratory certificates with shipments, and define storage and handling conditions to prevent photofading and contamination.
Choose a finished black hat to ensure reproducible depth.

7. Assess mechanical strength, abrasion resistance, and pilling performance
To achieve repeatable, actionable laboratory results, specify both standard test methods and clear acceptance criteria up front. For example, use Martindale abrasion (ISO 12947) to assess surface wear, a tumbling or pilling-box test (ISO 12945-2) for pilling, tensile strength (ISO 13934-1), and tear strength (ISO 13937-2). For each method, state exactly what to measure, how many replicates to run, and whether the result should be expressed as a pass/fail metric or compared with a reference cloth. Prepare samples so they reflect finished-product performance: condition specimens to standard humidity and temperature, and test both greige and finished cloth after any singeing or resin application. Record the finishing recipe alongside the results so changes in coating or treatment can be correlated with performance. Run tests in both warp and weft, and where relevant include seam or folded-edge samples, since strength and pilling behaviour commonly differ at joins. Require reports to note cycles to visible wear, changes in mass or thickness, and to provide both visual grades and structural measurements. Those paired observations make for true apples-to-apples comparisons and give a clearer picture of how a fabric will age in use.
Set practical acceptance thresholds against a reference garment or an established production standard, and insist on a high pilling grade on the 1 to 5 scale for headwear. Prefer reporting the number of test cycles to a chosen wear endpoint rather than a single pass/fail snapshot; stating how many cycles produced the defined level of abrasion, pilling, or other failure gives a far clearer record of durability. When outcomes fall short, connect specific failures to likely construction or finishing causes so mills can iterate effectively. For example, fibre shortness or excessive hairiness points to yarn and fibre choices; low yarn twist and sparse weave indicate changes in yarn preparation or weave density may help; insufficient consolidation suggests the need for adjusted blocking or pressing. Corresponding remedies include tighter yarn twist, altered weave density, singeing or enzyme finishes to reduce surface fibres, and increased consolidation during finishing. Retest after each change to confirm improvement. Institute routine quality control and traceability. Sample every production lot, or a statistically justified subset, and retain test reports with batch identifiers and the exact finish recipes used. Correlate laboratory data with wear trials and returned-product inspections. This joined record will reveal gradual drift and provide the evidence needed to launch root cause investigations and correct course.
Choose a blocked wool hat for proven shape retention.

8. Control dimensional stability, shrinkage, and response to steam
Set measurable targets for dimensional stability and define a simple test protocol. State the acceptable percentage change in warp and weft after a prescribed home-care simulation and again after steam blocking, and ask the mill to report the mean, standard deviation, and specimen count, with before-and-after readings taken from a marked gauge so results are verifiable. Shrinkage above about 3 per cent typically changes fit and appearance, so set tolerances that reflect the garment’s intended use rather than an arbitrary figure. Link fibre, yarn, and weave choices to those shrinkage goals by requesting information on yarn spin type, twist level, and sett density (the spacing of threads in the weave). Favour yarn and construction parameters that reduce relaxation, and validate the choices with small loom trials that follow the full finishing route. Those trials reveal how the construction responds to steaming, blocking, and any recommended home care, and they provide the empirical basis for final tolerances.
Define a finishing sequence that locks a hat's dimensions: mechanical pre-shrink to reduce later movement, a controlled steam setting to relax and shape fibres, dry decatizing to stabilise the surface, and a final pressing or calendering to set the form. Make post-finish dimensional verification mandatory so each piece leaves the mill within the specified tolerances. Test steam response and blocking behaviour explicitly on representative hat blocks or a mechanical simulator. Use clear acceptance criteria, for example: no visible grain distortion, crown circumference consistent within the pattern allowance, and reproducible results across samples. Recording these tests highlights any systematic variation and makes outcomes repeatable. Provide cutters and bespoke hatters with measured pattern allowances, together with clear consumer and professional care instructions that describe blocking technique after wetting. Require a mill test report that shows pre- and post-care dimensions, includes photographic evidence, and sets out the mill's recommended blocking procedure. These steps reduce uncertainty in production and care, and help preserve the crafted intent of the hat so the piece holds its form and remains true to its intended silhouette throughout its service life.
Choose a blocked wool felt for lasting shape.
9. Specify sampling strategy, laboratory testing, and inspection methods
Begin with a clear, statistically sound sampling plan. Define lot boundaries so each lot is uniform by manufacture, weave, and dye lot. Choose random or stratified selection to ensure specimens represent warp, weft, selvedge, and distinct dye lots. Where multiple batches or suppliers contribute to a single lot, stratify accordingly so no structural or colour variation is overlooked. Set sample size by reference to recognised schemes, for example AQL tables under ISO 2859-1, or by a simple statistical formula. To find the sample size n required to detect at least one defective specimen with a given confidence level, use: n = ln(1 - confidence) / ln(1 - p) where p is the defect rate you wish to detect (expressed as a fraction) and confidence is the desired probability (for example, 0.95 for 95 percent). As an illustration, to be 95 percent confident of detecting a 2 percent defect rate, n is approximately 149. For routine practice, many manufacturers use AQL tables or a minimum pragmatic rule (for example, at least 3 percent of the lot, subject to a sensible floor and ceiling such as 5 to 50 specimens) and escalate when results warrant. Require the following mandatory examinations and methods, performed to recognised ISO or BS EN standards so results reproduce reliably. Where a standard sets specimen dimensions, conditioning, or apparatus, follow it precisely; typical conditioning is at about 20 degrees Celsius and 65 percent relative humidity for 24 hours before testing. - Fibre identification: microscopy or spectroscopy (for example, polarised-light microscopy or FTIR) to confirm fibre content and detect blends or contamination. - Yarn count and thread density: measure warp and weft counts to verify specification and consistency across the lot. - Tensile and seam strength: assess maximum force and seam integrity to the relevant textile tensile standards. - Dimensional change (shrinkage): measure before and after the prescribed laundering or cleaning cycle indicated by the standard method. - Pilling: evaluate surface wear and pilling using an established method such as the Martindale pilling test. - Colour fastness: to washing, light, and perspiration, using the ISO 105 series or equivalent, and report grey-scale or numerical grades as required. Specify specimen dimensions, preparation, and conditioning in line with the referenced standard test methods rather than ad hoc sizes; this ensures comparability between laboratories and over time. Define clear, recorded escalation criteria. Move from routine sampling to full inspection when any of the following occur: a single critical failure (for example, confirmed fibre-content mismatch or a fastness rating below an agreed minimum), two or more failed specimens in the same test, or a sampled failure rate exceeding an agreed threshold (a practical example is more than 2 percent failing a mandatory test). When anomalous results appear, perform 100 percent checks on the affected lot and, where relevant, quarantine or hold material pending investigation. Record every step: lot definition, sampling method and random seed or selection list, individual results, standards referenced, and the trigger that prompted escalation. This creates an audit trail and ensures that quality decisions rest on reproducible evidence rather than impression.
With the sampling plan in place, set clear acceptance criteria and statistical rules for pass, hold, and reject. State target values, allowable tolerances, and a chosen AQL or confidence level so the probability of each outcome is known. Combine these elements in a repeatable inspection regime: - Use in-line visual checks, end-of-line dimensional inspections, and independent laboratory testing where measurements are destructive. - Require calibrated instruments, defined lighting conditions, and photographic records to ensure assessments can be reproduced and reviewed. - Require laboratory accreditation, signed test certificates, and submission of raw data files so results remain transparent and auditable. - Retain reference samples and maintain chain-of-custody documentation to support dispute resolution. Finally, define re-test windows, rules for handling outliers, and a remediation pathway that includes lot hold, corrective actions, and re-sampling. Framing decisions around documented evidence ensures outcomes are consistent and defensible.
10. Require supplier verification, traceability records, and acceptance criteria
Request a full traceability pack from each supplier, including batch and lot numbers, certificates of analysis, country of origin, and mill process logs. Cross-check those identifiers against incoming goods, production tags, and finished cloth labels to demonstrate provenance and to spot mismatches early. Specify measurable acceptance criteria for fibre composition, yarn count, weave density, fabric weight, and finish parameters. Require suppliers to declare test methods and tolerances so laboratory results compare directly with your standards, rather than vague conformity statements. For critical attributes, ask for independent, accredited laboratory reports that include raw test data and method descriptions; these make it possible to assess repeatability and to distinguish a one-off deviation from a systemic issue.
Build that documentation into a robust traceability framework that begins with unique batch identifiers linked to scanned certificates, photographic evidence at key stages, and logged quality-control inspections to build an auditable trail. Those records should inform supplier performance reviews, reveal trends, and prioritise audits where failures cluster, converting data into targeted oversight rather than broad, unfocused checks. Establish a clear non-conformance workflow that quarantines affected material, requires a documented supplier root cause analysis, and mandates corrective action and re-testing before release. Retain representative samples for subsequent failure analysis. Finally, link recurring issues to formal audit triggers so final cap cloth quality and provenance claims remain protected.
Good cap cloth arises from deliberate choices at every stage: fibre provenance, staple preparation, weave geometry, and finishing. Each decision determines drape, durability, and colour stability. These ten rules translate mill craft into measurable targets, agreed test methods, and traceable records, so mills and hatters can reproduce results and match performance to occasion, from a formal race meeting to a day in the countryside.
Treat the headings as a working checklist. Require fibre certificates and retained samples, specify ends, picks, and cloth mass (weight per square metre), and mandate post-finish checks such as Delta E limits for colour, pilling grades, and shrinkage reports. Carry out a small strike-off and accept only cloth that meets those verifiable criteria. These measures ensure finer points are evident on inspection and make provenance and craft heritage predictable, repeatable outcomes in the finished hat.