Why will a favourite cap fade, sag at the crown, or split at the seams while another endures for years? It is rarely chance. The decisive factors are fibre choice, the weave, and the quality of internal support. Together they determine abrasion resistance, sensitivity to ultraviolet light, how the fabric responds to moisture, and the cap's long-term structural resilience. These are the details that reward closer inspection.
Use five practical checks: match the fibre to the cap's required durability and care; assess the weave and construction for resilience; support the cap's internal structure so it retains its shape; identify signs of ageing and likely weak points; and clean and mend according to the fibre. Applied consistently, these checks will extend a cap's life, preserve its drape, and help you make better-informed choices when buying, wearing, or repairing headwear.

1. Match the fibre to its durability, care, and intended use
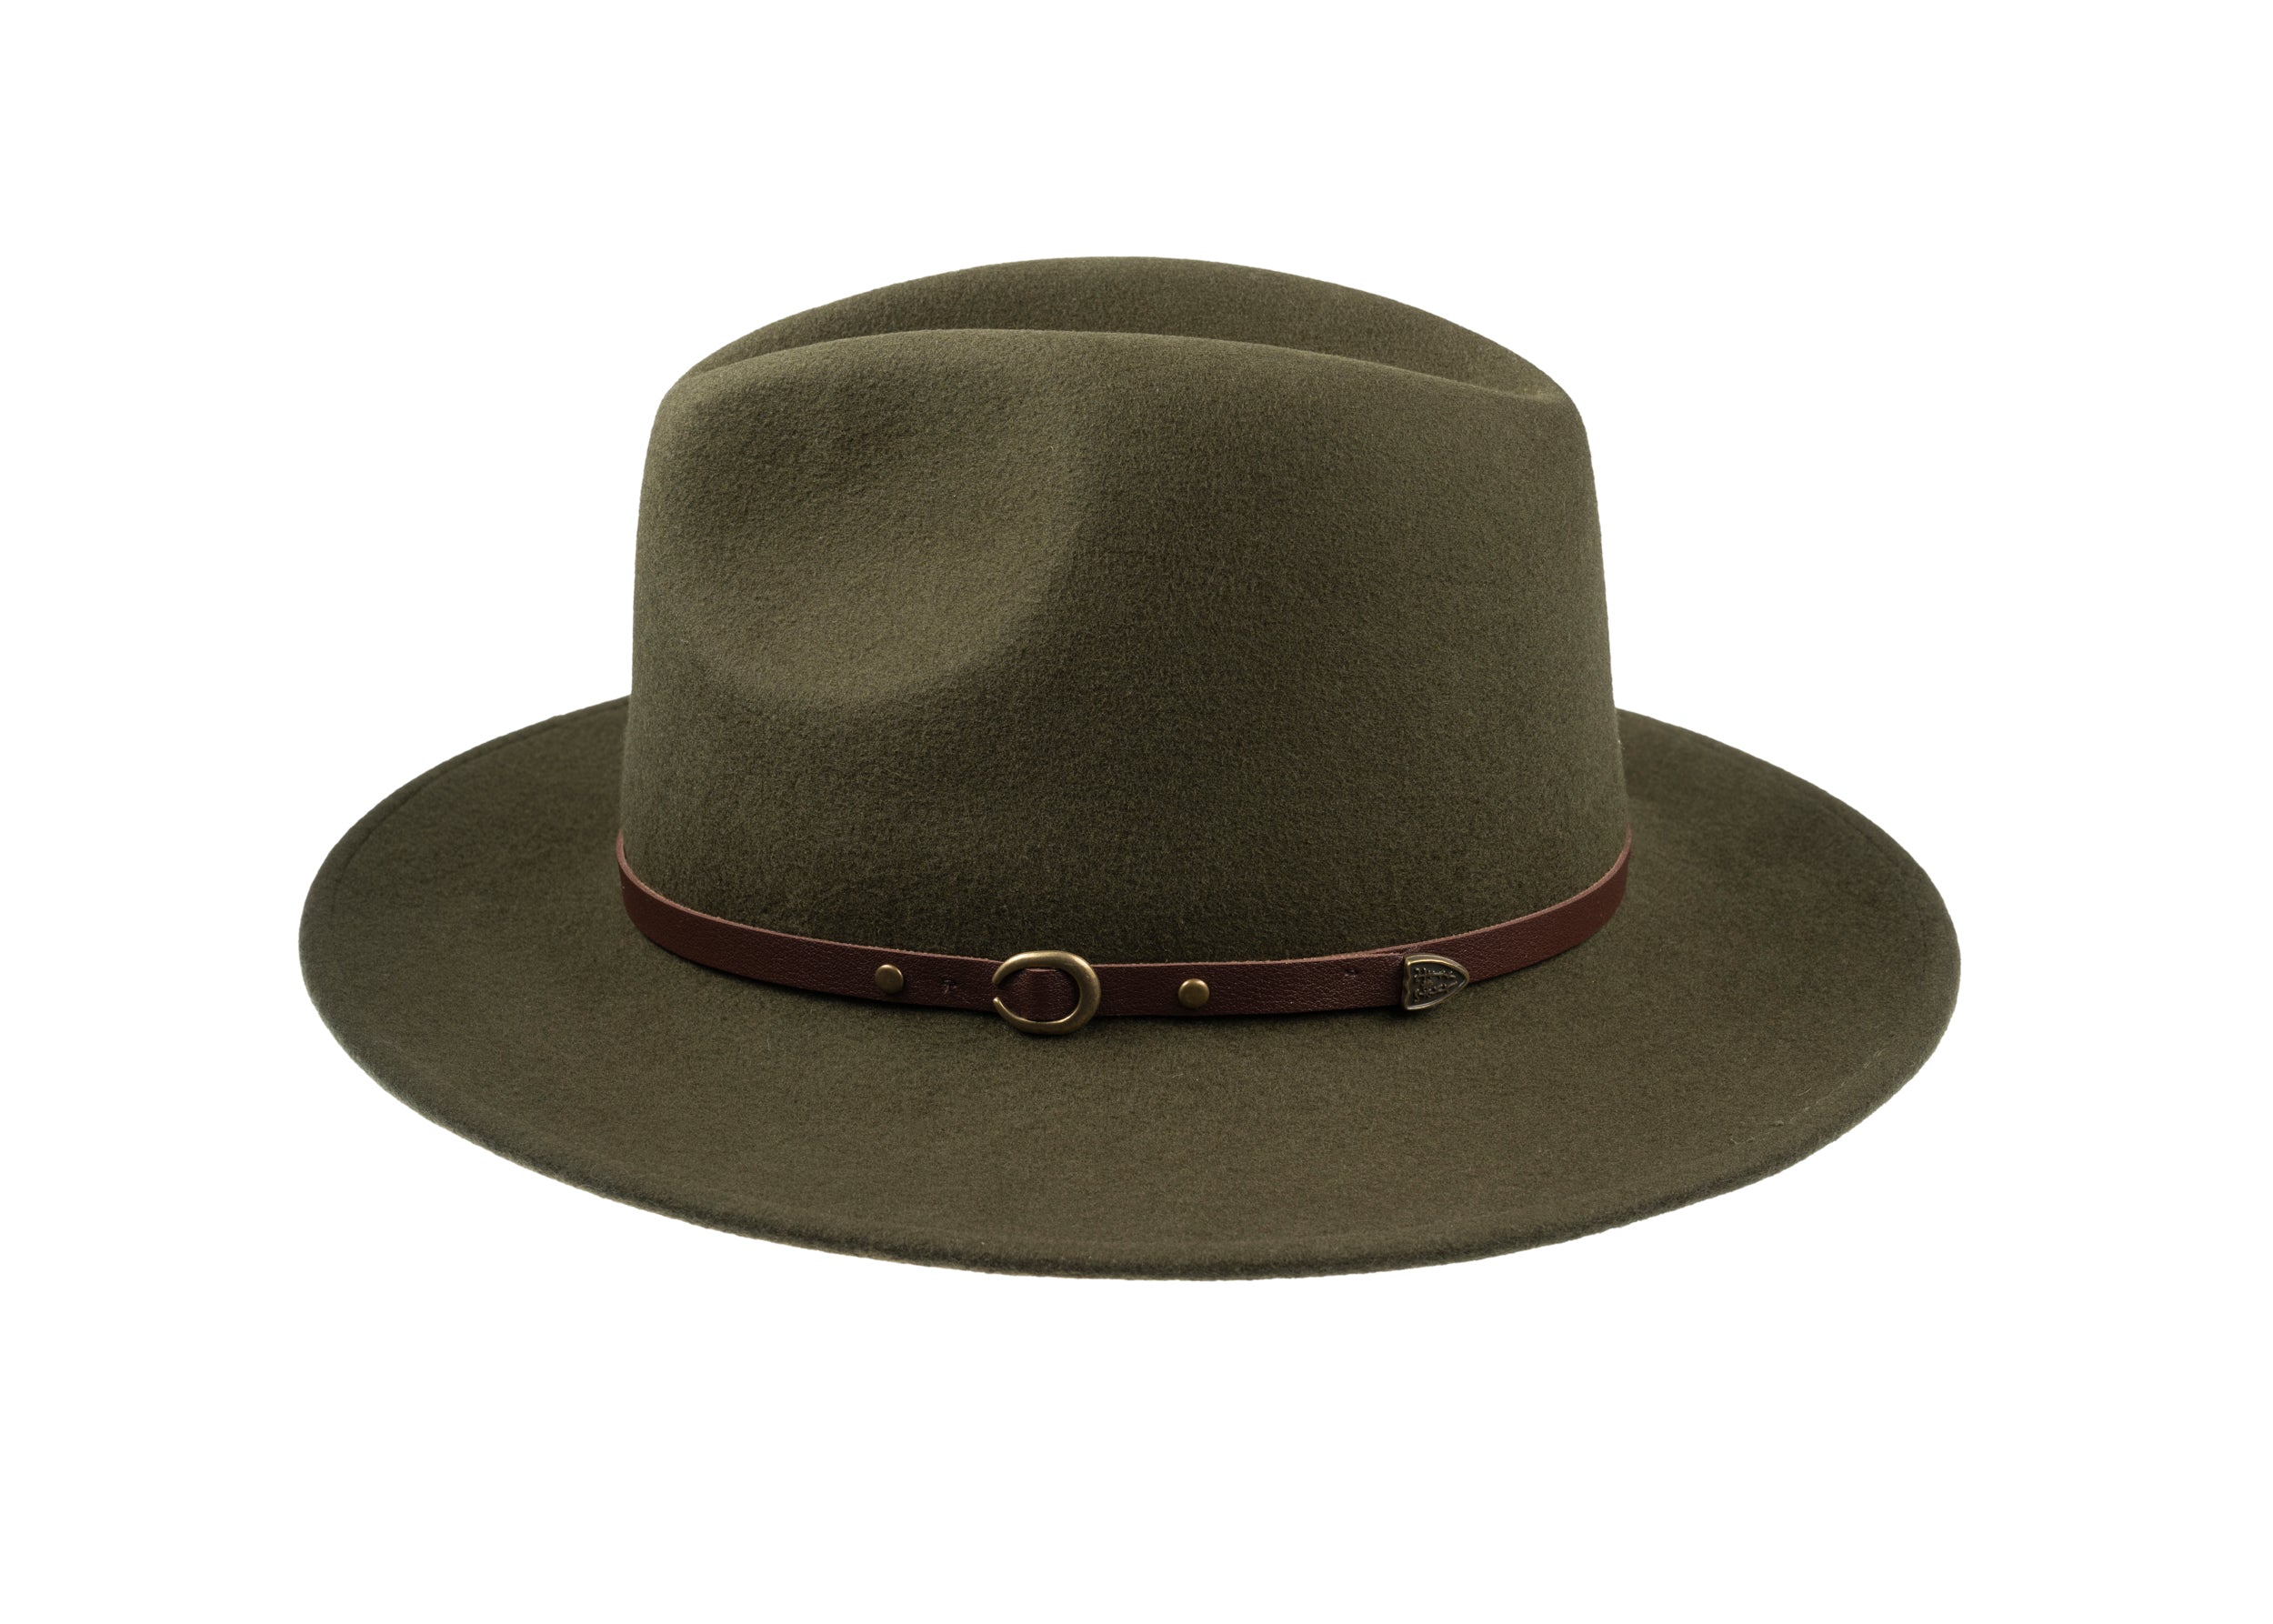
Begin by reading the fibre label, then match the material to how you intend to wear the cap. Cotton and canvas breathe and absorb sweat, so they suit everyday use; they will stain and lose shape if washed frequently. Wool and felt hold their silhouette, resist odour thanks to natural lanolin, and respond best to gentle cleaning and protection from heat. Synthetic fibres, such as polyester and nylon, dry quickly, resist abrasion, and retain colour, but they can trap oil-based smells and tend to pill under friction. Leather and straw demand specialist, low-moisture care and will change appearance as they age. Choose fibres that align with how often you will wear the cap and how you will maintain it to avoid frequent, aggressive cleaning.
Consider weave and construction as much as fibre. Tight weaves such as twill and canvas shed dirt and withstand heavy use; open weaves and mesh improve ventilation but trap lint and lose structure more readily. Felt crowns and structured linings help lock in a silhouette and therefore tolerate fewer wash cycles, yet they often respond well to steam and careful reshaping, particularly when they have been shaped by hand or blocked. Always test a hidden spot before cleaning. Hand-wash delicate fibres with a mild detergent. For sturdier cottons and robust synthetics, use a wash bag on a gentle machine cycle. Never tumble dry; reshape the crown while damp and dry on a form or a soft ball to preserve the shape. Small routines extend service life. Blot sweat immediately, air caps and hats between wears, and wipe or replace the sweatband as required. To tackle odour, test first, then apply bicarbonate of soda or a dilute vinegar rinse sparingly and rinse away. Attend to minor repairs promptly, and brush wool to restore the nap and preserve both fit and appearance.
Choose breathable summer weave to stay cool and fresh.

2. Assess the weave and construction for longevity and strength
Plain, twill, and knitted constructions age in different ways. A tight weave resists abrasion and sheds surface dirt; an open or loose knit is more likely to snag and to retain sweat. Inspect the fabric by holding it to the light and tracing the grain with a fingertip to judge openness, then favour spot-cleaning for dense weaves and gentle hand-washing for looser knits. Inside seams tell a similar story: high stitch density, topstitching, bartacks, and overlocked edges at the crown and brim reduce the risk of seam failure. Where stitching looks sparse, reinforce it with simple hand stitching before faults spread, and avoid heavy agitation during cleaning.
An interlining preserves a hat's shape and shields the outer fabric from body oils. The sweatband material alters care: leather bands can be surface-cleaned and conditioned, while cotton bands absorb moisture and require gentler, more frequent attention. Brim cores often reveal themselves by feel; pressed or cardboard cores deteriorate if saturated, whereas plastic or layered fabric cores tolerate light moisture and can be gently reshaped when slightly damp. Look for folded seam allowances, internal tape, metal eyelets, and doubled stitching as signs of construction that will endure. To check for thinning between panels, perform a gentle tug test; if panels pull away or the fabric feels slack, consider adding internal tape, targeted restitching, or professional reblocking to prevent small faults becoming larger. Pay close attention to these features when examining a hat.
Choose a lined, blocked hat that keeps its shape.

3. Structural support that preserves shape and drape
The internal headband, or sweatband, usually in leather, grosgrain, or cotton, governs fit and the way a cap drapes. A stiffened band preserves the crown's geometry, while a softer band permits a more relaxed shape. Inspect the stitching regularly; re-seat or replace any loose band, and loosen the headband before storing to avoid permanent compression marks. Interlinings range from sewn canvas and buckram to fused layers, and each choice alters crown stiffness, crease definition, and resistance to wrinkling. Do not soak fused linings; they can delaminate. For sewn canvases, coax the fabric back into shape with gentle steam from a distance rather than heavy wetting. At home, press gently along seams to locate hollows or failing areas, but for structural repairs and reblocking, consult a skilled milliner rather than attempting aggressive fixes yourself.
Brim reinforcement, whether wire, stiffened tape, or laminated layers, controls roll and snap. Take care with exposed metal: it can rust and stain adjacent fibres, so inspect for corrosion and delamination before attempting to reshape. A brim may be hand-reshaped on a flat surface or on a hat block; replace frayed edge bindings and rethread loose stitching to keep the edge true. Construction matters. Hand-sewn, hand-blocked caps generally tolerate reblocking and repairs; glued or heat-fused assemblies are more likely to peel when exposed to moisture or heat. You can detect vulnerable assemblies by feeling for hollow spots and performing gentle separation tests. For storage, use breathable covers and fill crowns with acid-free tissue or a cedar insert to retain shape and absorb moisture. Lay hats on a low-profile stand or a flat surface to avoid gradual distortion of internal supports as humidity and pressure change.
Secure a snug fit with discreet interior foam inserts.

4. Identify patterns of ageing and areas of wear
Begin by mapping the usual failure points: the sweatband, crown seams, brim edge, peak tape, and ventilation eyelets. In good light, inspect each for thinning, discolouration, stitch loss, or delamination. Hold the cap to the light to reveal worn threads, flex the brim to test for separation, and pinch the fabric to assess any loss of loft. These simple, targeted checks show where stress concentrates and where repairs will do the most good. Relate what you observe back to fibre and weave behaviour. Thinning that follows the yarn direction suggests abrasion along wear lines; a rubbed-flat pile indicates surface wear; grime trapped in an open weave points to a structure weakened by dirt. By contrast, felted or tightly woven constructions resist abrasion but are more likely to harden or crush than to fray. Noting these distinctions guides which repairs and preventative measures matter most.
Inspect seams and stitching early and often, looking for skipped stitches, puckering, or widened seam allowances where panels meet the peak or the rear adjuster. At the first sign of give, reinforce the area with a few small hand stitches or commission a tailor's repair rather than waiting for further deterioration. Avoid heavy washing: repeated agitation loosens thread tension and accelerates seam failure. Match cleaning and drying to the cap's weave to limit further damage. Photograph both exposed and sheltered areas periodically to quantify ultraviolet fading, and keep a brief record of use — how often you perspire in the cap, wear it in wet or salty conditions, and where you store it. Use that evidence to establish a simple care routine: regular airing, gentle salt removal, breathable storage, and rotating wear so no single piece bears all of your use.

5. Clean and mend each hat according to its fibre
Begin by identifying the fibre and the weave. Check the label, and test a hidden seam with a damp white cloth and a drop of mild detergent to assess colourfastness and any risk of shrinkage. A tight twill tolerates gentle agitation; an open, airy braid will not. Match the cleaning method to the material: hand-wash cotton and linen in cool water with a mild detergent, and avoid agitation and heat with wool to prevent felting. Reserve spot-cleaning or professional care for leather, suede, straw, and blocked or otherwise structured pieces that will deform if soaked.
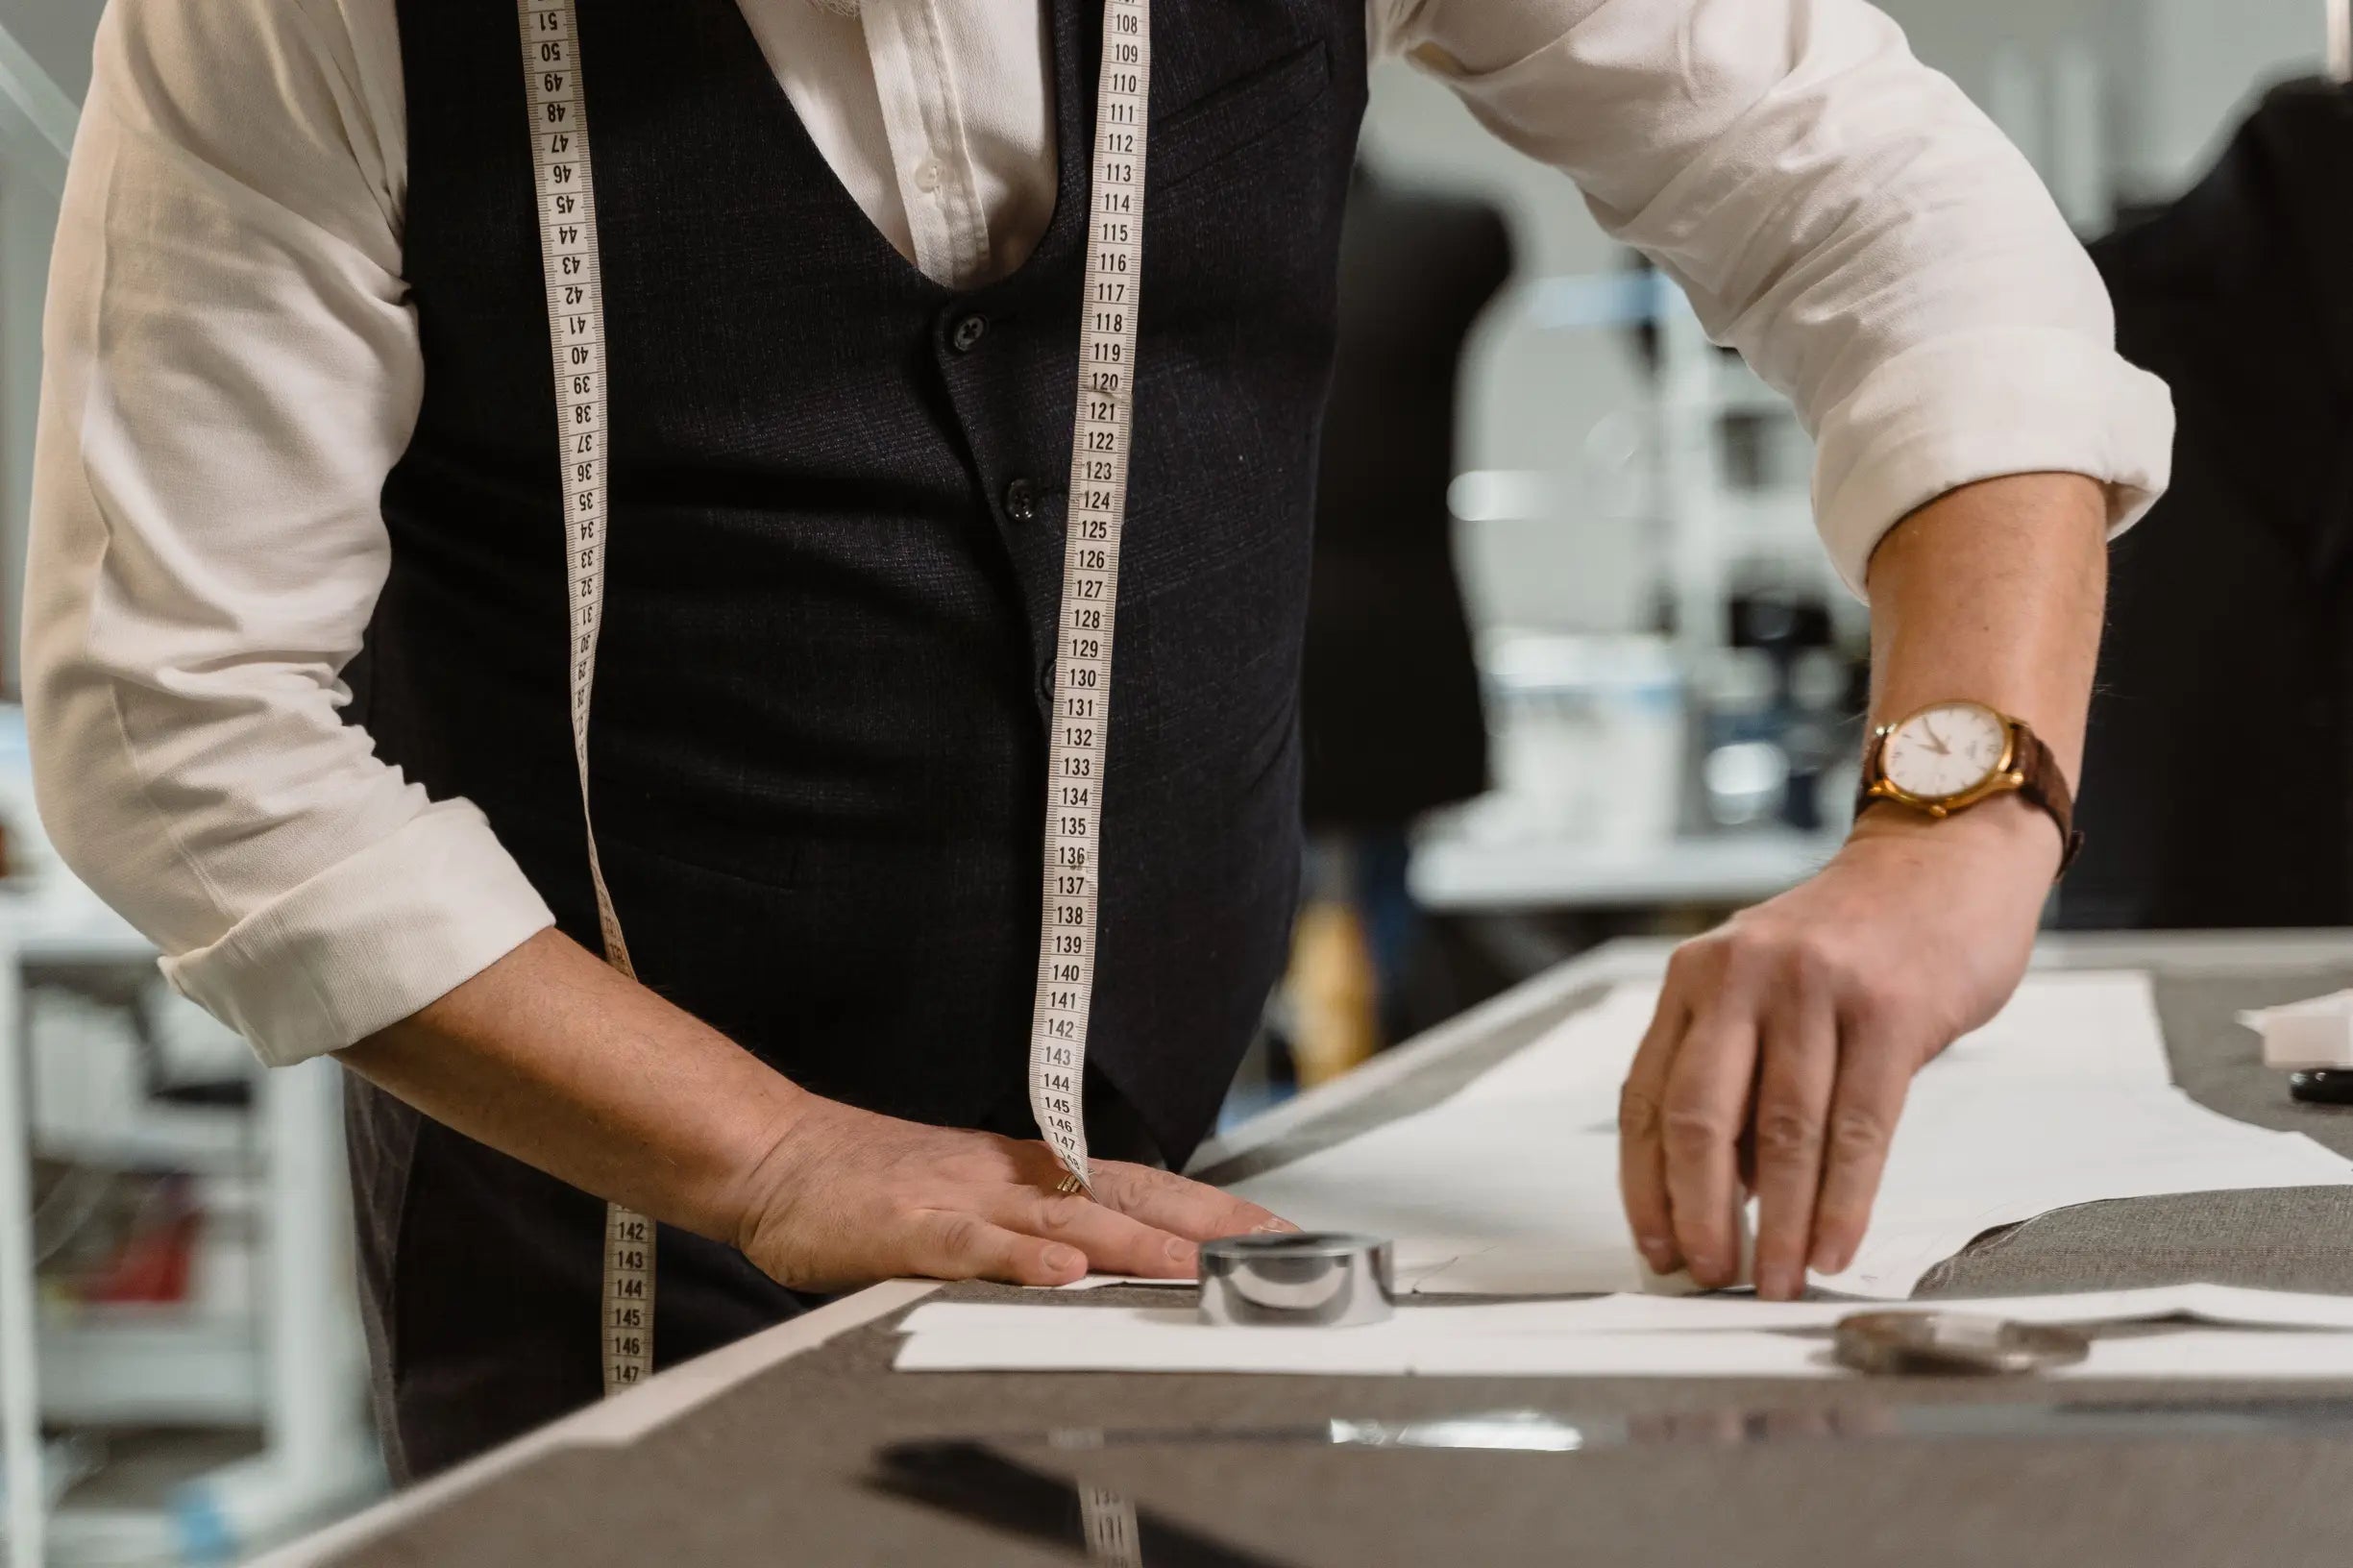
Repair with like-for-like materials and the lightest effective intervention. Choose a thread with similar fibre content to the original to prevent differential stretching. Where possible, stitch from the inside and apply a small backing patch to thin or open weaves to restore strength while preserving drape. Manage patina rather than erasing it; skin oils and sunlight mellow leather and cotton over time, so favour gentle cleaning and perform targeted stain removal only when necessary to avoid stripping colour or the natural hand. Recognise when a cap requires a specialist: fragile, vintage, or heavily structured pieces can suffer irreversible damage from home cleaning. A hat maker or conservator can stabilise stiffeners, reblock shape, and recommend safe solvents or treatments, and they can advise on storage and long-term care to minimise future intervention.
A cap's longevity depends on its fibre, its weave, and the quality of its internal supports. Understanding those elements lets you tailor care to construction. Inspect five practical aspects: fibre, weave, internal structure, signs of ageing, and cleaning and mending. These checks will reduce wear, help avoid common failures, and preserve fit and finish.
Treat the five headings as a simple checklist when you buy, wear, clean, store, and mend caps, and prioritise intervention where inspection reveals thinning, seam stress, or delamination. Small, targeted steps at those moments avoid heavy restoration, preserve the cap's drape and character, and reward you with longer service and a subtler patina.