The crispness of a cap is not accidental; it results from unseen internal decisions that determine whether a hat looks sharp or slumps after a few wears. The difference between a cap that retains its shape and one that softens lies in the interlinings, stiffeners, sweatband, brim core, and seam work concealed within the shell.
This article examines the five internal components that determine shell stiffness, crown resilience, fit and moisture management, brim definition, and seam stability, explaining how each choice influences comfort, longevity, and appearance. Understanding these elements helps you recognise superior construction, ask more informed questions when purchasing, and undertake targeted repairs or sympathetic alterations to keep a cap comfortable and true to form.

1. Reinforce the hat shell with a buckram interlining
Buckram is a tightly woven cotton or linen canvas, impregnated with a stiffening size so the fibres hold their position. In millinery it fixes the crown and peak with a memory that resists collapse through wear. Select light, medium, or heavy weights to control drape, breathability, and packability, and match the interlining weight to the outer fabric and to the intended cap profile for the cleanest line — finer fabrics and shallower profiles favour lighter buckram, while fuller shapes and heavier felts need firmer support. Cut the interlining to panel shapes, leaving seam allowances and clipping curves where needed, and set reinforcement beneath the sweatband and the peak to prevent early distortion. In the highest-stress areas, sandwich two layers rather than depend on a single thick sheet; the result holds shape without compromising the finish, a detail that rewards closer inspection.
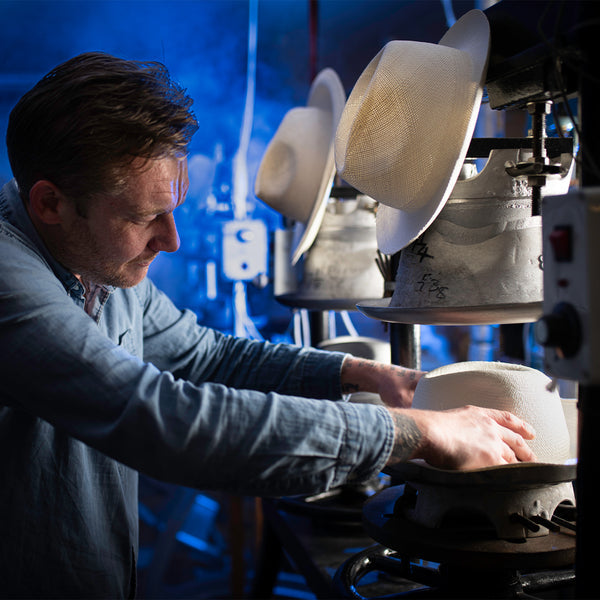
Attach the interlining, the stiff layer placed between the shell and the lining, by sewing, fusing, or hand-tacking. Tack panels at regular intervals to prevent puckering, edge-stitch the seams to lock them, then block the shell on a wooden hat block with steam to set the shape. Moisture and repeated folding will soften the sizing over time; a gentle steam and a further blocking will revive the crown, and the lining can be unpicked to replace or reposition the interlining when necessary. Compared with foam, felt, or fused interlinings, buckram offers a traditional balance of durability and crispness, so consider the desired hand, finish, and longevity when choosing an alternative.
Use a traditionally blocked felt for a lasting, crisp crown

2. Sew in stiffeners to reinforce the crown and preserve shape
Choose a stiffener material to set the crown's character. Buckram gives firm, readily moulded support, horsehair canvas provides resilient, breathable structure, and thin polymer boning delivers targeted rigidity. Each material moulds and recovers differently, so match your choice to the crispness and hand you intend. Decide between continuous and segmented stiffening strips: continuous strips produce an even, architectural silhouette, while segmented strips permit controlled movement and reduce stress at seam junctions. After temporarily tacking the stiffener, hand-form the crown to judge which approach maintains the shape without over-restricting the fit.
Stitch stiffeners into the panel seams and around the crown rim rather than laying them beneath the lining; secure them with small backstitches or bartacks so movement is arrested and resistance concentrates where the crown naturally folds. Anchor the stiffeners to the interlining, then topstitch through the lining to conceal joins, prevent chafing, and improve wearer comfort. Plan for future maintenance and replacement: select materials that tolerate repeated steaming and pressing, or construct stitched channels that allow later removal. Before final assembly, perform a bend-and-press recovery test to confirm the crown returns to the intended profile.
Add discreet foam inserts to improve fit without distortion

3. Control fit and moisture with a fitted sweatband and lining
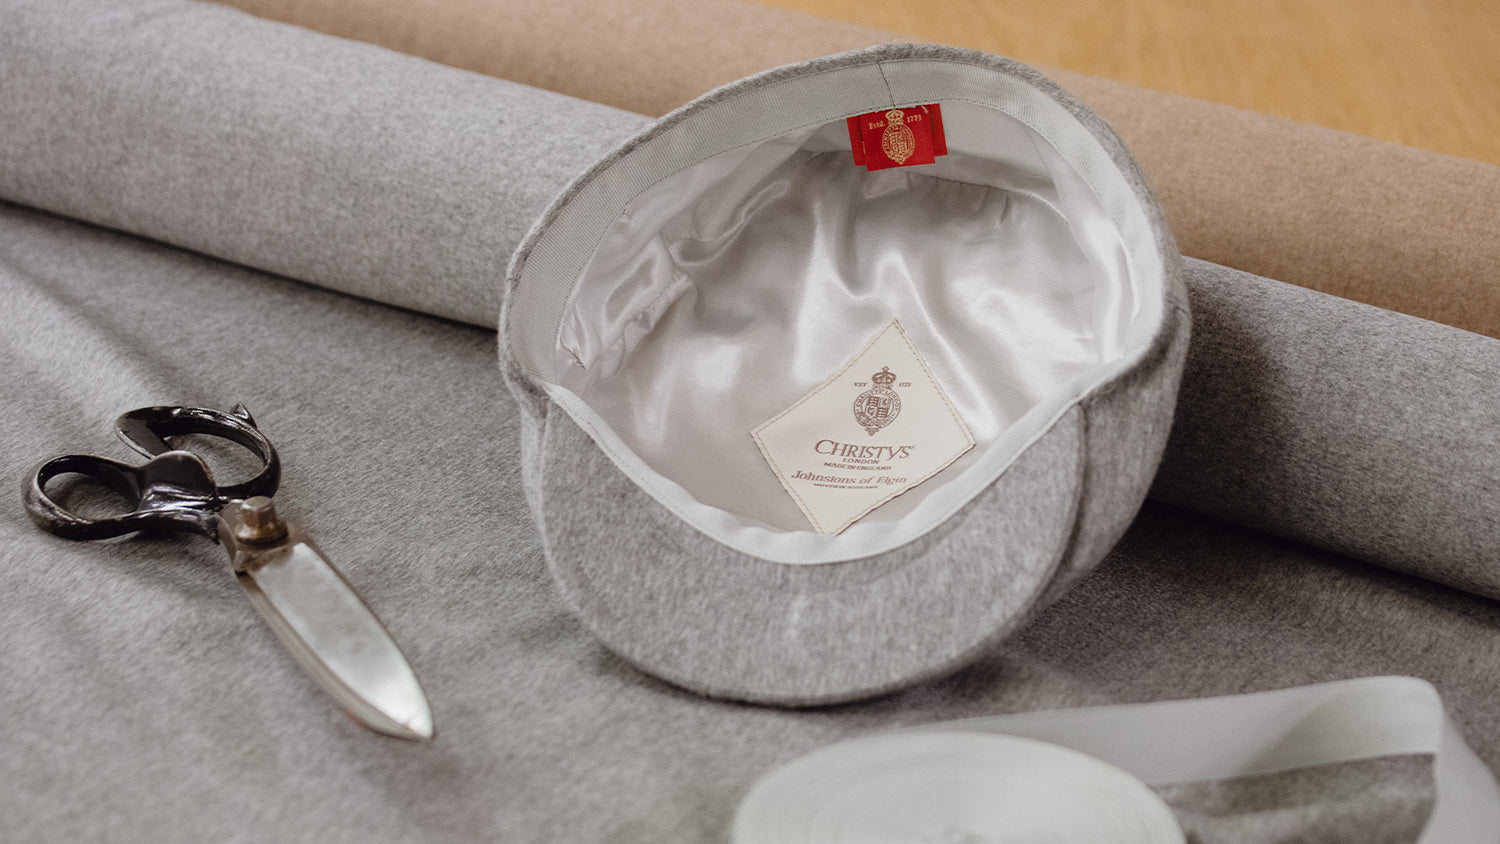
Choose the sweatband material and width to manage moisture and pressure. Cotton twill and terrycloth absorb and soften; perforated leather and contemporary moisture-wicking textiles draw perspiration away and help the band retain its shape. A wider band spreads pressure for a steadier fit, while a narrower band improves ventilation. Removable absorbent inserts or thin wicking strips beneath the band prevent heavy wear from saturating the crown. Lining choices affect structure as well: a full or partial lining with a bonded interlining adds internal stiffness that preserves a crisp crown and upright profile, whereas a lightweight, breathable lining that slips minimally against the hair maintains stability without overheating. These small decisions change how a hat wears over time and repay close attention.
Beyond material selection, construction details such as stitched channels, perforations, and mesh panels speed drying, while antimicrobial finishes reduce odour and help internal materials remain effective for longer. The junction where the sweatband meets the lining and crown governs how a cap will mould; even, reinforced stitching and a continuous inner tape distribute tension and prevent seam roll. When seams loosen, targeted re-stitching or re-taping will often restore the original hold and help the crown resist buckling from internal wetting or repeated adjustment. Test different band thicknesses and lining combinations to find the balance between snugness and crown integrity, then fix that configuration with secure, considered stitching to preserve crispness through repeated wear. These small, technical choices reward closer inspection.
Breathes, wicks and holds shape through hot days.

4. Define the brim by blocking a firm core and binding the edge
Select a firm core material—high-density buckram, laminated composites, canvas, or horsehair braid—and build it as a sandwich between the crown and brim. Milliners favour layered buckram for a crisply defined rim, while composite inserts offer comparable rigidity with less bulk; place denser materials toward the outer edge, where leverage increases, to reduce flex. Adhere the stiffener, then stitch it into the brim seam so the profile remains locked. For a clean, enduring finish, bind the cut edge with cotton bias, grosgrain, or leather piping, position the stitch two to four millimetres from the edge, and maintain slight tension on the binding as you sew to preserve the silhouette.
To further refine the brim's edge, encapsulated wire, nylon stays, or horsehair cord can reinforce the edge and sit in a dedicated channel so the seam preserves flexibility and the reinforcement can be replaced. Wire delivers immediate crispness but can deform in transit; horsehair and nylon recover more reliably, so check resilience with a simple bend-and-release test. After the core and binding are in place, complete the blocking. Apply progressive steaming, using light starch or sizing only if required, then shape the piece on a wooden or metal block. Leave the hat to cool and dry fully on the block so the edge memory sets. Taper the brim by concentrating stiffening toward the outer rim. Locate soft zones with a flick test and a fingertip-pressure test, then correct them by adding a narrow stiffener strip or by removing interior bulk near the crown. These measured adjustments reduce mid-brim sag while preserving comfort and the brim's natural drape.
Achieve arena-ready, crisp brim and enduring edge.

5. Set the shape: taped seams and precise stitch tension
Choose a narrow woven tape, fine grosgrain, or a lightweight fusible stabiliser that matches the cap fabric. Test it on a scrap to check both hand and colourfastness. Apply the tape to structural seams, such as crown seams, the peak join, and the backstay, and secure it with a reinforcing topstitch so the tape cannot shift. This preserves the cap's intended profile under handling and prevents distortion in wear. Applied narrowly, the tape maintains a crisp hand while allowing the shell to retain its natural drape.
With the tape in place, adjust needle tension in small increments until seams lie flat without puckering; a seam with even tension will sit smoothly once the cap is blocked and worn. Use a moderate stitch length to avoid perforating the fabric, and validate settings with repeated pull and flex tests that replicate wear and reveal early fraying. Match a high-tenacity polyester or bonded thread to a needle size that penetrates the material cleanly, since blunt needles or mismatched thread encourage fraying and compromise long-term hold. Heat-set or press seams at a temperature appropriate to the fabric, using a brief burst of steam to settle the fibres, then mould the crown gently by hand rather than forcing shape. Retest the finished cap after these operations to confirm lasting crispness and recovery, as small adjustments reveal themselves to the practised eye.
A cap's crispness rests on five internal elements that determine shell stiffness, crown resilience, fit and moisture management, brim definition, and seam stability. Interlinings set the shell's stiffness; sewn-in stiffeners help the crown recover its form; the sweatband and lining govern fit and absorb moisture; the brim core defines the edge; and taped seams secure the assembly. When these parts are chosen and balanced, the cap retains its shape, recovers with a brief application of steam, and resists distortion through everyday wear.
Consider the interlining weight, the placement of sewn-in stiffeners, the sweatband construction, brim sandwiching, and stitch tension to reveal weak points worth repairing or upgrading. Small, careful adjustments in those areas revive a tired cap, preserve a sharp profile, and reward the attentive owner with longer service from a well-made piece.