Reading a hat's interior, including the lining, sweatband, and crown, often reveals whether it was shaped by hand or produced in quantity. These details show the maker's technique, indicate the likely fit, and suggest how the hat will wear over time.
This guide outlines five details to inspect: lining and sweatband stitching, crown shape, brim finish and edge binding, internal seams and hand tacking, and reinforcements and maker's marks. Noting these features helps you recognise hand-finishing, detect repairs, and assess whether a hat will meet your needs.

1. Inspect the lining and sweatband stitching for even, secure seams
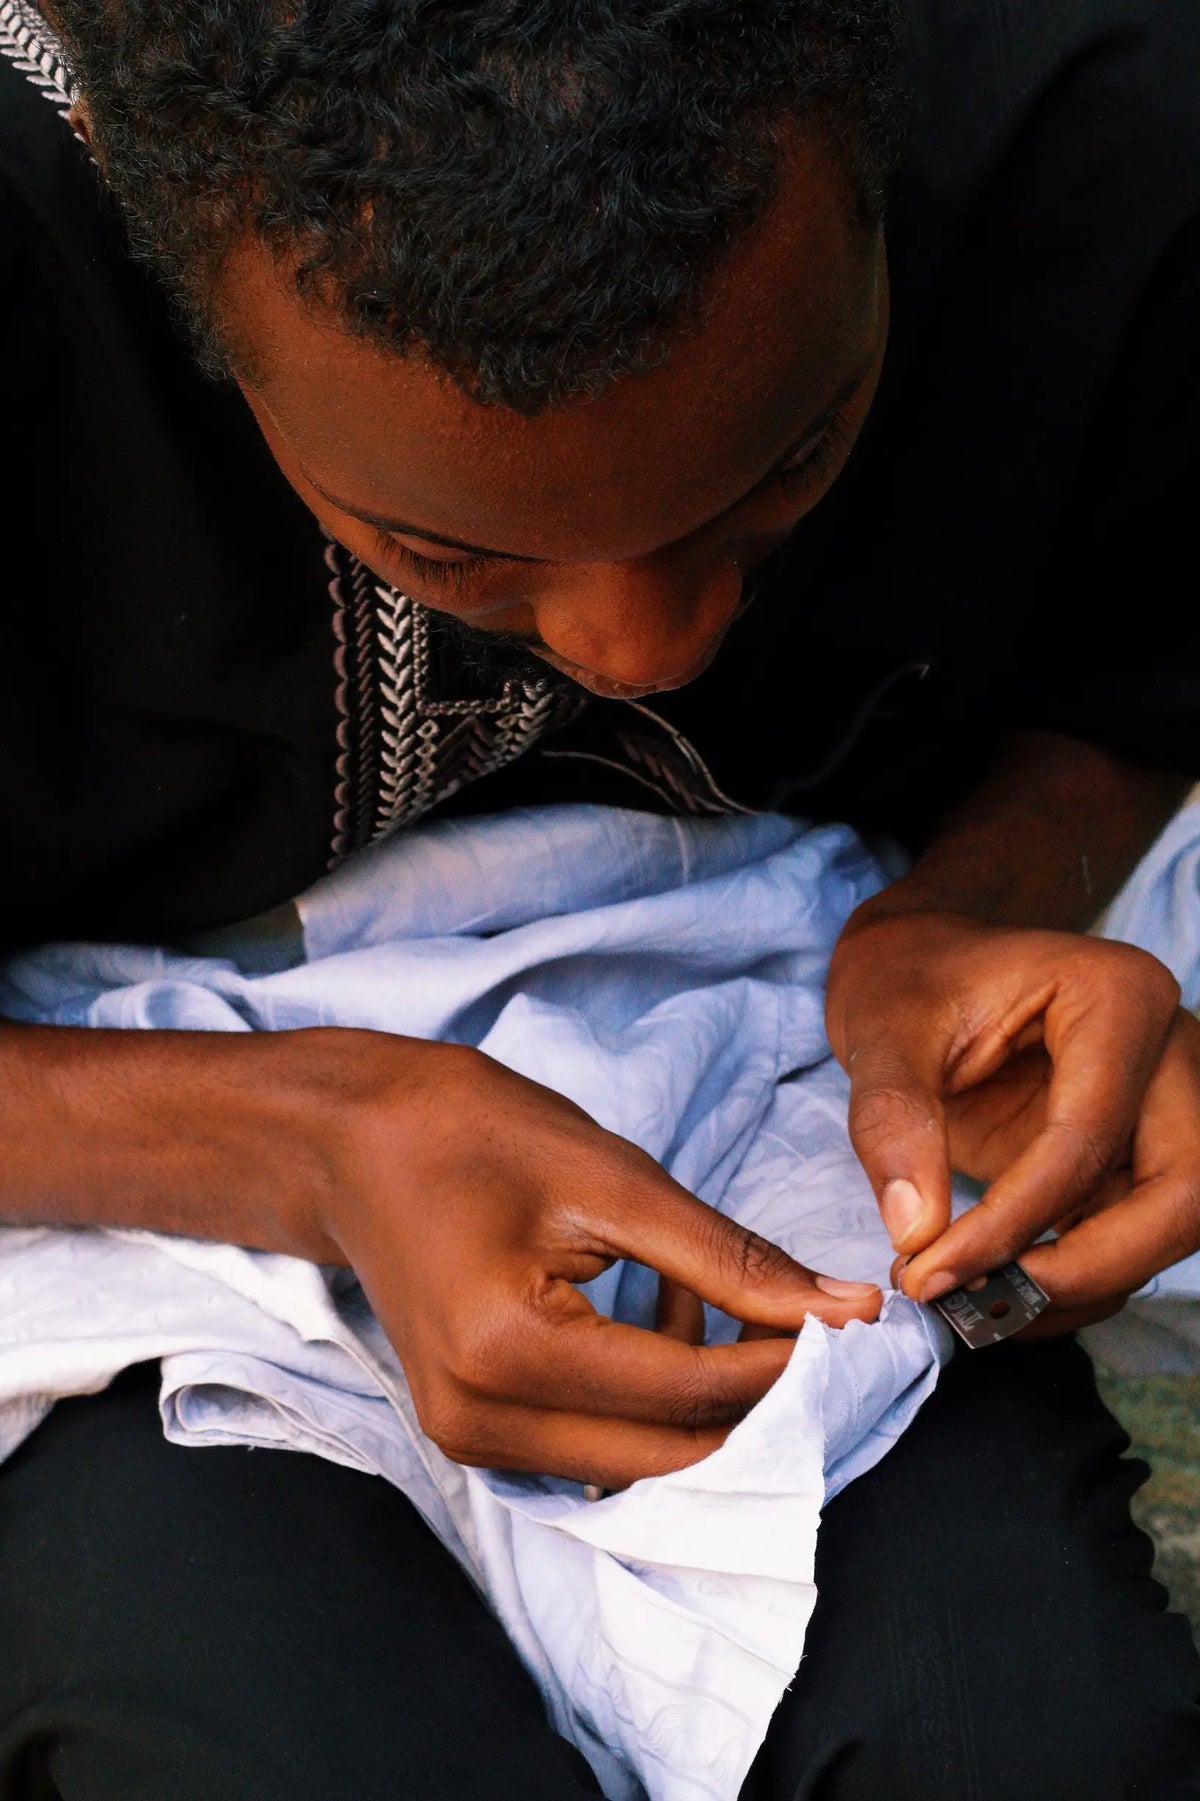
In good light, examine the stitch regularity in the lining and sweatband. Perfectly uniform, evenly spaced stitches indicate machine stitching; slight variation in length and angle, or occasional tiny knots, suggests hand sewing. Inspect where the sweatband meets the crown and where the lining meets the brim for discreet tacking, small backstitches, or slip-stitching at stress points — signs of hand finishing as opposed to continuous overlocked or zigzag machine seams. Run a fingertip along the seams to assess tension and anchor points: hand-stitched seams usually have a little give and neatly eased fabric, whereas machine stitching can feel tight, rigid, or pull the lining out of shape. Look for concealed raw-edge treatments such as hand-bound edges, turned hems, or hand-rolled seams rather than serged or pinked finishes. These are the details that reward closer inspection.
Also inspect inside the crown and along the sweatband for maker-level details: tiny sewn initials, discreet hand-applied tacks at the sweatband ends, and minor asymmetries in needle-entry points. These small imperfections and bespoke marks commonly accompany hand-blocked, hand-finished pieces and indicate handcraft rather than mechanised assembly. Use a loupe or magnifier to make needle-entry irregularities and concealed tacks easier to see; these details reward closer inspection.

2. Assess crown shape for effective hand blocking
Hold the hat at eye level and rotate it slowly to look for natural asymmetry. A hand-blocked crown will show slight variations in curvature that follow the shape of the human head; a mechanically pressed crown will read as perfectly uniform and circular. Hold the crown to a light source and study its silhouette: hand-blocked forms show continuous, soft contour lines and occasional shallow dips, not the perfect radii of automated production. Finally, run your fingertips inside the crown from brim to apex to feel the taper and tension. A gentle taper and subtle differences in felt or straw compression indicate hand shaping, while an even, flat surface suggests machine forming. You will notice those subtleties up close.
Examine the junction of crown and brim for faint tool impressions, tiny pin marks near the sweatband line, or a soft roll where the crown has been eased onto the block. These small imperfections provide direct evidence of work shaped by hand; they record the sequence of easing and smoothing that a single mould press cannot reproduce. Note how felt or straw behaves around the crown: density and weave influence the curve, and makers adjust crown height and slope to suit the material and intended fit. Taken together, these visual contours, tactile cues, and proportional choices let you distinguish personalised, hand-finished blocking from uniform, automated forming.

3. Inspect the brim's finish and edge binding
Hand finishing reveals itself in small, demonstrable details. Under a loupe or bright light, examine where the binding meets the brim: you will often find slight variation in stitch length and spacing, tiny tacks or knots tucked beneath the binding, and occasional angled stitches where a maker corrected a line. Run a finger along the inner brim edge to detect a gently compressed roll, subtle tool impressions, or a faint burnish line where the blocking form pressed the material. These visual and tactile inconsistencies point to manual work rather than a uniform machine process.
After checking the inner brim edge, examine the binding ends and overlaps inside the crown for neat folds, hand-folded hems, or small blind stitches that secure the finish, since hidden securing stitches or overlapping grosgrain often indicate hand application. Hold the brim to strong light to reveal minimal adhesive traces and subtle hand-smoothing marks; artisans use sparing glue and rub joins to a flush finish, which can leave tiny residues or a slightly different sheen. Compare stitch type, thread choice, and stitch orientation at several points around the brim. Hand finishing commonly employs natural fibre thread, shows slight variation in stitch angles, and may display repeated small tool marks at regular intervals from blocking. Scan the entire circumference to confirm a consistent pattern of these cues. Seen together, those cues invite a closer look and help distinguish considered handcraft from an outwardly neat, machine-made surface.

4. Inspect internal seams and hand-tacking to assess construction
Lift the sweatband and examine the tacking. Single, evenly spaced hand tacks, tiny knots, slight variation in stitch length, or small needle holes in the felt or lining indicate hand sewing rather than machine uniformity. Under a magnifier or bright light, check whether seam allowances are whip-stitched, hand-felled, or overcast with subtly irregular trimming. Hand-finished seams show minimal glue residue compared with sealed factory edges.
Run your finger around the inside of the crown to feel the subtle tension and the raised points where tacking has shaped the form. Inspect stress points and the ends of the sweatband for extra hand stitches, small bar tacks, or removable loops, which indicate the maker anticipated repairs or reblocking. Note whether the thread colour and weight match the surrounding materials; consistent thread offers evidence of careful material selection and provenance.

5. Inspect internal reinforcements, past repairs, and maker's marks
Begin by lifting a small section of the leather sweatband with your thumbnail or a loupe and examine the stitching. Irregular stitch lengths, visible hand knots, or slightly angled needle holes generally indicate original hand finishing; perfectly regular stitching or synthetic thread often points to a later replacement. Gently feel the crown and brim to sense what supports them: buckram (stiff cotton), canvas, horsehair braid, or cardboard each has a different texture and weight. Changes in colour, frayed edges, or an abrupt shift in firmness can reveal patching or later insertions. Finally, look under seam allowances for small hand-sewn patches, overlapped fabric, or a substituted sweatband, and note mismatched thread colour or modern fibres as clear signs of repair.
Hold the hat to a torch and examine the leather sweatband for blind stamps, gilt or inked labels, handwritten numbers, or craftsman initials. The placement, typeface, and method of marking often point to maker and workshop practice. Set the hat on a block or head form and study the brim roll, crown symmetry, and overall balance to see how any repairs have altered shape and function. Look for puckering, uneven brim edges, or added wires and cardboard; these are signs restorations were applied as crude fixes rather than integrated sympathetically. Read these physical clues together to separate original blocking and hand-finishing from later interventions. Taken together, they indicate which elements are original and which are later work.
In summary, reading a hat from the inside reveals more than labels. The stitching, crown contour, brim finish, internal tacks, and reinforcements indicate whether a hat has been hand-finished and suggest how it will wear. These structural clues let you judge construction quality, spot repairs, and predict fit and longevity, enabling a more informed assessment.
Consider the five checkpoints above: lining and sweatband stitching, crown blocking, brim edge work, internal tacking, and hidden reinforcements and marks. Treat them as a brief checklist when you next examine a hat. A careful inspection of these details rewards closer attention, reveals the maker's skill, helps you select a hat that suits your needs, and informs decisions about care or restoration.