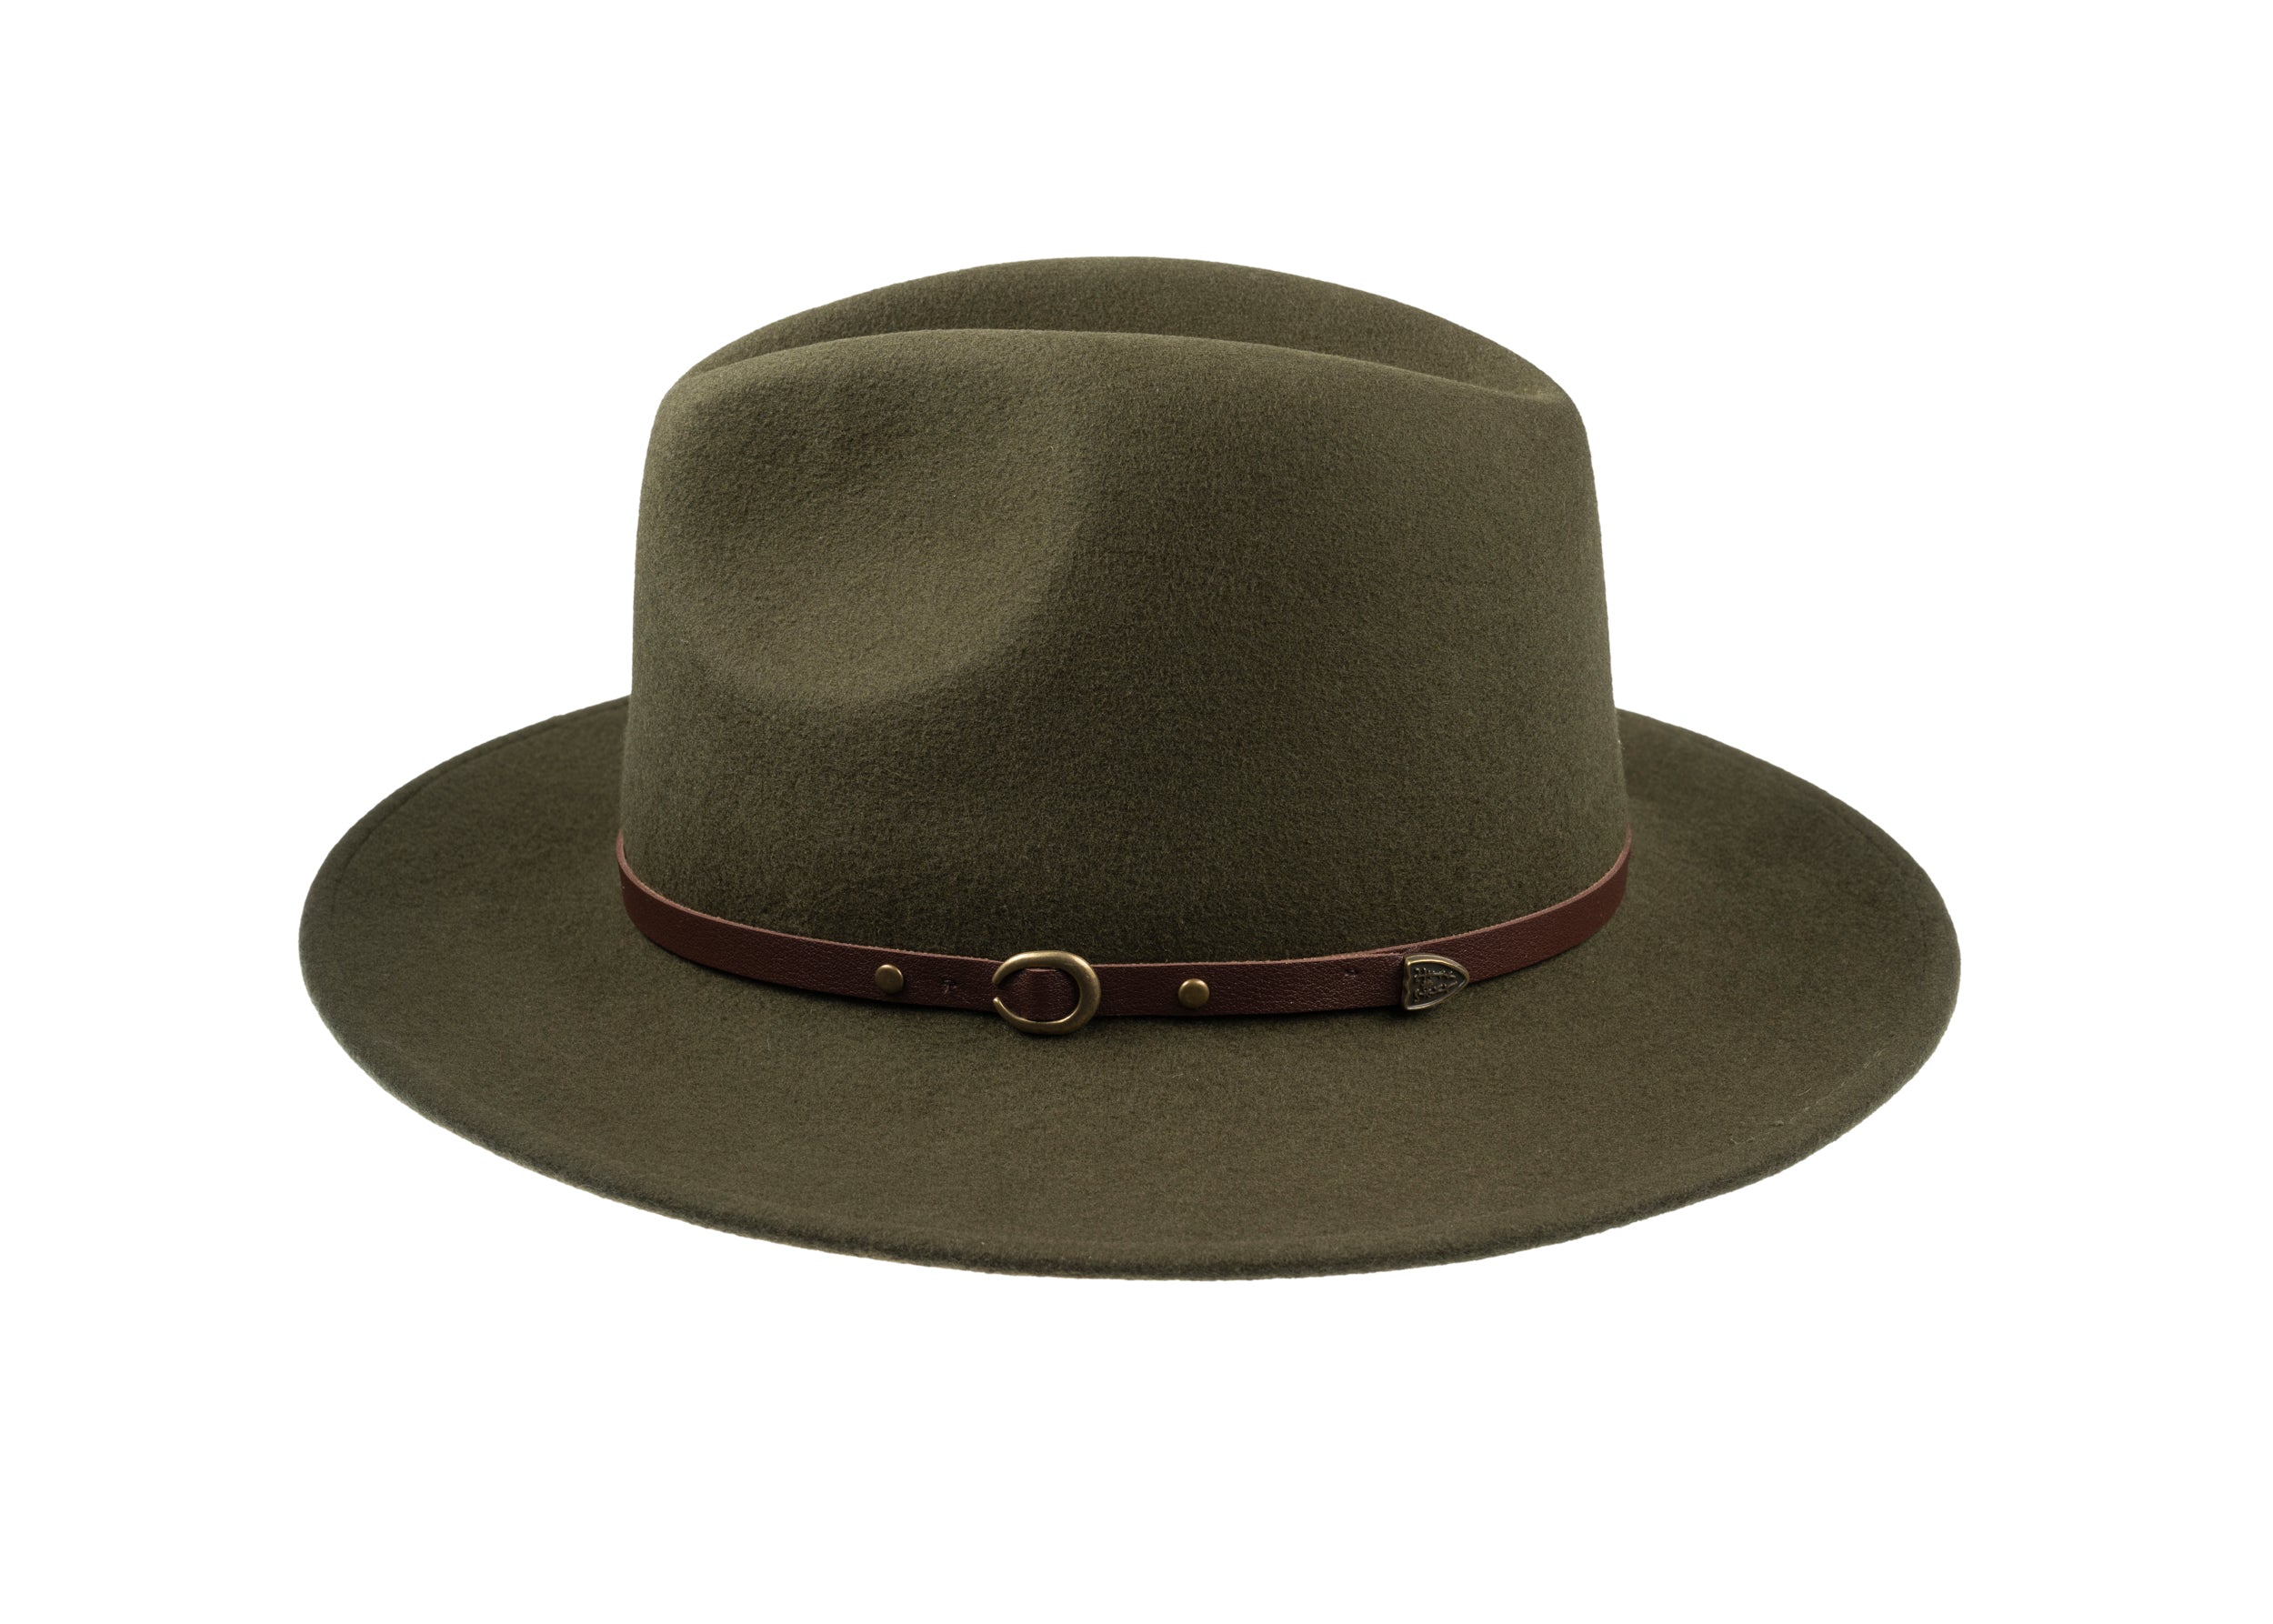
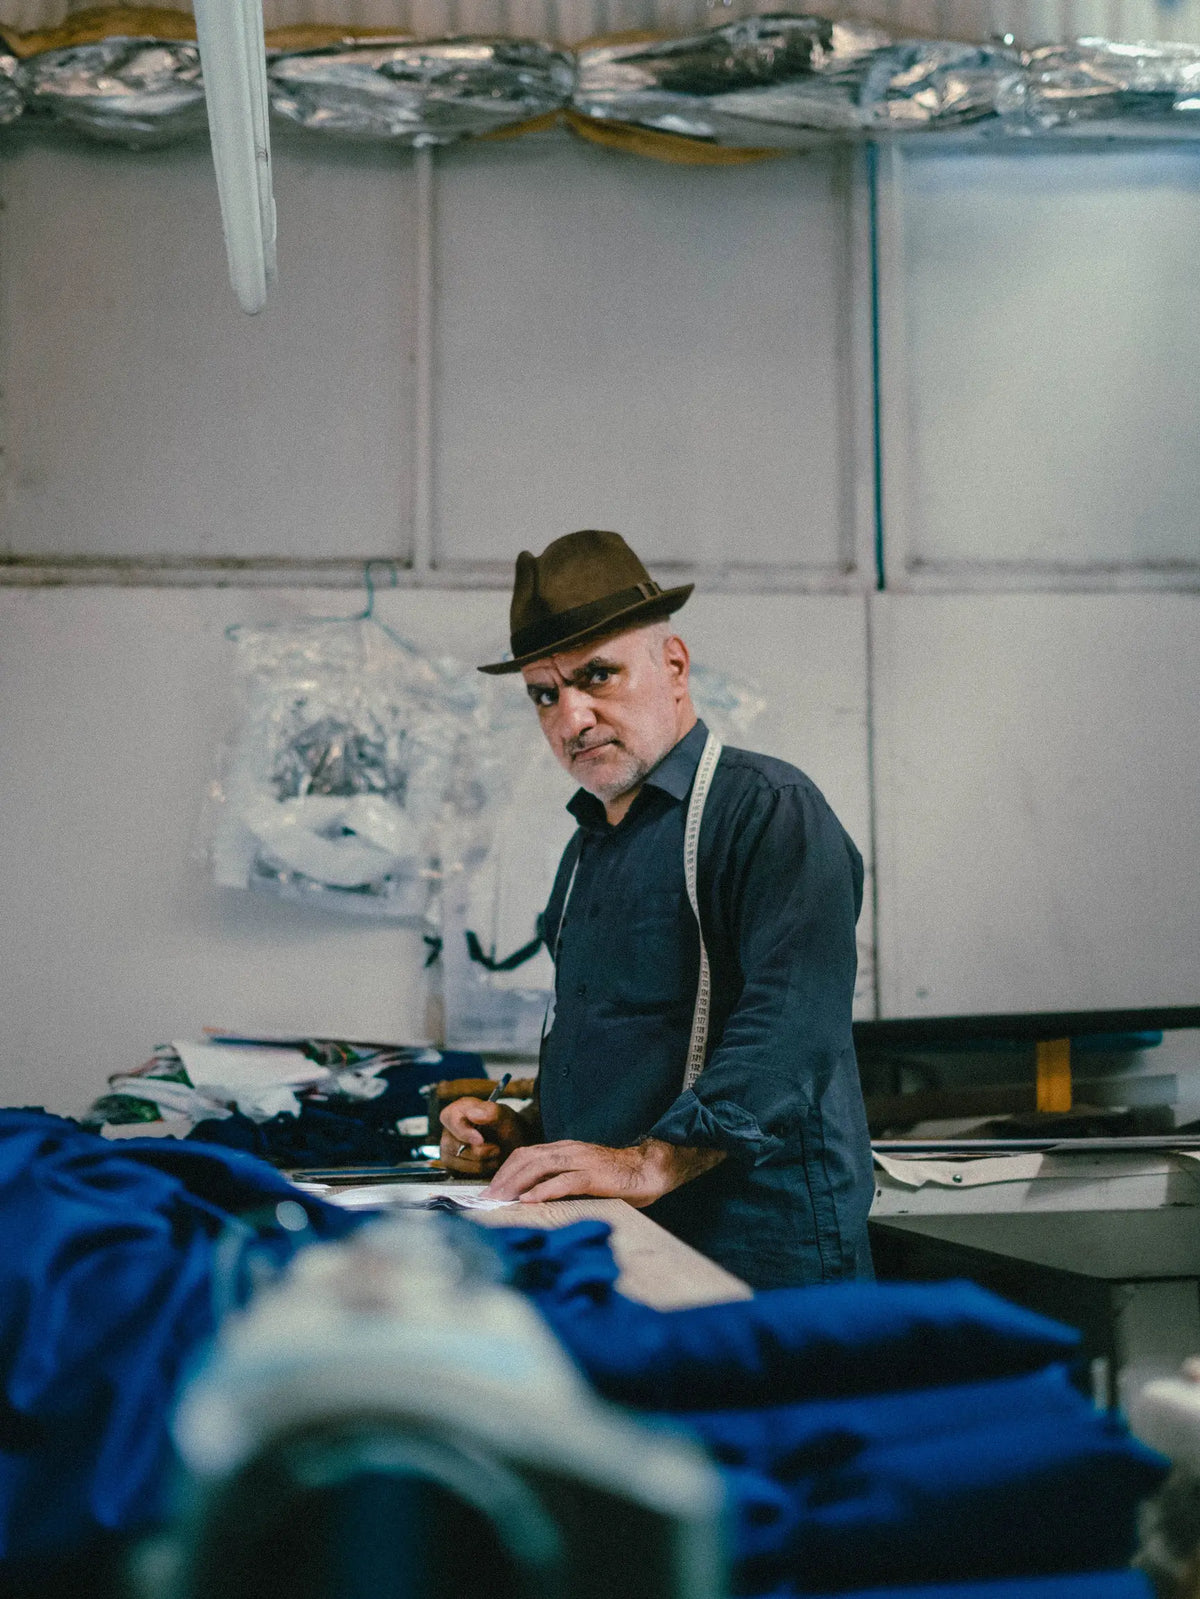
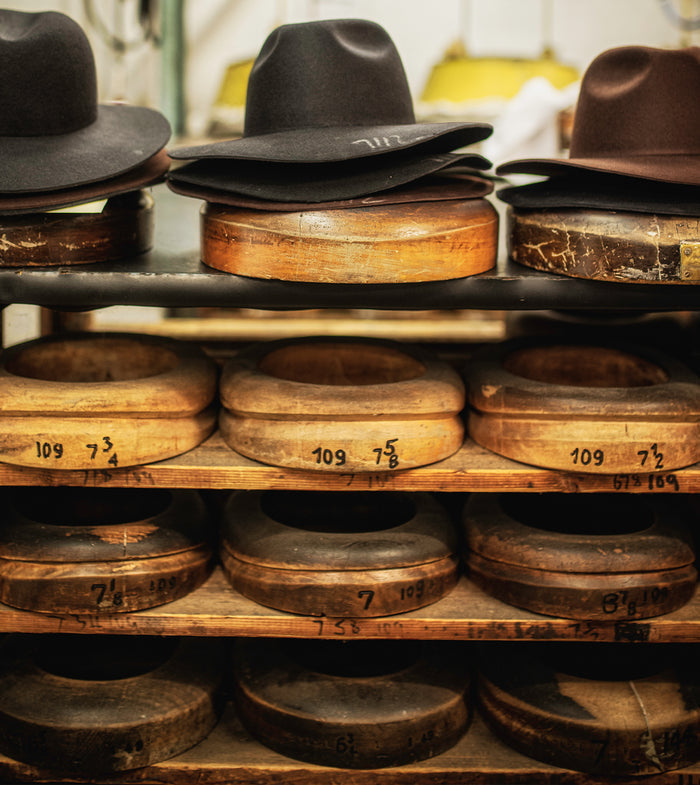
A well-made cap rewards close inspection. Its seams, from panel joins to topstitching, shape the silhouette. Small choices in seam type and placement determine whether the cap takes on a subtle curve or lies flat.
Building on those visible details, this guide examines how seam construction, stitch selection, and fabric pairing work together to shape the crown, control curvature, and preserve a cap's intended profile. It sets out practical cues: seam geometries, positioning strategies, and finishing techniques that makers and informed wearers can apply to sculpt a cap that maintains its intended silhouette.

Harness seam placement to define a hat's silhouette
Seam choice alters a cap's profile. A centre-front seam will tend to raise the crown apex, curved panelling produces a softer dome, and flat-felled seams reduce visible bulk at the peak. Simple line diagrams, or front and three-quarter photographs, make these differences straightforward to compare and help you decide which silhouette you prefer. In the workshop, pin panel lines on a calico toile and baste with a longer stitch length to test the shape, then refine and grade seam allowances where panels meet to avoid bulk. Press curved seams over a tailor's ham to ease them without puckering, and use careful pressing to lock the intended curve into the crown. These small adjustments are the kind of detail that rewards closer inspection.
Beyond external seam choices, internal finishes affect both a hat's silhouette and its longevity. Lightweight interlinings and underlining will stiffen a crown, stay tape or seam tape stabilises seams, and bar tacks at stress points help the shape survive regular wear. Decorative treatments such as contrast topstitching, piping, raised quilting, and channel seams act as structural lines and can make a crown read shorter or taller, so match stitch length and thread weight to the fabric to avoid flattening or puckering. Small drafting changes produce notable results: altering the angle of panel seams moves the apex forward or back, adding a short gore increases height, and replacing a multi-panel layout with a two-panel cap yields a sleeker profile. Iterate with prototypes and three-quarter profile photographs so you can judge changes objectively.

How seam types shape a hat's curve
Seam geometry governs how fabric distributes tension. Seams act like darts: a two-panel centre crown concentrates material along a single join and therefore produces a longer, less domed silhouette, while a crown composed of several wedge panels spreads the ease and yields a fuller, rounded dome. Draft with shaping in mind — taper or grade seam allowances, add or remove easing at curved joins, and record those adjustments on the pattern rather than compensating at the sewing stage. Make a calico toile to check crown height and curvature, observe how the mock-up responds, and refine the pattern until the toile matches the intended cap before cutting the final cloth.
After drafting with shaping in mind, choose structural supports with the intended spring and collapse in mind. Lightweight buckram or canvas will hold a rigid crown; soft interfacing permits subtler modelling, and stay tape along seams preserves a defined curve. Use seams as design lines to flatter the face, create directional movement, or conceal joins between contrasting fabrics. Take care with seam width, topstitching, and stitch direction: they catch light and shadow and so alter perceived curvature. Finish seams by pressing and blocking on a wooden block or mould, clipping and notching allowances to remove bulk, and reinforcing stress points with felled or bound seams. Adopt an iterative workflow of make, assess, adjust, and remake; small shifts in seam placement yield predictable changes in silhouette. These are the details that reward closer inspection.

How to match fabric and stitching for a reliable hold
To match fabric and stitching effectively, begin by noting that seam choice determines a cap's character. Flat-felled seams reduce bulk and produce a crisp, structured crown, topstitching defines the edge, bound seams introduce a restrained, tailored roll, and overlocked, minimal seams preserve drape and soften the profile. Annotated sketches that compare silhouette lines make these differences easy to read at a glance. To test those effects in practice, cut 10 cm squares of each fabric and sew identical seam types while varying stitch length and tension. Grade the seam allowances consistently, press or steam the samples as you would in production, and fit them on a hat block to observe how stitch density and grading alter spring and shape. Photograph or sketch each sample before and after pressing to record where seams compress or regain spring; those images provide direct, usable evidence to inform any pattern adjustments.
Use stitch lengths of 2.0 to 2.5 mm for a locked, structural seam, or 3.0 to 3.5 mm to permit some movement. Choose polyester thread for strength and spring, or a natural thread for a softer, matte finish, and adjust tension and thread weight to control seam roll and visibility. Treat panel seams, radial crown seams, and a reinforced visor edge as deliberate shaping devices. Moving a seam line by a few millimetres will raise or lower the perceived crown height, and adding a row of topstitching will flatten and sharpen a brim. Preserve silhouette and comfort by grading allowances at intersections, inserting stay tape or thin interfacing in stress zones, and finishing internal joins with narrow binding or flat-felled construction so the exterior lines remain clean. Small swatch notes, consistent pressing, and repeatable stitch settings make these techniques reliable ways to dial a cap’s silhouette precisely.
Swatch protocol, stitch settings, and pattern adjustments to control cap silhouette
- Set up and document repeatable 10 centimetre swatches: mark grain and seam line, label fabric and settings, cut pairs, sew matching seam types (flat felled, bound, overlocked, topstitched, plain), press each swatch the same way using a pressing cloth, fit to a mould, and photograph flat before pressing, after pressing, and on the mould from front, three quarter, and profile angles. Measure and record spring or compression in millimetres at the seam line and at intersections, and note visible changes in silhouette and bulk to inform pattern decisions.
- Use a compact sewing settings cheat sheet for each swatch and in production: stitch length 2.0 to 2.5 mm for locked, structural seams, 3.0 to 3.5 mm to permit movement; polyester thread for strength and spring, natural cotton for a softer, matte finish; thread weights about 50wt for general seams, 30wt for bold topstitching. Match needle to fabric: 70/10 for lightweight, 80/12 for midweight, 90/14 for heavy canvas. Start at the machine's default tension, then adjust by one to two units to flatten or loosen a seam, and tag each swatch with stitch length, tension, thread, and needle so settings remain repeatable.
- Translate swatch evidence into specific pattern and finishing moves: move a seam line a few millimetres to raise or lower perceived crown height, grade allowances at intersections to reduce bulk, add stay tape or thin interfacing in stress zones, and choose bound or flat-felled internal joins where you need a clean exterior line. Use an extra row of topstitching to flatten and sharpen a brim, prefer overlocked minimal seams to preserve drape, and increase allowance or use reinforcing at visor edges for durability. Record which combination produced the measured spring and silhouette you want, then apply those exact settings to the pattern with a short note so future makers reproduce the result.

How seam placement shapes a cap's profile
Compare panel layouts to understand how seam lines shape the crown: five-panel constructions produce a lower, boxier profile, six-panel layouts yield a rounder crown, and a pronounced centre-front seam gives a defined forehead line. Make a calico toile, mark the seamlines, and photograph three-quarter and side views to judge which profile best suits the design. Photographs reveal subtle shifts in curvature and pocketing that are hard to read on a flat pattern, and they will indicate whether to favour a shallow boxiness or a softer dome. Use those images to settle seam placement and proportions before cutting the main fabrics.
Shift seam placement by a few millimetres to redistribute fabric ease. Moving a vertical seam toward the crown apex increases roundness; moving it forward accentuates the forehead slope. Pin adjustments on the toile reveal how the fabric will gather or lie smooth, and should inform your final position. Choose seam finishes and stitch types to control drape and edge definition. Test flat-felled seams and graded allowances on samples for a crisper profile, and try looser stitches for a more relaxed movement. Subject these scraps to handling and a light steam, then wear them briefly to see how the construction settles in use. Reinforce high-stress joins with stay tape, bar tacks, and close topstitching to prevent seam creep. Finally, overlay seam plans on photographs of intended wearers at garden parties, race days, or similar occasions to judge how proportion will read in context; the subtle finishing choices that emerge in everyday use are the ones that endure.

How to finish stitching to preserve a hat's shape
When finishing stitching to preserve a hat's shape, choosing the seam determines a cap's silhouette. Flat-felled seams yield a low, structured profile; bound or piped seams sharpen the panel junctions; French or overlocked seams soften the curves to produce a gentler dome. A crisp panel edge suits a flat-brim or utility cap, where a defined line is desirable, whereas a softer dome better suits a newsboy cap or a bucket style that depends on ease and drape. Selecting the seam to create the intended line, rather than leaving it to chance, lets construction and design work together.
Final stitching and stabilisation lock the line in place. Apply stay tape or twill along crown seams to prevent stretch, add bartacks at stress points to stop distortion, and trim and grade curved allowances so the crown sits true with minimal bulk. These small decisions become apparent under close scrutiny. Thread, stitch length, and tension govern seam behaviour. Use strong, low-stretch thread for load-bearing seams, shorten stitch length around curves to reduce puckering, and always test settings on a scrap of the same fabric to observe how the seam will behave in use. Pressing and seam-setting are active shaping tools. Press seams open or to one side according to brim and crown geometry, use steam and a clapper to set a crisp line, and roll or ease seams around the peak to preserve a smooth curve, since heat and pressure alter fabric memory. Prototype in a toile of the same weight and structure, notch and grade allowances, and choose topstitch positions that articulate the profile. Finish raw edges with binding or overlocking to prevent ravel, and record the final seam and finishing choices so the profile can be reproduced reliably.
Taken together, these finishing choices show how small seam decisions shape a cap's silhouette. Panel geometry, seam finish, and internal support determine how the fabric springs and settles. A centre-front seam lifts the apex, curved panelling softens the dome, and flat-felled seams reduce bulk to produce a crisper crown. These are the details that reward closer inspection.
Work through the practical exercises in this post, from calico mock-ups to fabric swatches. Test seam placement, stitch length, and interfacing on a hat block so you can judge alterations objectively. Iterate with purpose, record the settings that produce the desired result, and select seams deliberately to ensure each cap retains its intended silhouette through wear.