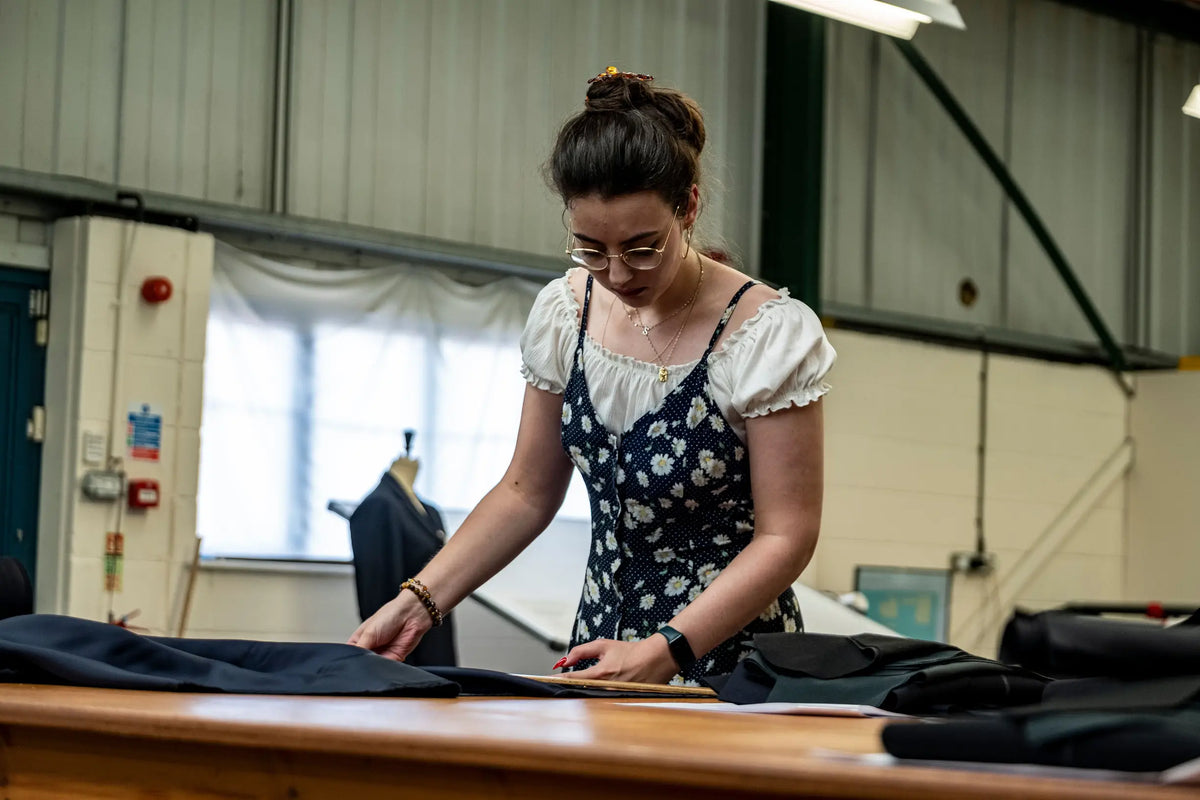
Many judge a cap by its exterior, yet its internal construction determines whether it sits straight, feels secure, and keeps its intended silhouette. A single row of tacking will tilt a crown, spaced reinforcements will stiffen the front, and crude edge finishes will abrade the forehead. These are the details that reward closer inspection.
This post maps cap anatomy and the principal stitch points, demonstrates how stitch placement governs stability and silhouette, and explains edge finishes that improve comfort. It sets out how to match materials and stitch techniques to cap styles, and offers practical guidance on fit, maintenance, and repair to preserve shape, and on making informed judgements about construction quality.

How to map a cap's anatomy and identify key stitch points
Begin with an annotated cap map that labels crown panels, lining, interlining (buckram), sweatband, brim, centre front, side seams, and apex, and mark common stitch points and likely failure areas so you can visualise how tensions travel. Translate that plan into precise stitch-position rules: place anchor stitches 3 to 5 mm from the crown edge to restrain flare, tack the lining 8 to 10 mm in from the seam for invisible shaping, and space topstitch rows 2 to 3 mm apart on the brim to keep it flat and distribute stress. Choose stitch types by location: short backstitches or fell-stitches through the interlining where structural strength matters, long running stitches for temporary basting and shaping, and fine topstitching to lock folded edges. Before applying these settings to a finished cap, test stitch length and tension on a patch of matching interlining to predict whether the cap will compress, spring, or pucker under real load.
Mark the centre front, the balance points, and the grain with chalk and template pins. Make a small mock-up or test patch using the same interlining to evaluate stitch placement and tension before committing to permanent stitches. Reinforce common hotspots, such as sweatband joins, the crown apex, and the brim attachment, to prevent collapse or a bowl-shaped profile. When changing crown depth, relocate the anchor stitches to redirect load paths rather than stripping out interlining; this moves the load to areas that can bear it without weakening the structure. The combination of measured placement, considered stitch selection, and pre-sewing tests lets you predict how small changes in stitch position and tension will alter the silhouette, so repairs and alterations preserve the intended shape. Record your markings and test outcomes so adjustments remain repeatable and reversible.

How stitch placement shapes stability and silhouette in hatmaking
Cap anchors, the small attachment points that secure a lining to the shell, directly determine how a hat holds its shape and how it sits. Placing anchors at the crown, the side seams, and near the brim alters the profile: a 10 to 15 mm move closer to the brim reduces flare and yields a sleeker silhouette, while shifting an anchor outward softens the curve. Stitch mechanics are equally decisive. Short, firm stitches with higher tension lock shape at stress points, whereas longer, looser stitches permit a controlled drape. Different materials respond in their own way: felt tolerates firmer tension, while straw prefers more widely spaced stitching. Trialling the approach on a scrap swatch before committing to the finished piece avoids surprises; clear before-and-after photographs or simple measurements let the maker judge the effect objectively.
Hidden tucks, easing stitches, and pick stitches will alter a hat's silhouette without adding bulk. Place them at the front peak, the temples, or the crown apex to raise a crown, produce a pinched front, or flatten a top. Work slowly: change one stitch location at a time, and photograph the hat from front, profile, and overhead so you can compare before and after. Use a short checklist to assess slippage, brim drop, and overall visual balance. Reinforce high-stress anchors with stay-stitching through the interfacing or with careful backstitching, trim threads neatly, and set the shape with a light steam and gentle blocking. Record measurable changes — for example, crown height, brim fall, or the position of a pinch — so the adjustment can be repeated or reversed with confidence.

How to finish hat edges for comfort and lasting neatness
Place a topstitch roughly 2 to 3 mm from the raw edge to set a crisp brim, widening to 4 to 6 mm for a softer, hand-rolled hem. Use a stay-stitch 1.5 to 2 mm from curved edges to prevent stretch and distortion during construction. A close topstitch draws the crown towards the brim, producing a more fitted silhouette, while untreated raw edges will fray and roll with repeated wear, gradually altering shape and comfort. These small measurements and consistent techniques prolong a piece's life and preserve wearer comfort, and they also help decide whether to aim for a defined rim or a softened outline in the finished hat.
Bias binding and piped edges create a defined rim and a clear profile, while hand-rolled hems soften the outline and reduce bulk against the brow. Overlocked or blind-finished seams disappear into the fabric, producing a seamless, lightweight feel. Stabilise brims with a narrow twill tape or a light horsehair braid, add a breathable sweatband to reduce rubbing, and choose low-bulk interlinings when structure is required without changing the silhouette. Paired with considered workshop technique, including finer needles, slightly longer stitch length, reduced presser-foot pressure, graded and clipped seam allowances, and gentle pressing, these choices yield reliable, comfortable results, the sort of measured finish evident to the attentive eye.
Edge finishes, materials, and workshop rules for comfort
- Finishing checklist: topstitch 2 to 3 mm from the raw edge for a crisp brim, widen to 4 to 6 mm for a softer hand-rolled hem, and stay-stitch 1.5 to 2 mm from curved edges to prevent stretch and distortion; bias binding and piped edges create a defined rim, while overlocked or blind-finished seams disappear into the fabric for a lightweight feel.
- Material choices: stabilise brims with narrow twill tape or a light horsehair braid, choose low-bulk interlinings when you need structure without changing the silhouette, add a breathable sweatband to reduce rubbing, and pair fine thread with appropriately fine needles to keep layers low and comfortable.
- Workshop rules and sequence: work with finer needles and a slightly longer stitch length, reduce presser-foot pressure, grade and clip allowances where curves join straight edges, and press gently and in the correct order; decide whether to topstitch before or after assembly to control how the crown sits against the brim.
- Quick decision guide: choose a close topstitch to visually tug the crown toward the brim for a fitted silhouette, use a hand-rolled hem or blind finish for minimal bulk at the brow, opt for bias binding or piping when you want a perceptible profile, and always pair stabilisers and low-bulk interlinings to hold shape without adding weight.

How to Match Materials and Stitching Techniques to Cap Styles
Match the thread to the hat material, and always test on a scrap first. For lightweight materials, such as lightweight silk, fine straw, or fine wool, use fine silk or cotton thread to keep bulk low and allow the stitch to lie flat. For dense felts or coarser straw, choose waxed linen or a strong polyester thread; these resist abrasion and hold up where the fabric sees more friction. Use stitch type and length to shape the silhouette. Short, closely spaced stitches, such as a backstitch or a tight running stitch, stiffen edges and preserve a crisp brim or crown profile. Longer, looser running stitches permit gentle curvature and a more natural drape. Place reinforcement tacks at crown seams, brim joins, and sweatband junctions, spacing them at quarter points and along panel seams so tension distributes evenly rather than pulling a single spot out of shape. Even, considered placement reduces localized stress and helps the hat retain the profile intended by its maker. These small choices repay careful scrutiny.
Allow linings and interfacings to carry the principal shaping, then use stitching to refine and articulate that form. Lightweight silk or cotton linings, set with a slip stitch, keep the profile soft and comfortable, while channel or quilting stitches through buckram or canvas increase stiffness and help retain a rounded crown. Vary stitch density within channels to raise structure where required, and reduce it where a softer hand is preferred. For a neat interior, use invisible ladder or slip stitches; where a touch of visible craft is desirable, employ decorative topstitching and accent tacks on straw or felt to both signal tradition and add local stiffness to a brim or crown. Always trial the chosen combination on scraps to check stitch visibility, puckering, and stretch before working on the finished cap.

How to preserve a hat's shape: proper fit, maintenance, and repair
Stitch geometry directs load paths and sculpts a cap's silhouette. Radial stitches draw crown depth inward and centralise tension, circumferential lines resist brim roll and compress the sweatband, while diagonal stitches bias the shape to one side and alter how the brow sits. To identify the primary load-bearing line, press the crown in several places and note which stitch line arrests movement, or hang a short cord inside and see which line takes the slack. Photograph the cap face-on, at forty-five degrees, and from above to record crown depth, brim roll, and the set of the sweatband before and after any adjustment. These quick, repeatable checks map otherwise invisible forces and produce comparative photographs that reveal subtle changes when examined carefully, making the effect of moving or adding stitch lines plainly visible.
For fit-driven adjustments, mark areas of looseness with tailor's chalk or pins, and use temporary basting to trial moving or adding stitch lines. Observe changes in how the hat contacts the head before cutting seams; keep all trials reversible. Small, localised alterations alone can correct many issues: advance a single internal stitch line to address a collapsing brow, stabilise brim roll with a circumferential line close to the sweatband, or soften an overly boxy crown by releasing a tight tack. Preserve internal stitch tension by storing the hat on a shaped form or a low-profile hook, rotating it to avoid prolonged contact where the sweatband collects moisture, and brushing the sweatband to slow fibre breakdown. Repeated compression and humidity quietly slacken stitch lines, and those small losses of tension often precede visible distortion. If a seam opens, re-stitch a short section with fine, strong polyester or waxed thread, using small, even running stitches and anchoring the ends inside the seam allowance. For structural canvas repairs, or for valuable and historical pieces, consult a professional milliner.
Beyond repairs and storage, minute internal stitches largely determine how a cap sits and how its silhouette endures. The placement of stitches, the stitch type, and controlled tension produce predictable changes in stability and profile. Simple tests on matched interlinings confirm these effects, so the detail becomes apparent through wear and handling.
Return to the anatomy map and anchor points as you place tacks; these markers show where structure meets surface and ensure even tension. Follow brim and edge finishing guidelines to improve comfort, and select materials that suit the intended stiffness and hand (the finished feel). Keep a written log of measurements and outcomes so you can compare adjustments objectively. Trial changes on offcuts or spare pieces, and store caps on shaped forms so alterations remain reversible and the intended shape endures.
FAQ
How does stitch placement change a cap's silhouette and stability?
Moving anchor stitches alters load paths: placing anchors 10 to 15 mm closer to the brim reduces flare for a sleeker profile, while moving them outward softens curves; short, firm stitches and higher tension lock shape at stress points, whereas longer, looser stitches allow controlled drape.
What stitch types and spacings should I use inside a cap?
Use short backstitches or fell-stitches through interlining where strength matters, long running stitches for temporary basting, and fine topstitching to lock folded edges; as a rule, place anchor stitches about 3 to 5 mm from the crown edge, tack linings 8 to 10 mm in from seams, and topstitch brims 2 to 3 mm apart for flatness.
When should I test stitch length and tension, and how do I run the test?
Always trial on a scrap with identical interlining: mark grain and balance points, make a small mock-up or patch, sew proposed stitches, then steam or block and photograph from three angles to judge compression, spring, or puckering before committing to permanent stitches.
How do edge finishes affect comfort and the cap's profile?
A close topstitch 2 to 3 mm from the raw edge creates a crisp brim and visually tugs the crown toward the brim, widening to 4 to 6 mm yields a softer hand-rolled hem, and stay-stitching 1.5 to 2 mm from curved edges prevents distortion; bias binding, piped edges, twill tape, and a breathable sweatband further define the rim, stabilise the brim, and reduce rubbing.
How should I care for and repair caps to preserve their shape?
Store on a shaped form or low-profile hook, rotate to avoid concentrated moisture, and brush sweatbands to slow fibre breakdown; for small seam openings, re-stitch short sections with fine, strong thread using small, even running stitches and anchor ends inside the seam allowance, and consult a professional milliner for structural canvas or heritage pieces.