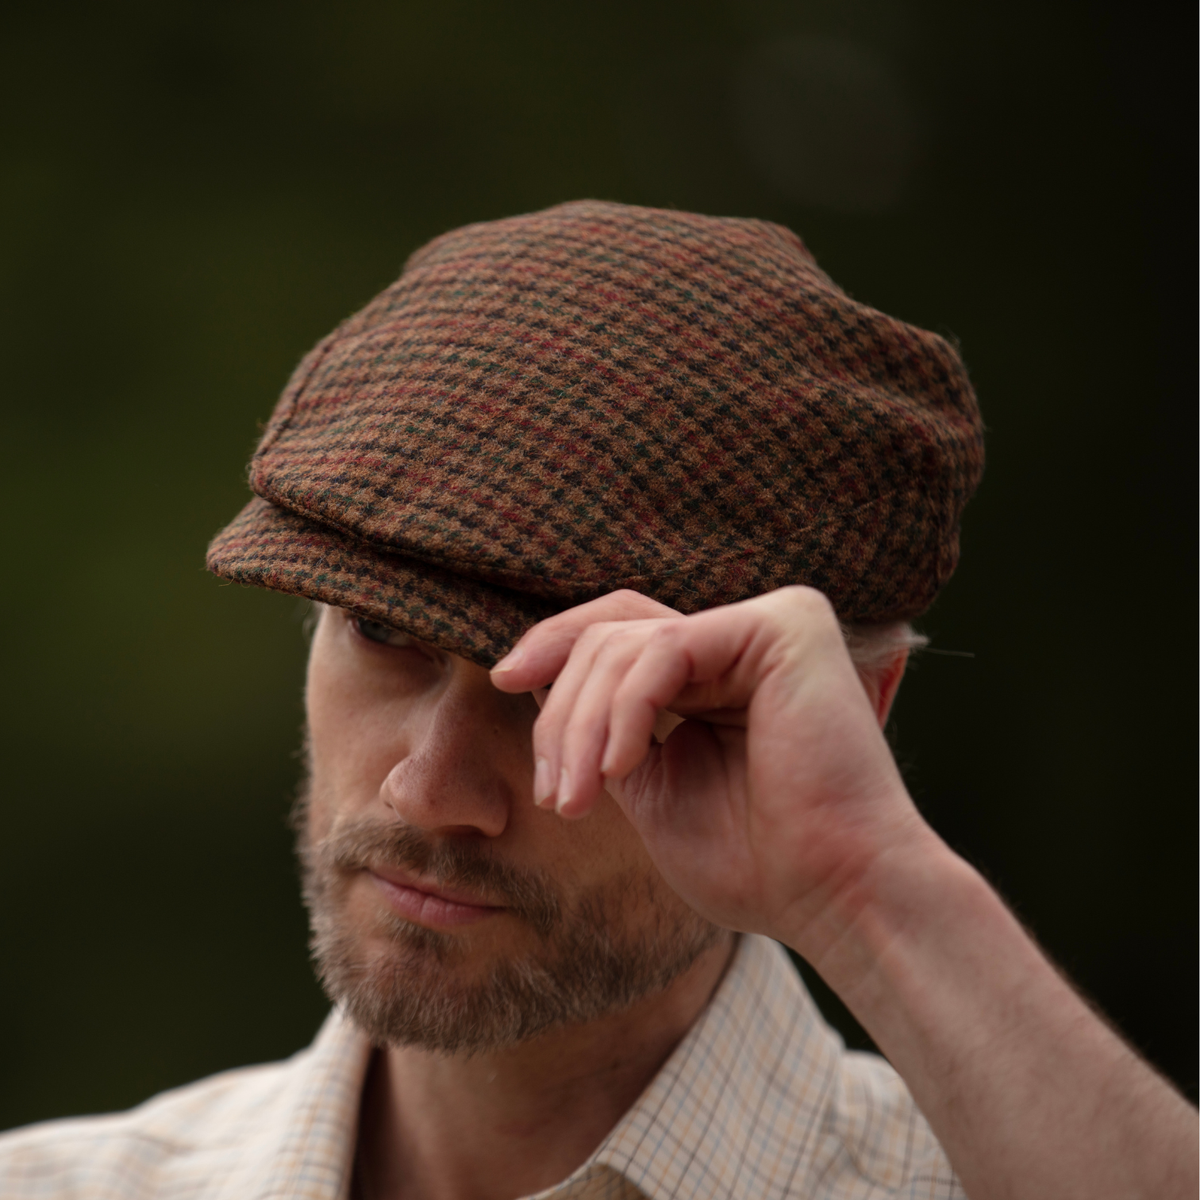
A single misplaced cap can undermine hours of careful costume work and draw the audience out of the period. How can costume teams ensure each cap reads true to its era, embodies the character, and endures through multiple takes?
This considered checklist breaks the process into ten focused checks: researching period imagery, matching materials, refining silhouette and colour, ageing and fit, hair alignment, continuity, and on-set repairs. Use it early and often to catch mismatches before they reach the camera, reduce rework, and safeguard the integrity of the performance.

1. Research period imagery, fashion plates, and primary sources
Begin with primary repositories: museum and archive catalogues, estate inventories, patent drawings, newspapers, and portrait collections. Record catalogue numbers, the creator, and any notes, and request high-resolution images or condition reports so you can examine edges, stitching, and maker marks. Measure silhouette and construction from images or surviving examples. Annotate crown height, brim sweep, crown-to-brim proportions, sweatband position, stitching lines, lining, and brim reinforcement; these details help separate authentic shapes from later reproductions. Where photographs lack precision, cross-reference paintings, costume plates, textile sample books, and written descriptions to recover colour and fibre information. Use shadow direction to infer brim curvature when explicit detail is absent.
Compile a reproducible dossier: a dated visual file with annotated close-ups, a short checklist of defining features to match across takes, and provenance notes recording acceptable variation. Share the dossier with the costume and continuity teams so choices rest on documented evidence rather than memory. Cross-check social context by comparing street photography, studio portraiture, theatrical publicity, and occupational records. That comparison prevents conflating everyday wear with stage or ceremonial adaptations, and helps reproduce shape, colour, and wear patterns consistently across frames.

2. Match materials and construction to the hat's period
Examine fibres and cut edges under a 10x loupe with bright white light. Natural fibres show irregular tapers and a distinct nap; synthetics look more uniform and tend to reflect light differently. Photograph close-ups, and retain swatches so replacements behave consistently under camera lights and perspiration. Carefully open an inside seam or the lining and note stitch type, stitch length, and whether seams are hand finished or machine sewn. Chain-stitch looping, visible tacking, and uneven stitch lengths point to older, hand work; uniform lockstitch and overlocked seams indicate later mass manufacture. File these construction notes in a dossier so replicas can be specified to crease, fold, and wear in the same manner as the original.
Continuity on set begins with understanding how a hat holds its shape and moves. Identify brim stiffeners, crown supports, and headband cores by feel and sight, noting whether the original uses a buckram weave, shellac, leather, or modern plastics. Select reproductions with equivalent stiffness and flex, since these components determine how a cap reacts to heat and humidity. Duplicate trims, linings, and fastenings precisely, and maintain a swatch book with labelled photographs and supplier notes so every replica uses the same textiles, seams, and fittings. Produce several caps from the same material batch, apply consistent distressing, and test for colourfastness and fibre loss. Photograph each piece under standard lighting and log every ageing step and care instruction so replacements match between takes and during stunt sequences.

3. Adjust the silhouette and proportions for camera blocking
Rehearse the cap with the camera in place. Block the scene, and photograph the wearer from every planned camera position and focal length, then compare the images to see how crown height, brim width, and side profile read in close-up, mid, and wide shots. Test under the actual lenses and camera heights you will use: wide-angle views exaggerate proportions, low angles lengthen the head, and longer lenses compress depth. Make small, considered adjustments, such as trimming the brim, padding the sweatband, or reshaping the crown, until the headwear maintains its intended character and scale across the different framings.
When preparing a cap for screen, begin by simulating the actor's typical movements — walking, sitting, looking down, and turning — and observe where the crown compresses or the brim flips. At those points introduce discreet internal shaping, subtle padding, or stitch stabilisation so the silhouette remains consistent in motion. Photograph the cap from each camera position, label the images with the exact placement of inserts, orientation marks, and fastenings, and file them with the scene's blocking notes so a pick-up or reset can reproduce the precise silhouette without trial and error. Stage the cap with the costume and hair under the planned key, fill, and backlight, and record any shadows or highlights that alter perceived shape. Where necessary, modify the brim edge, fabric finish, or internal structure to avoid unwanted shadows, glare, or visual flattening that would betray the period or break continuity between takes.

4. Source period-accurate trim, badges, and detailing
Consult original sources: photograph and annotate period catalogue pages, museum examples, and on-screen stills. Record liner patterns, sweatband material, label typography, and stitch type, and note distinguishing features such as chain-stitch embroidery, satin liners, or stamped-leather sweatbands. These particulars reveal construction choices and material evidence that inform faithful reproduction. Match badge material and attachment method, identifying whether the original badge was metal, enamel, embroidered, or leather, and reproduce the fastening so the badge sits, moves, and weathers like an authentic piece. Measure and log badge diameter, distance from the bill seam, height above the crown, and angle. Apply those dimensions to duplicates, to stunt caps used in action sequences, and to continuity checks across takes to ensure consistent presentation.
Age trims to mirror the cap's lifecycle. Apply controlled patination to metal, reduce thread gloss on new embroidery, and gently soften or distress leather and brass so surface wear reads consistent with the cap fabric, sweat patterns, and actor handling. Photograph and record interior maker marks and construction clues, including stamps, manufacture codes, stitching sequence, and care labels, to document provenance and production method. Keep a continuity file that links these records to individual caps, noting which examples are screen-used, stunts, or stand-ins, so any replacement can be matched precisely. Consult the file during wardrobe calls and camera checks to verify that badges, trims, and interiors display the same behaviour and ageing across takes.

5. Match colour, dye, and finish to period palettes and lighting
Begin by assembling period colour references from surviving garments, paintings, and historical dye manuals. Distil these references into a considered palette rather than relying on a single swatch. Produce physical samples in the same fibre, weave, and lining intended for the cap, and label each sample with the dye recipe and process. Photograph the swatches under the actual set and camera lighting to confirm how colour reads on screen. On matching swatches, test finishes such as matte, glazed, waxed, and polished to observe how sheen and reflective highlights shift perceived hue and influence the garment's sense of period authenticity.
Store standardised, labelled swatches in a compact, light-controlled viewer and keep batch and treatment notes alongside them. Consult this reference whenever a repair, re-dye, or duplicate is required to maintain a consistent appearance across takes. To anticipate natural change, simulate ageing with abrasion, sunlight, smoke, and perspiration substitutes, noting that grime, fading, and wear typically alter mid-tones more than hue. Record the outcomes so any patching or touch-up will blend with the natural weathering rather than read as freshly coloured. Photograph before-and-after samples under both spot and diffuse lighting to provide hair, make-up, and continuity teams with practical, comparable evidence during shooting.

6. Age and gentle distressing to develop a convincing patina
Map a character's likely wear points by noting how they handle their hat: where hands, coats, or helmets make contact; where perspiration and skin oils collect; and where sun or rain will fade or weaken the material. Relate those observations to the material: leather develops polished high spots, edge cracking, and softened brims; wool will pill, thin, and lose its nap; canvas and straw fray, split, and yellow at folds. Apply ageing selectively, concentrating wear where the story and handling demand it, rather than scattering generic scuffs.
Begin by ageing samples, applying controlled abrasion, staining, and heat to swatches. Photograph each sample using the camera and lighting intended for the shoot so you can assess how each technique reads on film. Record the exact method alongside the visual outcome so the same patina can be reproduced consistently across takes. Where appropriate, introduce repairs as narrative details: period-appropriate hand stitching, visible patches, or rethreaded sweatbands. Produce a visual wear map by photographing the principal cap from multiple angles and annotating the position, intensity, and texture of marks. Share that map with wardrobe and continuity, and clearly indicate which marks should evolve on camera and which must remain unchanged.

7. Shaped for movement, comfort, and enduring wear
Record the actor through the full range of scripted actions, then review the footage frame by frame to reveal slippage, gapping at the temples, or silhouette changes that will break continuity. Inspect the interior construction: the sweatband, seam placement, crown height, and weight balance, and add thin pads or soft linings where seams contact the skin. Observe how felt softens with wear while straw retains its shape but may rub at stitch lines. Choose discreet, era-appropriate anchoring, and test combs, small pins, chin straps, or hidden elastic on camera, marking the interior seating point so multiple copies can be re-seated identically. Photograph the interior for the record; the detail that rewards closer inspection will inform later decisions.
Hats and caps respond to light, heat, humidity, and handling in ways that affect fit and appearance. Before shooting, assess breathability and lining behaviour under the production lighting and the humidity levels expected on set so any tendency to warp or trap moisture becomes apparent. Protect make-up and costume fabrics with a thin moisture barrier or a removable sweatband; both reduce staining and slow the transfer of oils that change a hat’s finish. Keep rapid-dry cloths and allow brief cooling intervals between takes to limit perspiration-related fit changes. Stress-test seams and trims by repeated re-dressing to reveal weak points, and check colourfastness with a gentle, damp cloth before the first take. Prepare a small repair kit with matching thread and backing, keep at least one matched spare, and label each piece so replacements are immediately recognisable. Record any bespoke adjustments in the continuity notes so seating, ribbon tension, and brim shape can be reproduced reliably. Finally, run metalwork and trims under camera lighting before coverage begins; reflective fittings can catch light, and discreet interior markers will help the cap read consistently from shot to shot.

8. Style hair and wigs to complement the cap and costume
Define the intended hair silhouette, the parting, and how much of the hairline the cap should reveal, then compare those proportions with period photographs so the forehead to cap ratio reads correctly on camera. Adapt wig construction and anchoring to mirror the cap interior and the performer’s anatomy: add discreet padding, reshape the wig cap, and mark repeatable anchor points so placement can be rebuilt between takes. Thread hair through costume lines, observing how collars, lapels, scarves, and brooches alter perceived volume, and trim or tuck hair so it complements the costume silhouette rather than competes with it. Photograph each setup from the camera lens, note part placement, pin locations, and any visible skin, and file the images with the relevant costume ticket to preserve continuity.
Begin by running movement and lighting rehearsals with the complete cap, hair, and costume in place. Use these sessions to spot slipping, stray tendrils, or unwanted shine under the key light, and capture playback stills on set to match details between setups. Brief the hair team with those stills, and keep simple, repeatable remedies to hand, such as discreet pinning, small restyles, or the controlled use of product. These measures preserve a consistent cap-to-hair relationship across takes and give the editor reliable continuity choices.

9. Maintain continuity between takes and camera angles
Between takes, photograph and catalogue multi-angle reference images of the cap, including the underside and the inside of the sweatband. Label each image with scene and take so stitch patterns, sweat marks, and soiling can be compared with later frames. Place a discreet, reversible internal marker, such as a short coloured thread or removable tape, and photograph it in situ while noting its orientation in the continuity log to speed detection of rotation or swapping. These visual records provide objective evidence to establish whether apparent differences arise from wear or from a change of cap.
Compare brim shape, rim highlights, and the edges of cast shadows across camera angles and focal lengths. A sudden change in shadow crispness or in the apparent curvature of a brim often signals a change in lighting or lens, not a different cap; note the lens, focal length, and lighting setup alongside any visual discrepancy. Record how the actor puts the cap on, how they tilt it, and how they use their hands. Preserve consistent finger placement, crease lines, and hair displacement in descriptive continuity notes, or have the continuity person demonstrate the gesture on set so wardrobe and performance can be matched precisely. Use frame-grabs from different takes and overlay them at reduced opacity to check seam alignment, patch placement, and logo orientation. Flag any mismatch for a wardrobe adjustment, or add a VFX clean-up note to the shoot report.

10. Prepare on-set care, basic maintenance, and swift repairs
Keep a compact repair kit to hand. Include curved and straight needles, waxed thread in matching tones, spare sweatbands and linings, fabric-friendly adhesive and tape tested under production lighting, a small selection of hat blocks or shaped forms, and a few fasteners, buttons, and scraps of matching material. With these items you can mend seams, reattach trims, and stabilise a crown without returning pieces to wardrobe. Learn a handful of rapid cleaning and reshaping techniques. Brush the nap with the grain to restore texture; apply controlled steam to relax the fibres, then set the hat or cap on a block or shaped form, filled with tissue, to hold crown and brim as it cools. Spot-clean sweat marks by blotting with a gentle, pH-neutral solution rather than rubbing, to reduce the risk of colour transfer. Always trial materials and provisional fixes under the lighting in which you will shoot to confirm finish and colour behaviour. These practices make on-set maintenance straightforward while protecting the cap's intended appearance.
Create discreet continuity marks. A small internal stitch or a tiny tag placed out of sight will identify a cap without altering its appearance. Photograph each cap on the performer from several angles under the production lighting you will use, and keep a clear log tying each duplicate to its scene; with that record, swaps become verifiable rather than guesswork. Assign a single hat wrangler and brief the hair and costume teams on consistent placement, fastening, and blocking. Rehearse any quick changes so fit adjustments and alterations can be repeated reliably between takes. Plan for preventative maintenance. Rotate caps to prevent accumulated sweat and wear, keep spares at differing levels of intentional distress, replace or line sweatbands to avoid staining, and test any dyes, paints, or adhesives under production lighting to ensure finishes render as expected on camera.
Authentic headwear depends on aligning research, materials, construction, and on-set practice with the way the camera reads shape, colour, and wear. Teams that record provenance, photograph swatches and hats under production lighting, and rehearse with hair and blocking secure continuity so matching pieces read the same across takes.
Treat the ten focused checks, from period imagery and material analysis to fit, continuity, and rapid repairs, as a working dossier and rehearsal plan to avoid last-minute substitutions. Photographs of garments, clearly labelled spares, and reproducible seating marks convert subjective choices into verifiable records, preserving wardrobe continuity through filming and post-production.