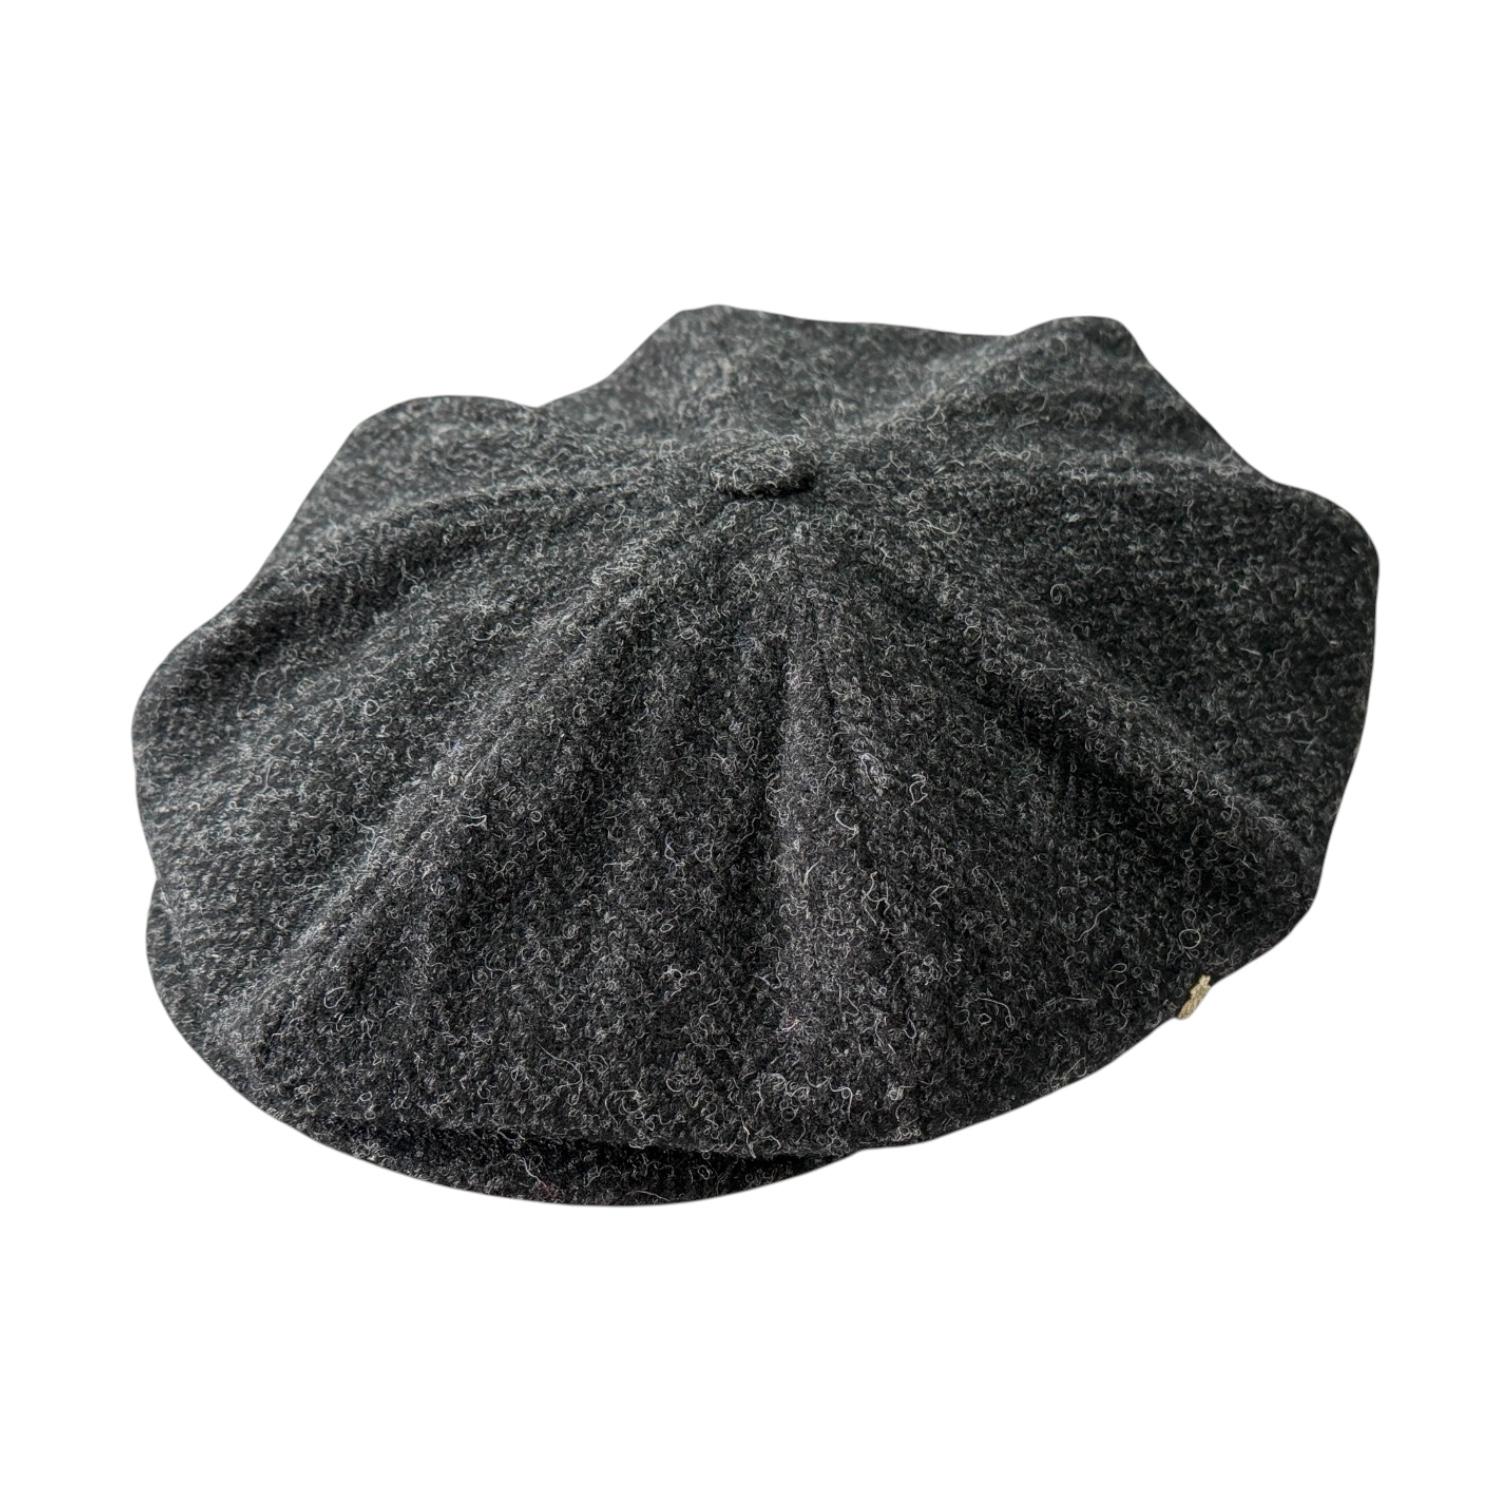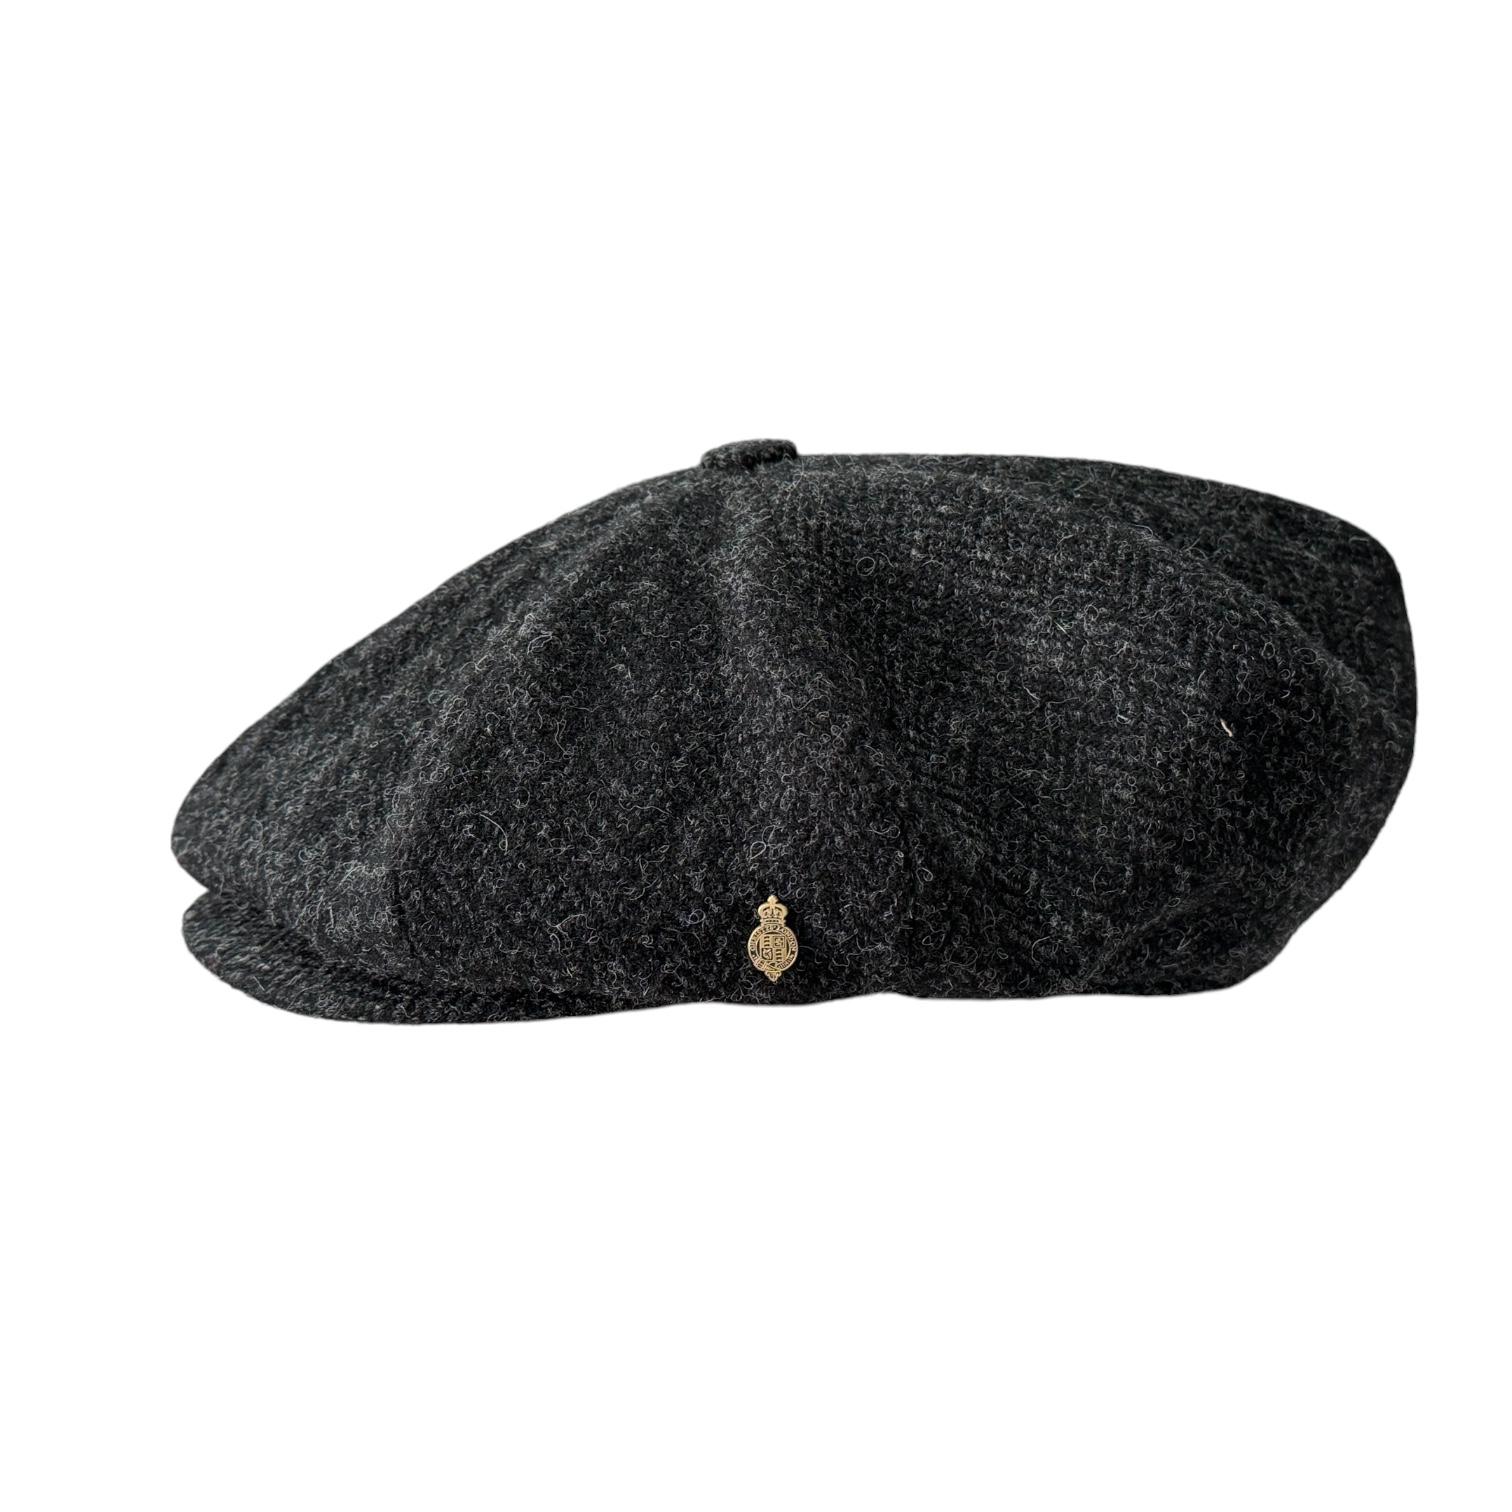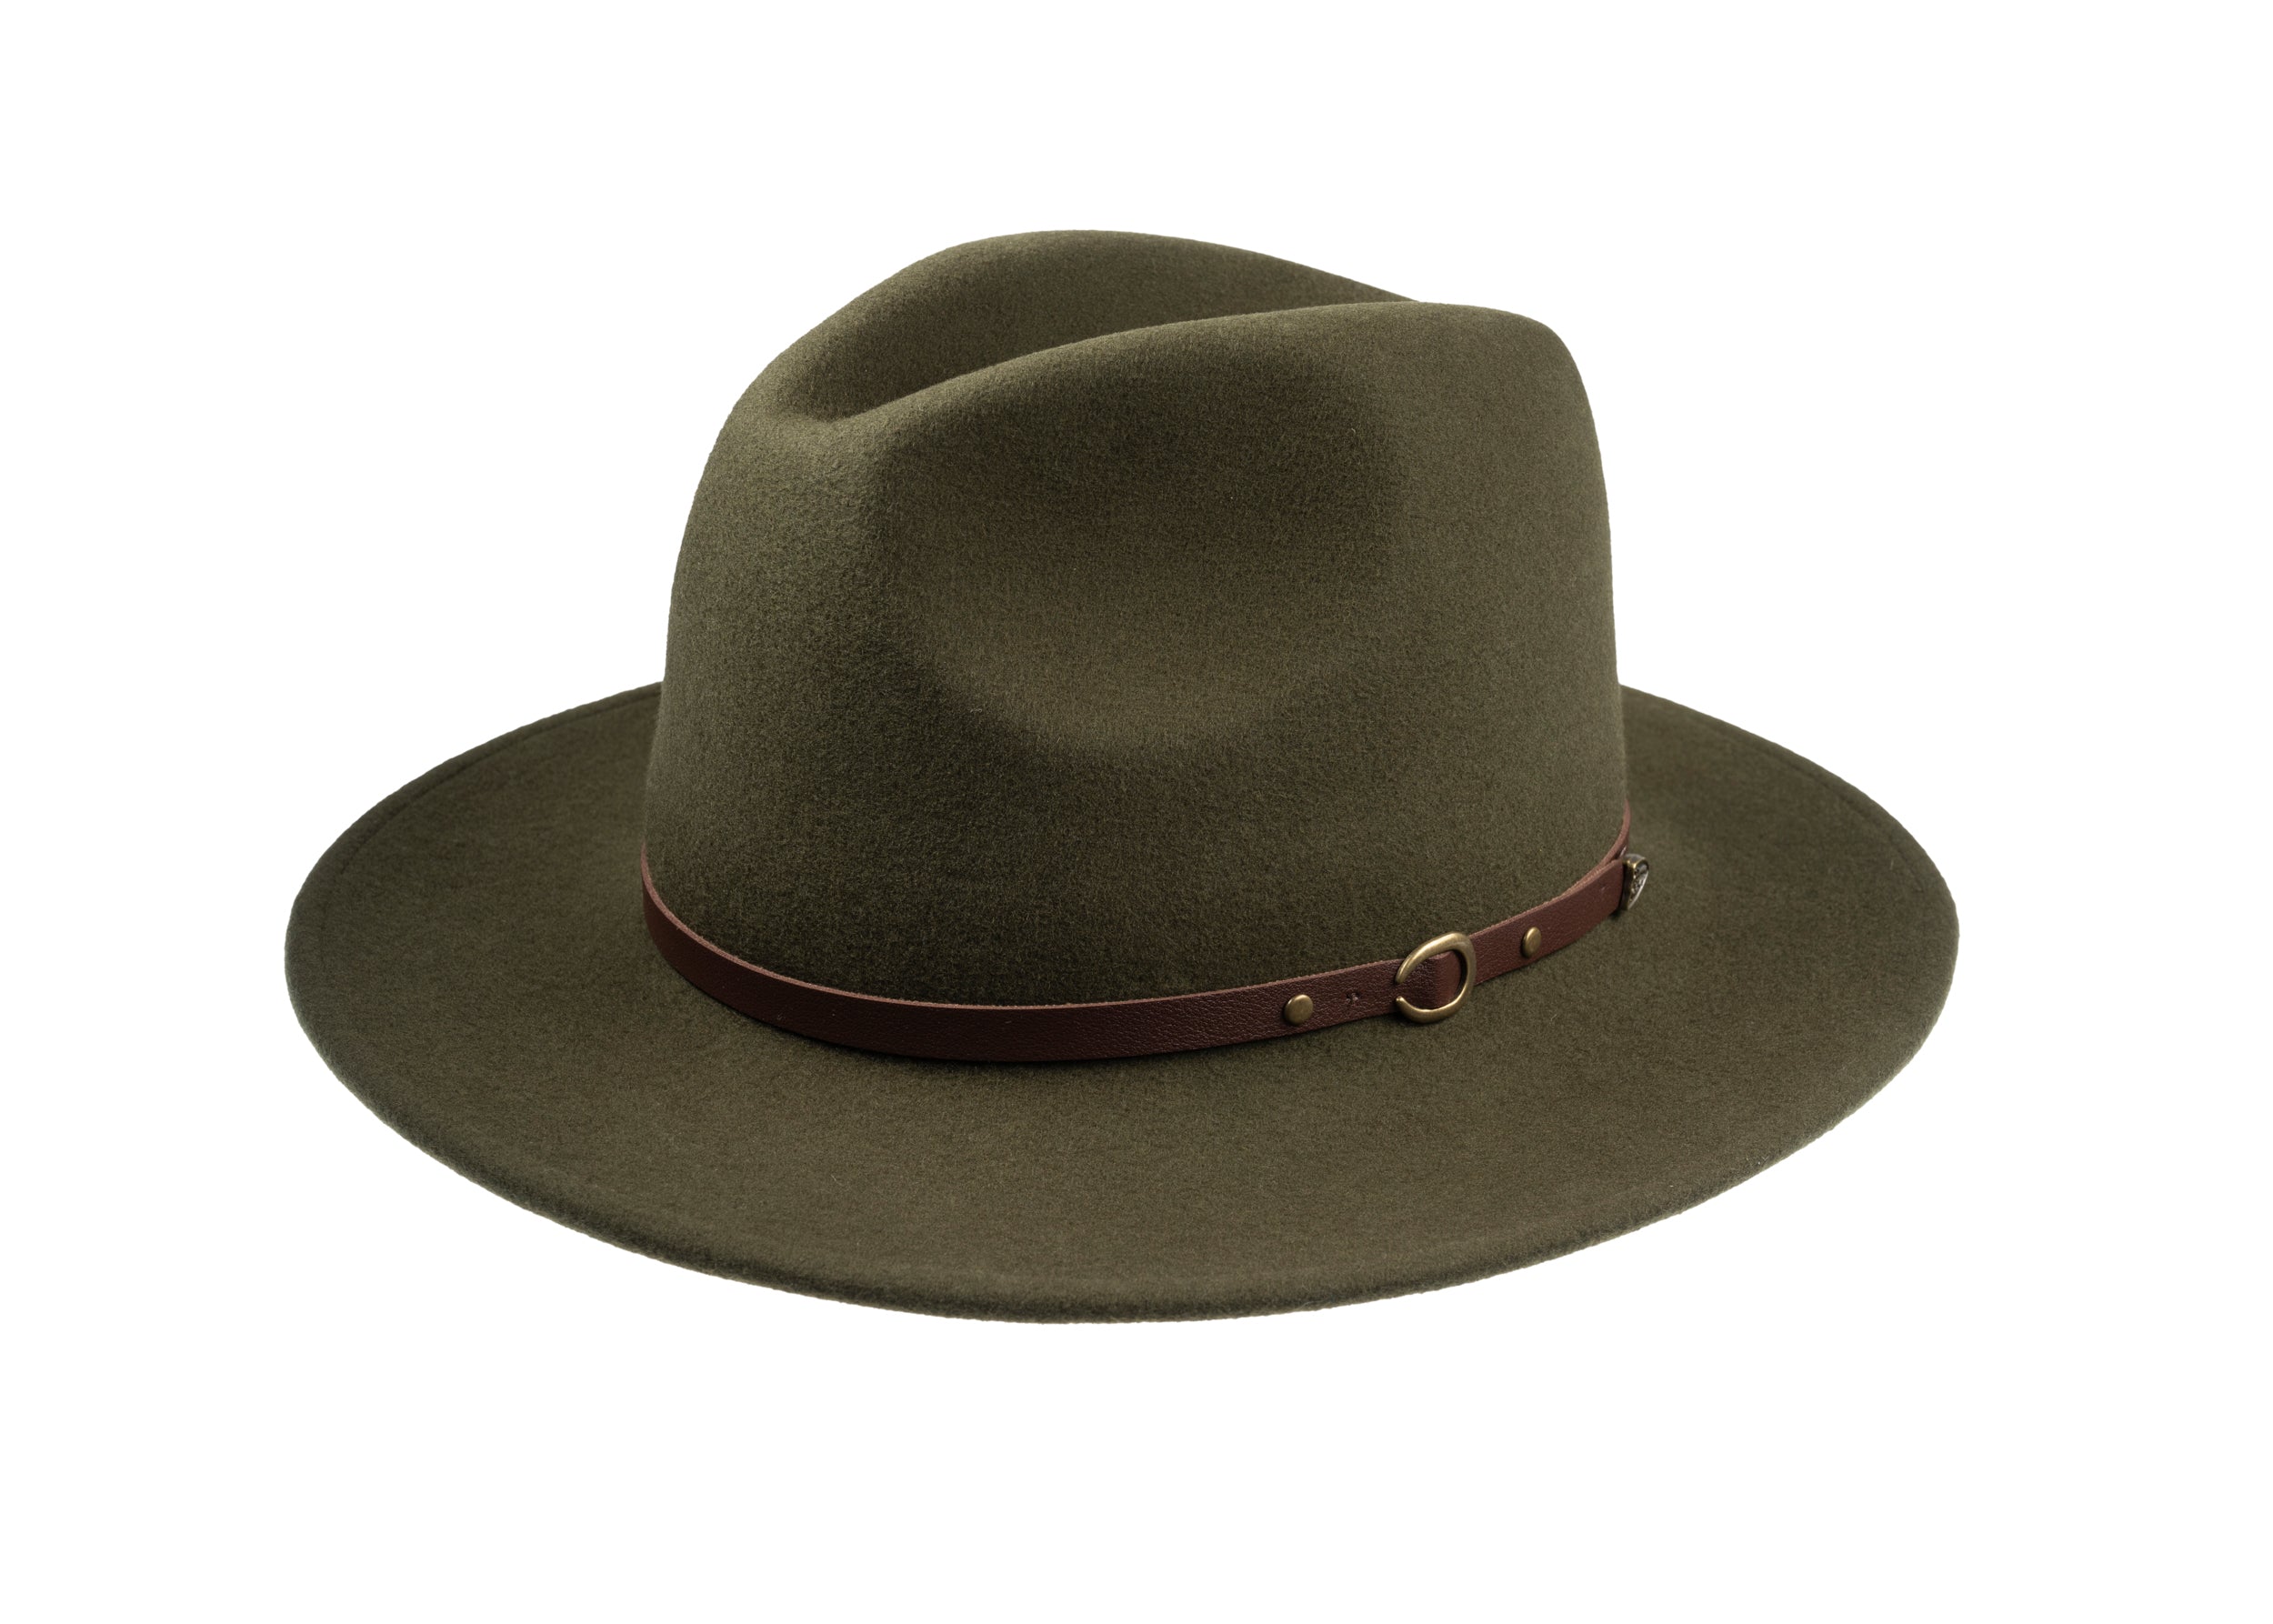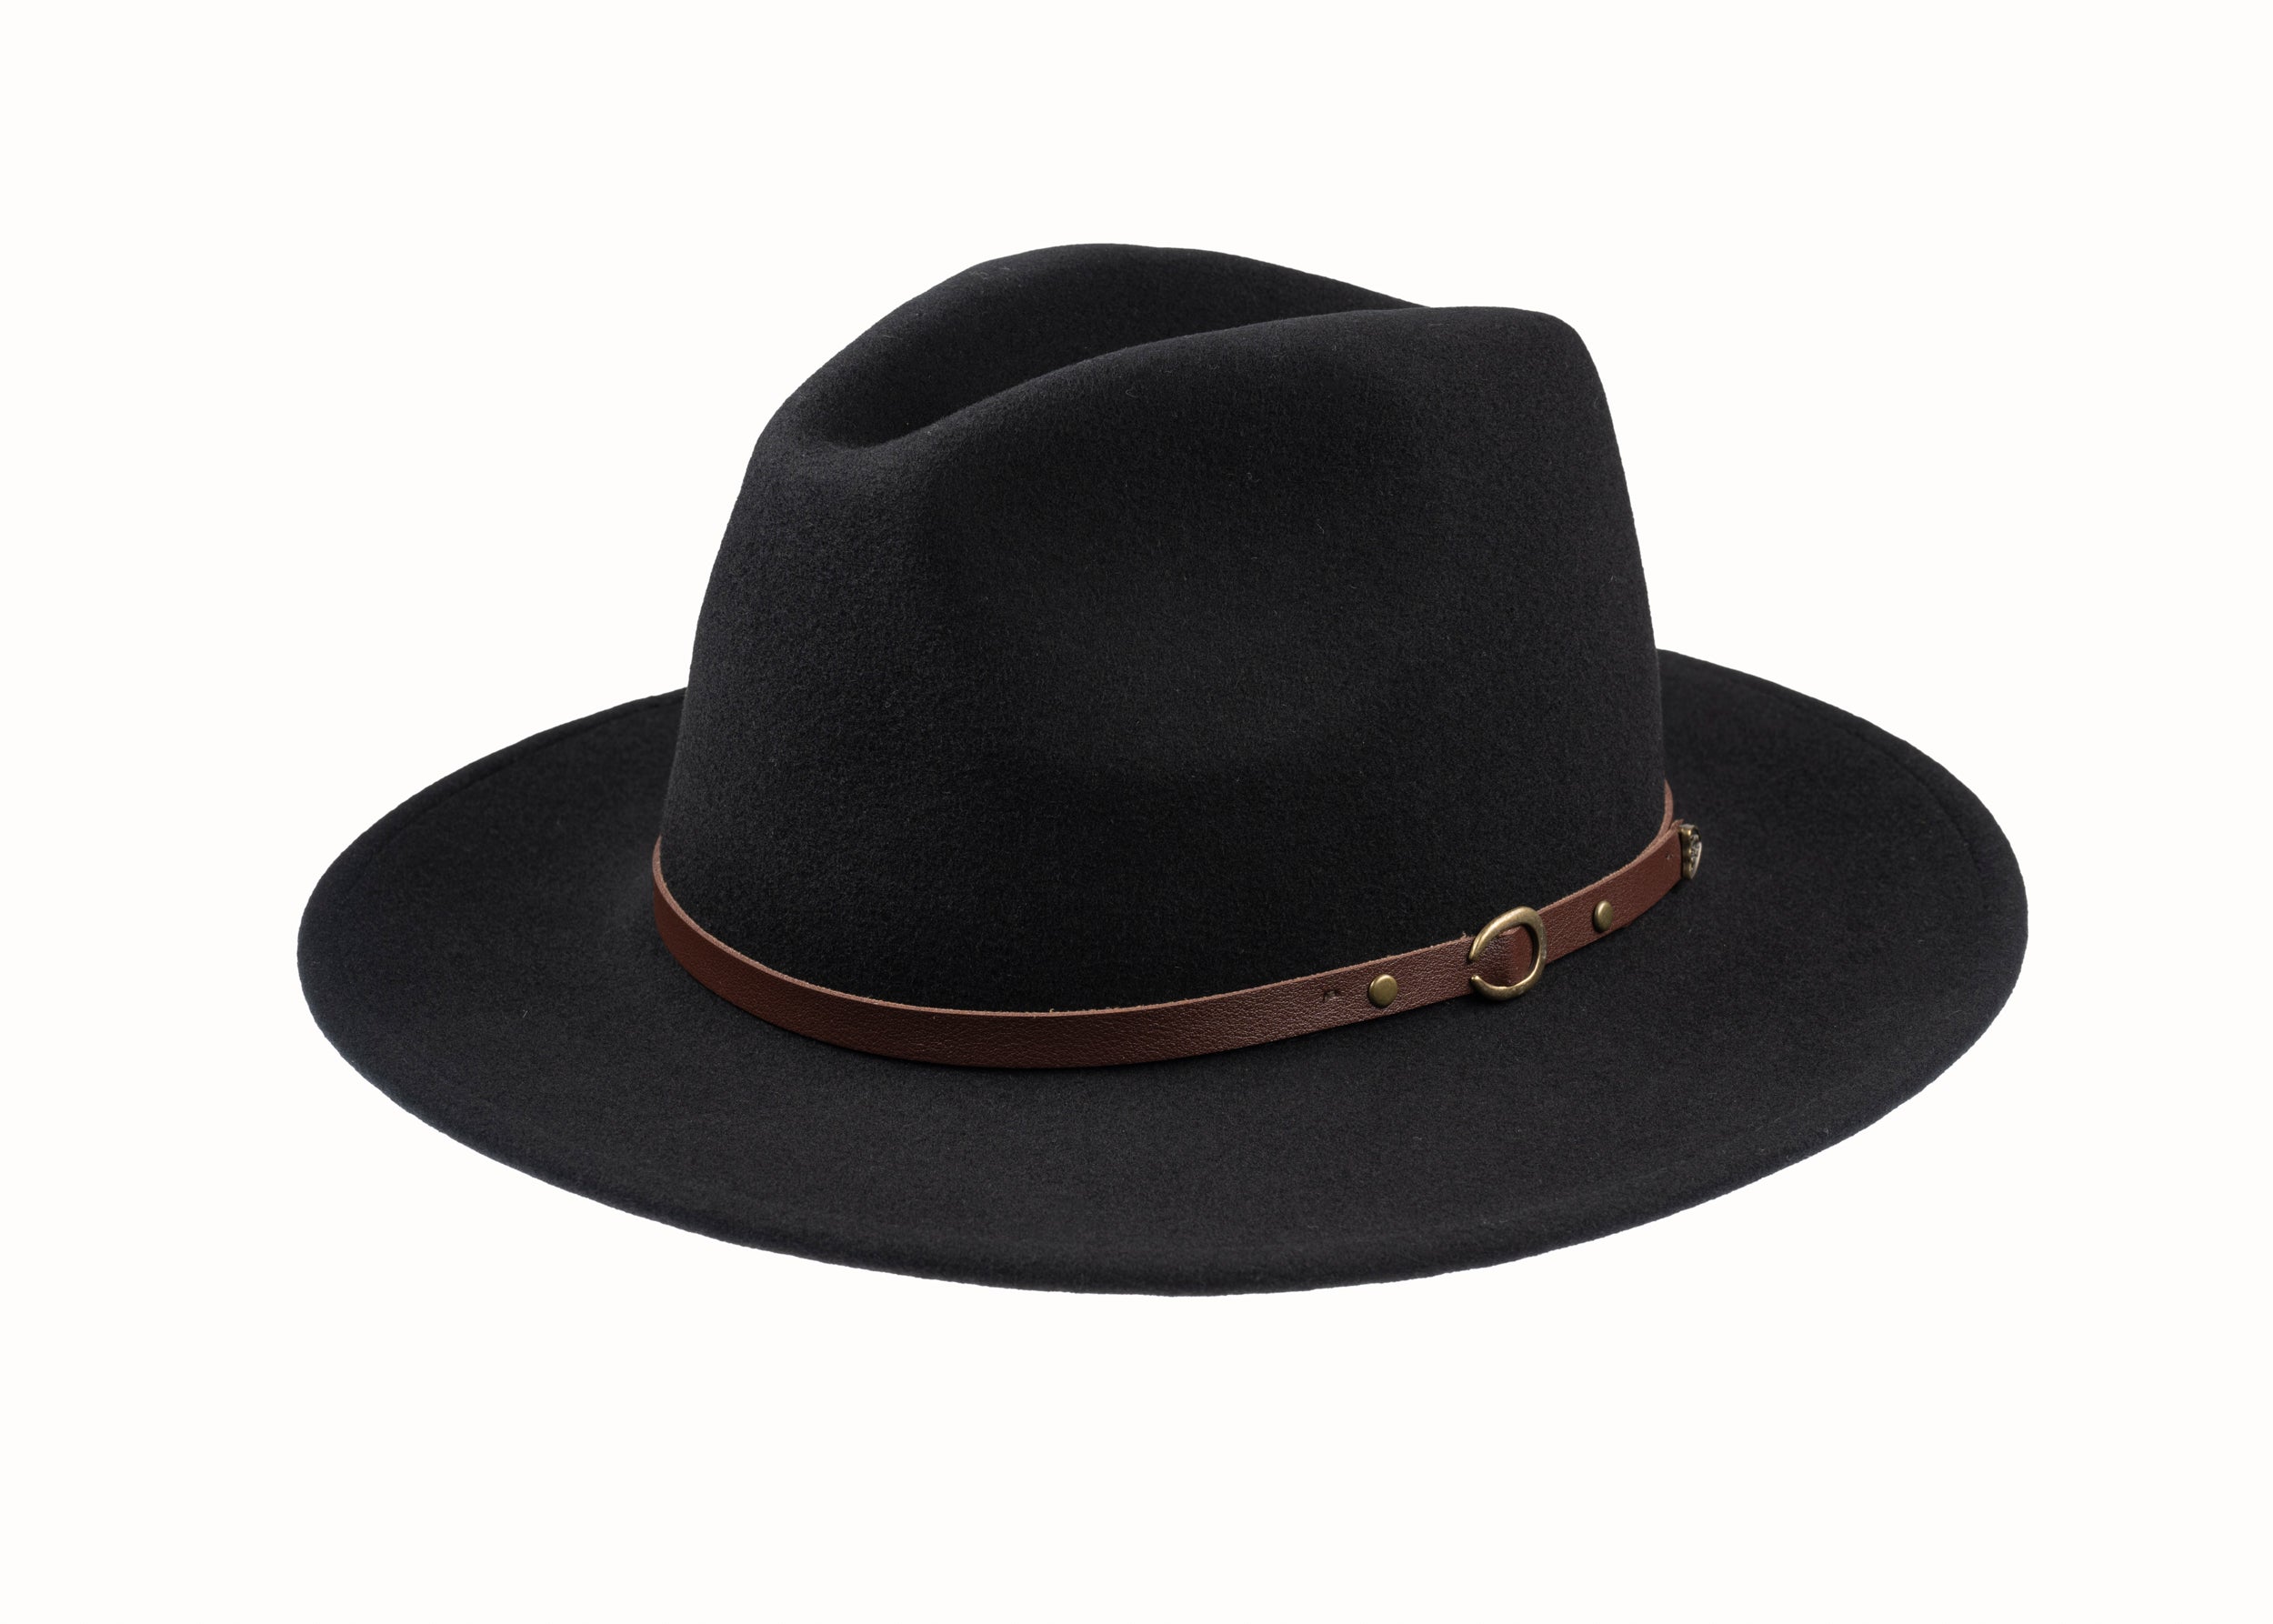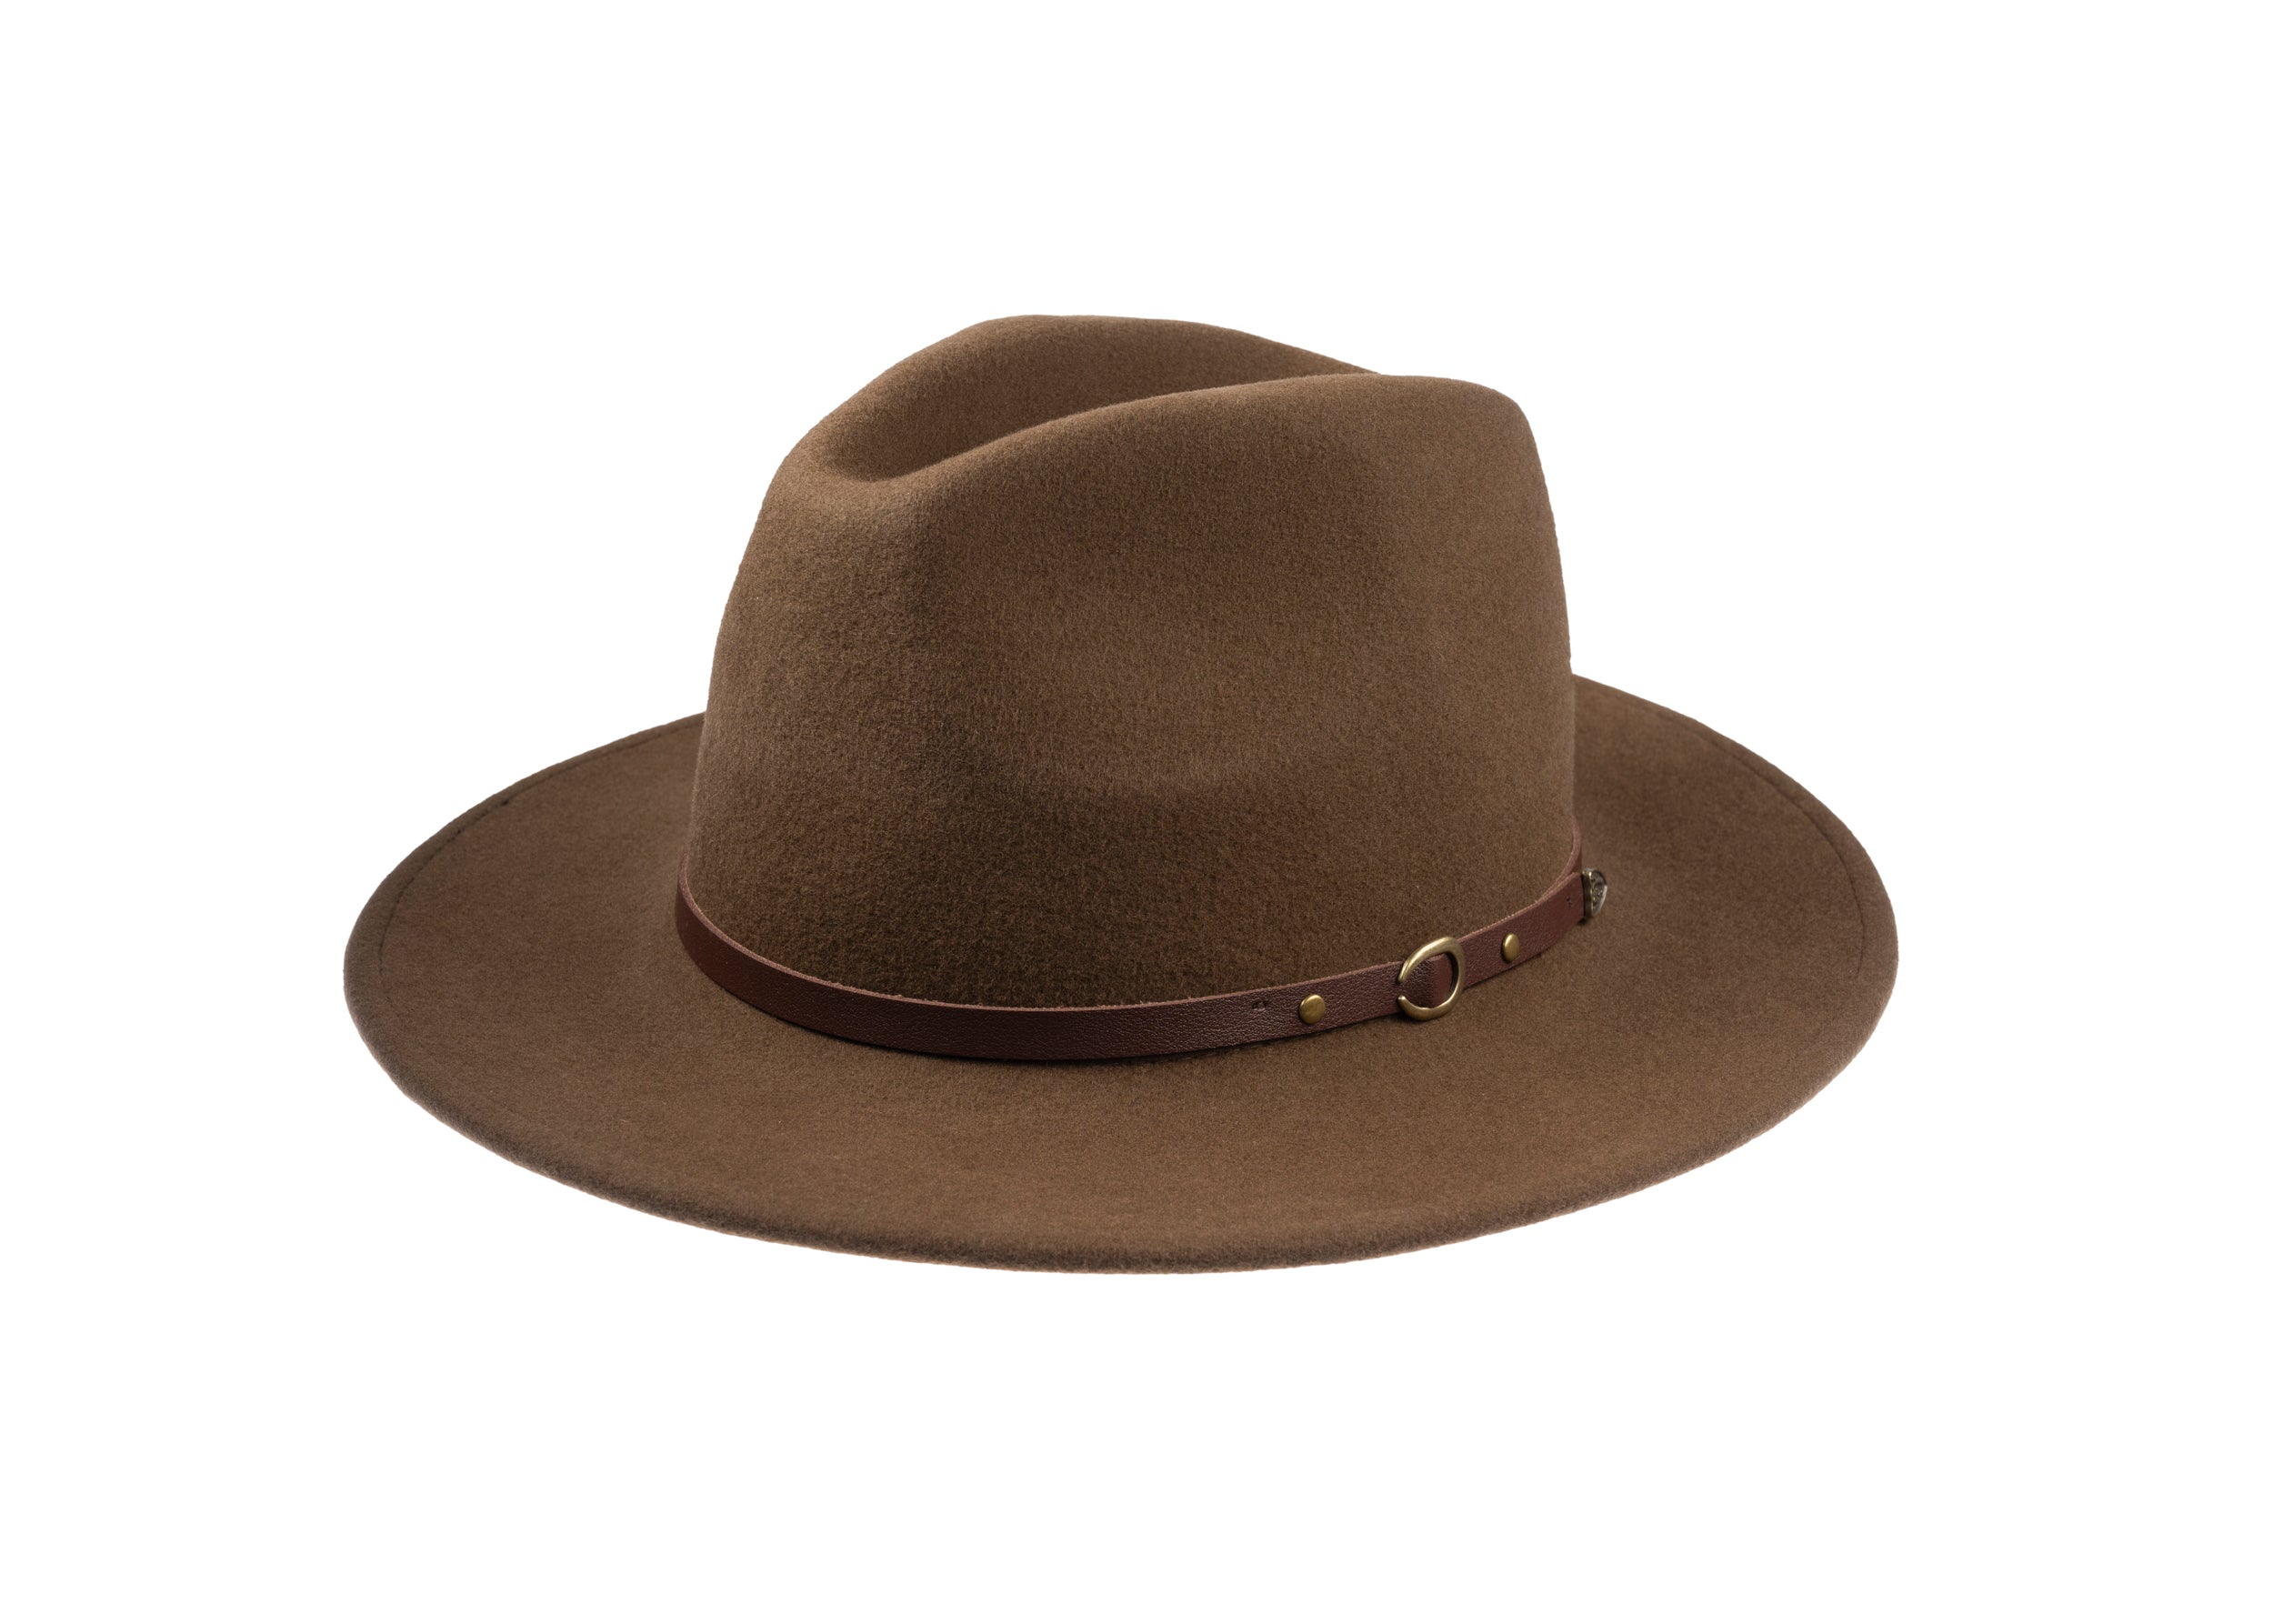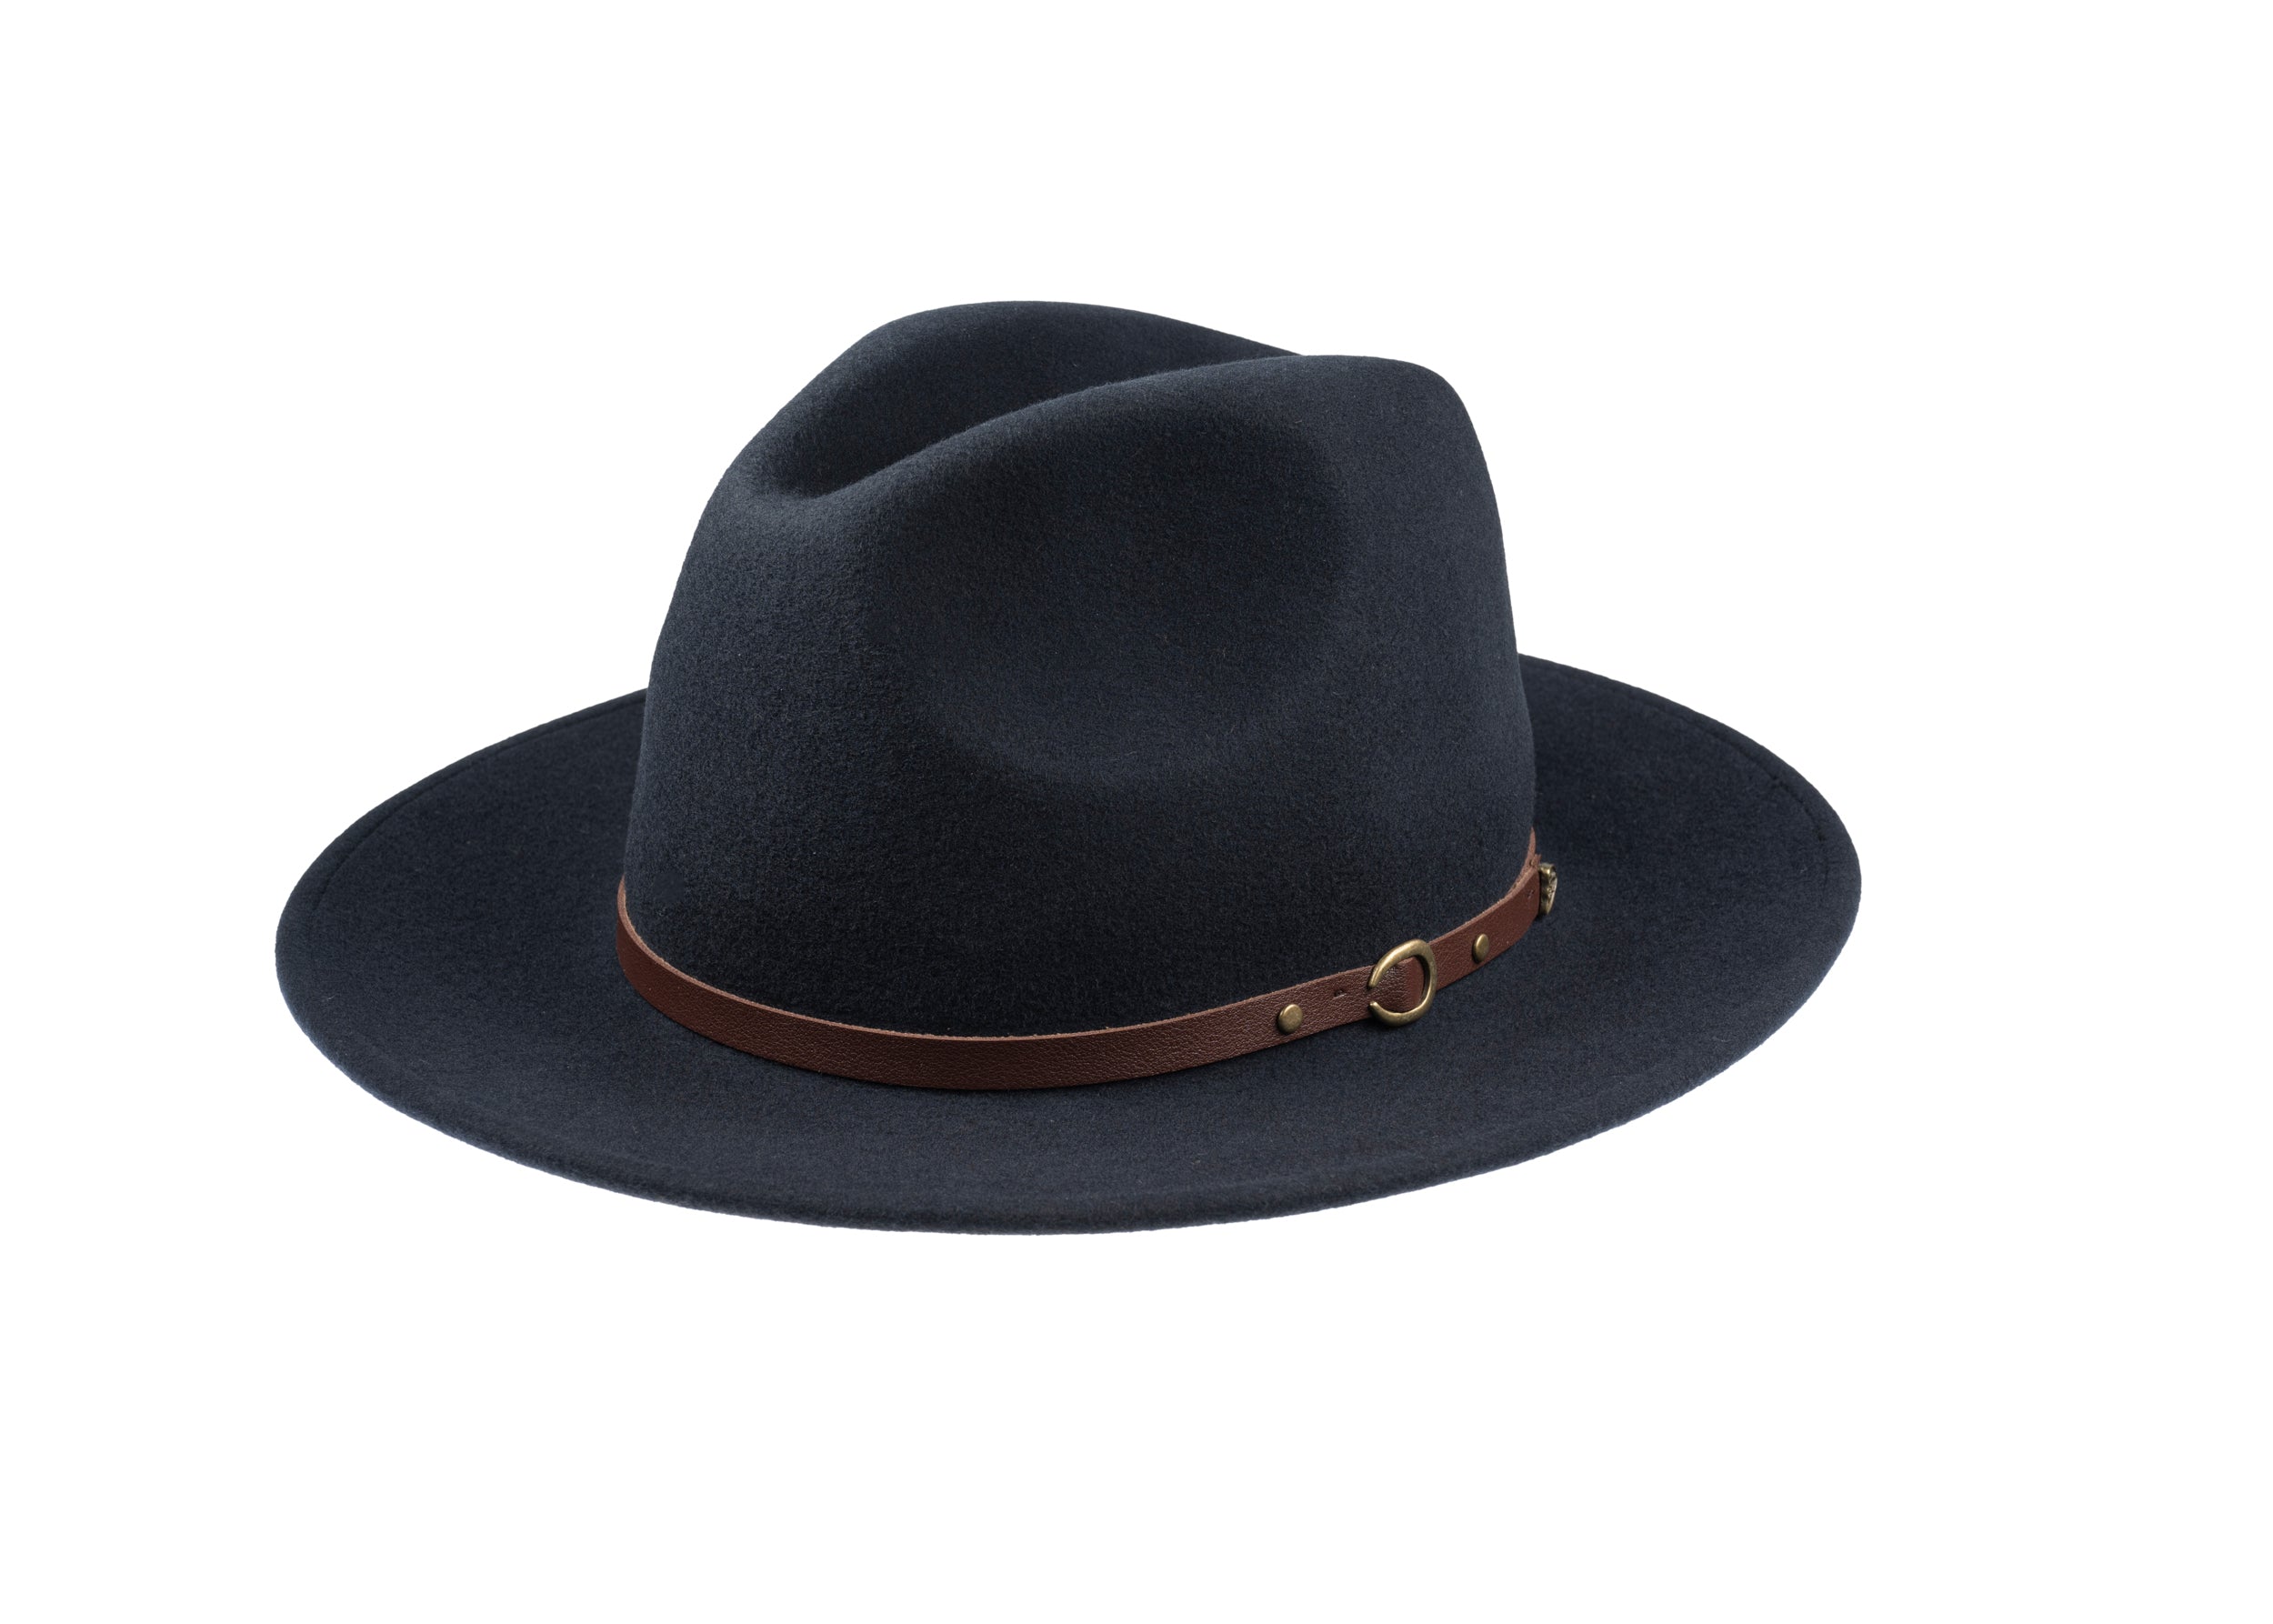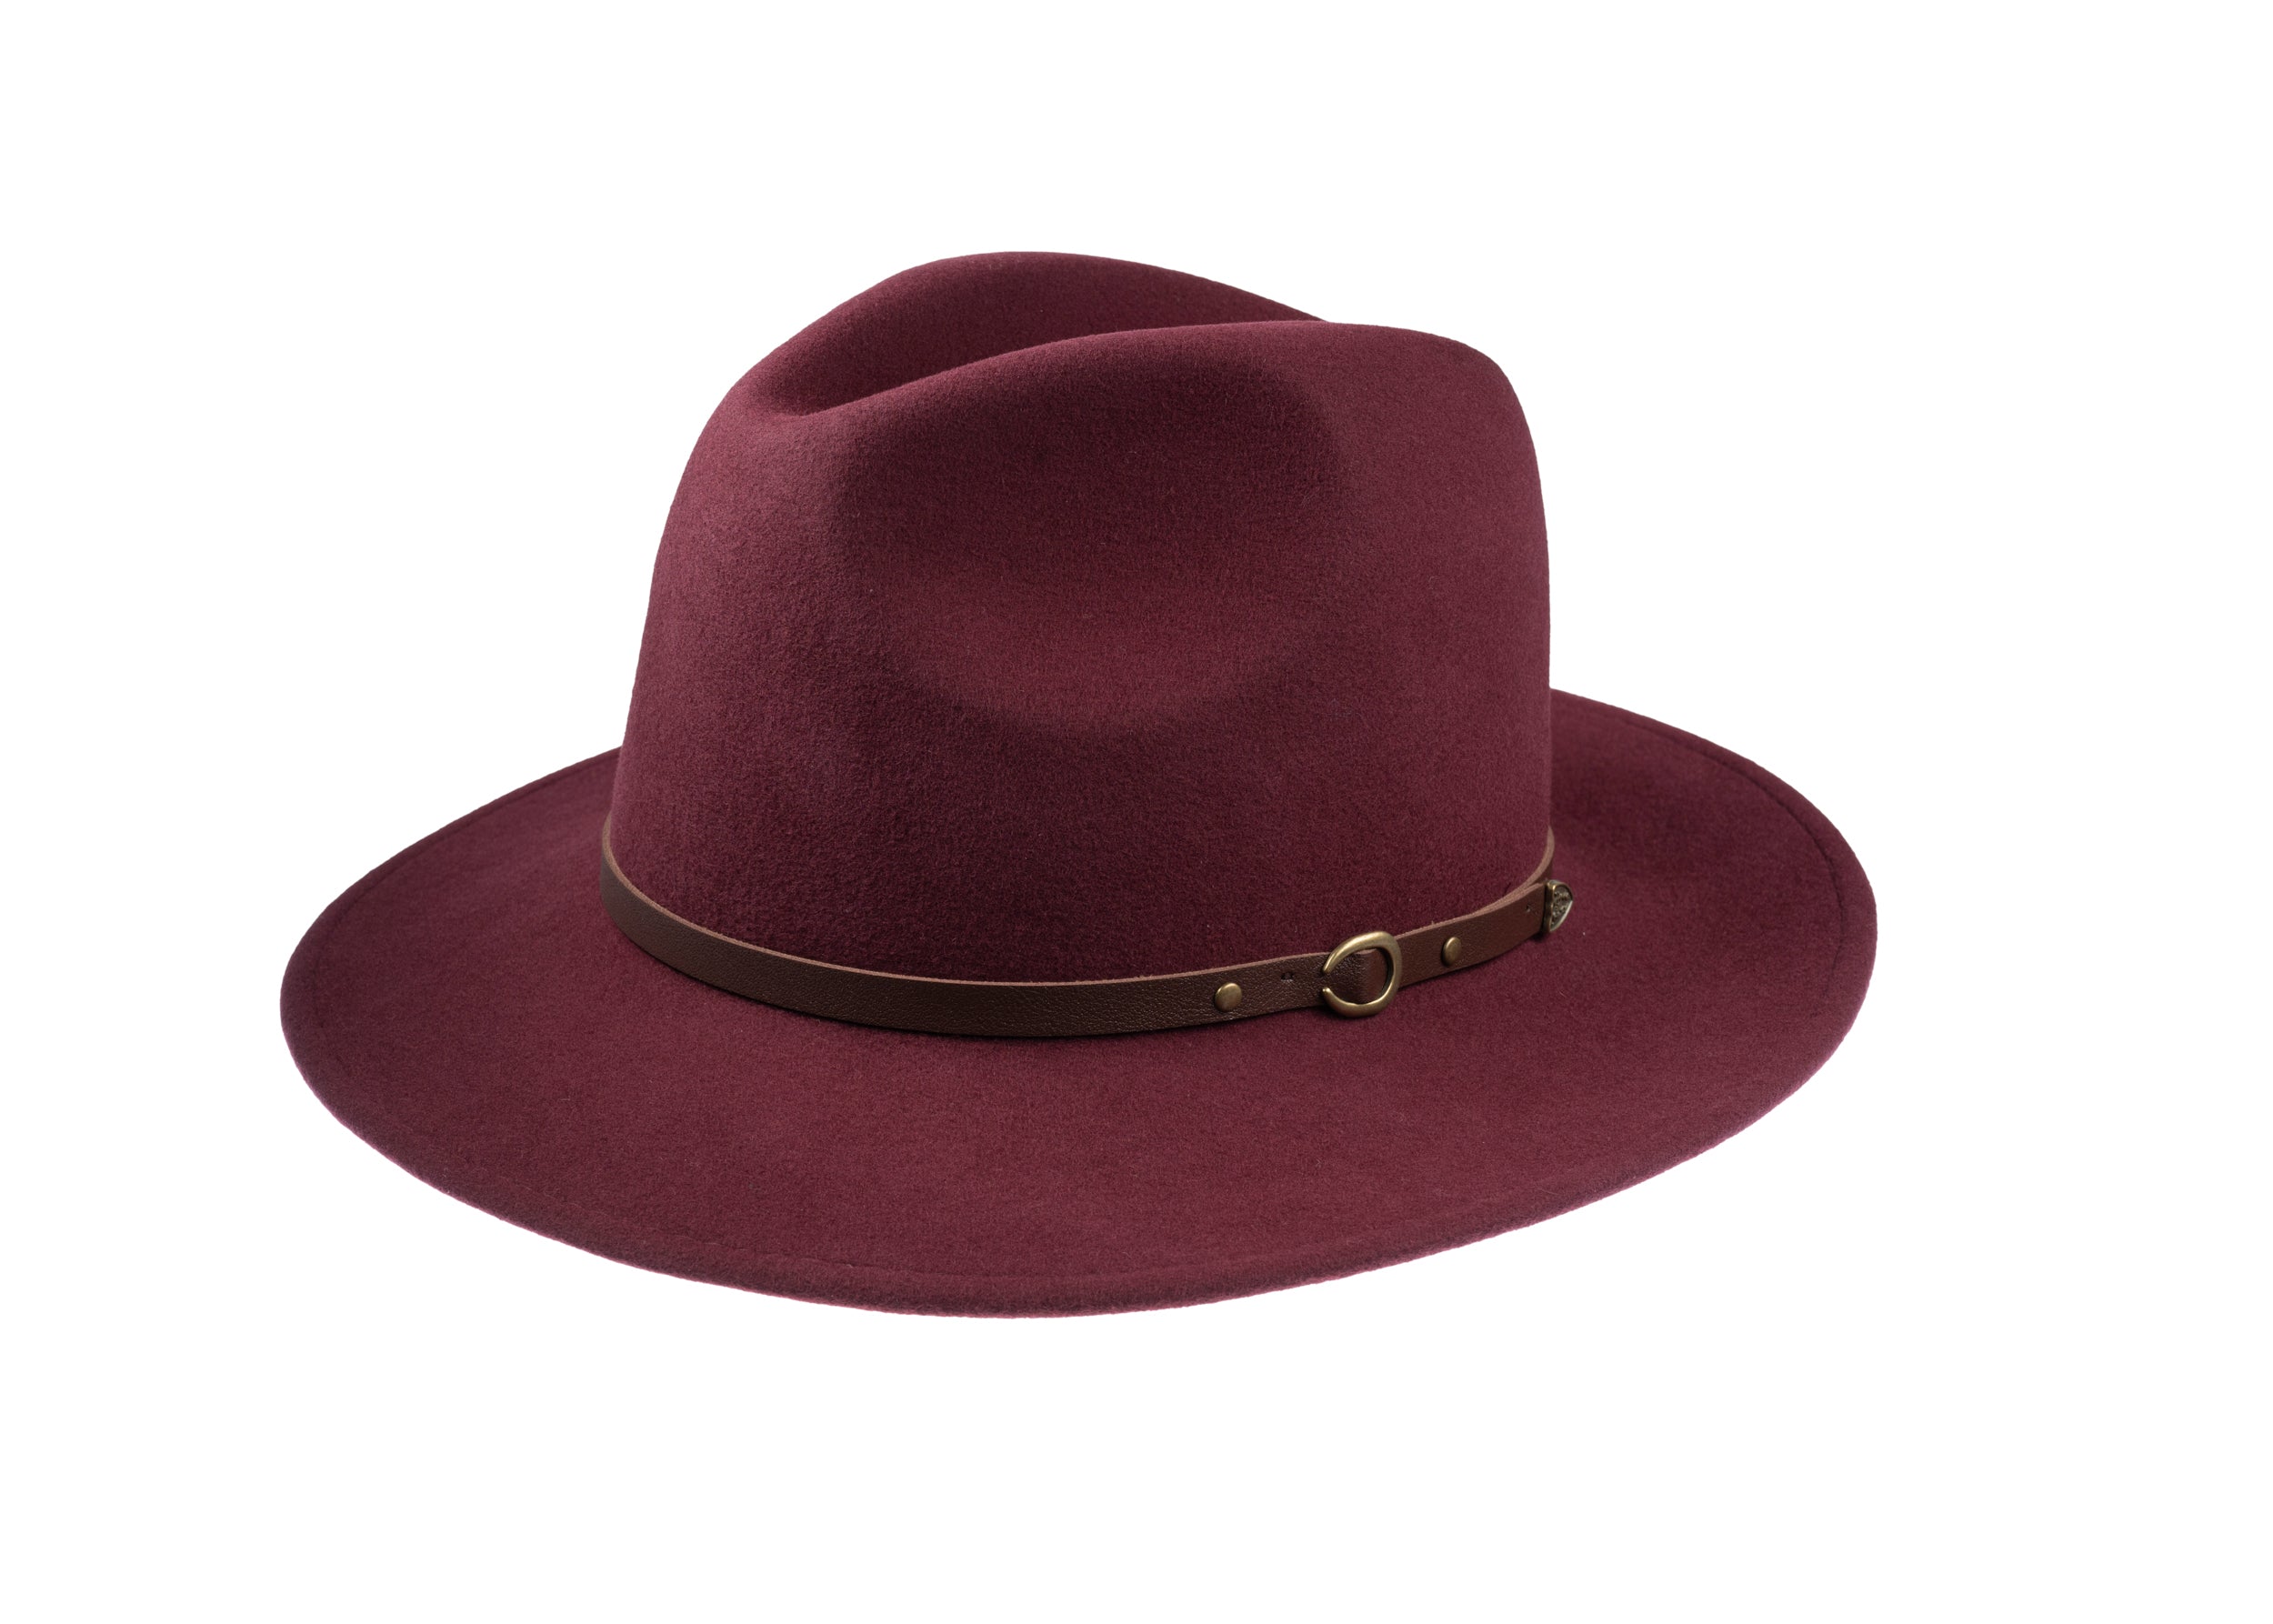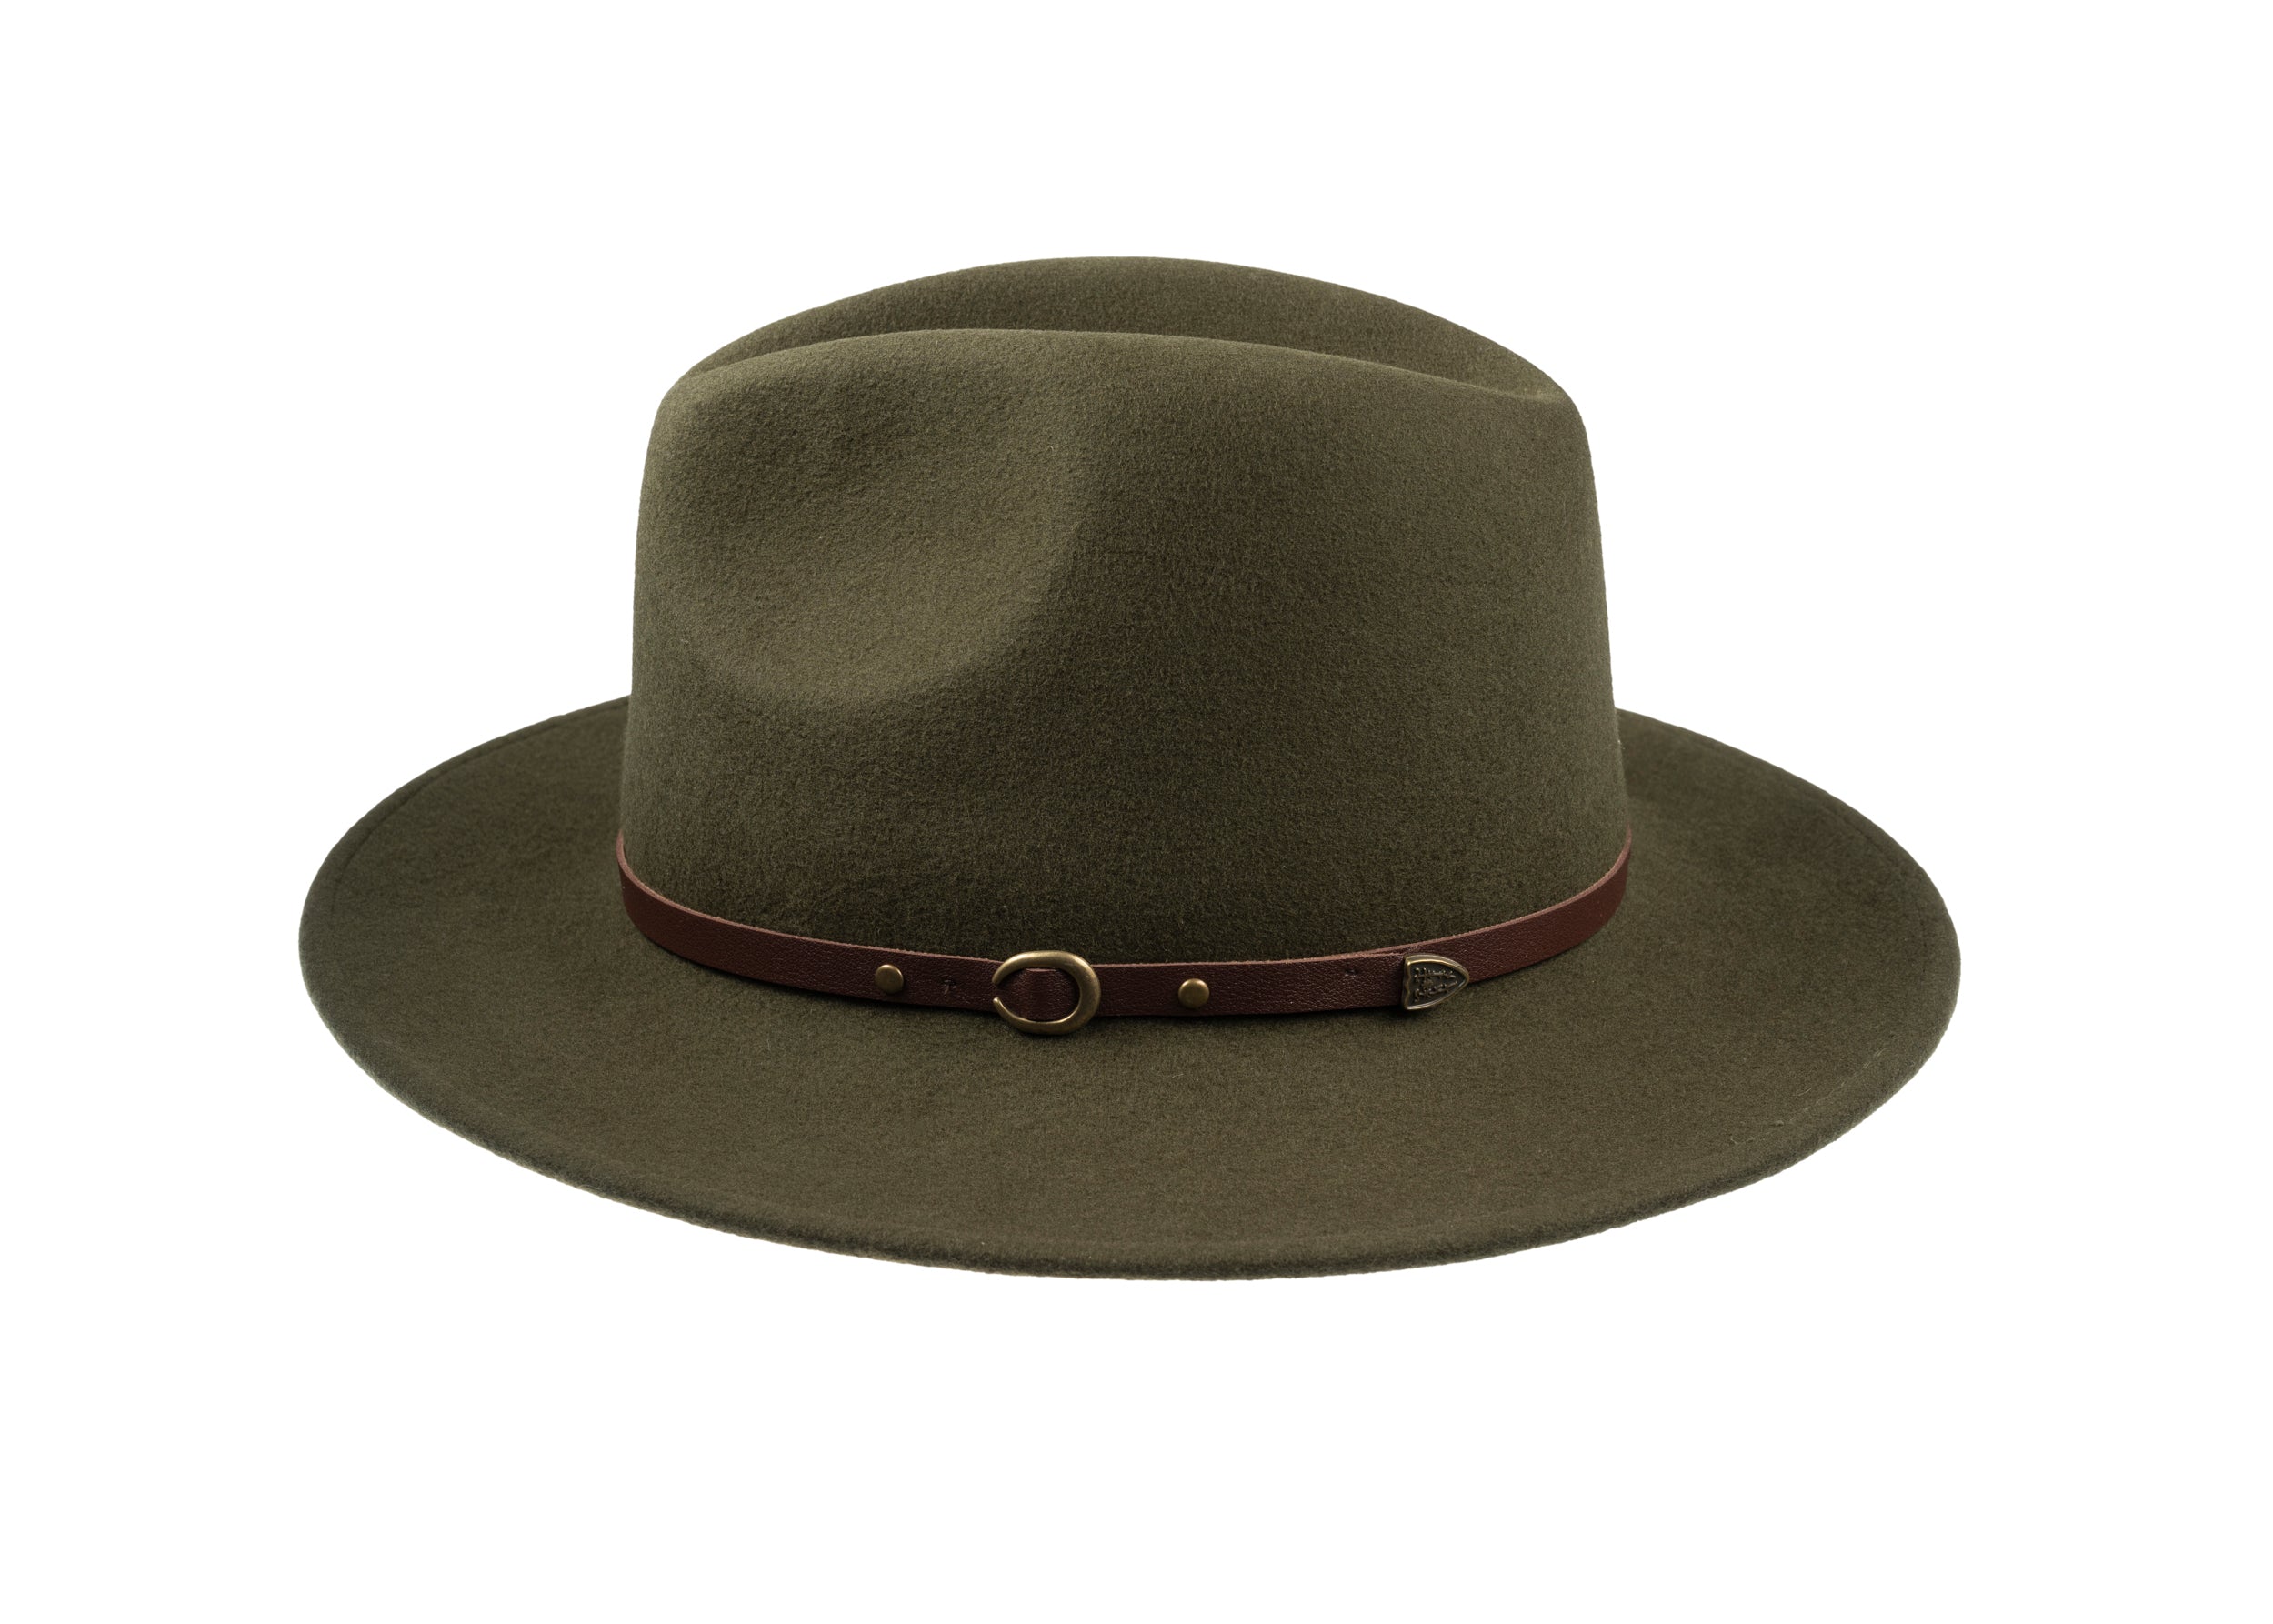





A cap may appear simple, but beneath its brim lies a layered architecture that dictates its shape, comfort, and the way it wears over time. What makes one cap sit as if made for the head while another rubs, sags, or loses its definition?
This post examines ten concealed layers, including outer felt, interlining, brim core, sweatband, and hand tacks, and explains each layer's function and the reasons makers adopt particular methods. Understanding these details reveals how construction affects fit, shape retention, and the way a cap develops character, helping you recognise quality, choose the right construction for comfort and occasion, and care for a cap so it endures.

1. Layer to preserve a hat's shape and maintain comfort
Inside a cap, the sweatband's material and placement govern comfort, moisture management, and how the crown sits. Leather moulds to the head for a close, personalised fit, while terry cloth and synthetic wicking fabrics reduce slippage and move moisture away from the skin. Interlinings such as lightweight buckram, felt, or thin foam set the crown's rigidity and silhouette: heavier linings resist collapse and preserve a crisper profile, lighter linings produce a softer, more relaxed shape. Judge stiffness by gently pinching and flexing the panels; a slim replacement sweatband can tighten a loose crown and help channel perspiration away from inner panels.
Small decisions inside a hat have a disproportionate effect on fit and comfort. Quilted or padded linings add bulk and warmth, which reduces internal slop. Open mesh liners promote airflow and lower perspiration; in warm weather, choose a thinner liner or stitch thin quilting into specific problem areas to stabilise the fit. Discrete foam pads, fabric tapes, or folded fabric placed behind the forehead, at the nape, or above the ears remove pressure points and fill gaps without altering the hat’s external appearance. Removable, washable pads let you fine tune adjustments over time. Internal seam tape, layered brim cores, and close stitch density determine long-term shape retention. When rebuilding a cap, prioritise reinforcing seams and the brim core to reduce cupping and warping.

2. Choose the outer felt and finish
Begin with felt, considering fibre length and structure. Hair felts, notably beaver and rabbit, use longer fibres that interlock more tightly than wool or blended felts; as a result they shed water more readily and retain a shaped crown and crisp brim. Wool felts, by contrast, sit lighter and remain more breathable. Construction and blocking will also affect how a hat holds its form. Surface finish alters both appearance and performance. Velour and brushed pile produce a soft, low-sheen surface; sanded or shaved finishes create a sleeker, more modern look; waxed or matte coatings change dirt resistance and the felt’s handle. For traditional occasions favour velour or brushed finishes, and choose a sanded, smooth finish for a cleaner silhouette. Assess weight and resilience with simple hands-on tests. A pinch-and-release, or a gentle squeeze, reveals spring-back and indicates how well a felt will support a taller crown or collapse for travel.
Natural fibres rarely take dye uniformly, and the direction of the nap changes how light plays over a surface, so colour can look uneven across panels. Check fastness and evenness by rubbing a damp white cloth on an inconspicuous area; any transfer or variation will reveal instability. When planning patterns, set pieces so the nap runs the same way to avoid visible shifts. Felts differ in how they respond to steam, blocking, and water-repellent treatments. Always trial steam and block on a scrap or hidden area before committing to complex moulding; some finishes will reduce breathability, while others will improve UV protection and colour retention. Note how each treatment alters handle and shape, because the tactile changes matter as much as visual ones. Finally, look for provenance and sustainability information when durability and environmental impact are important. Construction methods and the origin of materials often predict long-term performance as clearly as fibre content does, and these are the details that reward closer inspection.

3. Add interlining to stabilise and define the hat's structure
Interlining is most important in the crown, sweatband, and brim. In the crown it prevents stretch, in the brim it preserves a crisp edge, and in the sweatband it supports trims and stitching. Mark these zones clearly on the pattern before cutting, and seat the appropriate interlining in each area. Compare materials by stiffness, memory, breathability, and drape: open-weave canvas or horsehair canvas give spring and recovery, buckram provides high structure, wool felt adds loft and insulation, and non-woven fusibles ease application while reducing airflow. Test small swatches beneath the shell fabric to assess recovery, hand, and airflow before committing to the final assembly.
Layering determines a cap's character. A lightweight canvas in the crown paired with a stiffer buckram in the brim moves a cap from soft to structured, while a thin wool layer increases insulation without flattening the shape. Buckram is simply a starched cloth used to hold form, and a well judged combination of materials lets the cap keep its line while remaining comfortable to wear. Attach interlinings with hand slip stitching at the seam allowances, and use machine tacks to stabilise bulky junctions. Reserve fusing for places where a little surface shine or the risk of delamination is acceptable, because fused interfaces can show wear differently to stitched ones. Grade seam allowances to reduce bulk, clip curves so the fabric sits smooth, and leave a small access panel to allow later adjustment or replacement. Test assemblies rather than relying on inspection alone. Flex and humidify a trial piece, then wear it to reveal longer term behaviour: where seams relax, where layers separate, and which areas need reinforcement. For caps likely to see heavy wear or frequent cleaning, favour stitched, breathable interlinings or removable panels; they endure better and make future repairs or renewals straightforward.

4. Ensure the crown cap and headband sit comfortably
Begin with a straightforward tape protocol. Place a flexible measuring tape around the brow line, just above the eyebrows, to record a baseline circumference. Then measure from the highest point of the crown, over the top of the head, to the most prominent point of the occiput and record the crown circumference as well. Compare the forehead and crown figures. Add 0.5 to 1 centimetre to allow for hair and movement, and vary where you take the tape for high brows or pronounced occiputs so the internal profile mirrors the head rather than the outer hat shape. Convert these external measurements into internal dimensions using a short checklist: subtract any overlap for seams to arrive at the internal band width, allow for the thickness of the sweatband, and set crown depth to the measured crown point plus graded padding for comfort. Keeping a clear set of these figures makes blocking and final fitting more predictable.
Choose headband materials by function. Organic fabrics wick moisture and soften with wear. Closed cell foams cushion pressure points and resist permanent compression. Elastic tapes provide retention, so test samples by hand: stretch them to check recovery, and expose them to moisture to judge response. For example, suede will darken where it contacts the skin, indicating absorption and potential staining. Shape the internal crown to mirror the head. Use narrow canvas or light buckram strips to hold the curve, and employ graduated padding rather than a single hard ridge. Distribute stiffness in segments to reduce pressure over the temples and the occiput, rather than concentrating strain in one place. Make fit adjustability discreet. An inner draw cord, graded elastic tape, or removable sizing rings preserve the hat’s line while allowing refinement to the fit. Check performance on the body: shake the head, nod, and run a hand from forehead to crown to ensure the hat stays put without creating new pressure points. Run a short wear trial to note red marks, slippage, or rubbing at the temples. Remedy problems by relocating seams, trimming or redistributing padding, or fitting a different band. Preserve fit over time by replacing sweatbands when necessary, and by cleaning gently so materials retain their compression and shape.

5. Shape the brim core, then hand-finish the brim edge
Start by selecting a core material and thickness suited to the brim you intend to shape: thinner cores favour soft, unstructured brims, thicker cores suit a more defined, structured edge. Typical options include buckram (a plain-woven backing), laminated composites, cork, and stiffened felt. Prepare small samples and assess stiffness, weight, and water resistance by flexing each several times; a suitable core will spring back rather than hold a crease. When laminating, work with intent. Stagger seams and overlap core sheets by 8 to 12 mm, apply a thin, heat-compatible adhesive between layers, and press the assembly onto a curved block. Hold until the layers bond into a single, springy unit that resists delamination. The goal is a unified core that returns to shape under light pressure and rewards closer inspection with its consistent resilience.
Begin by shaping the assembled brim on the hat block before finishing the edge. Steam lightly, then use a wooden hammer or a padded stake to mould the crown-to-brim transition. Allow the form to dry fully, and check the curvature against a template or tolerance gauge. Choose an edge finish appropriate to the hat's use and appearance, preparing exact allowances for binding with cotton tape, for sewing a leather welt, or for enclosing a shaping wire in a cloth casing to allow adjustability. Stitch a narrow topstitch about 3 to 4 mm from the finished edge, and reinforce stress points with internal tacking stitches or small patches of stable fabric to reduce wear. Finish raw edges with a breathable sealant or welt, then perform a handling test by flexing the brim repeatedly to reveal any weak spots before final assembly.

6. Face and bind the brim, hand-finish the underside
Trim the brim allowance to about 3 to 6 mm where it meets the crown, and grade the binding seam so the thicker layers sit towards the outer edge; this prevents a lumpy join and helps the finished brim lie flat against the head. Choose a binding style to suit the material: fold a single strip over the raw edge and secure it by hand with a blind slip stitch or ladder stitch, using small, even stitches of about 2 to 3 mm, or, where the fabric will tolerate it, run a topstitch close to the edge by machine for a crisper hold. Shape and set the underside on a curved block, steam sparingly to relax the fibres, then use a clapper or wooden block to cool and lock the curvature so the binding stays taut and the brim does not pucker. Test trimming and stitch choices on a scrap to confirm the profile remains smooth once bound.
When shaping the transition between crown and brim, clip or notch concave sections and grade the allowance over convex areas so the material lies smoothly. Anchor the binding at the crown seam with a short bartack, or bar stitch, and add a few catch stitches along the outer edge where the brim will flex most; these small reinforcements reduce movement and concentrated wear. Inspect the work in natural light for even stitch spacing, smooth overlaps, and any sign of puckering, then bend the brim through its normal range to detect hard spots or loose sections. Rework uneven areas on a practice sample until stitch density, allowance trimming, and shaping give consistent results before altering the finished piece.

7. Fit linings and sweatbands to manage moisture
Choose lining materials for how they manage moisture and how they feel against the skin. Cotton terry, with its looped surface, absorbs sweat and sits softly on the forehead. Microfibre wicks moisture away and dries quickly through capillary action. Open mesh encourages airflow, at the expense of absorbency. For everyday performance, place terry or absorbent blends in the sweatband at the forehead, and use microfibre or mesh for partial crown linings so the cap remains drier overall. Design the sweatband for hygiene and longevity: make it replaceable, or fully bound and topstitched; incorporate perforations or a ventilation channel; and choose a thickness that balances absorbency with comfort so it does not alter the intended fit. When a cap faces regular washing and heavy use, these construction choices matter as much as the material itself. Attention to both material and method keeps the cap performing longer and shows its quality over time.
Preserve a hat's breathability and shape by specifying partial linings or segmented panels. Place absorbent material at the brow, use breathable fabric over the crown, and add a thin interlining to stabilise the crown without trapping heat. These simple divisions maintain structure while allowing ventilation where it matters. For odour control, favour natural fibres such as merino; its protein structure resists persistent smells. Fabrics with antimicrobial finishes also reduce bacterial growth, but expect those finishes to wear with repeated washing. For hats subject to travel or heavy perspiration, prioritise durable construction and replaceable components, such as detachable sweatbands. Care is straightforward. Where possible remove sweatbands before cleaning, launder with an enzyme detergent to break down perspiration residues, and air dry. Avoid fabric softeners, which can coat fibres and reduce absorbency. Replace or refresh linings and sweatbands when they no longer absorb or when a lingering odour persists.

8. Block and steam to shape the cap by hand
Steam relaxes the fibres, allowing them to be reshaped; a solid block then holds the form as the material cools and dries. Because shrinkage, felting, and surface change vary by material, always test on a scrap first to see how wool felt, cotton, straw, and leather respond. Essential tools are a wooden or metal block for blocking, sized slightly larger than the intended head measurement, a source of steam, a clean cotton press cloth, pins or clamps, and a soft mallet. Choose blocks and fixtures that match the cap's profile to ensure repeatable results.
Begin by pre-shaping the crown with your hands. Apply targeted steam to soften the fibres rather than soaking the hat. Mould the piece on the block, using your hands and a mallet only where gentle persuasion is required. Secure the brim and seams with pins, and leave the cap to dry fully on the form so the fibres set to the new geometry. Use a press cloth to prevent water marks, and remove or protect sweatbands and any glued trims, since heat and moisture can soften adhesives. Take care not to over-steam felt; excessive steaming will cause matting and undesirable shrinkage. Finish with a light final steam to refine the edges, brush the nap or fibres back into place, and store the cap on a block or on a soft support. Limit repeated wet shaping, as cycles of moisture and drying will gradually alter fit and fibre integrity.

9. Tack, set, and hand-stitch the ribbon for a precise finish
Begin by pressing the crown and the brim to settle the shape. Mark a few reference points on the inside with tailor's chalk or pins, and choose where the ribbon seam should sit so the join rests at a discreet point — typically the centre back or just off to one side. Baste the ribbon and lining in place with short, evenly spaced stitches, then turn the cap inside out and smooth the fabric to reveal any puckers or misalignment. Adjust and re-baste as required until the seam follows the cap's curve precisely. Working this way lets you correct faults early and keeps the ribbon aligned to the hat's shape.
Choose a fine, sharp milliner or upholstery needle and a strong, smooth thread that matches the ribbon. Lightly wax the thread to reduce fraying when passing through several layers. Use a ladder stitch for invisible joins along the ribbon, a slip stitch to close hems neatly, and small catch stitches to anchor the ribbon to the seam allowance without showing on the right side. Keep stitch length consistent so the line reads as crafted rather than repaired; uneven stitches catch the light and suggest a mend. Finish with a few hidden backstitches beneath the ribbon and trim the thread close to the knot, then steam or press gently to relax the fibres and set the ribbon into the cap's curve. Sight along the brim to check fit and appearance, making minute adjustments where the eye detects unevenness.
10. Inspect finishes and anticipate how layers will improve with time
Begin with the outer shell. Look for UV fading, abrasion, and strain at the seams. Test surface repellency by dropping a single water droplet on the fabric: a bead indicates intact repellency, a dark, spreading stain shows absorption. Treat pinpoint marks with a targeted, gentle spot clean, and avoid scrubbing or vigorous agitation that can stress layered fabrics. Turn the hat inside out to inspect the sweatband and lining. Check for oil staining, salt crystallisation, compressed fibres, and lingering odour. Use a pinch test on the sweatband to assess elasticity; a tightly compressed or brittle band has lost resilience. Where leather bands are dry, consider careful conditioning or professional cleaning rather than DIY solvents. Plan for lining replacement when compression or staining penetrates beneath the surface fibres. Uneven fading often signals underlying lining or interlining deterioration; replacing the lining restores the hat's structure and prevents further damage.
Press a fingertip along the brim to feel for warping, soft spots, or crunchy delamination in paper, cork, or polymer cores. Examine stitching, seam tape, and adhesives by gently tugging seams to reveal loose threads, checking taped joints for lifting, and noting any adhesive creep or yellowing, which can indicate embrittlement. Reinforce weak seams with matching thread, and where the shape has softened consider reblocking, edge stitching, or careful adhesive repair to restore form without altering the crown geometry. Anticipate environmental ageing by storing hats on a suitable form or low-profile support, rotating wear, and airing them after use. Keep hats in breathable covers, and adopt short maintenance habits — a light brush, a wipe of the sweatband, and routine inspections will catch early signs of wear before they become faults.
A cap's apparent simplicity conceals a precise, ten-layer structure. Each layer controls a distinct, measurable attribute: the outer felt and finish determine water behaviour and the nap, interlinings set the crown's stiffness, brim cores dictate edge resilience, and sweatbands manage fit and moisture. Knowing these components allows you to select a construction suited to your head, the climate, and the occasion, and provides practical levers for repair, adjustment, and responsible care.
Use these checks as a quick diagnostic: press the felt to test its spring-back, compress the crown to see whether the interlining recovers, inspect the brim for separating laminated layers, and examine the sweatband for signs of compression. Once complete, these checks will indicate where a cap has lost shape or padding, allowing you to swap or replace inner layers as they age and make small interventions that keep a well-made hat performing for years.